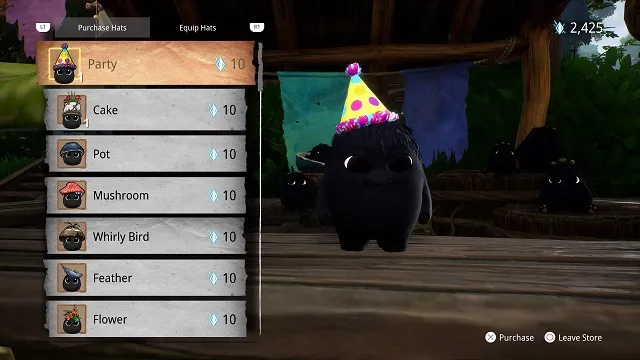
Hats are cosmetic items you can put on your Rot in Kena Bridge of Spirits. There are 51 to find, and they all cost a certain amount of in-game currency to purchase. They don’t provide any buffs or benefits for your Rot other than making them look quite stylish, but getting them all will give you the Hat Collector (silver) trophy.
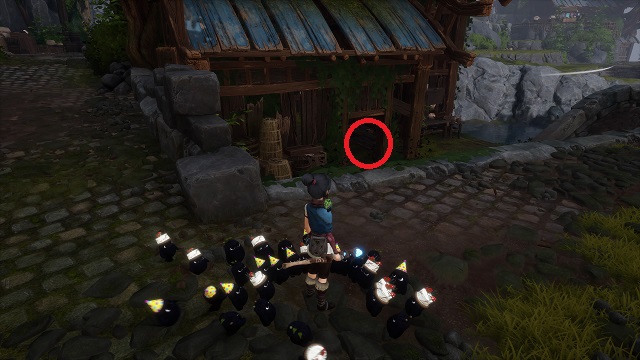
Many of the main areas in Kena Bridge of Spirits (except for a few) have Hats to collect. Some you’ll uncover when opening regular and Cursed Chests, while others you’ll get from finding the Rot hiding around the level. You then buy them with currency (Blue Gems) at a Hat Cart.
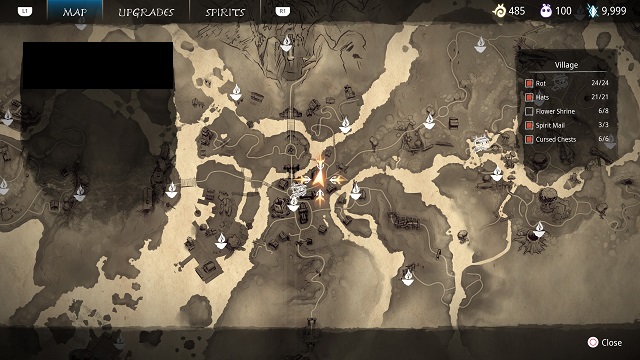
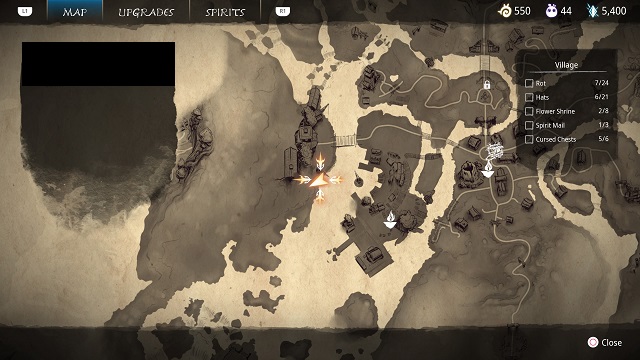
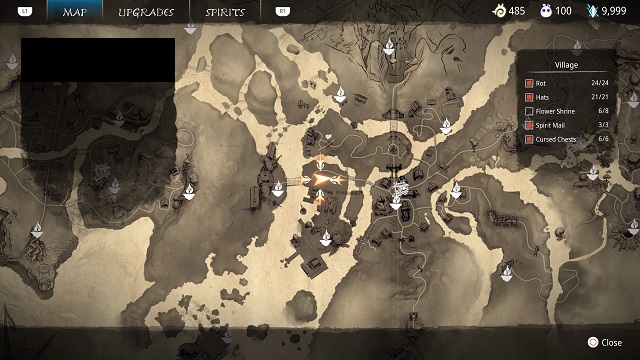
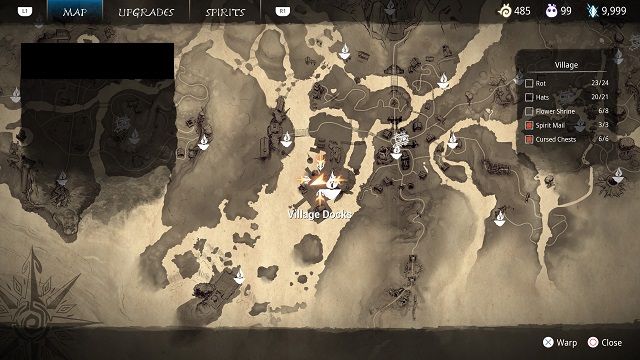
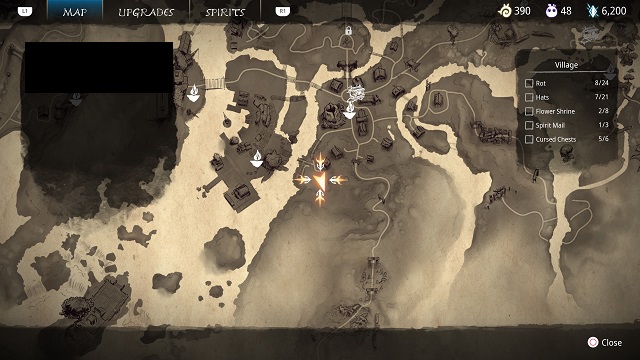
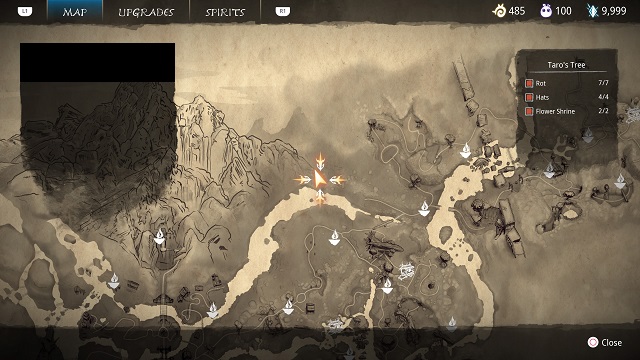
Here are their locations and how much they cost. The number next to each location denotes how many collectibles are in each, while the number next to the collectibles themselves denotes how many gems they cost at the vendor cart.
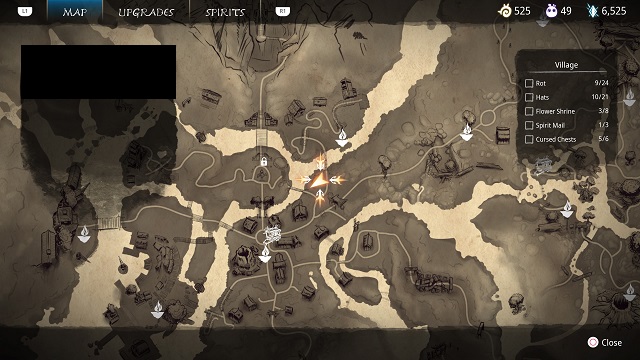
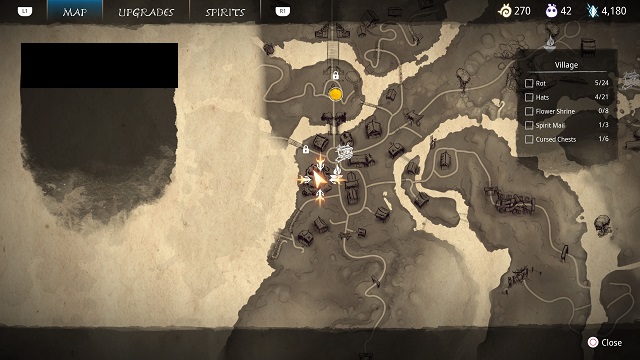
Village Hats (21)

Mushroom Hat (10)
You get this collectible by interacting with the Hat Cart.
Pot Hat and Clover Hat (10)
These are in the chests to the left and right of the vendor, respectively.
Yellow Mushroom Hat (10)
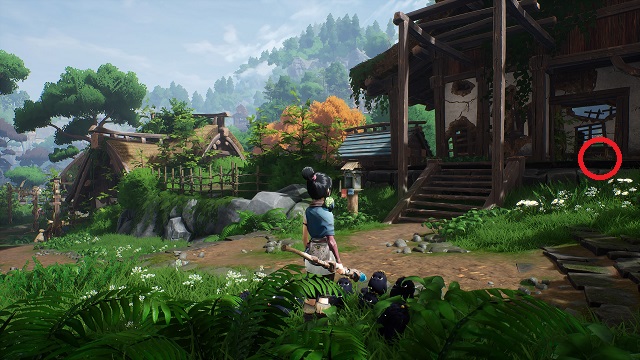
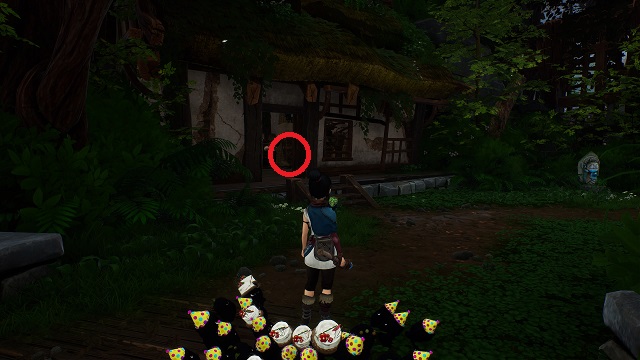
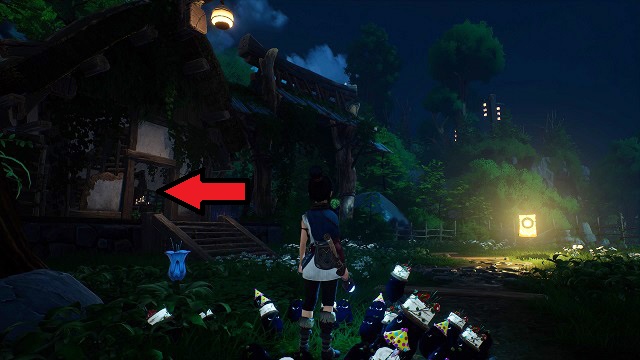
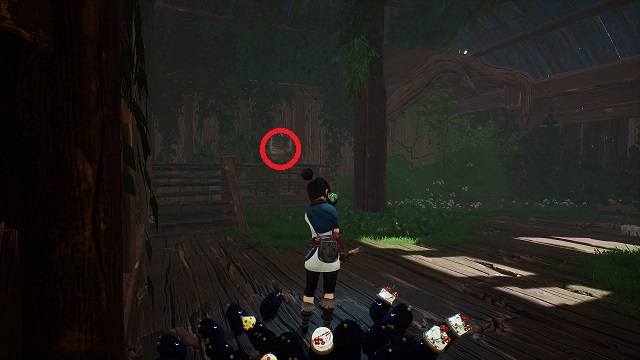
Open the Taro Gate next to the Hat Cart, and deliver Spirit Mail to the first house on the left. After destroying the corruption, go inside the house, and open the chest by the broken back wall.
Ladybug Hat (10)
Go back out on the road, and go left when it veers off. Deliver Spirit Mail here as well, and look for a chest behind the right, back corner of the house once you’ve cleared the corruption.
Baseball Cap (10)


When you get the Bow ability, return to the Village Center warp stone, and go through Taro’s Gate toward Taro’s Tree. Turn right after the last house (just before the stone steps) and activate the bridge.
Cross and turn right to enter the archery range. Clear the corruption and enemies (grab the rot by pulling the lever at the end and completing the archery challenges). Go right past the lever and go left to the house. The collectible is in a crate on the left side of the house.
Unicorn Hat (1,000)
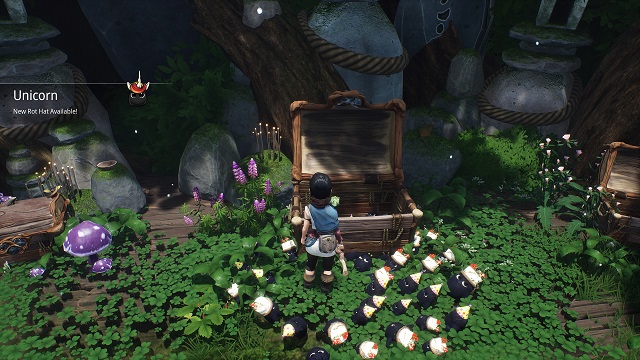
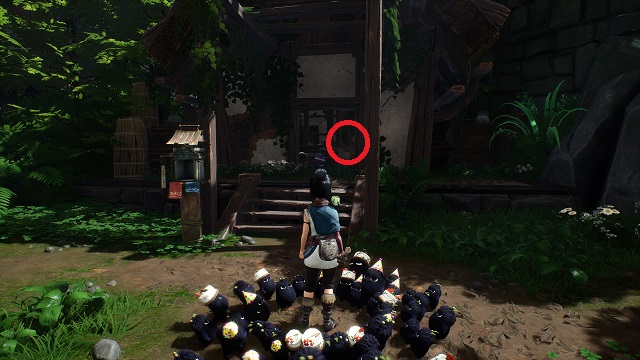
Use Spirit Mail to open the house attached to the warp stone. Clear the corruption and open the left, then right, corrupted chests. The center will become available. Open it for the most expensive of Kena’s Hats.
Cat Hat (100)
After getting Adira’s Mask (the story one) and opening the new village area, enter the area and go straight toward the large bridge on the far side of the area (you’ll see the Storehouse with a bell at the top).
Cross the bridge, and turn left. Follow the path to the end, and open the chest.
Dinosaur Hat (500)
From Cat, turn around, and cross the bridge again. Complete the owl puzzle in front of you (between you and the field). One owl statue is by the forest tear in the field. Another is by the drawbridge across from the field. And the last is underneath the bridge.
Dog Hat (100)
From the previous collectible, go southeast to the large water wheel. Climb up the steps of the building behind it, and follow the path right. Cross the bridge with the lanterns and turn left. Open the chest at the end of the path.
Frog Hat (500)
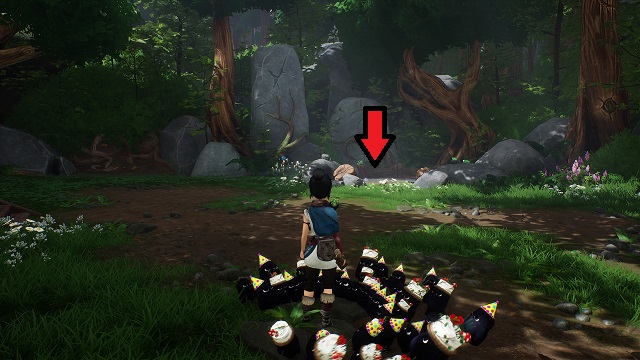
From the village center, go southwest and take the first road to the right after the warp stone. Deliver Spirit Mail to open the barrier. Follow the path and cleanse the corruption.
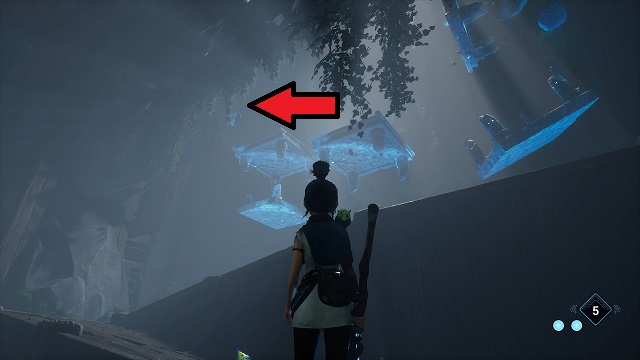
You’ll see a pond in the back right corner and three blue stones. Shoot them to reveal the Hat and a Rot.
Zajuro’s Mask (500)

After getting the bomb ability, return to Zajuro. Facing him, take the right path up and across the bridge. Use a bomb to levitate the rocks below and cross over.
Go straight and slightly left, and jump over the broken bridge. Then turn right, and follow the path up. Defeat the enemies, then activate the Forest Tear. Use it to destroy the corruption in the second house. Open the chest inside that house for this one.
Mask (100)
Take the path left from Zajuro’s shrine. Go through the portal, and you’ll eventually come to an area where you must activate three different stone pillars in a cliff face to the right to climb up to the next area.
When you get to the top, you’ll be on a wooden path with a waterfall in front of you. Take the path right, and defeat the enemies. Go into the house on the left, and open the chest there.
Mask Maker (500)
Complete Toshi’s Fear.
Samurai Hat (100)
After opening the portal for the second Constellation Gate in Toshi’s Love (the one where you must shoot four pillars on top of the gate), go through the portal. Climb up the cliffs on the other side, turn right at the top, and climb up the small cliff. Shoot the tether across the way, and follow the path left and through the portal that opens.
Turn around on the other side. This collectible is in the chest in front of you and just to the left, next to the Spirit Mail here.
Warrior Hat (500)

Complete Toshi’s Love.
Hunter Hat (500)
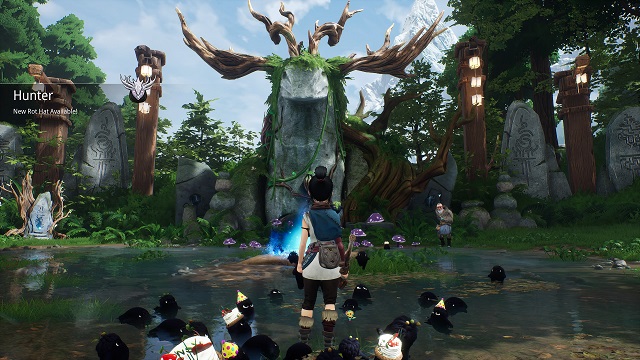

Complete Toshi’s Regret.
Star Hat (25)

Deliver Spirit Mail to the house southeast of the Village Center Warp Stone. Clear the corruption, and drop down to the field behind the corruption flower. Enter the building on the left, and open the chest inside.
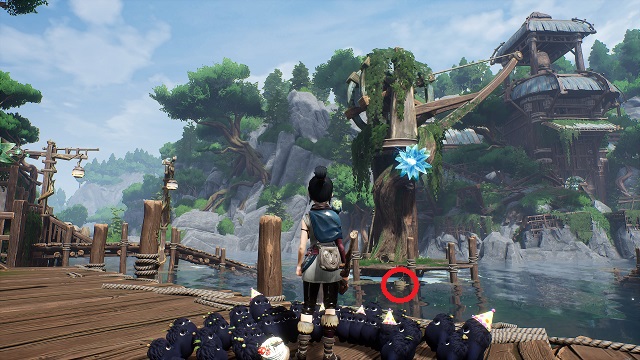
Bunny Hat (100)

Deliver spirit mail to the house just southwest of the Docks Warp Stone. Clear the corruption at the very top (grab the rot out of the room there). Now go back downstairs one level and open the previously locked chest for this one.
Fishing Hat (100)
Deliver Spirit Mail to the building just east of the Storehouse Warp Point (cross the bridge from the point and turn right). Clear the corruption, and use the tether that was behind the corrupted flower.
Land on the platform in the water, and use the rot to pull the basket out of the water for this one. You’ll also get a Rot.
Toshi’s Mask (500)
From the Village Onsen Warp Stone, continue down the path toward Zajuro’s shrine. At the broken stone bridge, turn right, and deliver the Spirit Mail. Destroy the corruption and get the Hat from the chest just inside to the right.
Taro’s Tree Hats (4)
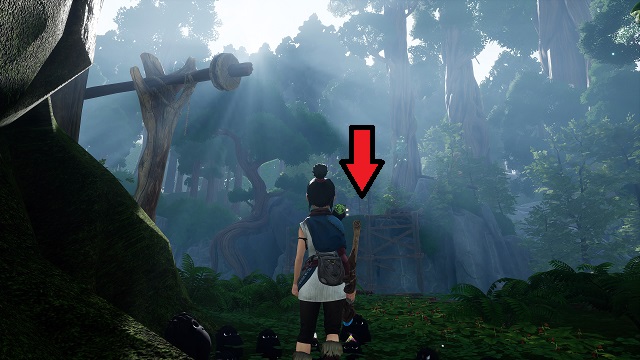
Bow Hat (10)

After learning the Forest Tear ability and unlocking the warp point in Taro’s Tree, you’ll fight the sprout mini-boss. Beat it, use the tear to collect the rot, and destroy the barrier of the house on the right side of the area. Interact with the chest inside the house.
Fox Hat (100)
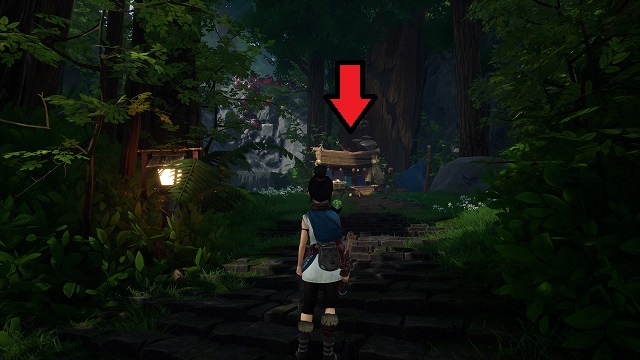
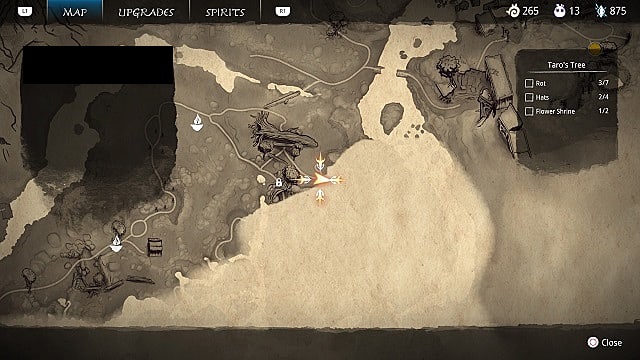
Get this one by finding the vendor in Taro’s Tree. Go around the backside of the large, upturned tree in the center of the area. You’ll see a path leading up and the cart is at the end. You get this one simply by finding it.
Butterfly Hat (10)
Once you get the Bow ability, return to the Taro’s Tree Warp Point, and go due north (left) from the Warp Point to the large pulley near the river. Use the tether point to hop across and open the chest for this one.
Taro’s Mask (500)
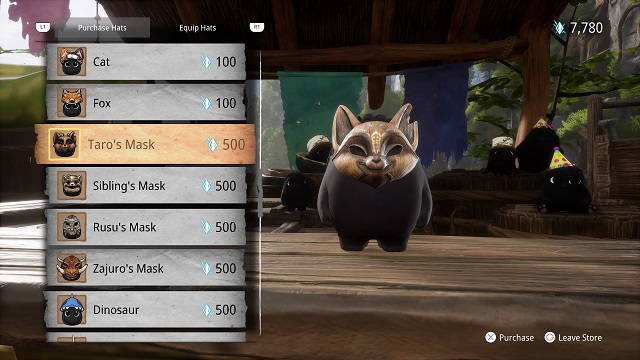
Received after completing Free Taro.
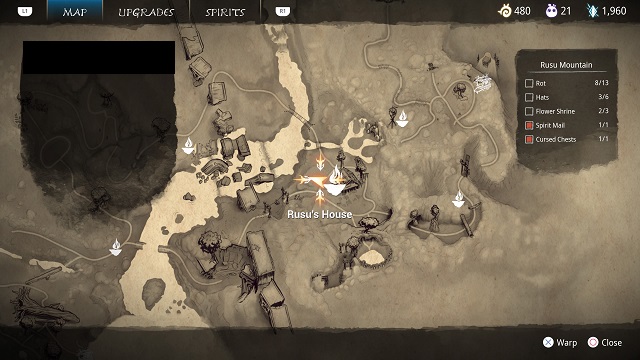
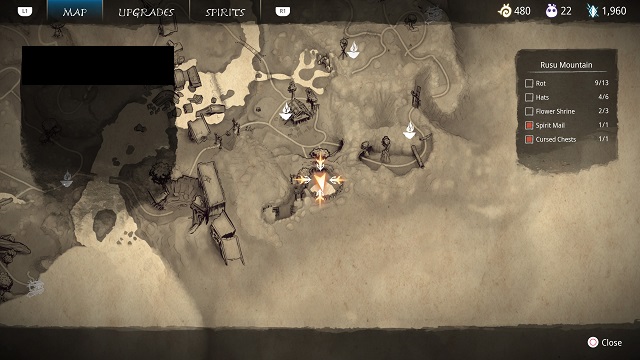
Rusu Mountain Hat Locations (6)
Bird’s Nest Hat (25)

At the broken bridge where you get the Rot to help you cross (just before Rusu’s House), follow the path right and around the Mesa. There is a Cursed Chest at the end near a tree with a blue lamp hanging on it. Defeat the enemies to get it.
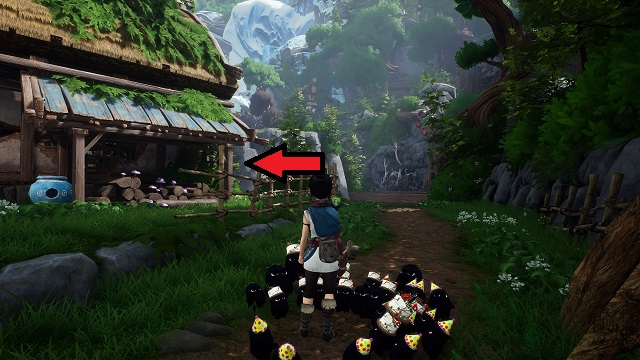
Whirly Bird Hat (10)
This one is found by finding the Hat Cart in Rusu’s training grounds. From the center area where you shoot the four targets hanging from the large tree, go behind the tree to find it near the cliff.
Rusu’s Mask (500)

Complete all of Rusu’s archery trials. I got this one after completing the Whirly Bird challenge, which was my last.
Squash Hat (25)
After clearing the corruption at Rusu’s house, exit to the front of the house and turn left. You’ll see a small untilled field with a wooden water wheel attached to two blue targets. Shoot the targets and then activate the tear.
Move the rot around the field to till it, making sure to go over the purple glowing spot. Vegetables will appear. Use pulse on the purple glowing one.
Flower Hat (10)
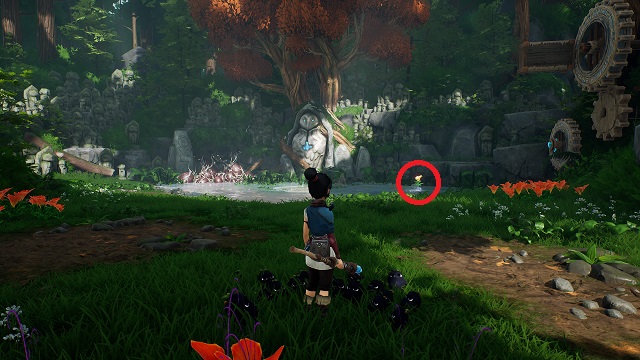
You’ll find a grove with a statue and a set of cog wheels directly behind Rusu’s house. There is a Rot running back and forth with a flower above its head in front of the water. Use pulse to stop it and grab this one.
Feather Hat (10)
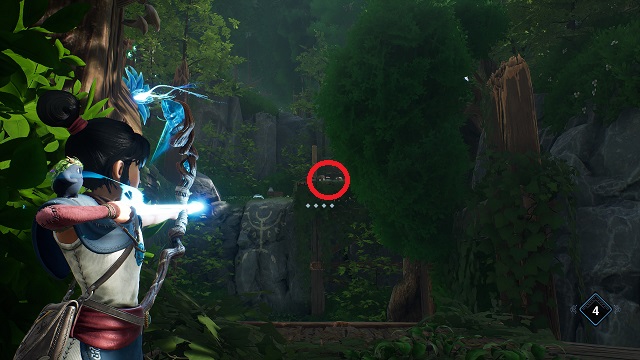
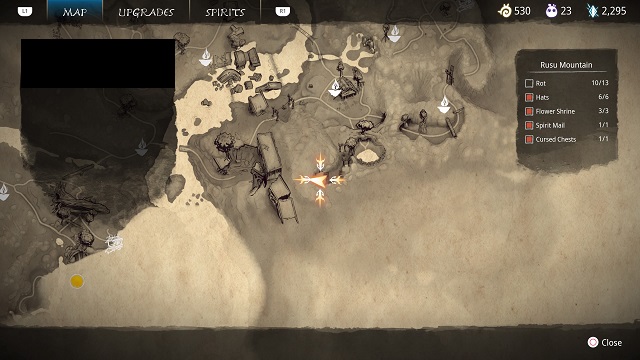
From there, activate the wheel on the right side and use the platform that appears to climb up the cliff. Activate the wooden lift platform and go across. You’ll see a flower tether point to your left.
Use that and immediately aim to the right for another tether point. Open the chest to get it.
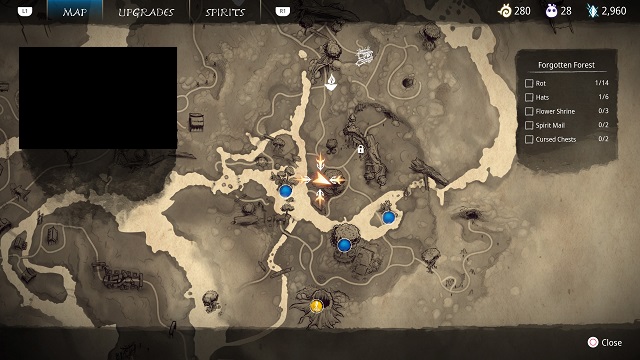
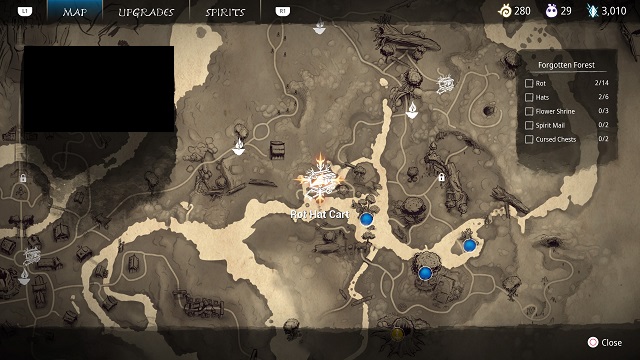
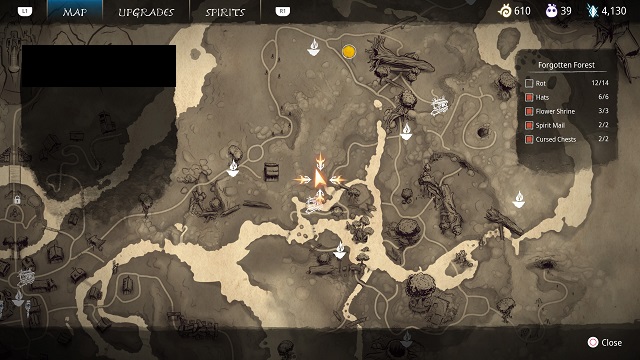
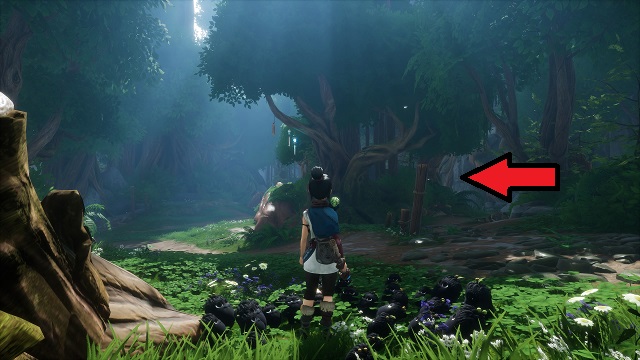
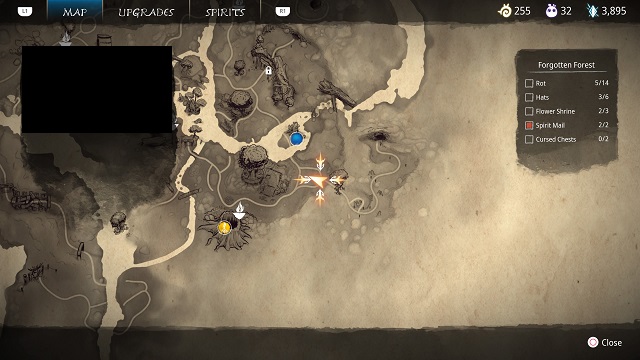
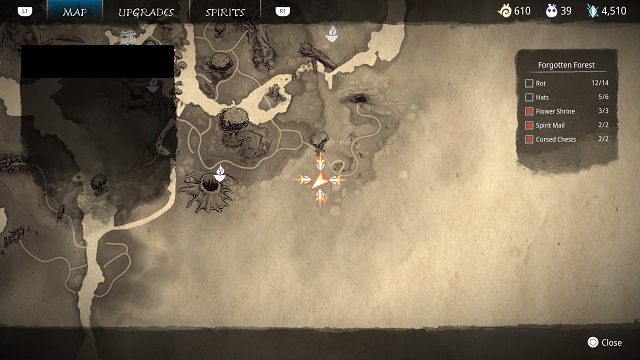
Forgotten Forest Hats (6)
Sibling’s Mask (500)
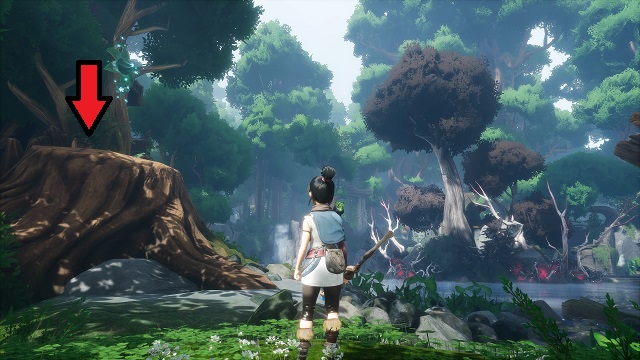
From the beginning of the area, stay on the left side until you reach the shore. There will be a very large tree stump on the left. Use the tether ability to get on top of it. Open the chest to get this collectible.
Acorn Hat (10)
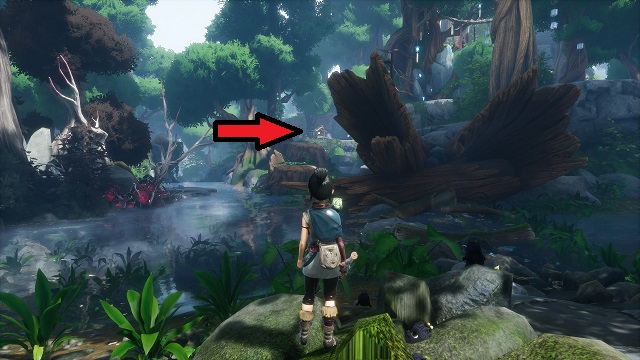
Go to the far right side of the area, past the waterfall by the Wood Shrine. Climb up the cliff to find the Hat Cart and this collectible.
Purple Mushroom Hat (10)
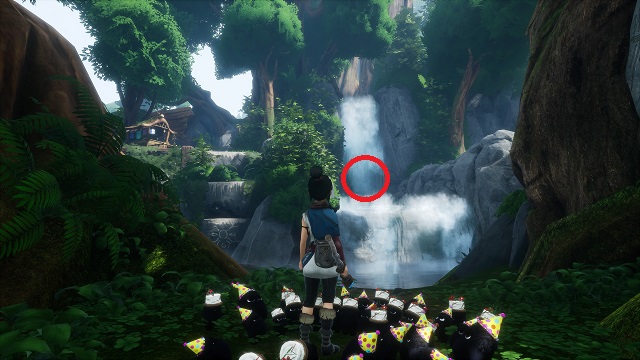
Go behind the waterfall next to the Hat Cart, and open the chest.
Deer Hat (100)

Go to the gold objectives marker (or the Sacred Tree fast travel stone if you’ve already completed it). There will be three round stone pads to the right of the temple if you’re looking at it; they will be glowing blue.
Find the three owl statues nearby, and place them on the pads to get another Kena‘s Rot Hats.
Taro Hat (100)
Continue east, down the path from the Sacred Tree. Follow it around to the left. When you reach the end, you can go left to the Fishing Shrine or right to a tree, with the path circling around. There will be a Cursed Chest behind the tree with this one inside.
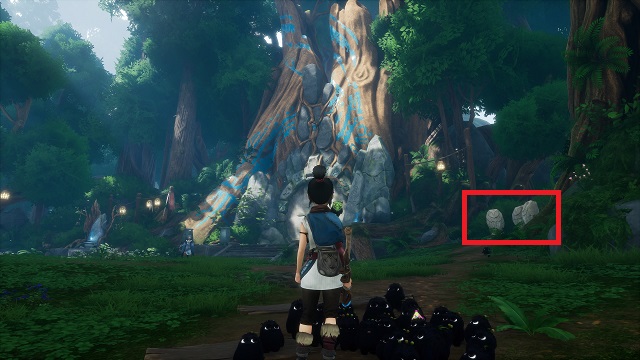
Pinecone Hat (10)
This one is found deep in the forest, after you’ve found the lantern. You’ll need to illuminate part of the forest and then cleanse corruption. When you do, Rusu will speak to you at a set of three stones. Go to the left of those stones and into an alcove with a chest.
Storehouse Hats (1)
Beetle Hat (10)
On Your way to repair the left power crystal mechanism (if you’re facing the large locked door) in the Storehouse, you’ll come to a room where you must defeat new enemies with your bomb.
Clear the corruption and go to the back of the room. Use a bomb to activate the platforms, and jump up to a room on the left side. Open the chest for this one.
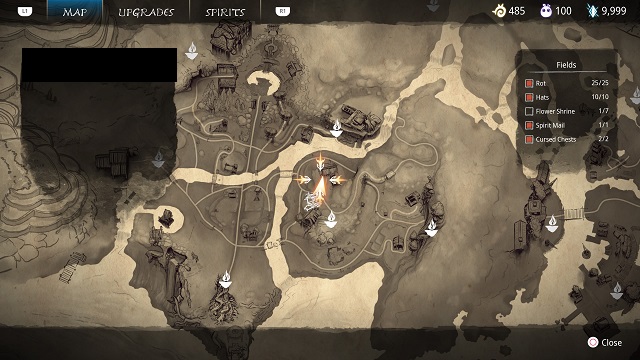
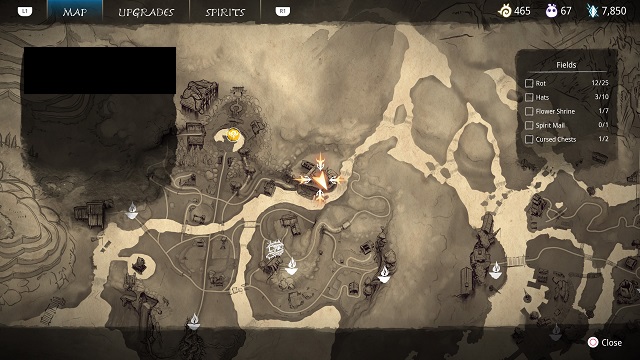
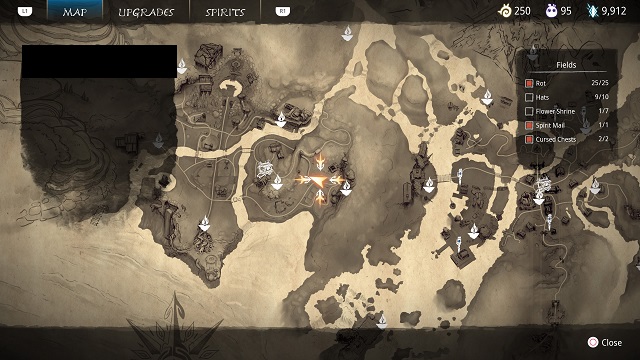
Fields Hat Locations (10)
Autumn Hat (10)

When clearing the corruption from the watchtower, you’ll need to use your bomb to create a platform of rocks. Instead of going toward the tower, face the right side and use your bomb on a second set of rocks to jump over to a small rock ledge full of wooden debris. Open the chest here for this collectible.
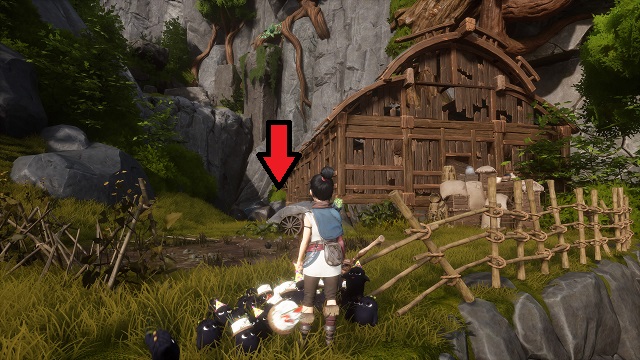
Sunflower Hat (25)
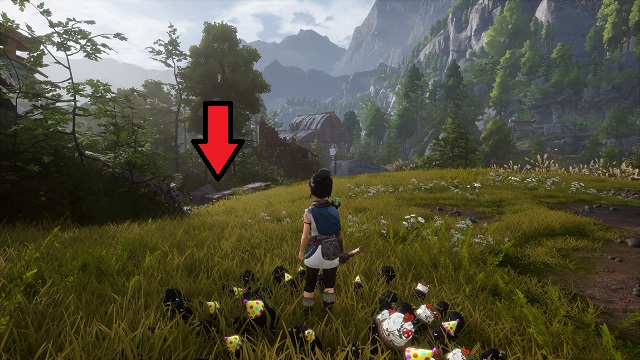
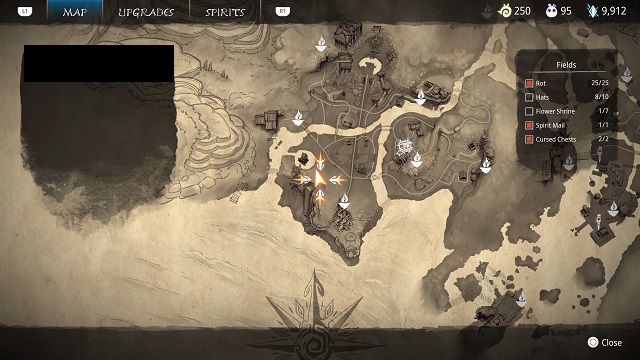
From Autumn, go southwest slightly, toward Rufus’ Barn. You’ll see a ruined two-story house between you and the barn and a big rock between you and the house.
To the left of the rock, you can overlook the ocean. There is a small wooden platform and a large stone block under it. Move the stone and open the chest for the Hat.
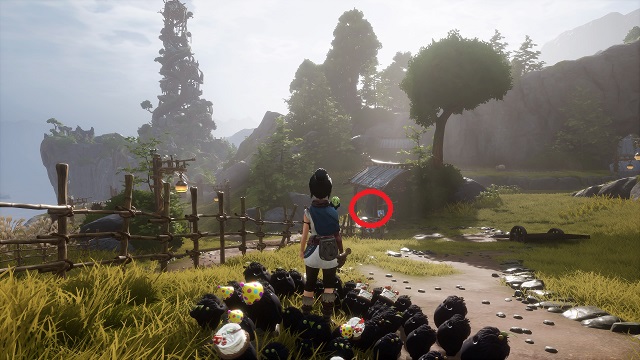
Sun Hat (25)
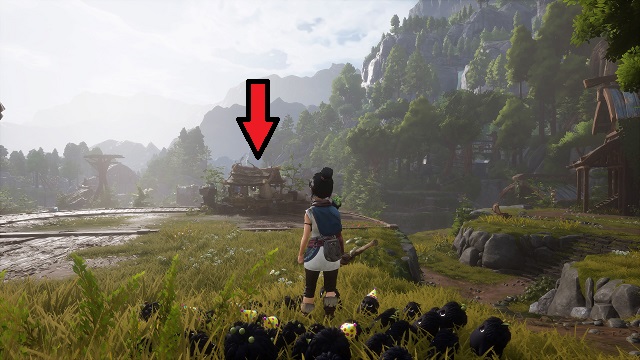
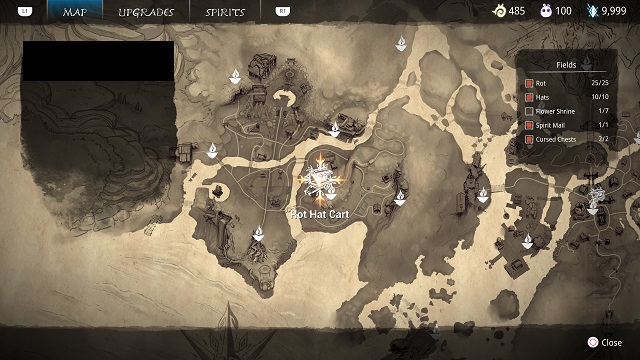
Interact with the Hat Cart northeast of the Tower Entrance Warp Stone, across the river. It’s just northwest of the Forge Path Warp Stone.
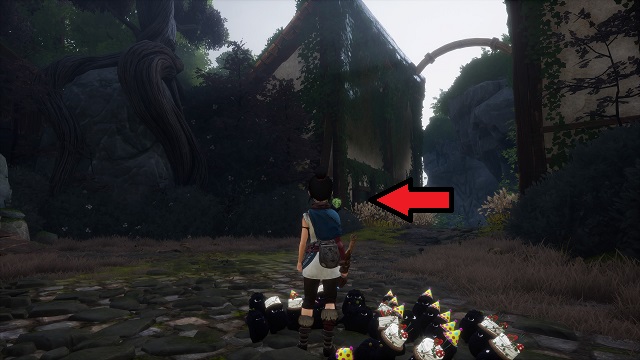
Cowboy Hat (25)
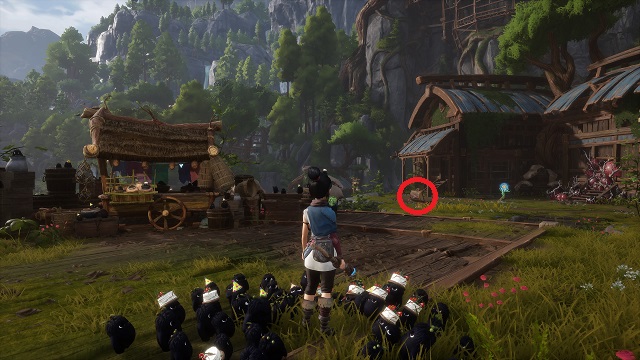
Open the cursed Chest on the small cliff to the right of the Hat Cart.
Pumpkin Hat (25)
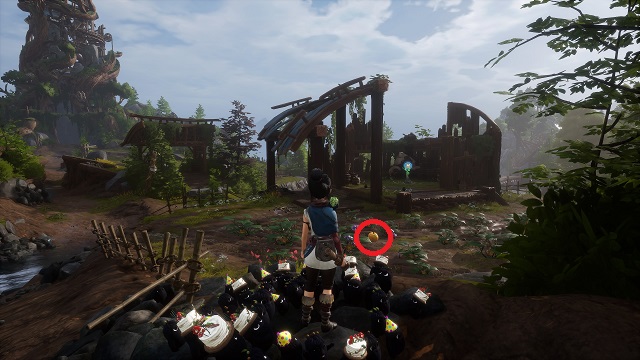

From cowboy, head south. You’ll find a destroyed house with a semi-circular field in front of it. Defeat the mage, and activate the tear. Use it to grow the crops for the Rot in the pumpkin, which also gives you one of the game’s cutest Hats!
Halo Hat (25)
After beating the stone guardian at the Forge, go inside the Forge and look up to the left for a tether. Use it to get in the second story. There will be a chest to the right of the tether with this one.
Ox Hat (500)
Take the elevator down from the Forge, and go right. As the path bends, there will be a building on your left. Go inside and find a chest in the back left portion.
Adira’s Mask (500)
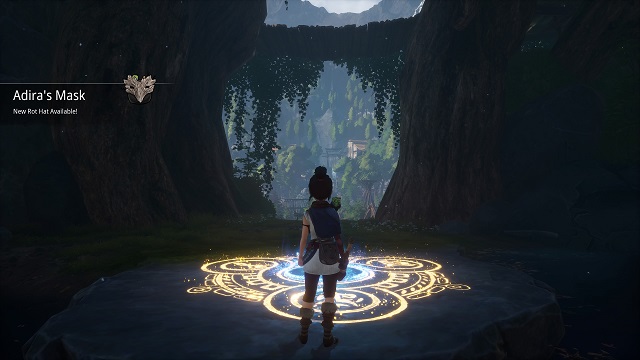
Complete Free Adira.
Pancake Hat (25)

This one is behind the house directly across from the Fields Warp Stone. Use your bomb to remove the rocks and turn right. Open the chest.
Egg Hat (10)
Just south of Pancake, you’ll see a small shelter underneath a tree, where you’ll need to set three owl statues. One can be found just to the left of the pancake hat location. Another can be found in the field behind the shelter. And one in the ruined house opposite it.
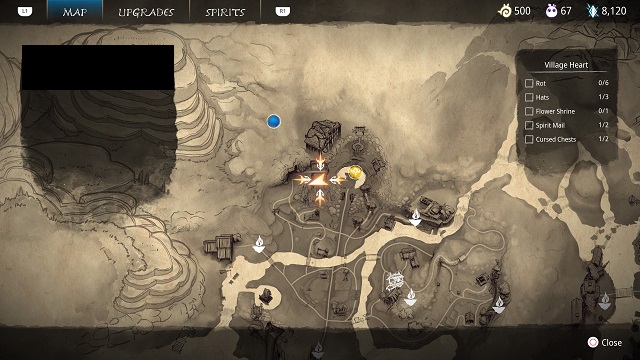
Village Heart Hats (3)
Stinky Fruit Hat (10)
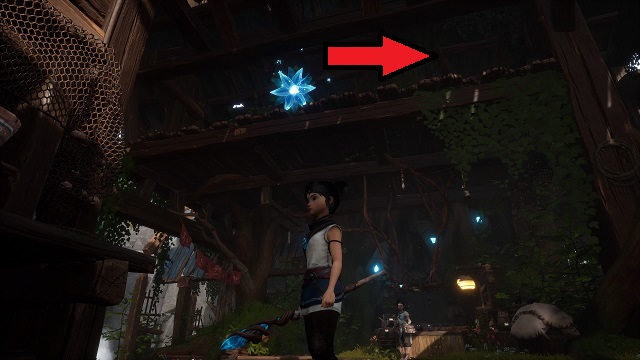
Go to the Grove with the cogtree, northwest of the Forge ( it’s the same area as the main objective for Adira’s Regret). Exit the area on the left side, and go into the building immediately on the left. Look up and right for a tether. Open the chest at the top.
Hana’s Mask (500)
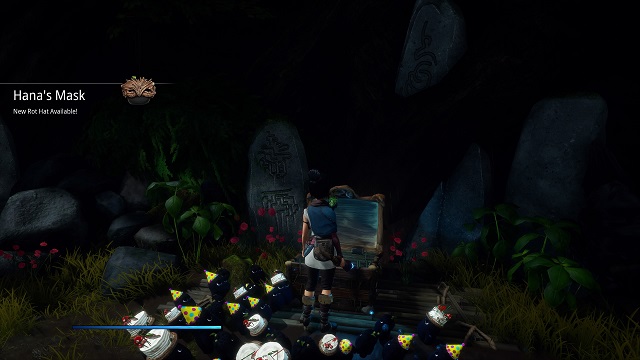
Enter the Village Heart subterranean area, and slide to the bottom. Follow the path until you reach the stones in the water you must use to make a bridge (with a tether point to the right).
Climb out of the water and onto the stones; then go up the ledge on the left. Follow it left for the chest in the back right.
Crown Hat (25)

After defeating the boss here, jump into the water on either side and swim through the opening leading under the elevator platform. This collectible is in the chest by a Rot.
Here are some more guides to help you in your journey:
- What is Rot Level?
- How to Fast Travel in Bridge of Spirits
- How to Get More Karma
- How to Solve the Fishing Shrine Puzzle
- How to Find Every Cursed Chest
- How to Find Every Flower Shrine
Those are all of the Hats and their locations in Kena: Bridge of Spirits. Collecting them all will get you the Hat Collector (silver) trophy, as well as some nice cosmetics for your Rot. If you found this guide helpful, consider heading over to our Bridge of Spirits guides hub for more!


Published: Sep 21, 2021 05:47 pm