
Kena Bridge of Spirits Flower Shrines are well hidden behind the corruption that’s taken over the land. Finding them all won’t give you new abilities or more Rot to help you in combat and traversal, but they will give you Gems. If you’re after all of the Hats in the game, then you’ll definitely want to find these altars. Plus, you’ll get the Restoration Master (silver) trophy for your efforts.
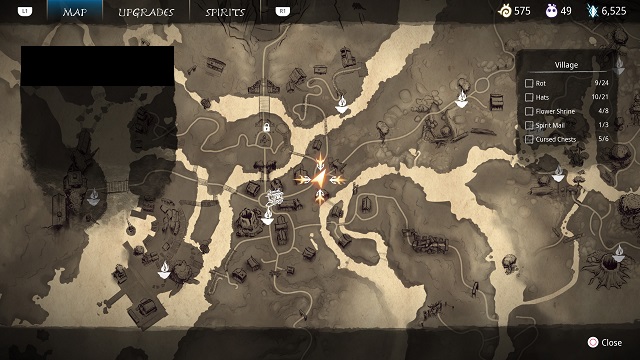
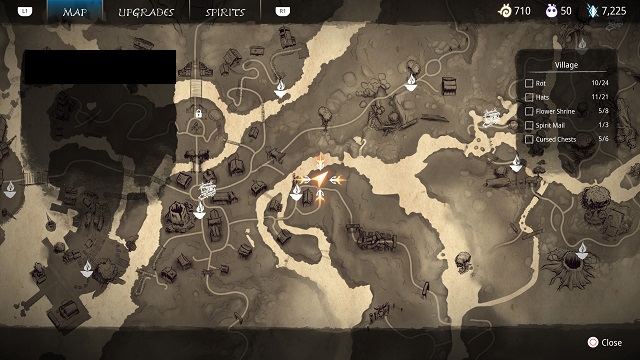
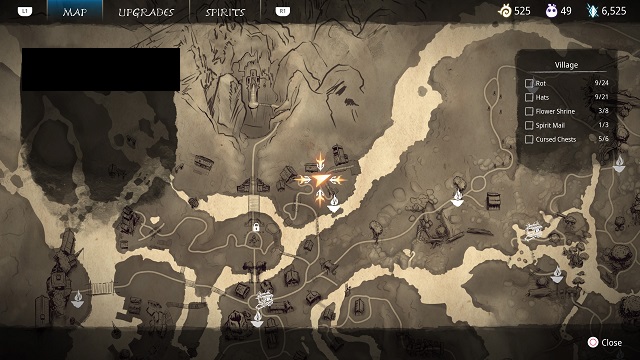
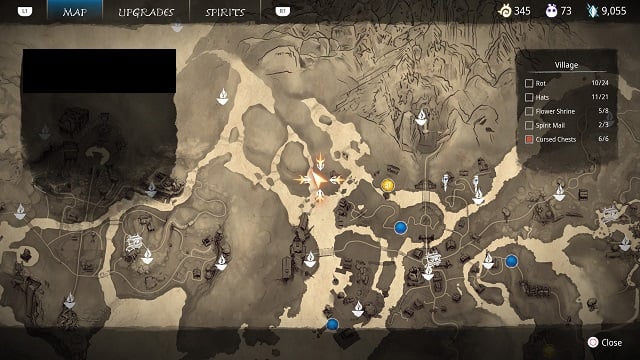
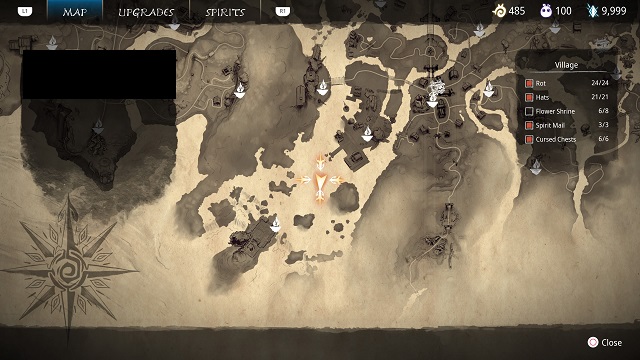
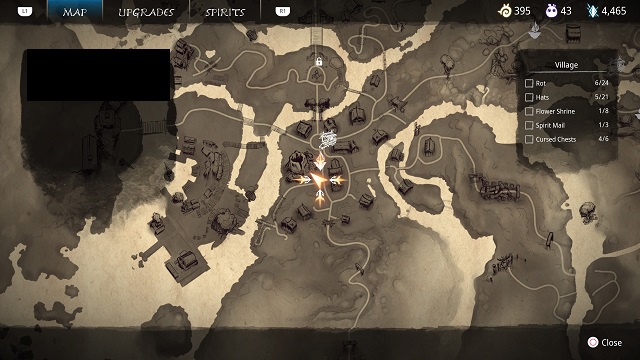
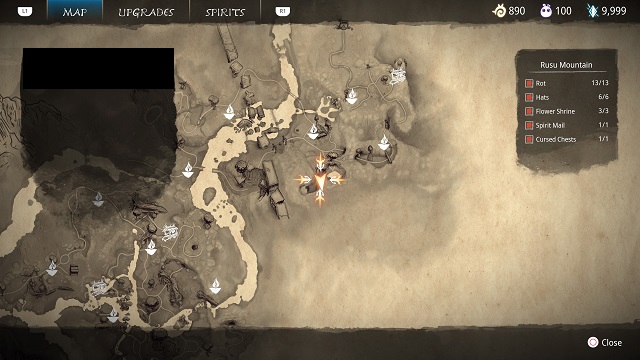
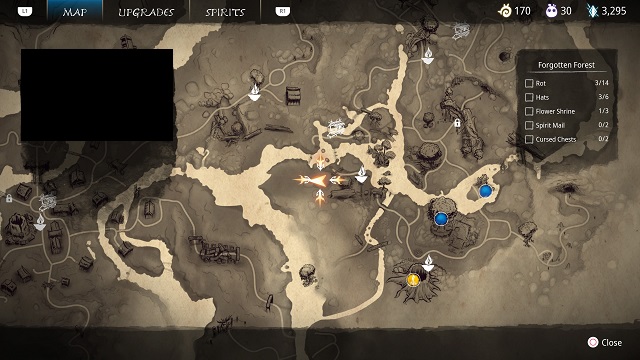
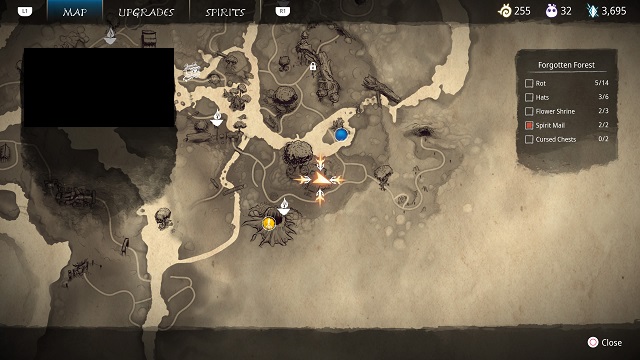
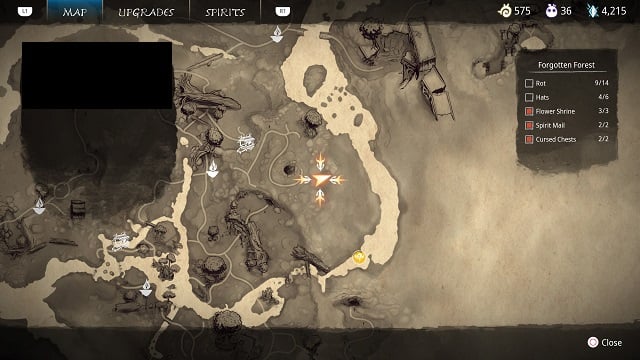
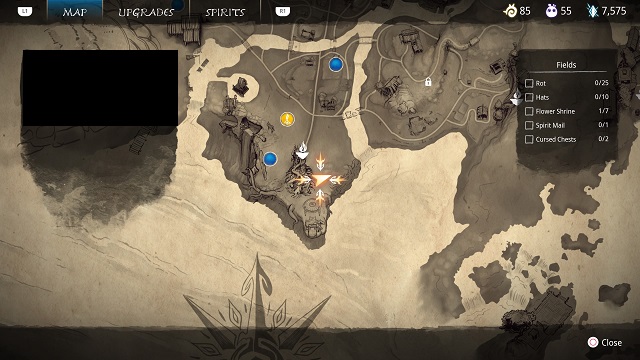
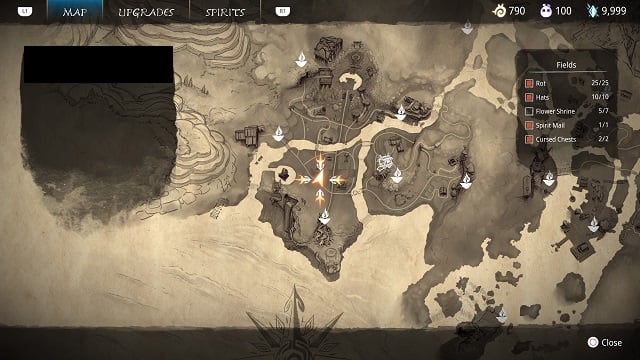
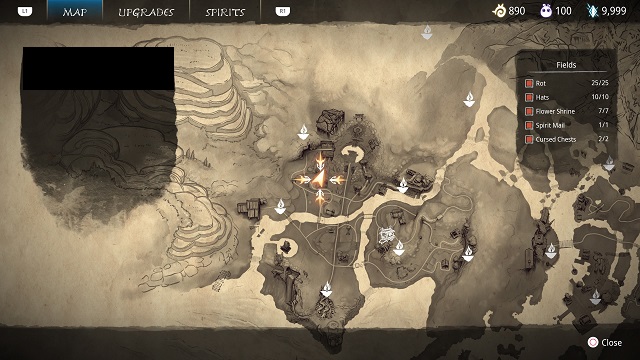
There are 24 Flower Shrines in Kena Bridge of Spirits. All locations have at least one, except for the last two areas in the game. I’ve collected all of their locations below. You can track how many you have in each region by opening the menu, highlighting each region, and looking at the box on the right.
Village Flower Shrines (8)
Flower Shrine #1
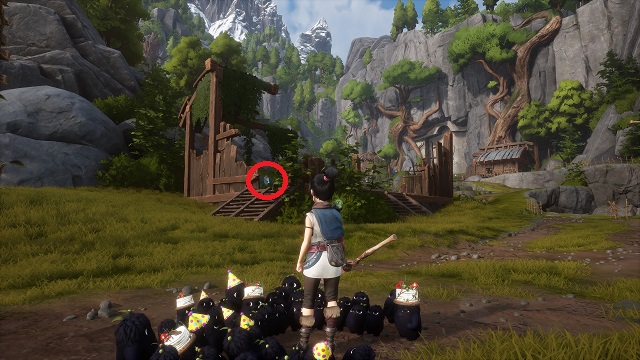
Go through Taro’s Gate and use the forest tear behind the first house on the right. Go through the broken fence to the road and turn right. The shrine will be in front of you.
Flower Shrine #2
Use the same forest tear and go down the path toward Taro’s Tree (past the last shrine). Turn right after the last house and cross the bridge. Go straight up the hill and turn left at the top. It’s just northeast of the archery range.
Flower Shrine #3
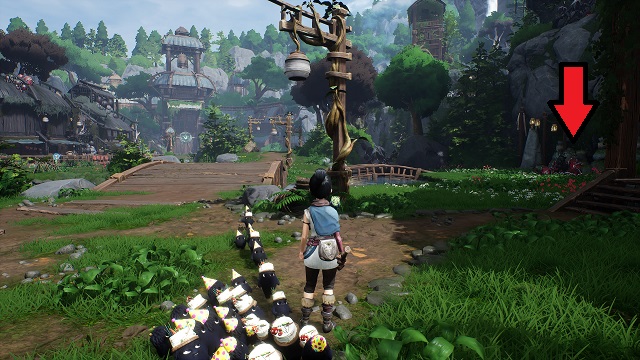

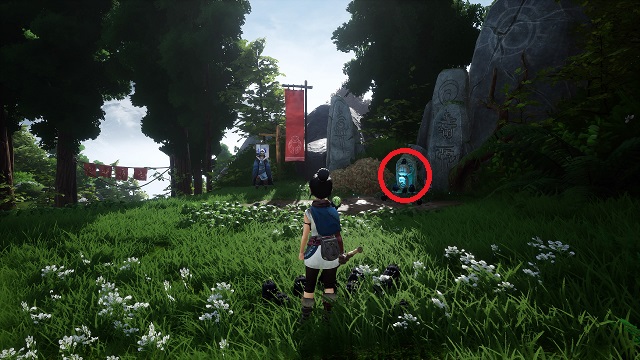
After getting Adira’s Mask and opening up the area in the village, cross the water, and defeat the enemies in the field ahead and slightly left. Use the forest tear to destroy the corruption covering the altar on the far right side of the area (the cliff with the three lanterns) opposite it.
Flower Shrine #4
Once you get the bomb ability, return to Zajuro. Facing him, take the right path up and across the bridge. Use a bomb to levitate the rocks below, and cross over.
Go straight and slightly left and jump over the broken bridge. Go right, and follow the path up. Defeat the enemies, then activate the forest tear. Use it to clear the collectible just right of the second house.
Flower Shrine #5
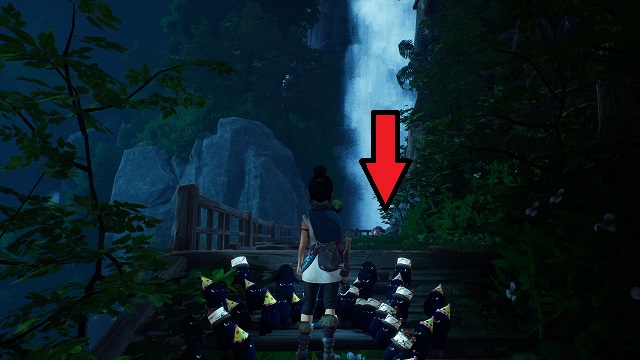
After getting Toshi’s Mask, take the path left from Zajuro’s shrine. You’ll eventually come to an area where you must activate three different stone pillars in a cliff face to climb up to the next area.
When you get to the top, you’ll be on a wooden path with a waterfall in front of you. The Flower Shrine is at the end of the short path. Beat the enemies and use the mask in the next area to spawn the tear.
Flower Shrine #6
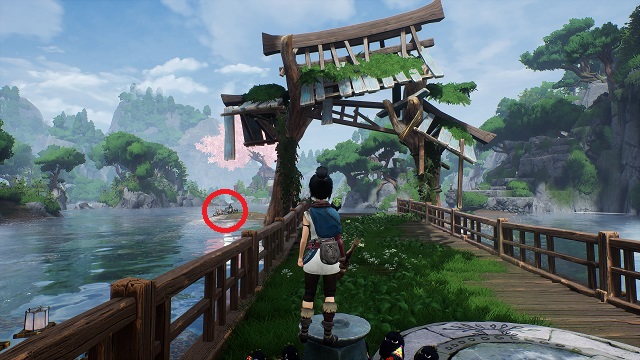
After completing Toshi’s Love (Warrior Path), go to the Village Docks Warp Point, and go straight ahead through the broken gate onto the pier. Straight and just to the left, you’ll see a very small island with the Shrine. Use the tear to the right to cleanse it.
Flower Shrine #7
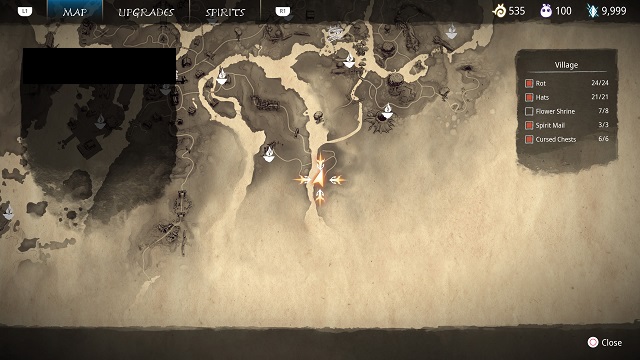
After completing Toshi’s Regret (Hunter Path), return to the Forest Tear just before the boss area. From the Warp Point, head due east across the water. Activate the tear, and use it to cleanse the shrine on a small cliff south of the tear (go down the left oath if facing south).
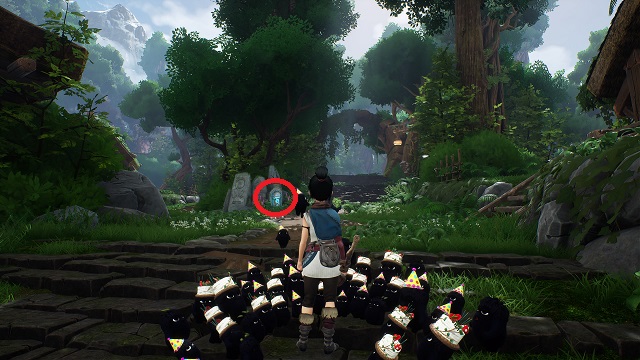
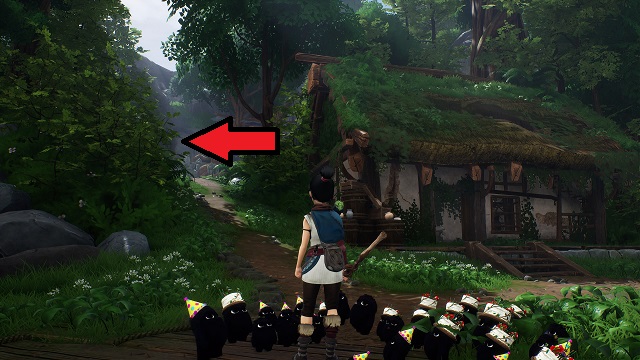
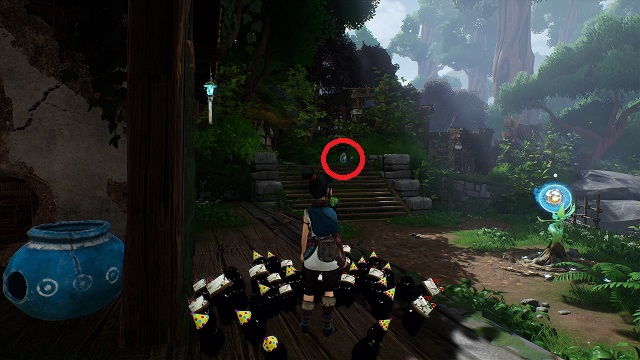
Flower Shrine #8
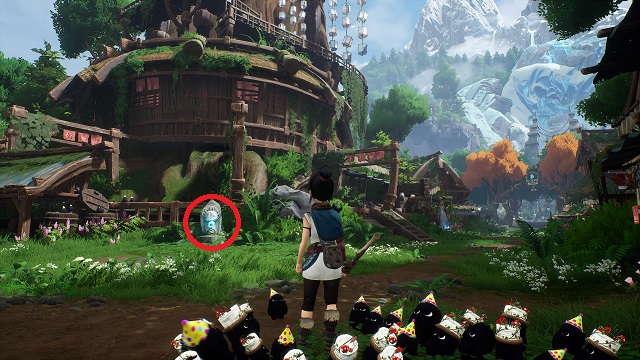
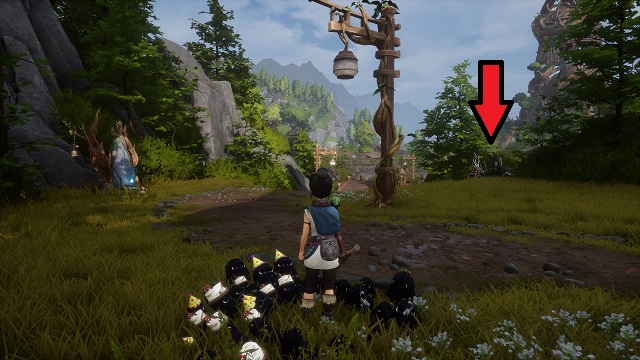
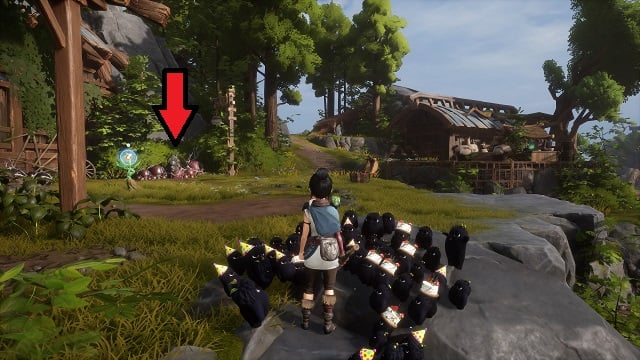
Deliver Spirit Mail to the house south of the Village Warpstone, on the left side. Clear the corruption behind it, and open the forest tear. Use the tear to clear the corruption in front of the house across the road (the one attached to the Warp Stone). It’s directly across from the opening between the houses you used to get the tear.
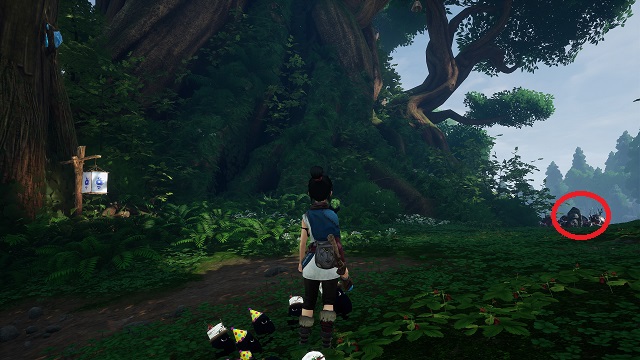
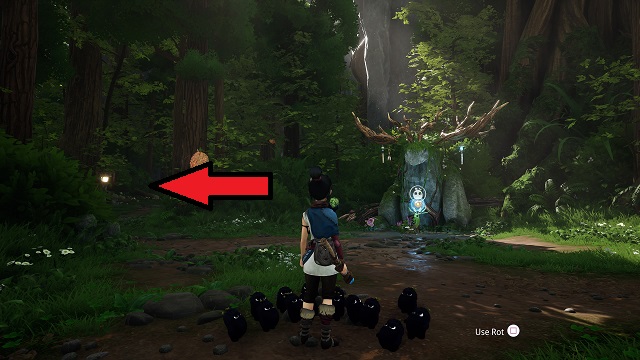
Taro’s Tree (2)
Flower Shrine #1
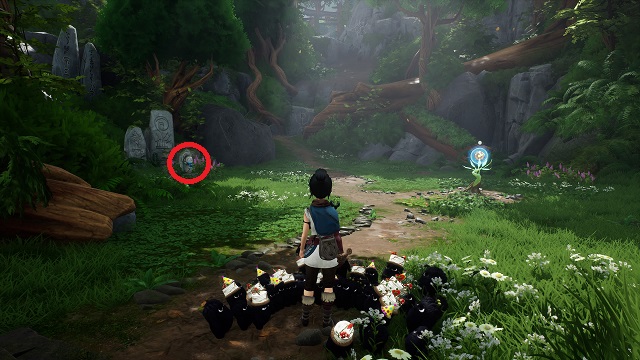
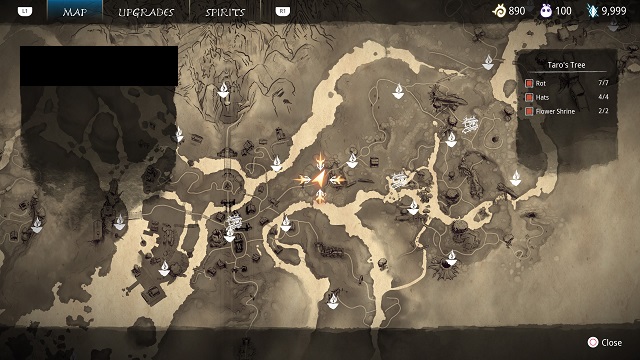
When you learn how to use forest tears, smash the barrier around the statue opposite the waterfall.
Flower Shrine #2
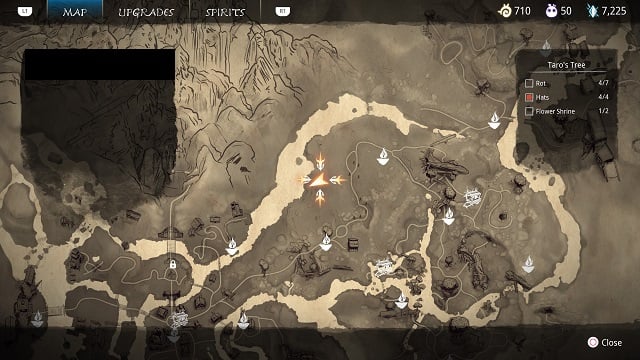
After getting the bow, return to the Taro’s Tree Warp Point. With it to your back, go left up the path, back toward the village. When it forks, go right and toward the white and blue paper lantern on the right at the base of a tree.
The Shrine is to your right on the edge of the cliff. To cleanse it, shoot the blue node above the lantern and follow the trail. You’ll eventually get to a tear. Bring it back to the shrine to cleanse it.
Rusu Mountain (3)
Flower Shrine #1
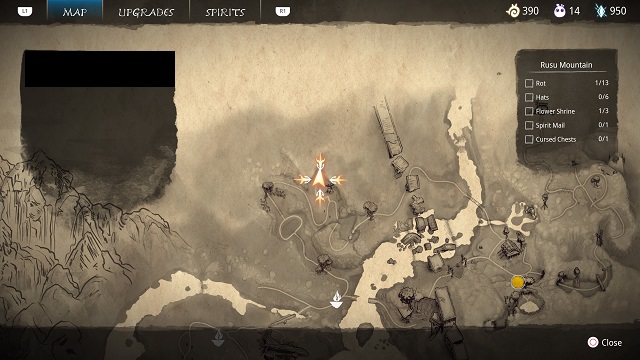
After seeing Taro’s first memory on Rusu Mountain, use the tear to remove the barriers to the left of it. This collectible is at the end of the path.
Flower Srhine #2

Facing the large tree with four targets in Rusu’s archery training, go to the far right of the area. You’ll see corruption up on a small cliff next to one of Rusu’s training exercises (the one where he has you go around the entire area shooting targets descending from trees).
Facing Rusu, there will be a path behind you. Follow it up, and activate the tear using the bow.
Flower Shrine #3
You’ll find a grove directly behind Rusu’s house with a statue and water wheel. There will be a cliff between the statue and water wheel, overlooking an altar covered in corruption.
Shoot the center of the statue with your bow to activate the forest tear, then destroy the corruption to the left of the statue. Go through the opening with the Rot, destroy another barrier, then the corruption around the Shrine.
Forgotten Forest (3)
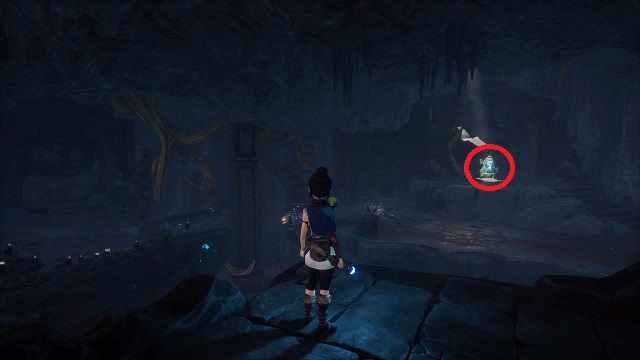
Flower Shrine #1
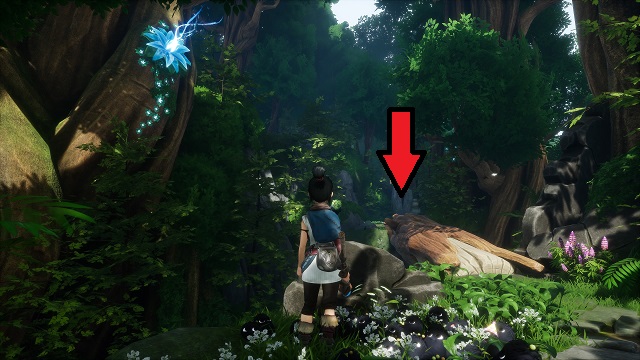
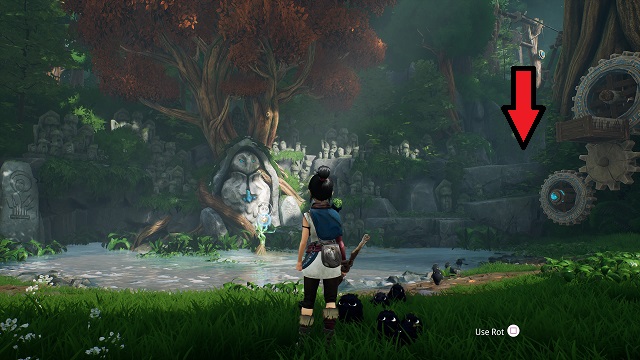
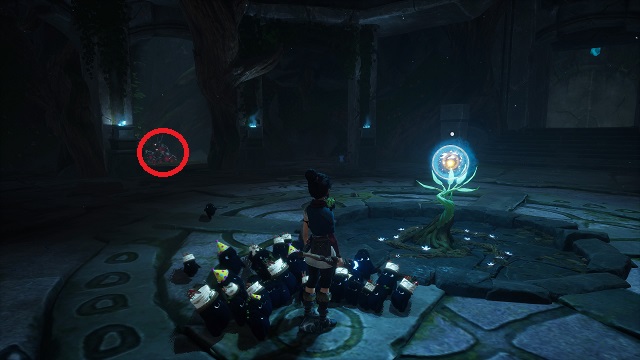
Complete the Water Shrine. With your back to it, use the tear to destroy the corruption in the back left portion of the ruins in front of you. Use the stone block to climb the ledge to the left of the Warp Stone.
Climb up, turn right, and remove the wood blocking your way. Use the tear at the Water Shrine again, and lead the Rot up to you. Cross the downed tree and destroy the corruption on the other side.
Flower Shrine #2
Climb to the top of the God Tree. There will be a tether point up and to the right of the Shrine stone. Use it, and turn around. Jump over the gap. Use the Rot to dump the bucket over, then jump down to activate the Tear. Take the elevator down. Destroy the corruption at the bottom.
Flower Shrine #3

Complete all of the Shrines, and open the gate for Taro’s Regret. Go up the left slide, climbing up the cliff. Follow the critical path around to a tear, and use it to clear the area of corruption. At the end, use the second tear to unblock the cave, and go inside.
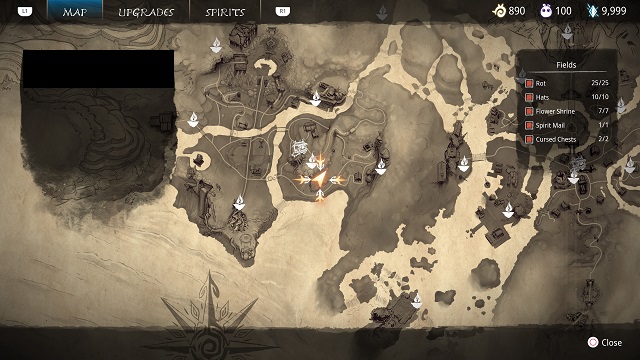
Fields (7)
Flower Shrine #1
When clearing the corruption from the Ancient Well, after going down the spiral staircase, you’ll use a tear to clear a node. There will be a broken bridge you can use your bomb on, with a Shrine to the right.
Flower Shrine #2
Just north of the Ancient Well, east of where you come up from the elevator after cleansing it, there will be the Watchtower. This one is tucked against a small cliff between the Well and the Watchtower.
Flower Shrine #3
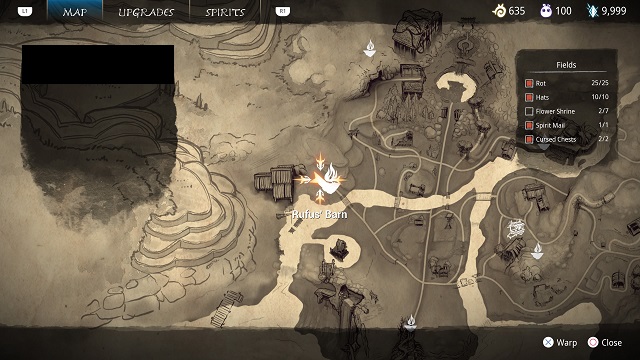
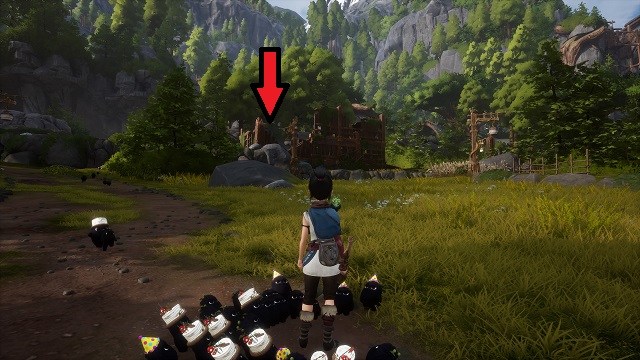
After defeating the Vine Knight, exit Rufus’ Barn. This altar is on the right, directly across from the Warp Stone.
Flower Shrine #4
From there, cross the wooden bridge, and turn left through the water. Go up the path to the two-story house ahead. This one will be behind it.
Flower Shrine #5
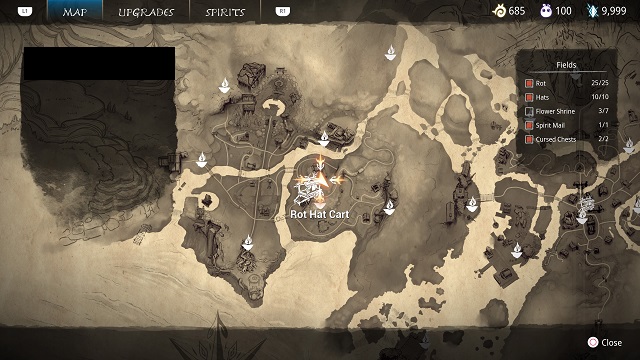
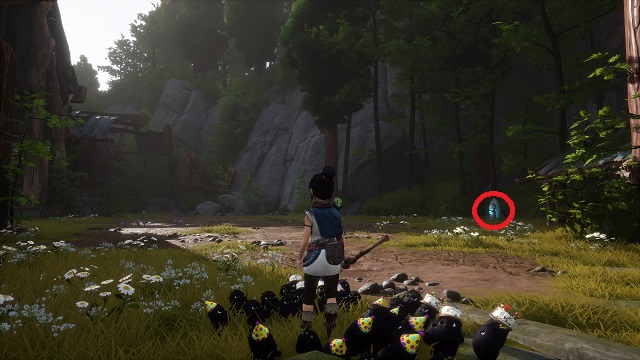
Now go east toward the Hat Cart. Barely north of it, you’ll see a Cursed Chest, a lodge, and a place for a forest tear. This one will be to the right of the tear.
Flower Shrine #6
After beating the stone guardian at the Forge, you can find this one on the right side of the area.
Flower Shrine #7
Now, go southeast of the Hat Cart, toward the beginning of the area and the Fields Warp Stone. Staying along the main road after crossing the broken stone bridge, you’ll see a destroyed building on the left. What you’re looking for is behind it along the cliff. The tear can be found behind the house ahead on the right.
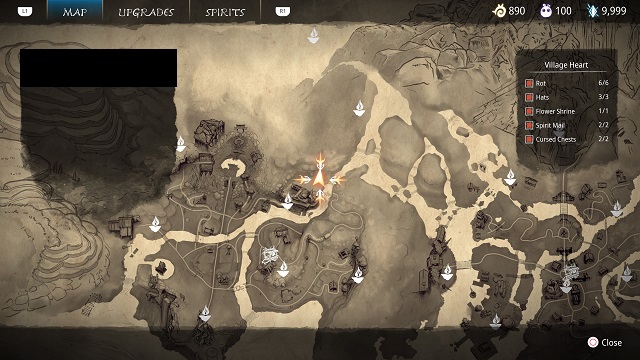
Village Heart (1)
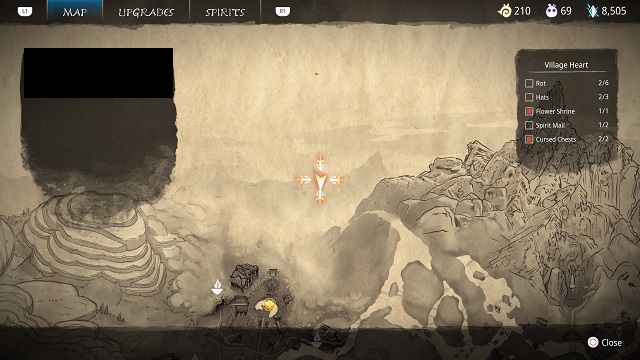
This one will be on the left side of the Rot Eater boss room.
Here are some more guides that you may find helpful in your journey:
- All Meditation Spots
- Where to Find All Spirit Mail
- Where to Find All Cursed Chests
- Where to Find All Hats
- Where to Find All Rot
- How to Fast Travel
Those are all of the Flower Shrines and their locations in Kena Bridge of Spirits. Now you’ve found every Flower Shrine and have more Gems to buy more Hats, as well as the Restoration Master (silver) trophy! If you found this guide helpful, consider heading over to our other tips articles on Ember Lab’s action-adventure game.


Published: Oct 1, 2021 06:53 pm