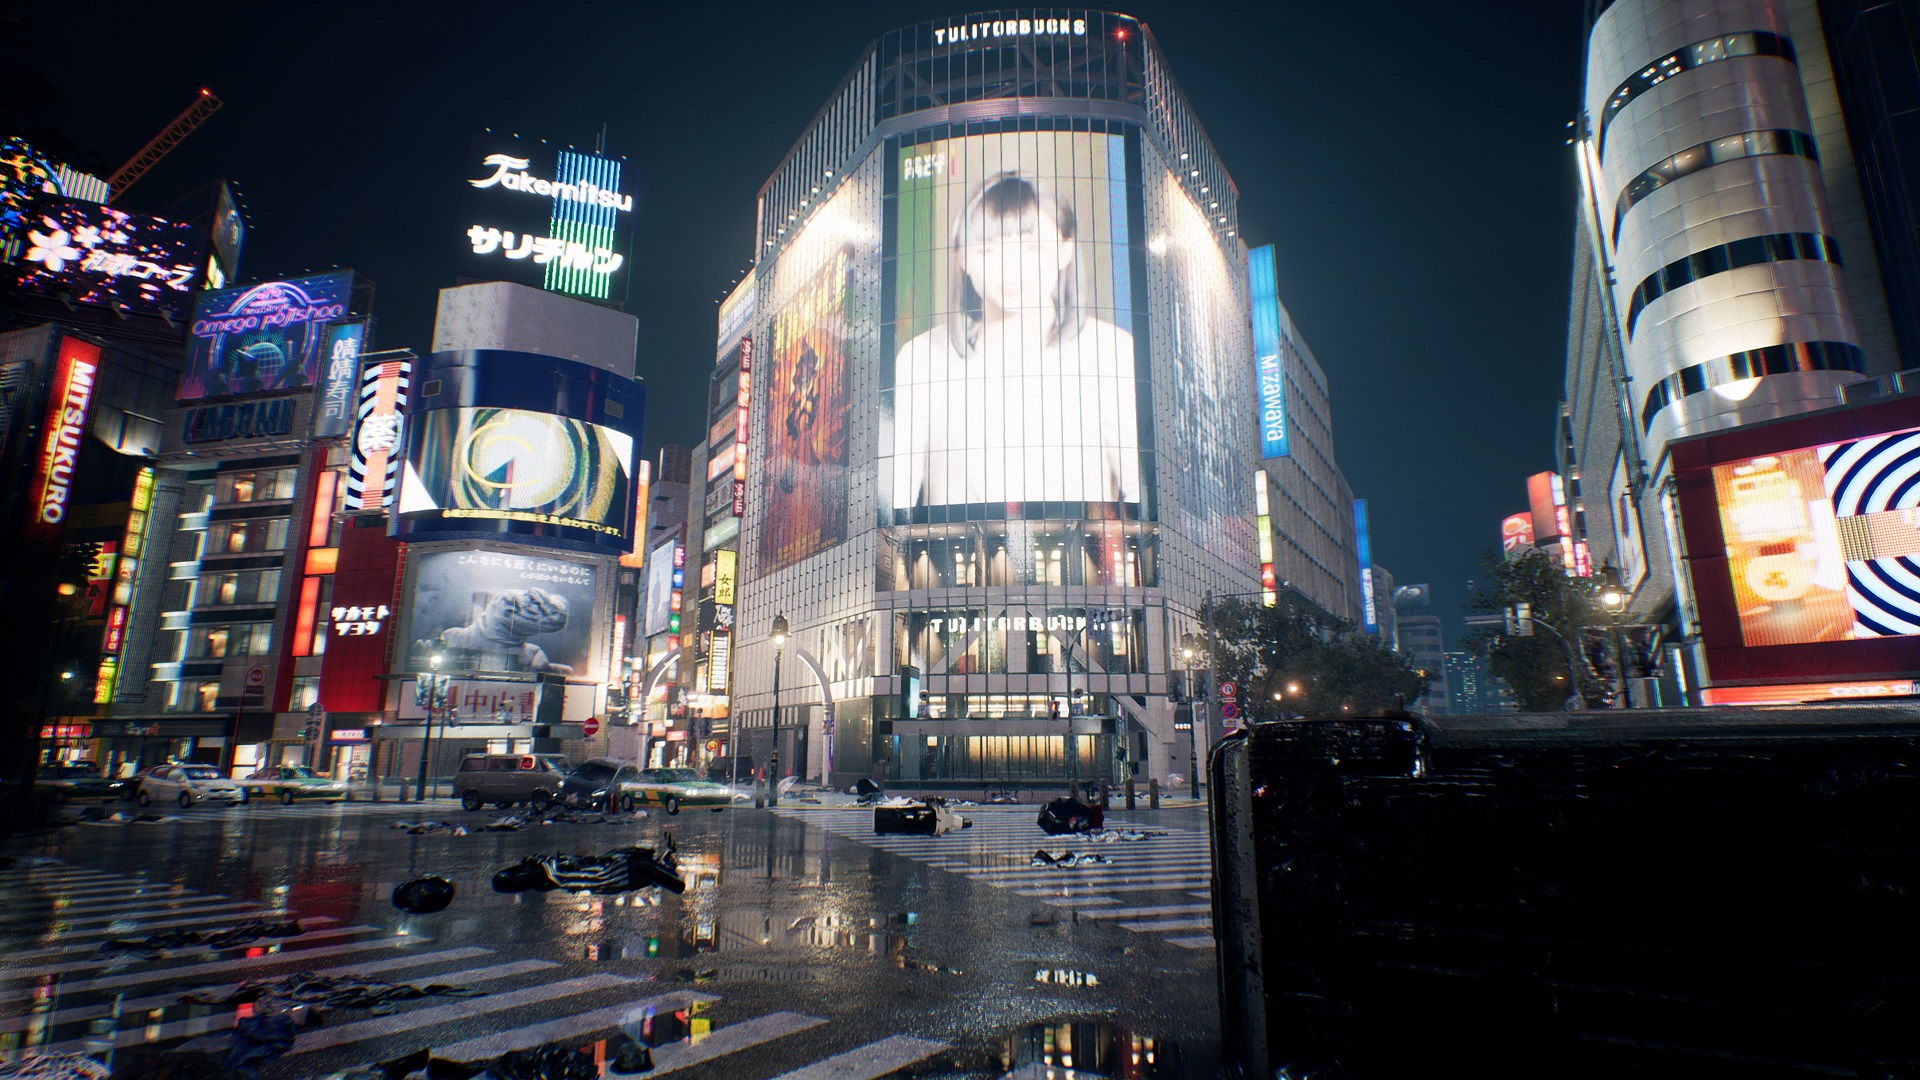
If you’re going after a completionist run in Ghostwire: Tokyo, you’ll have to find all of the Landmarks in the game. There are 31 Landmarks to discover, spread all across Shibuya. You’ll naturally come across some while playing through the story, but you’ll have to venture off the beaten path for others.
Considering that all of the Ghostwire: Tokyo map can’t be uncovered by simply progressing the story alone, you’ll want to search for the Landmark locations you haven’t discovered until after cleansing all of the Torii Gates in Shibuya. You can do this before starting Chapter 5 or after you’ve completed the game.
Whenever you choose to seek out Landmarks, you’ll get the Shibuya is My Back Yard trophy/achievement for your efforts. Outside of trophy or achievement hunting, though, there isn’t much reason to find all of the Landmark locations in Ghostwire: Tokyo sans seeing every beautiful bit of Shibuya you can.
How to Find All Landmarks & Their Locations in Ghostwire: Tokyo
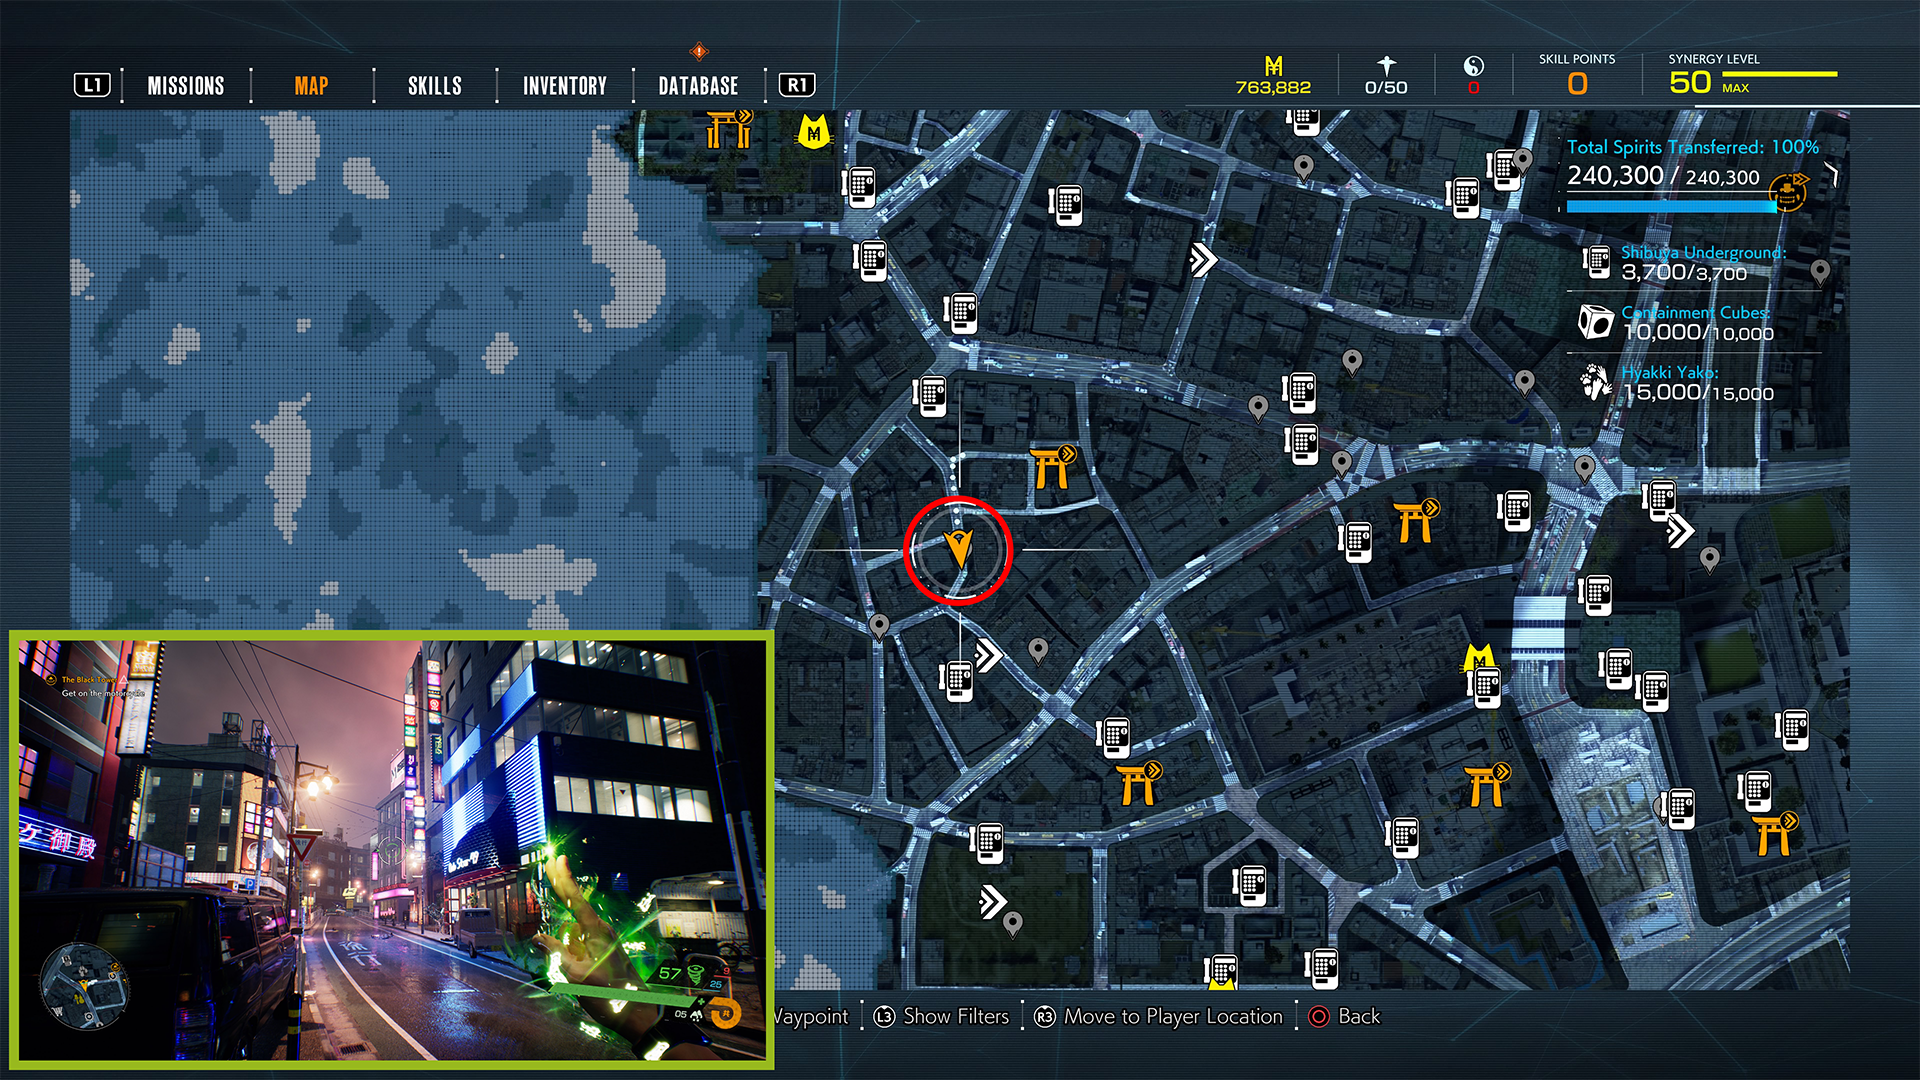
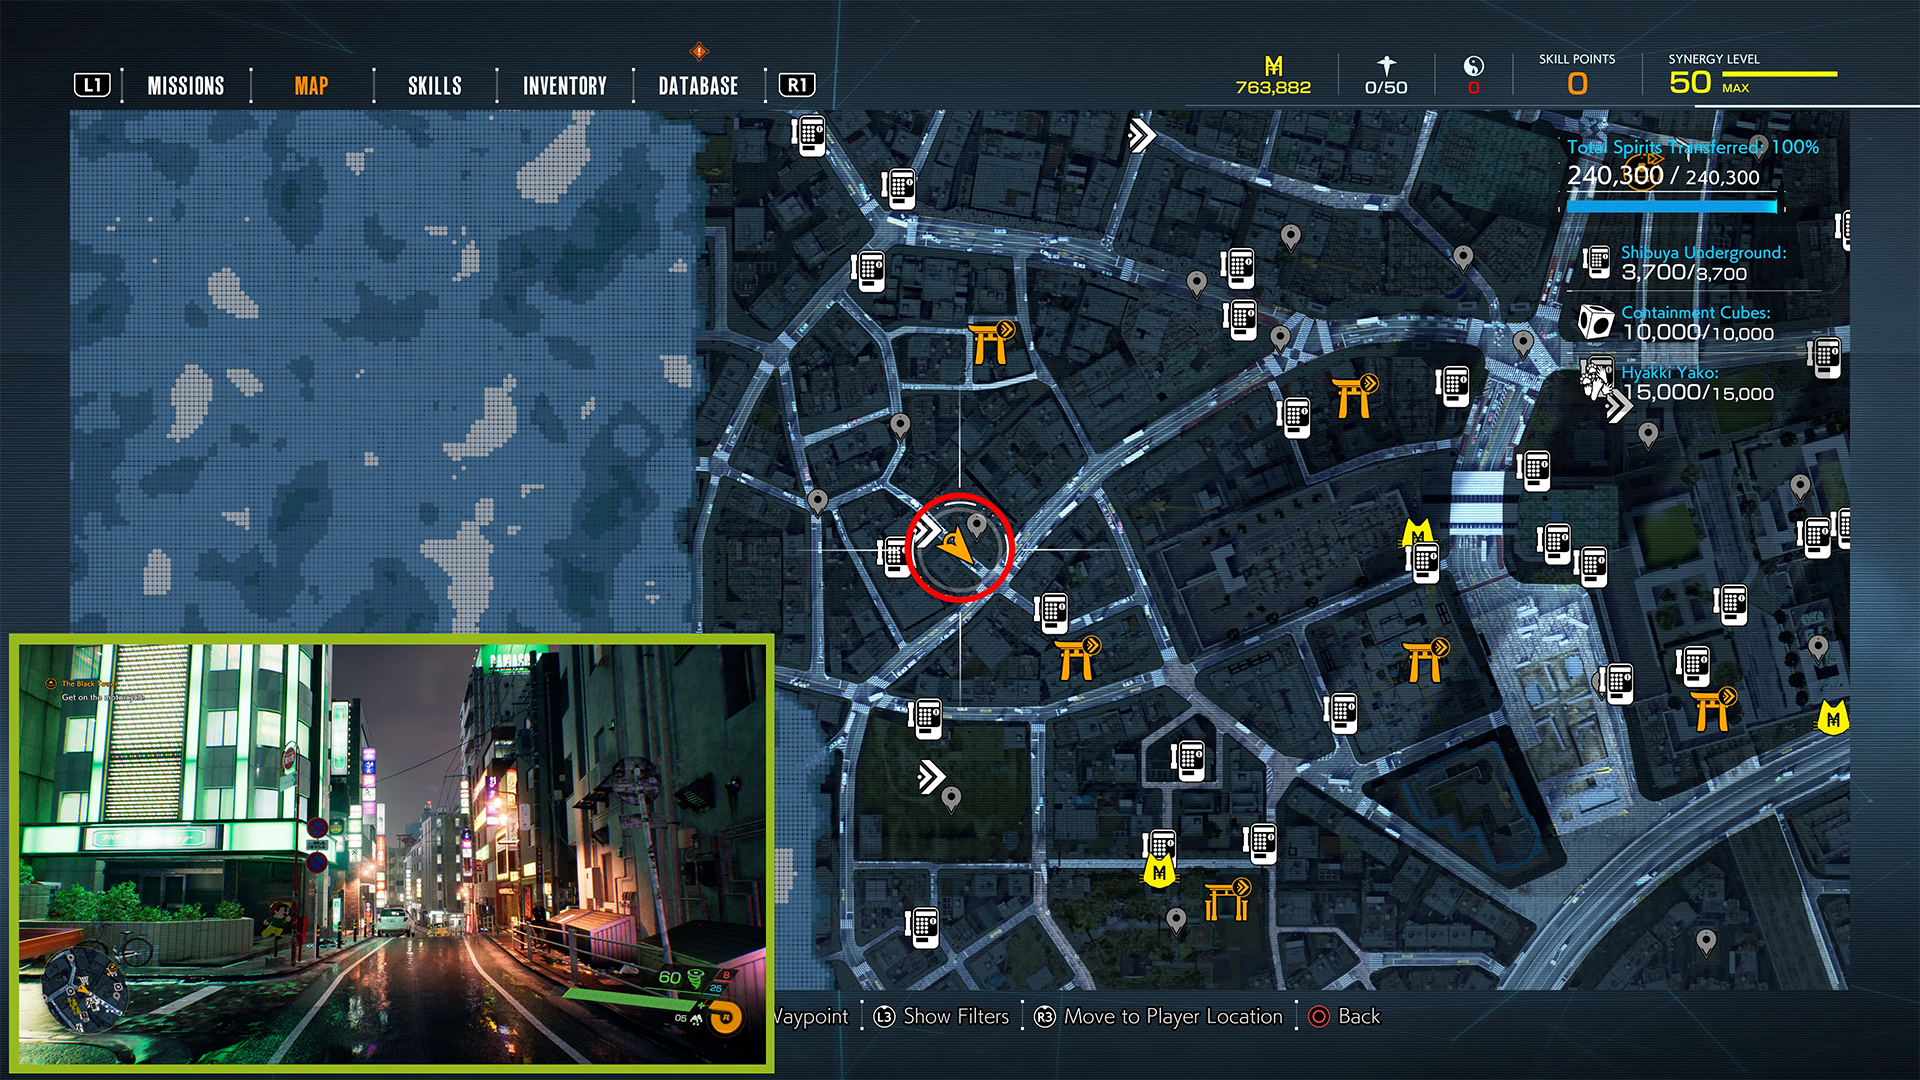
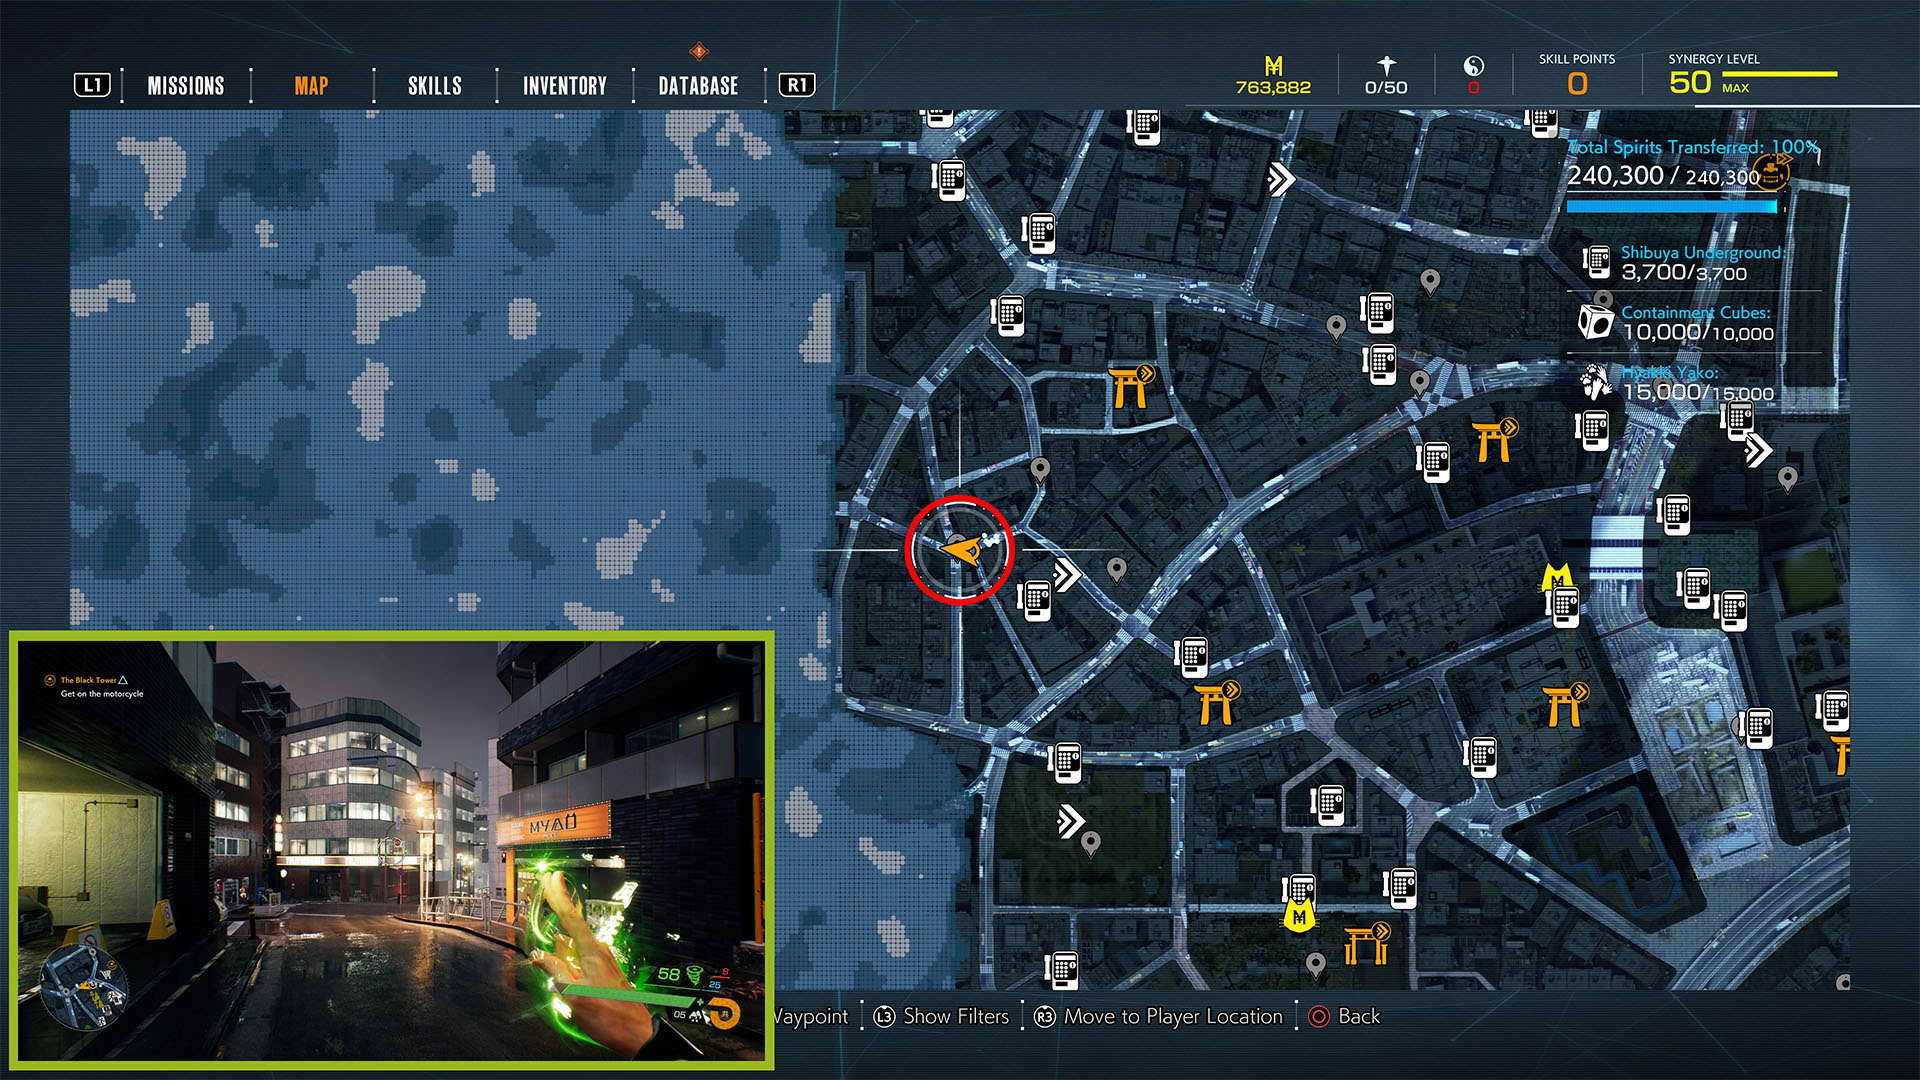
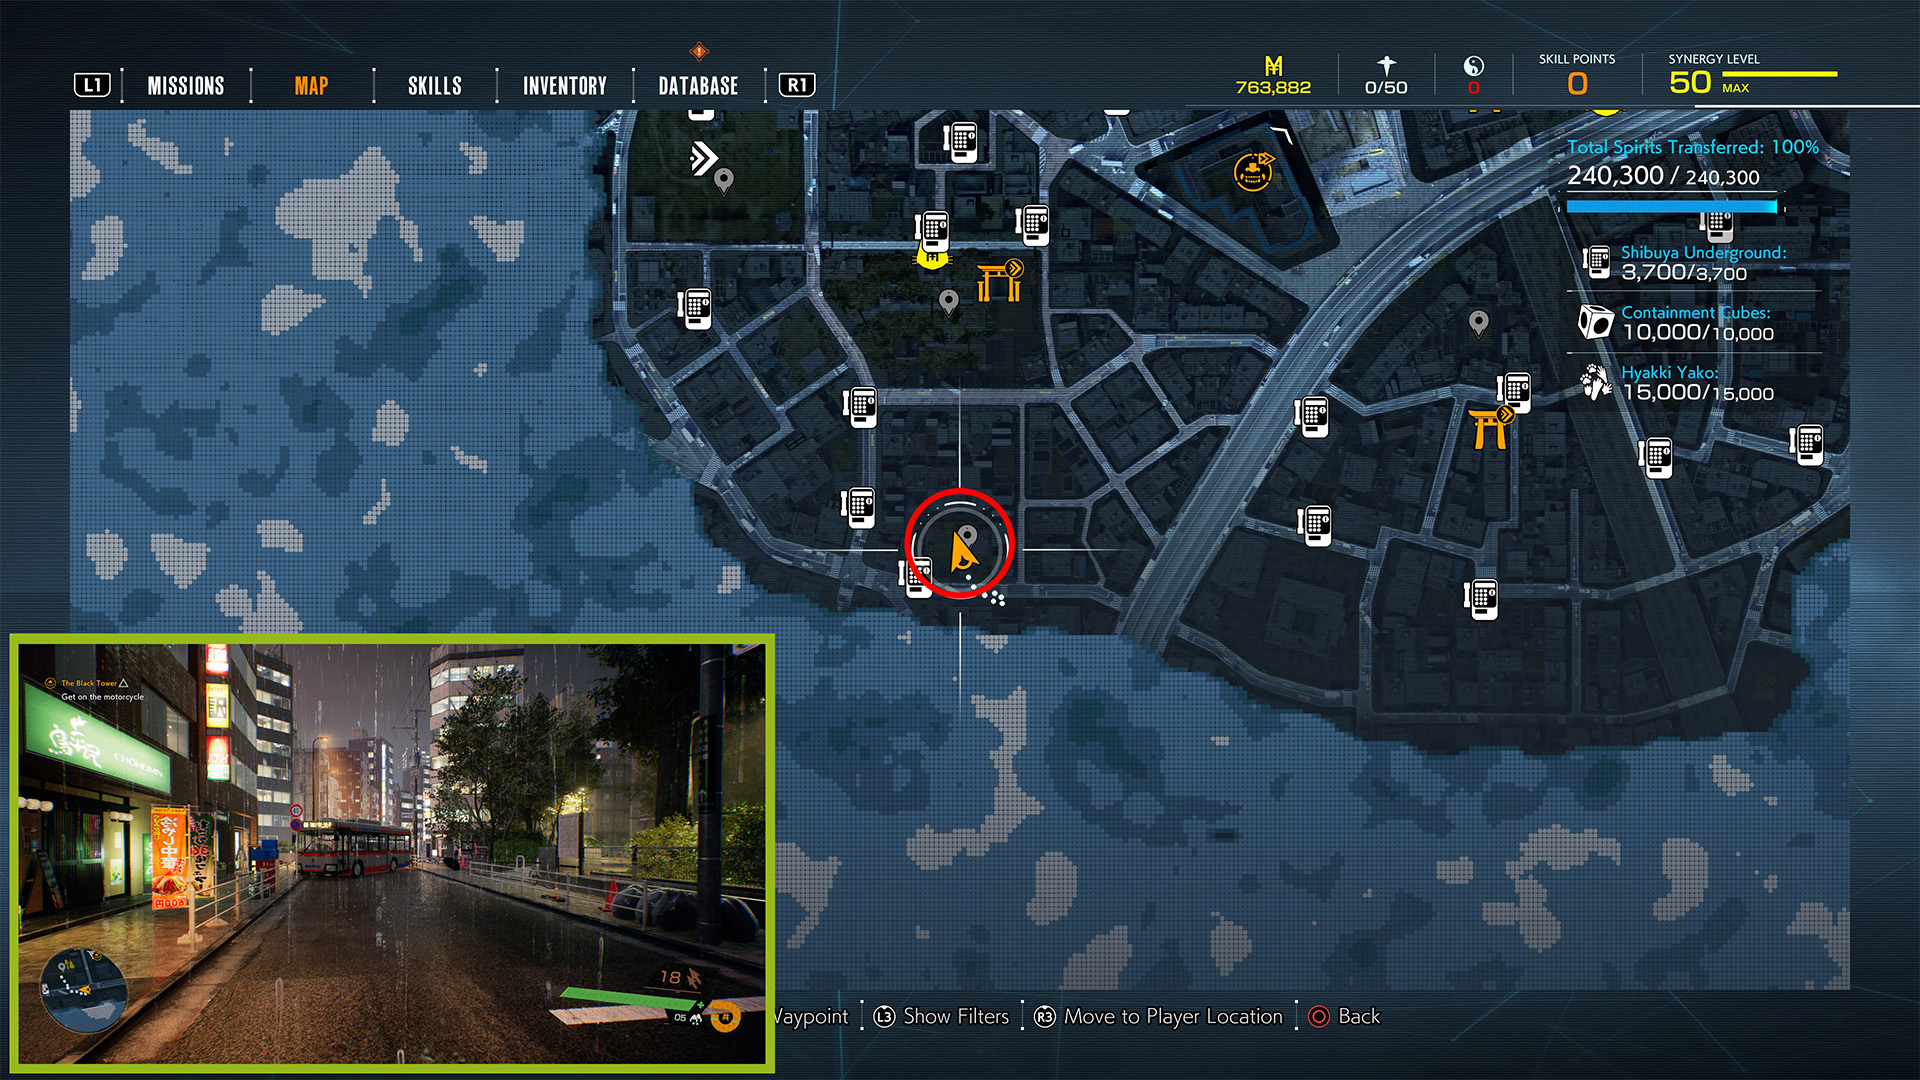
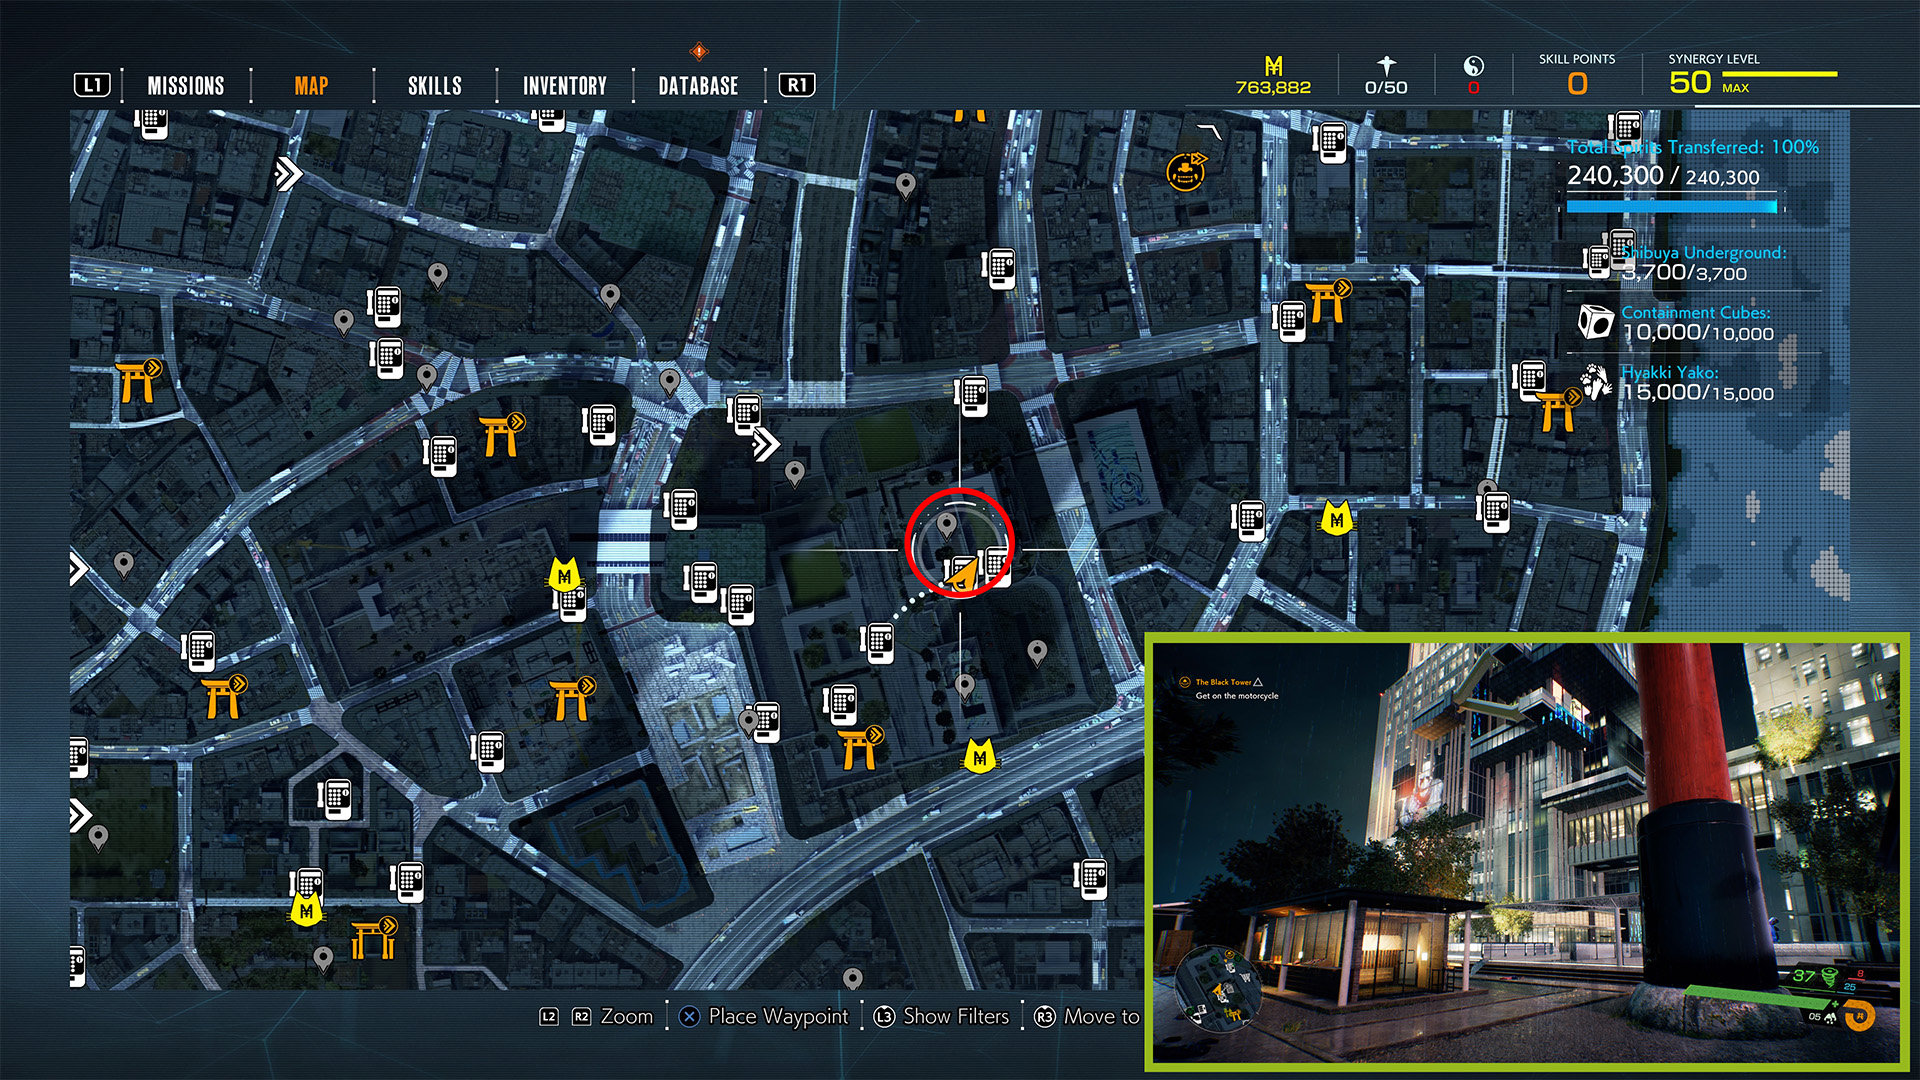
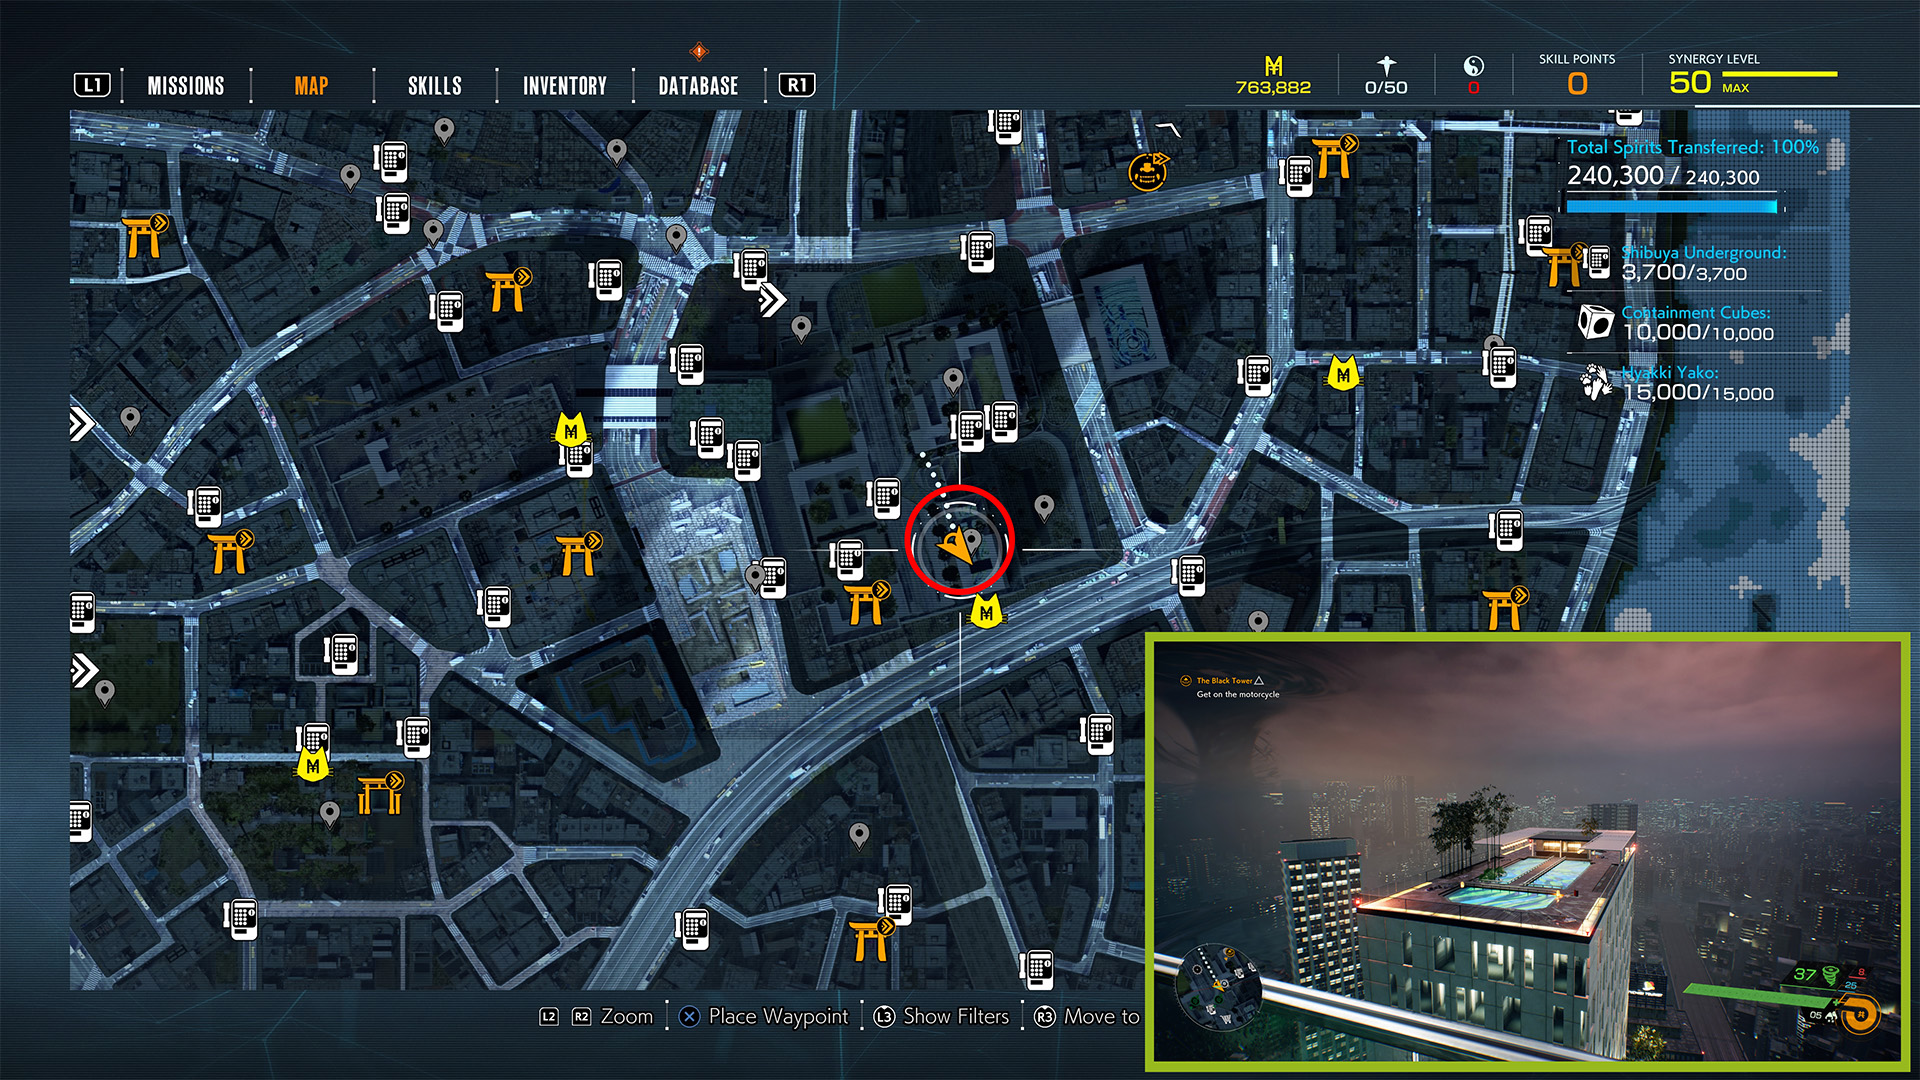
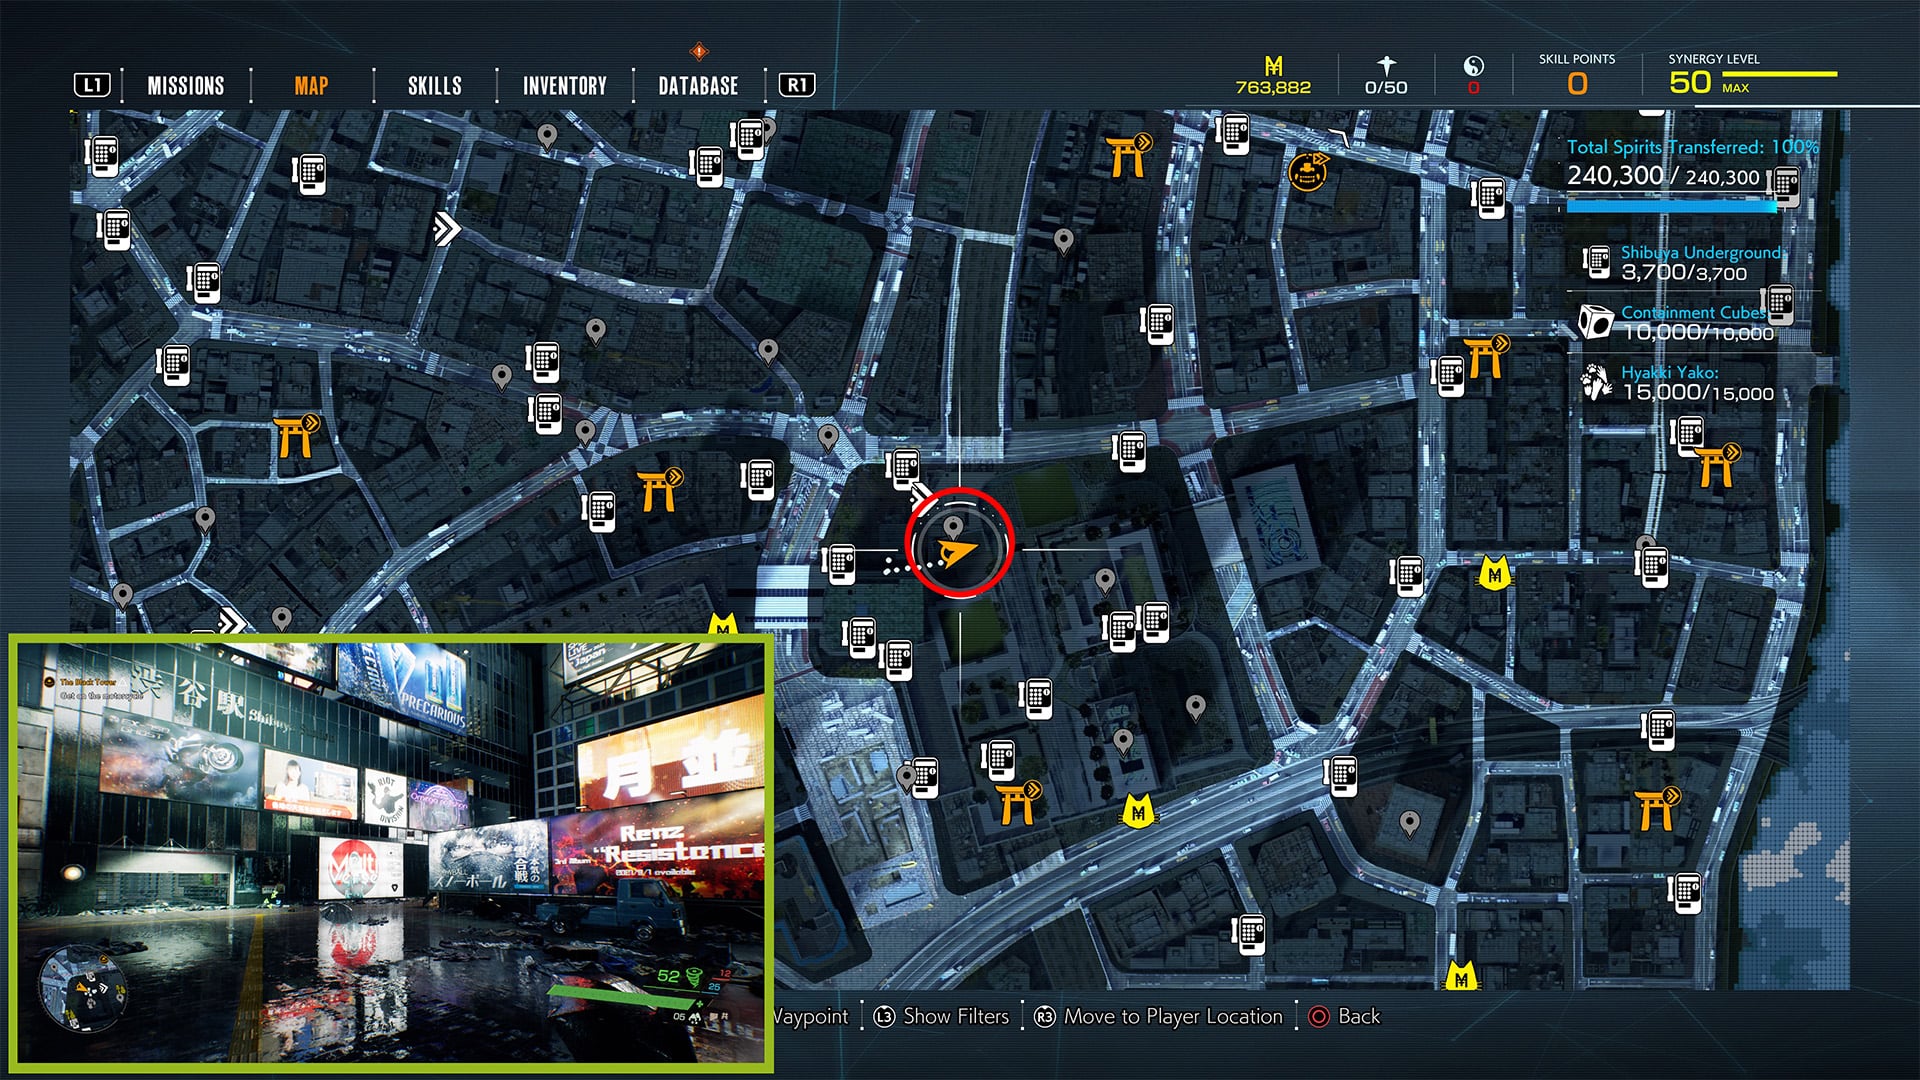
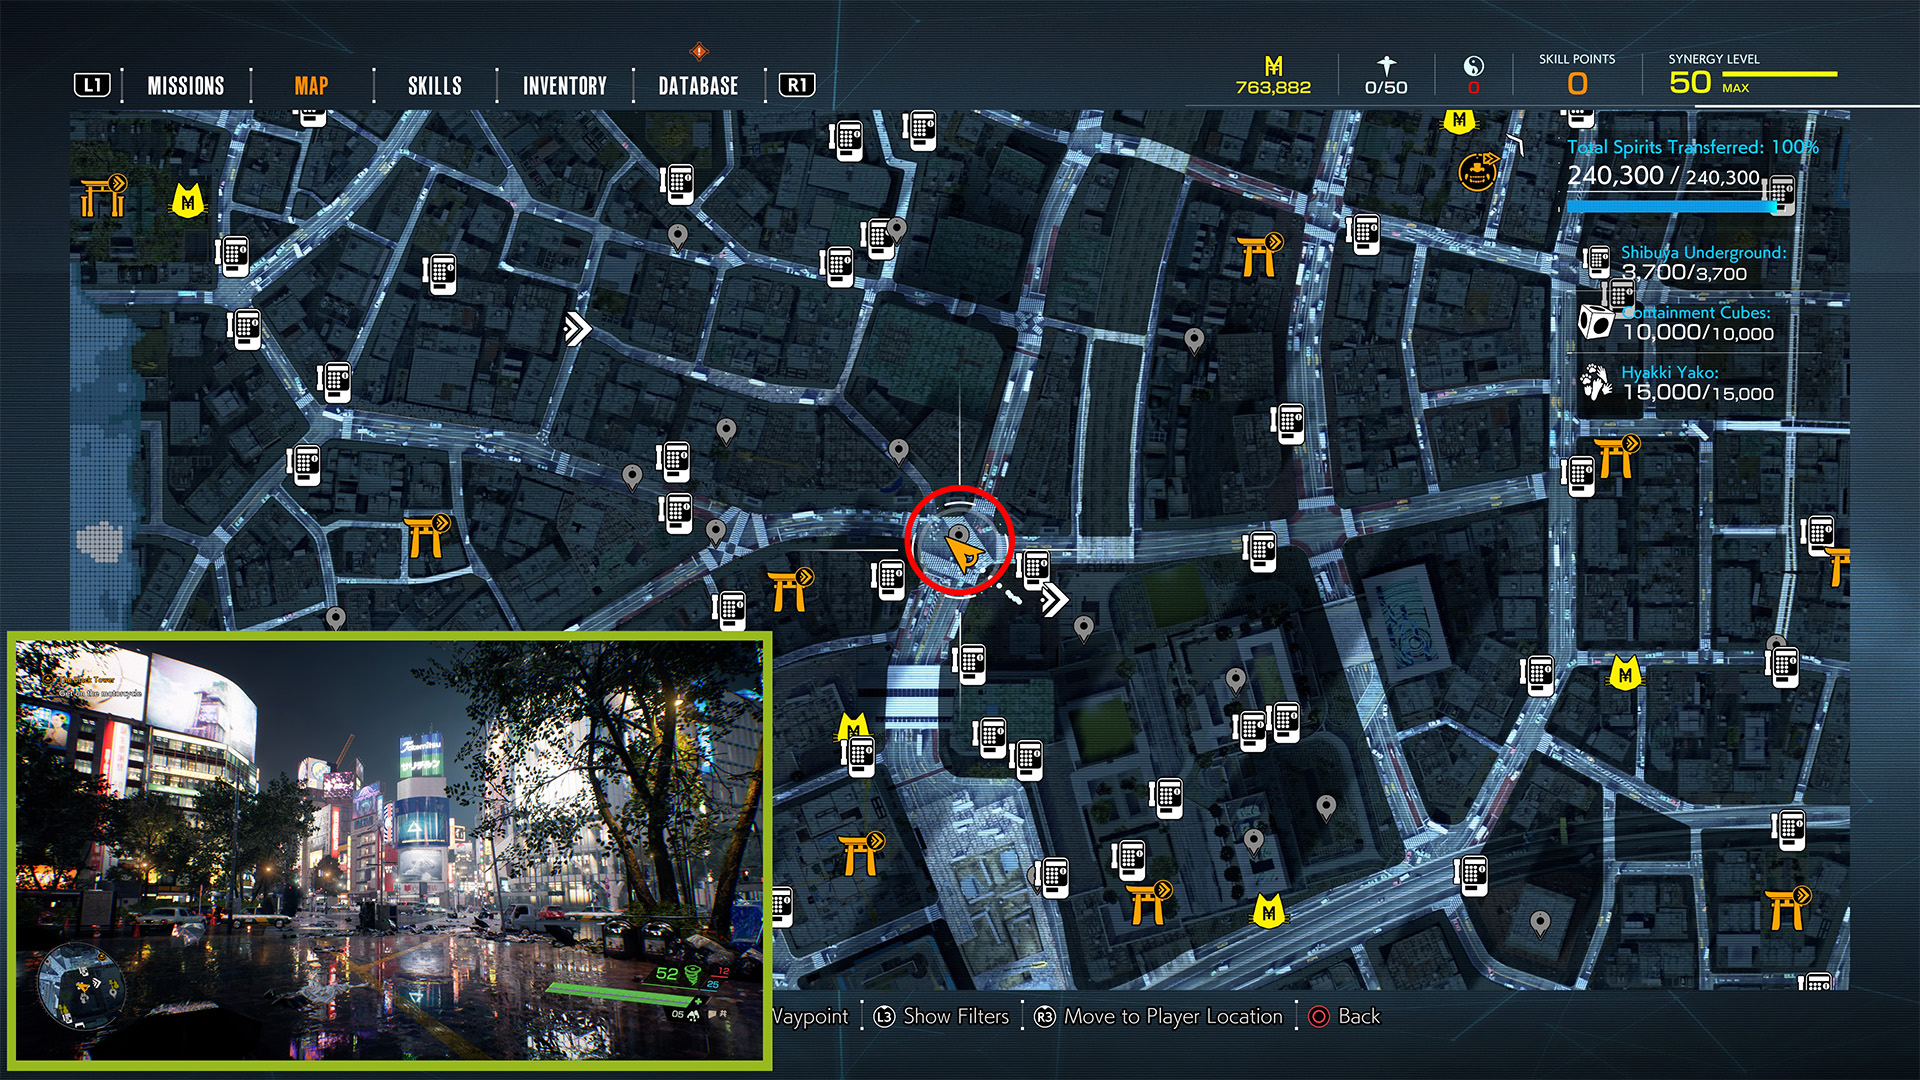
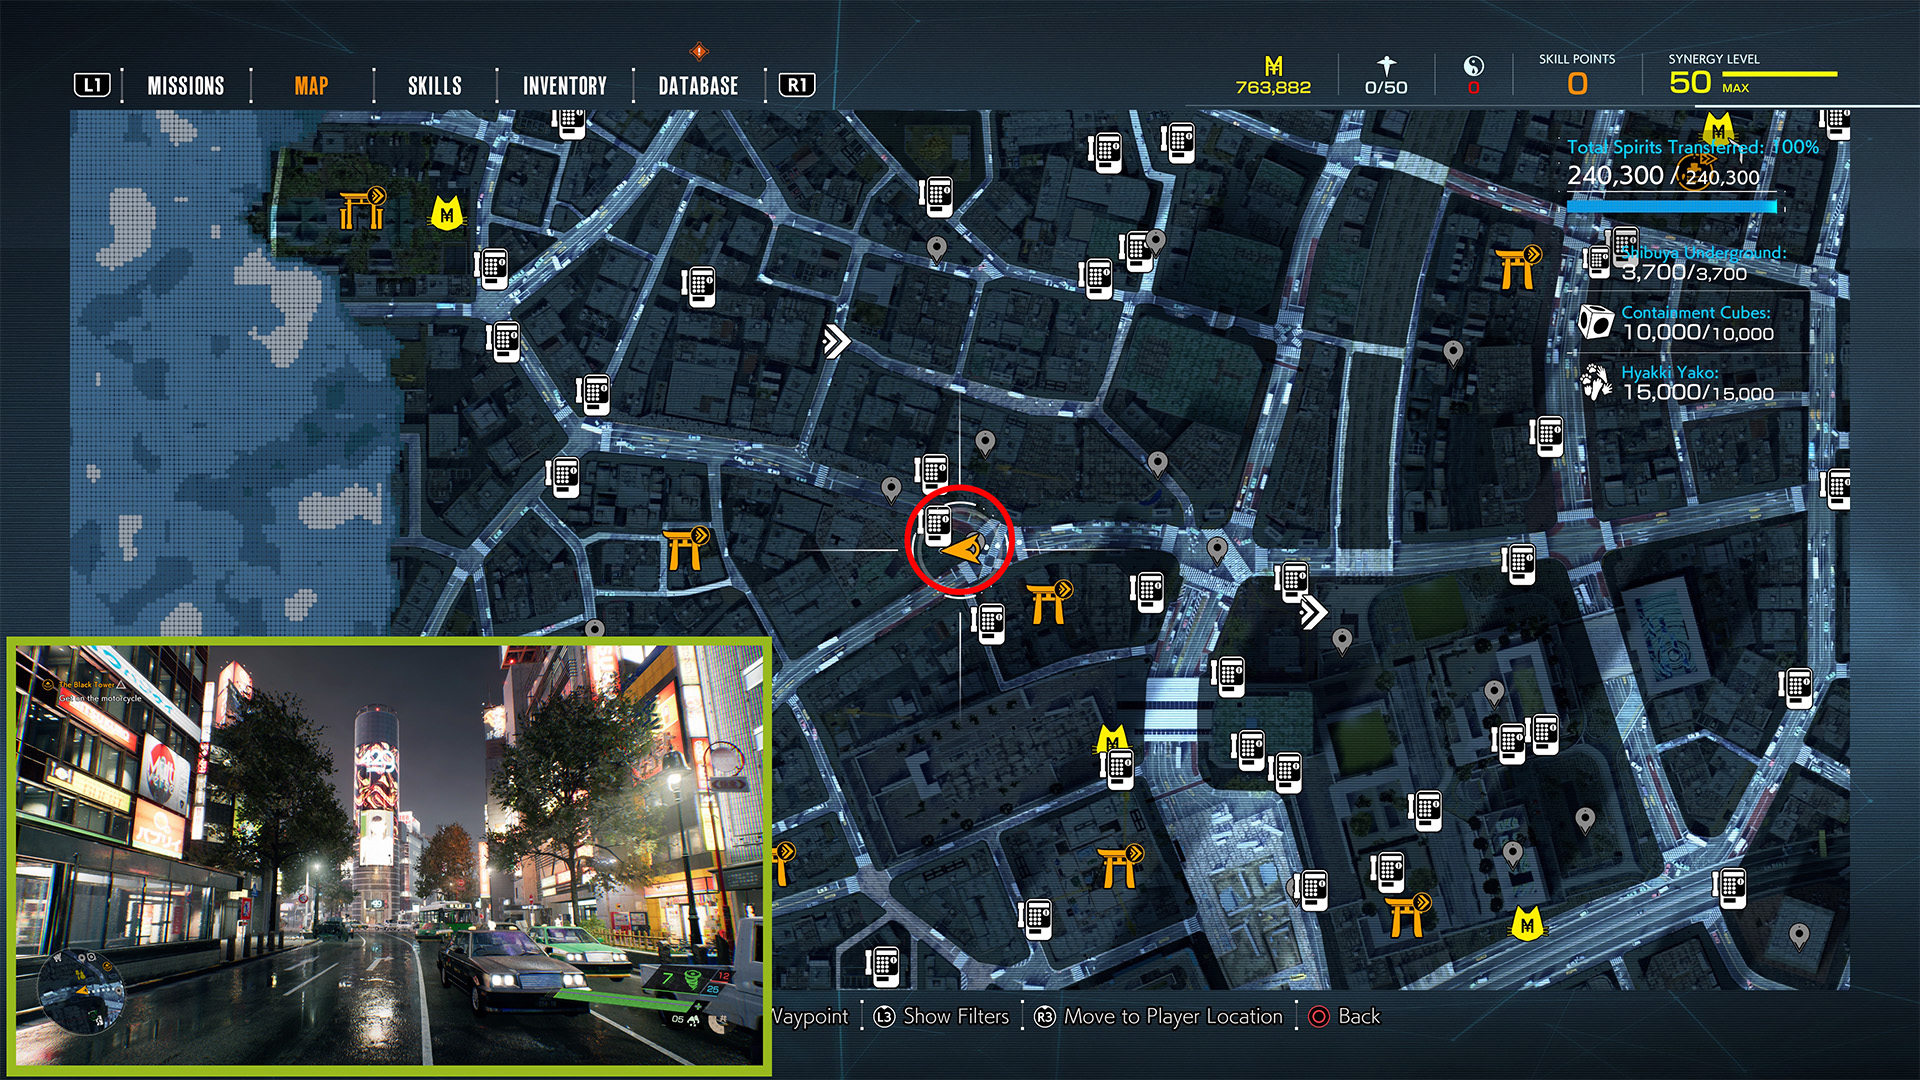
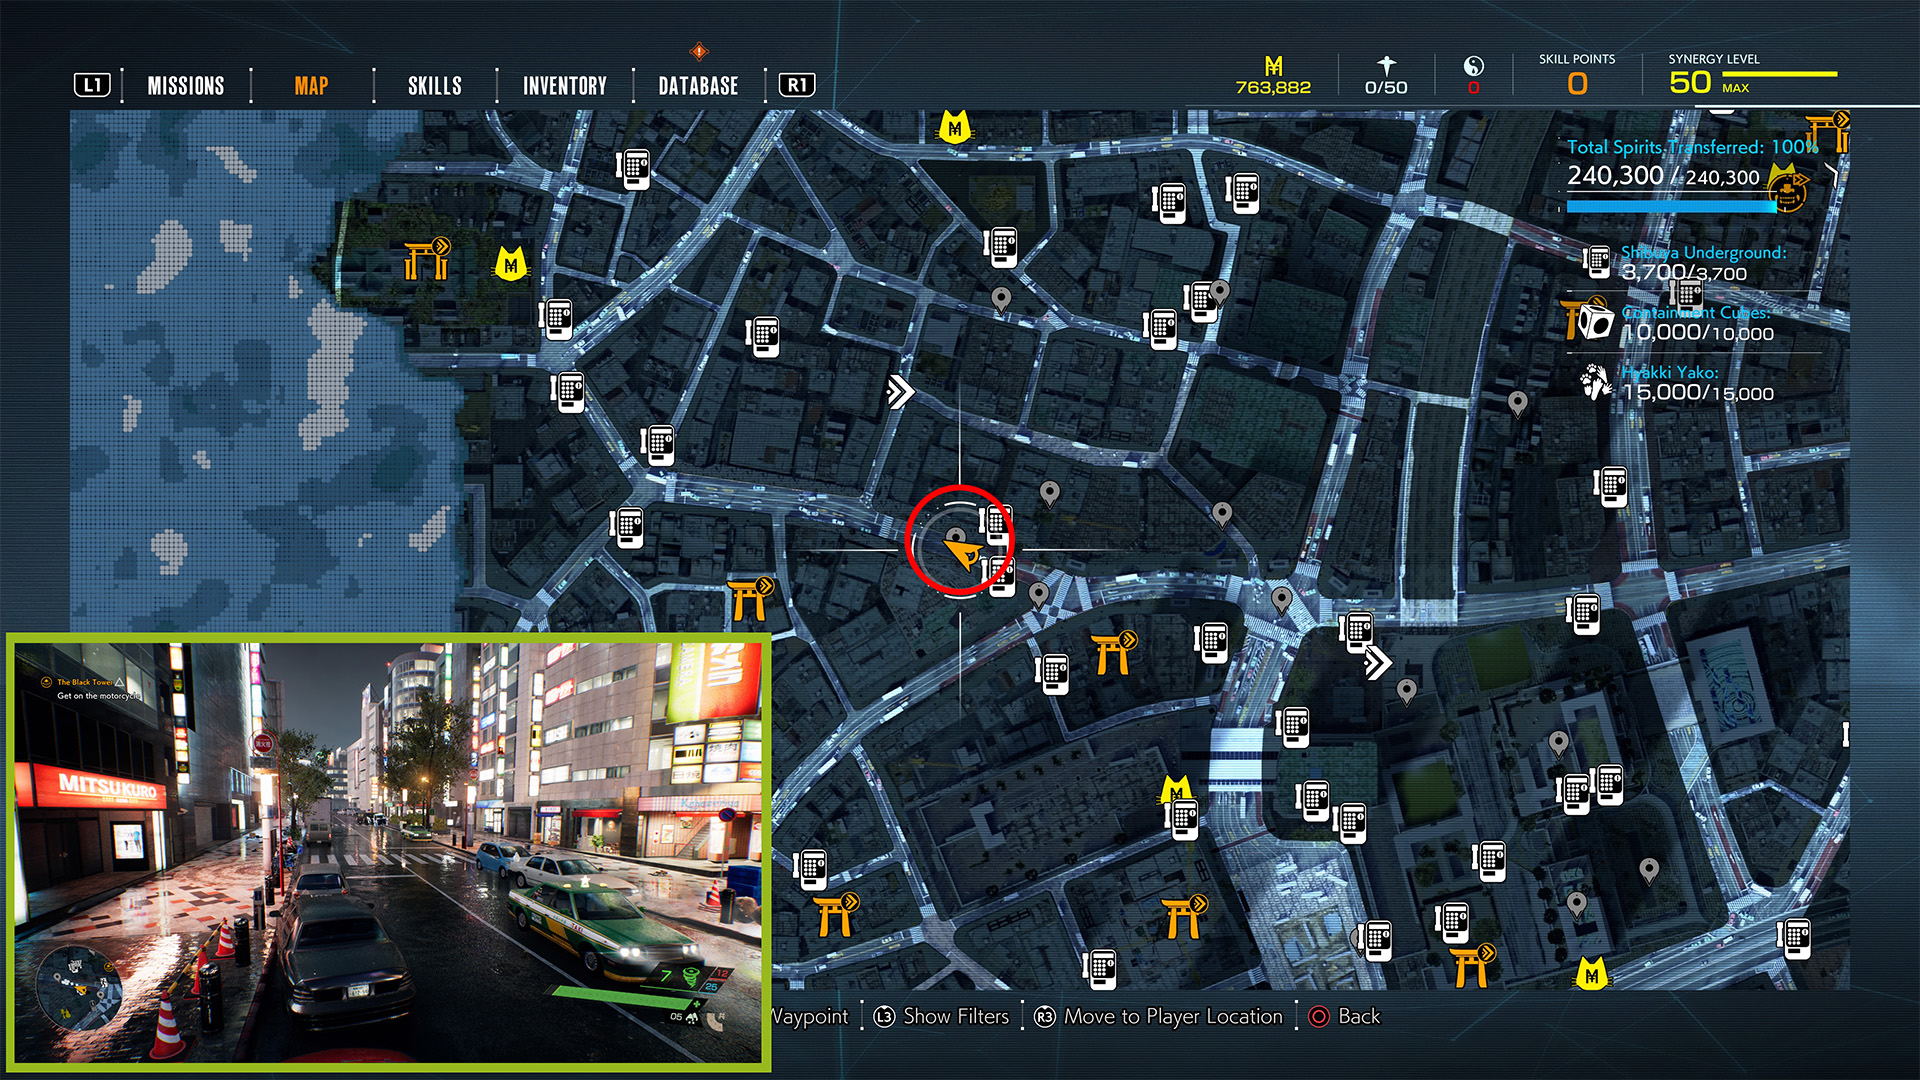
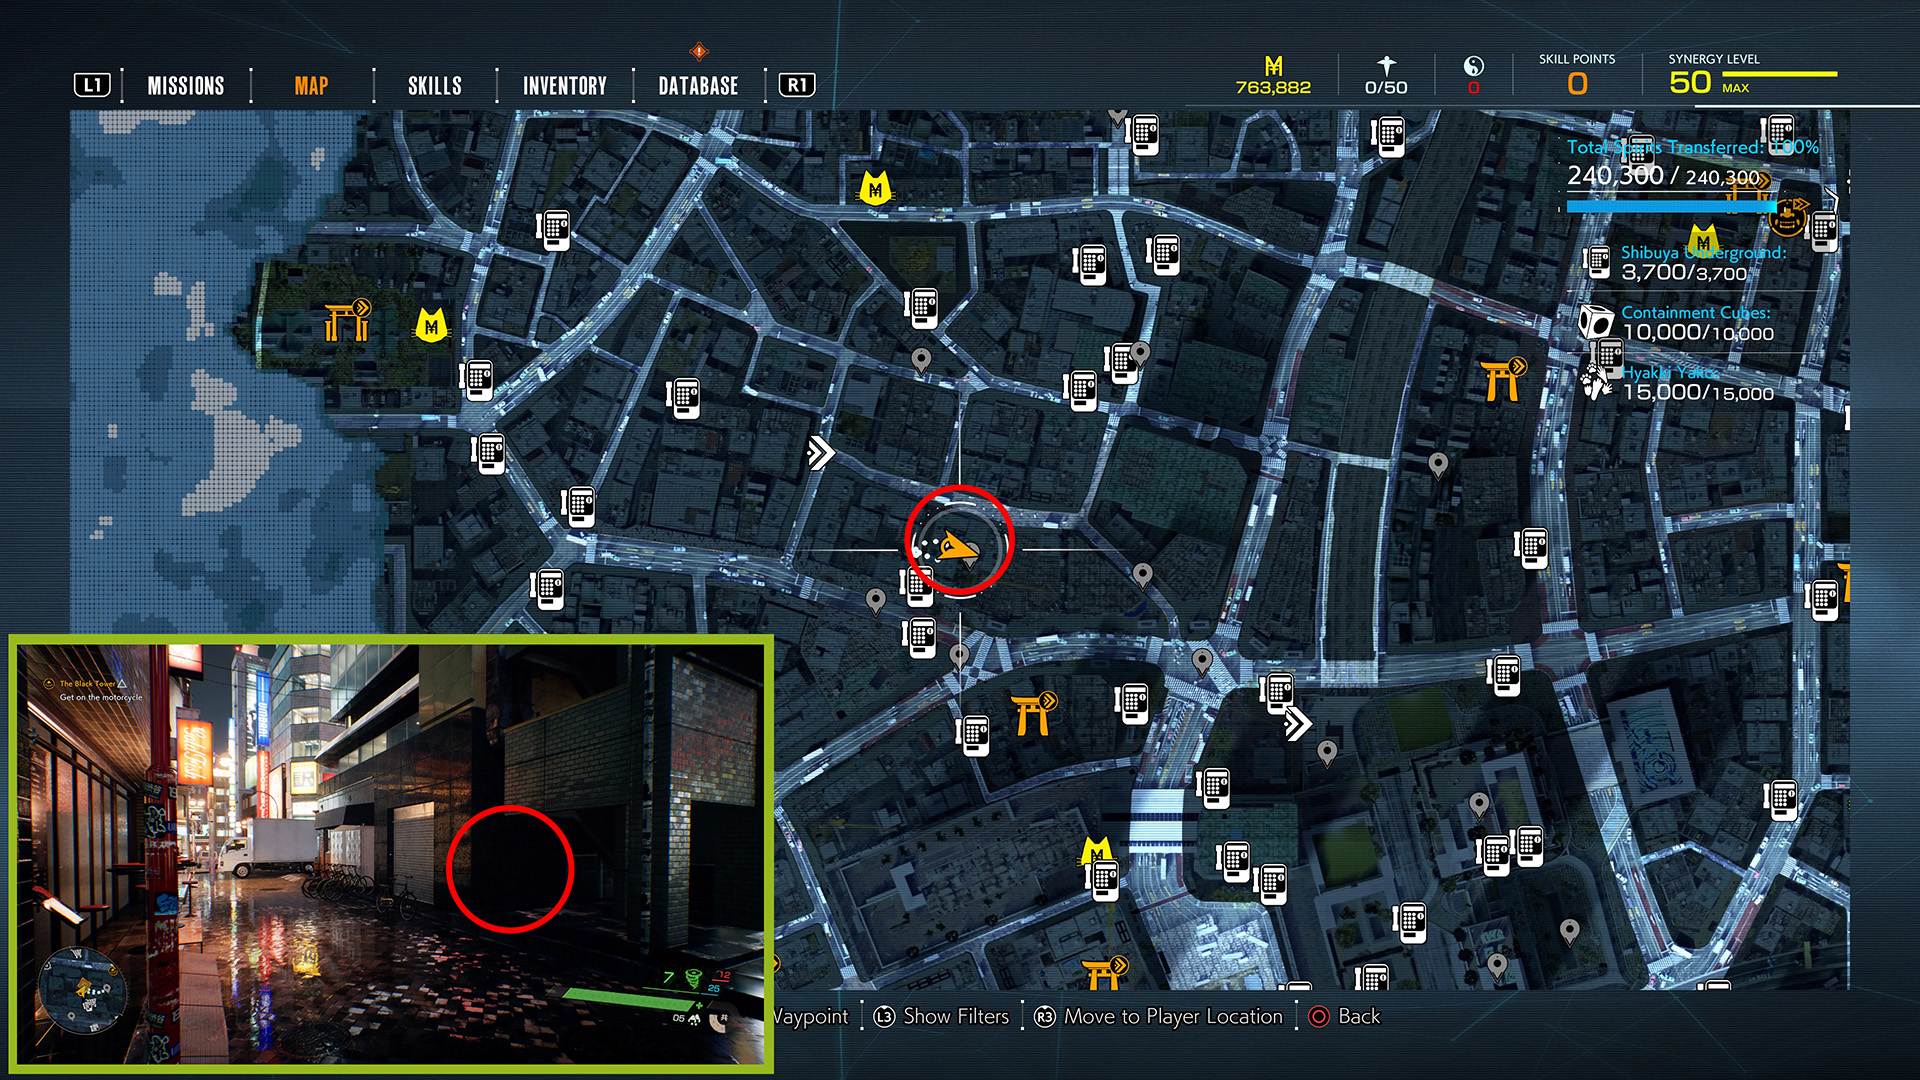
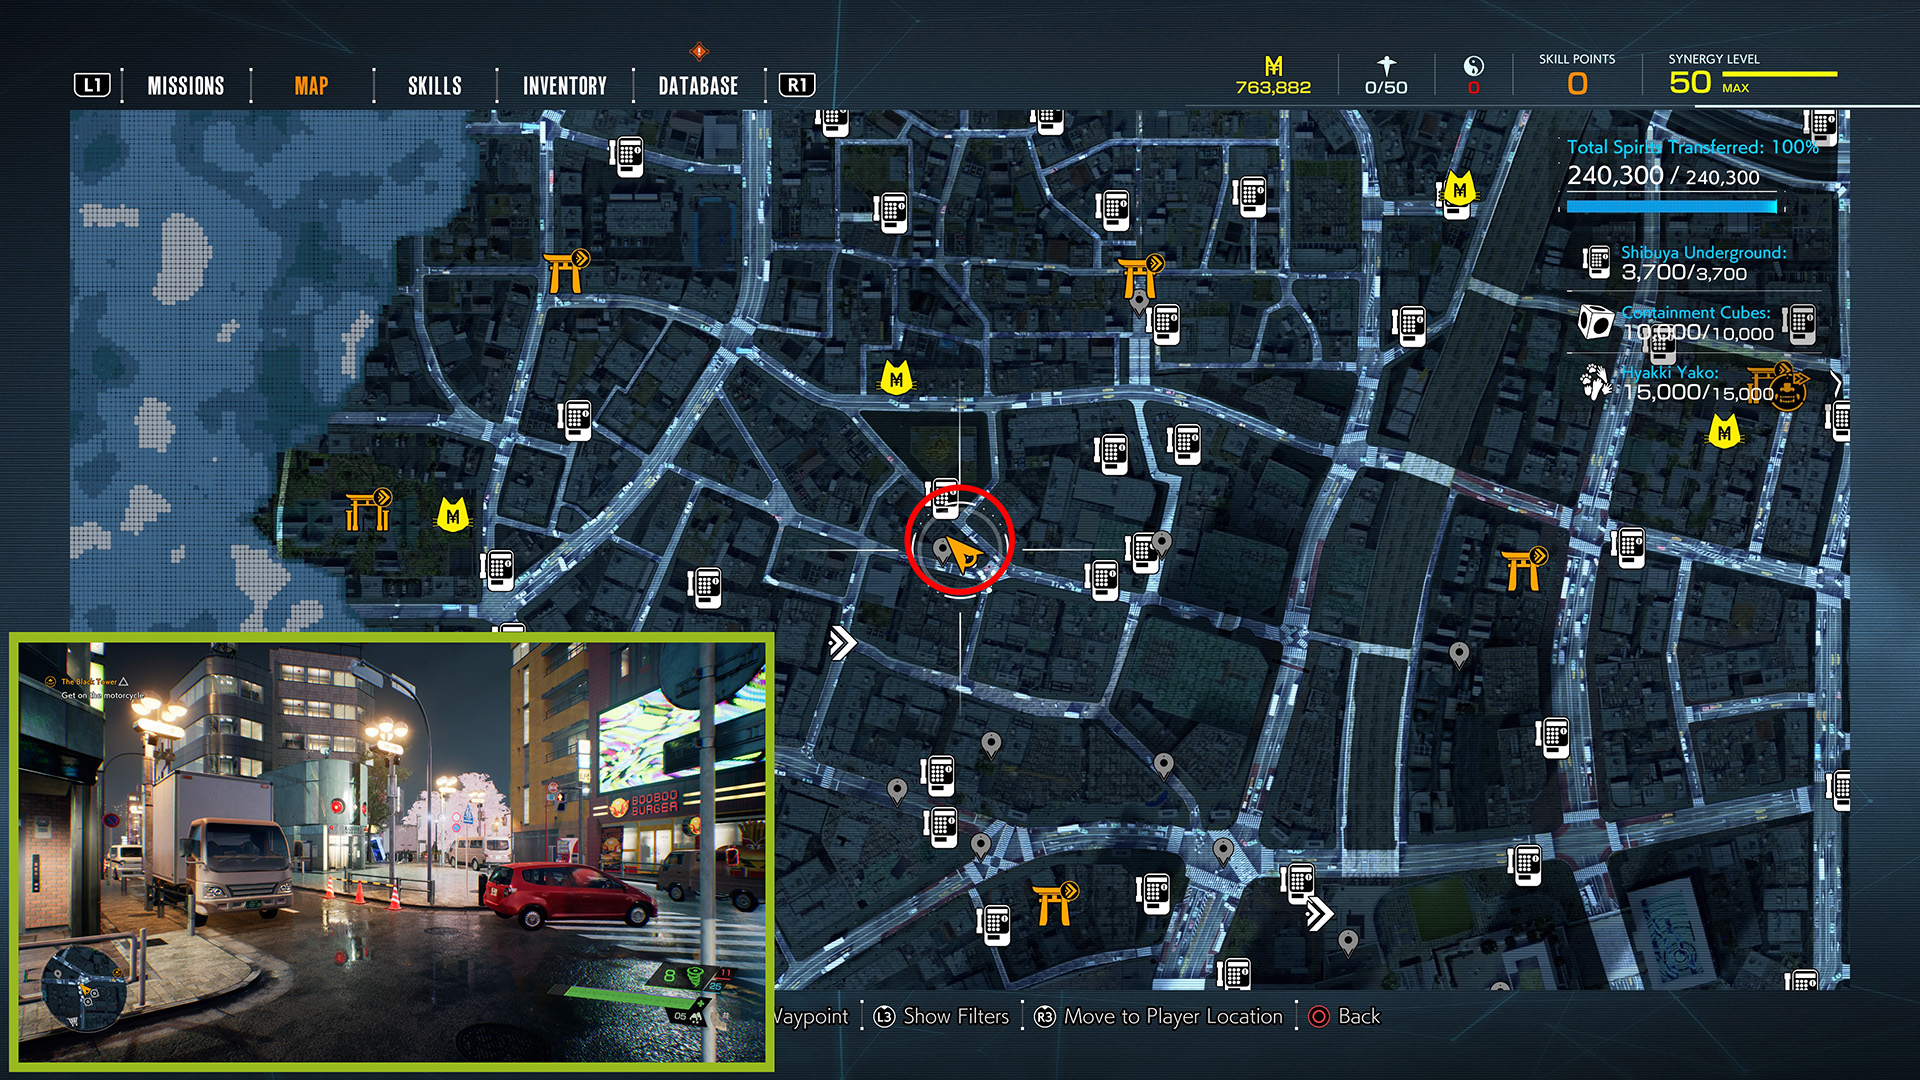
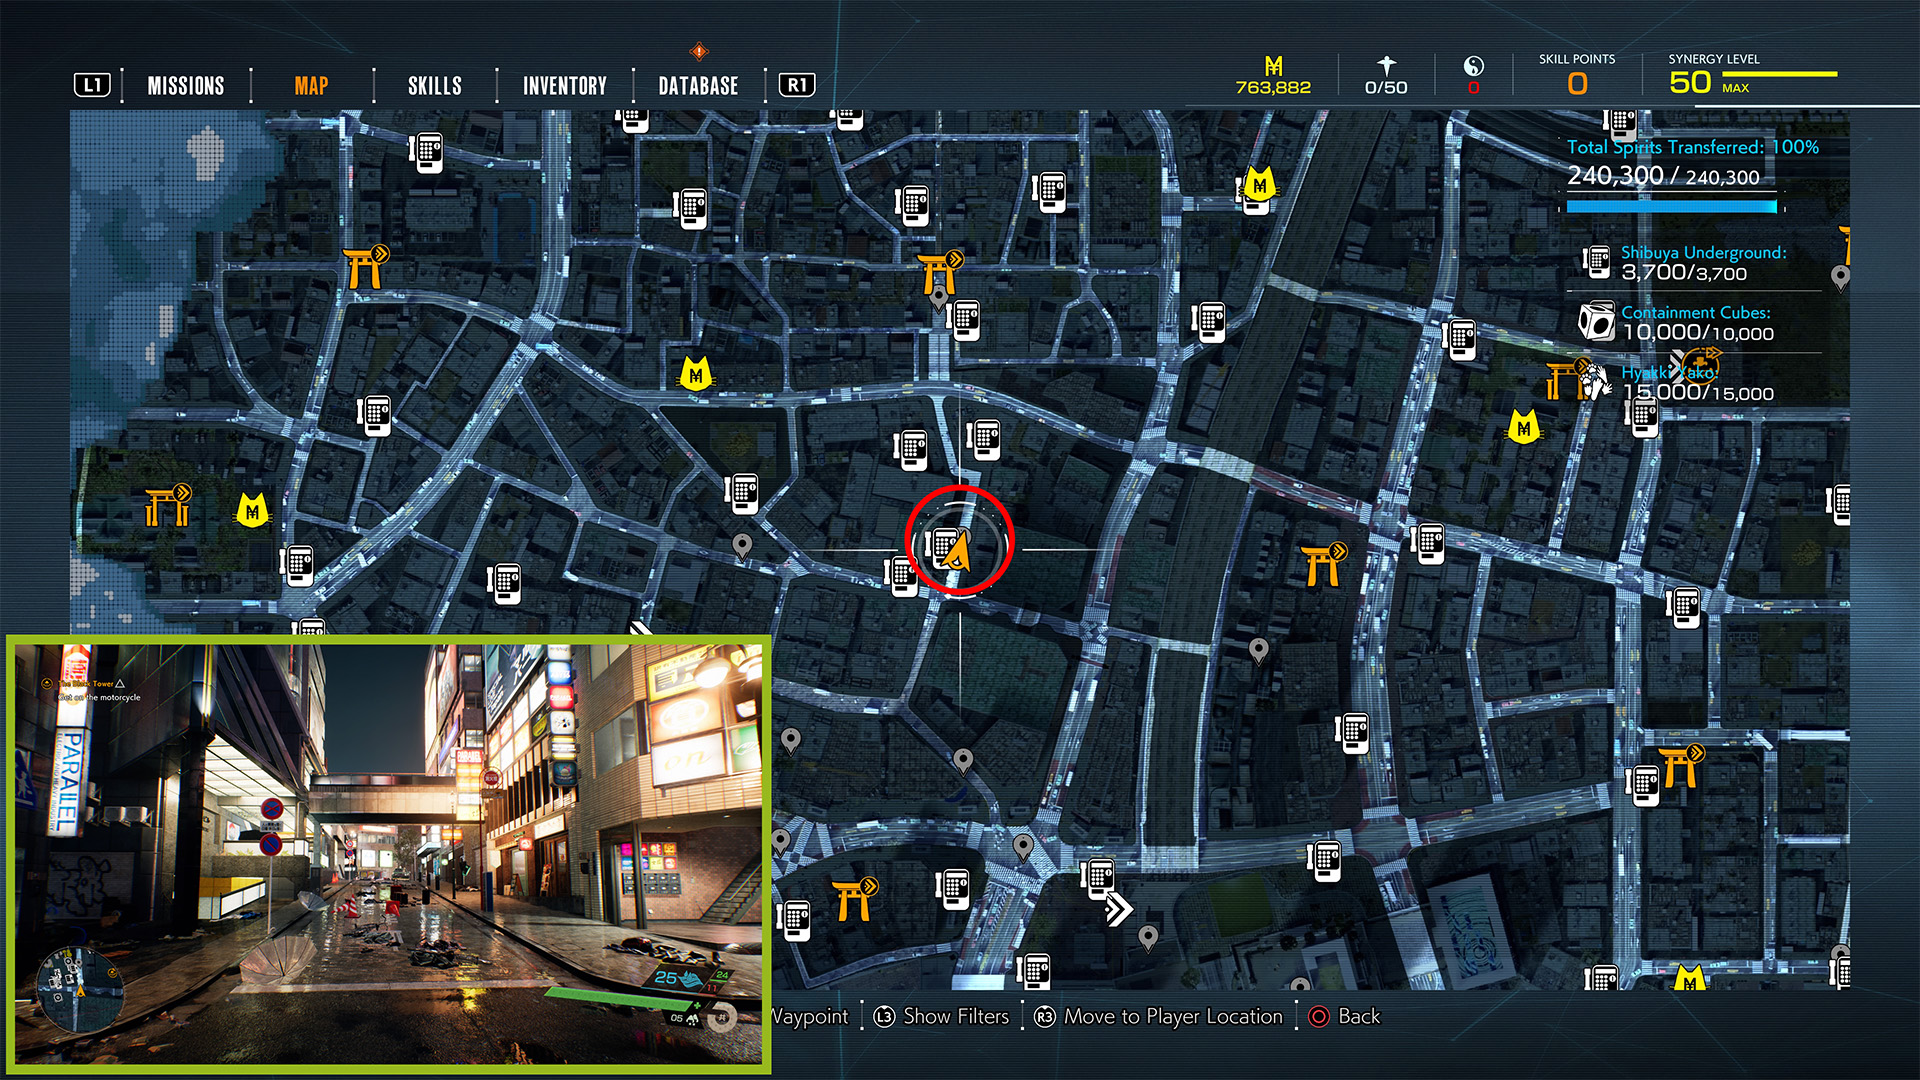
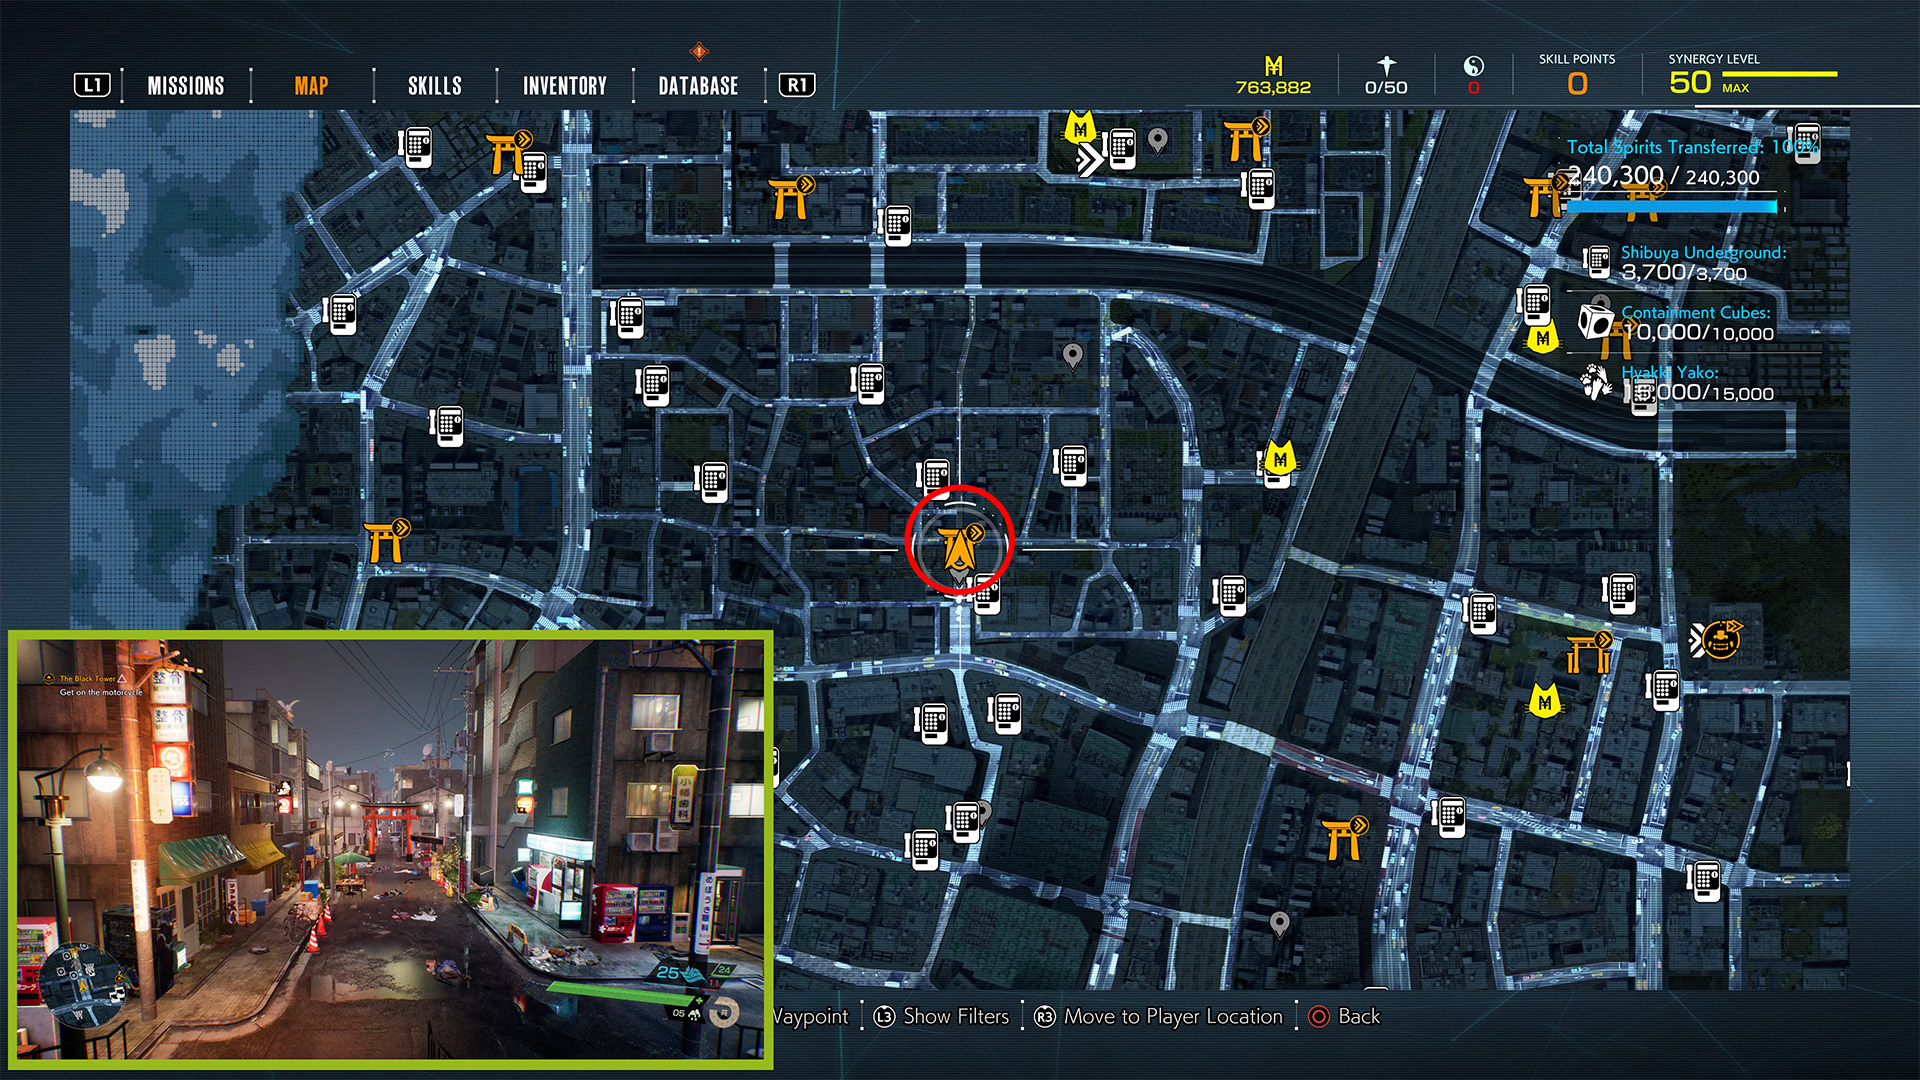
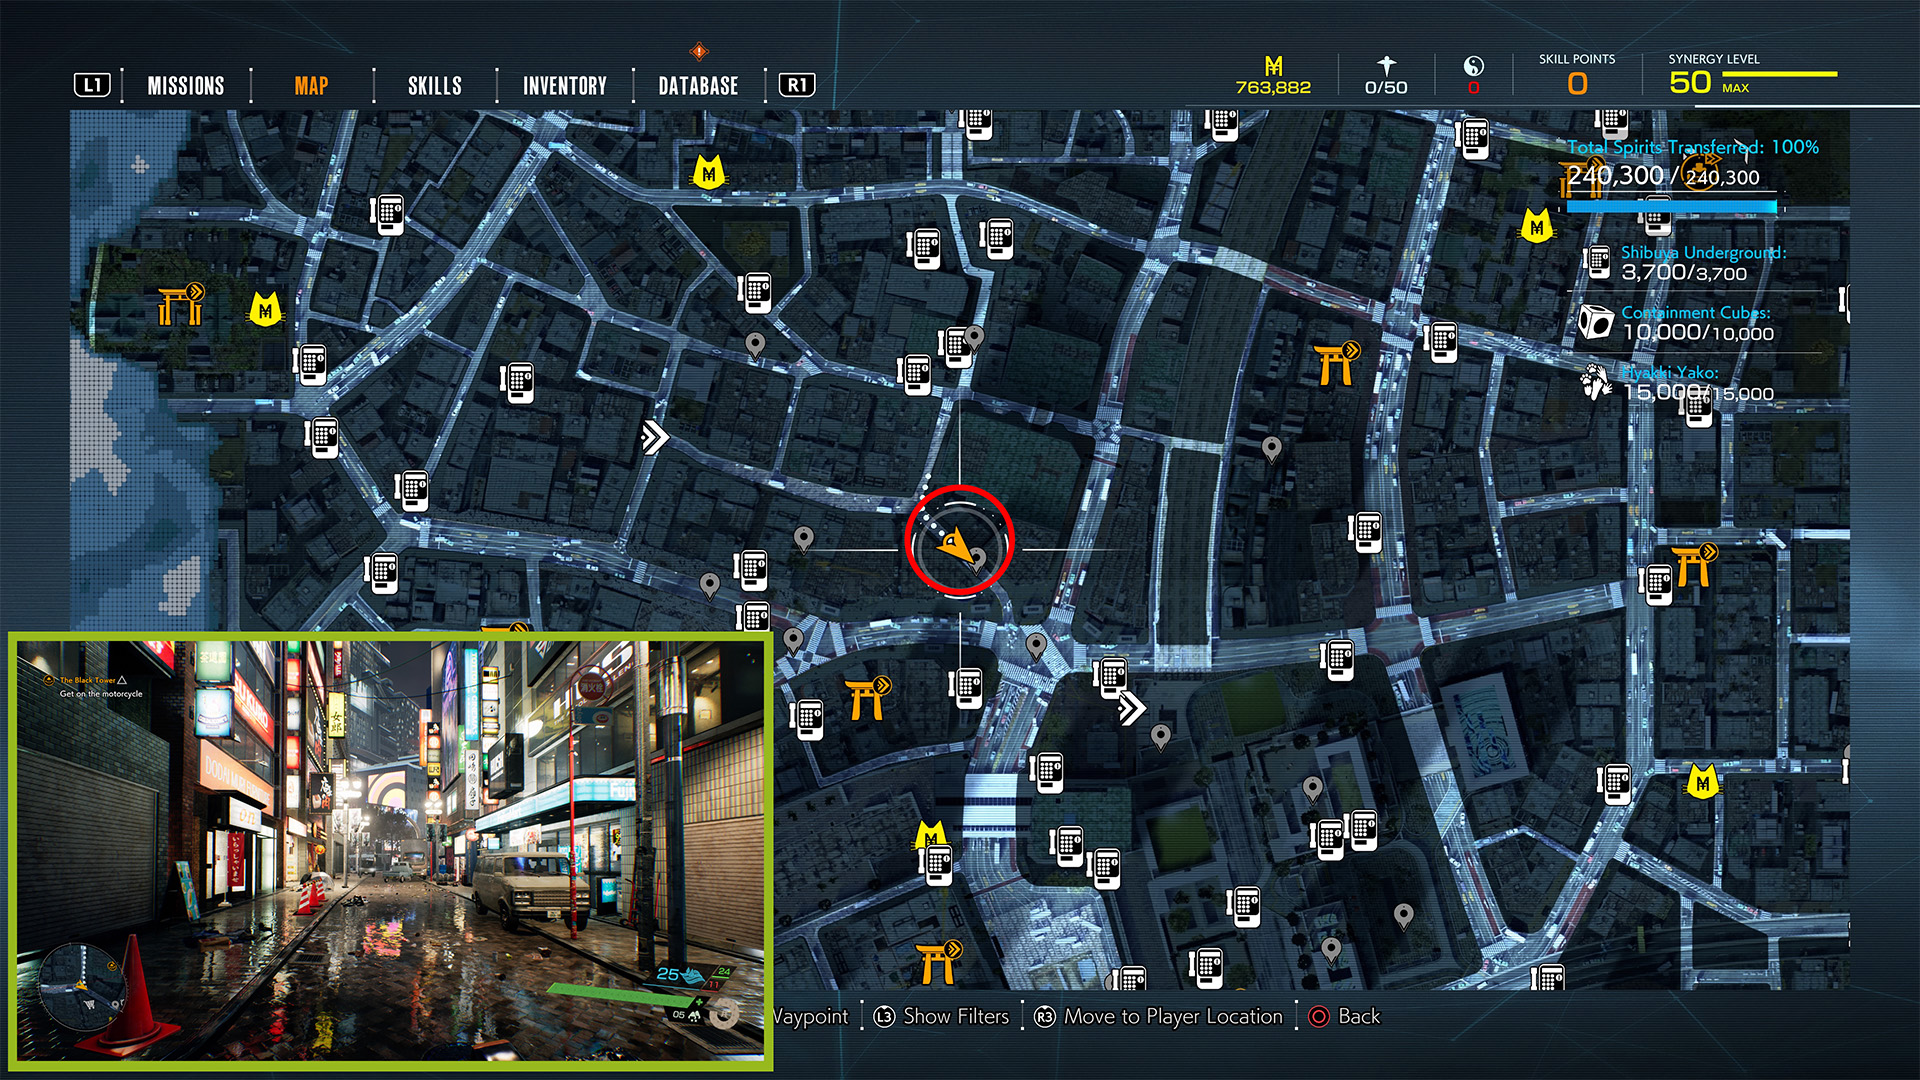
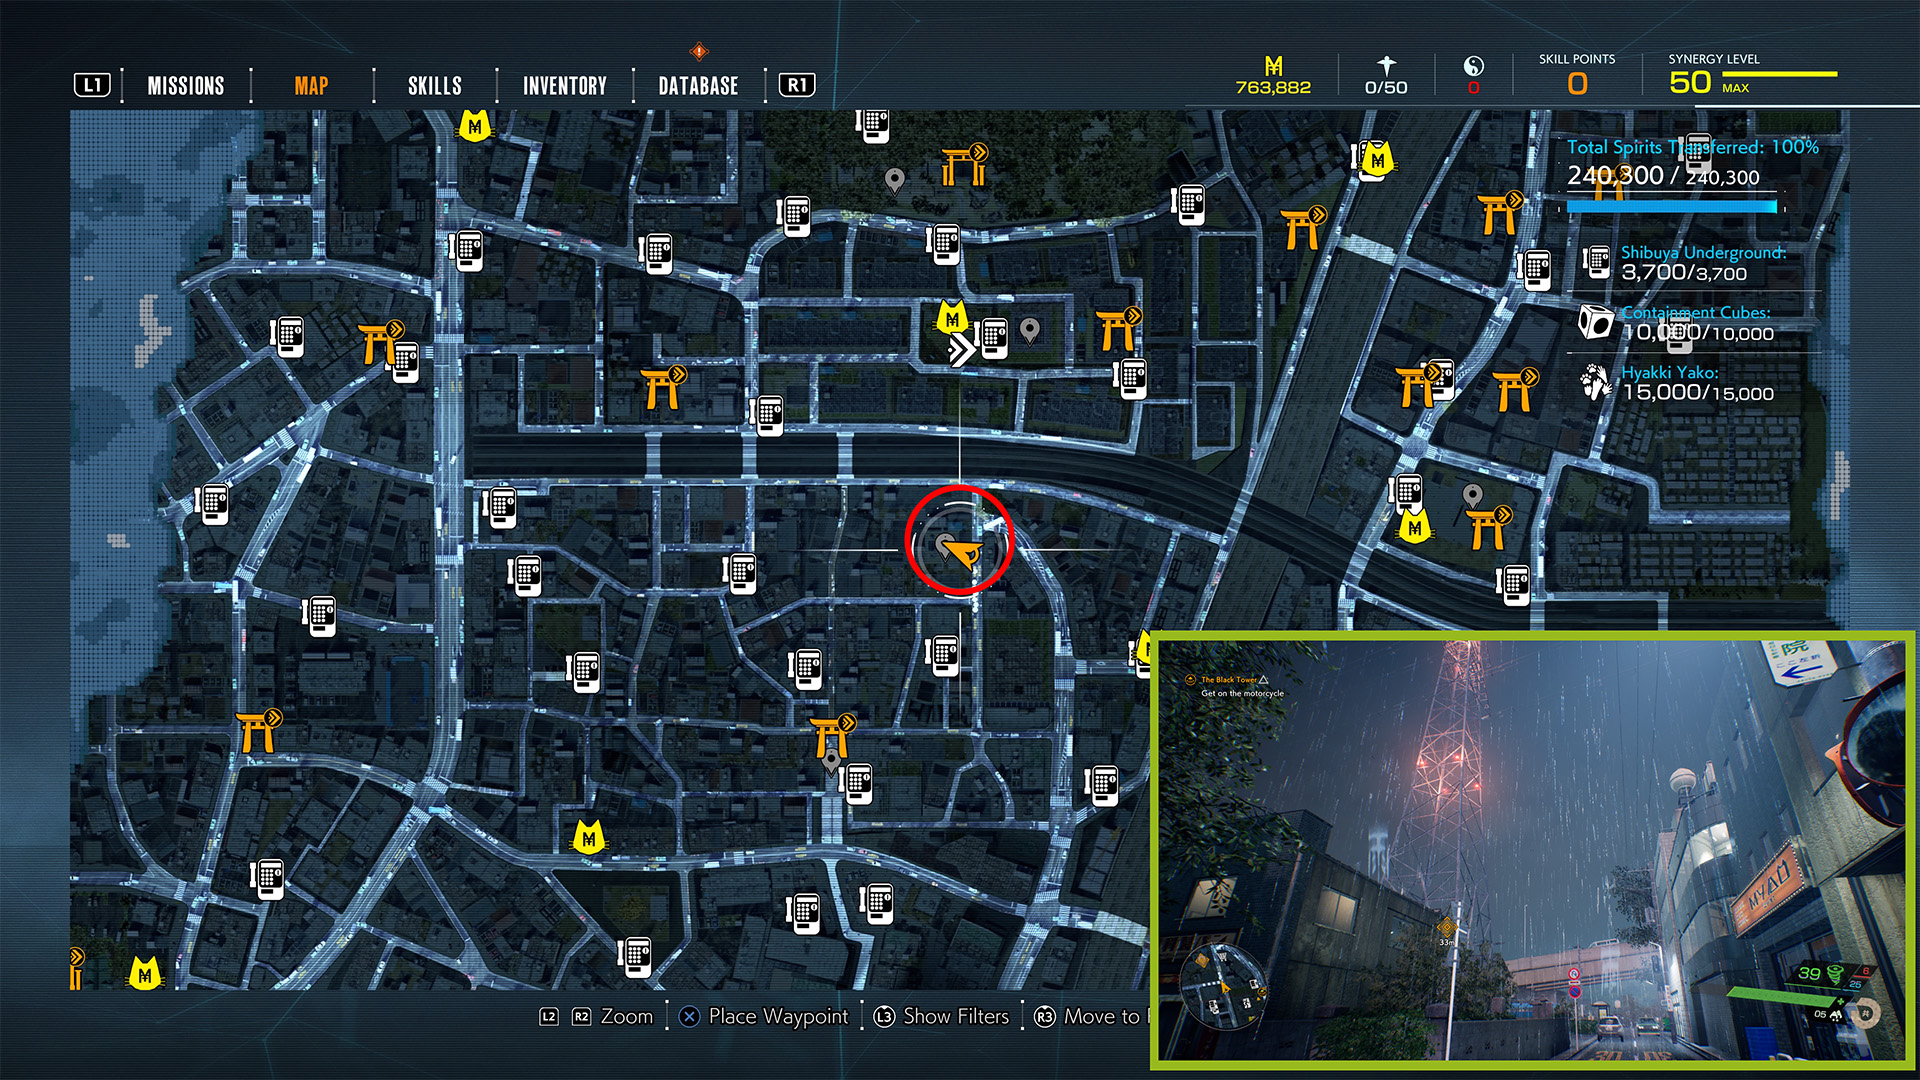
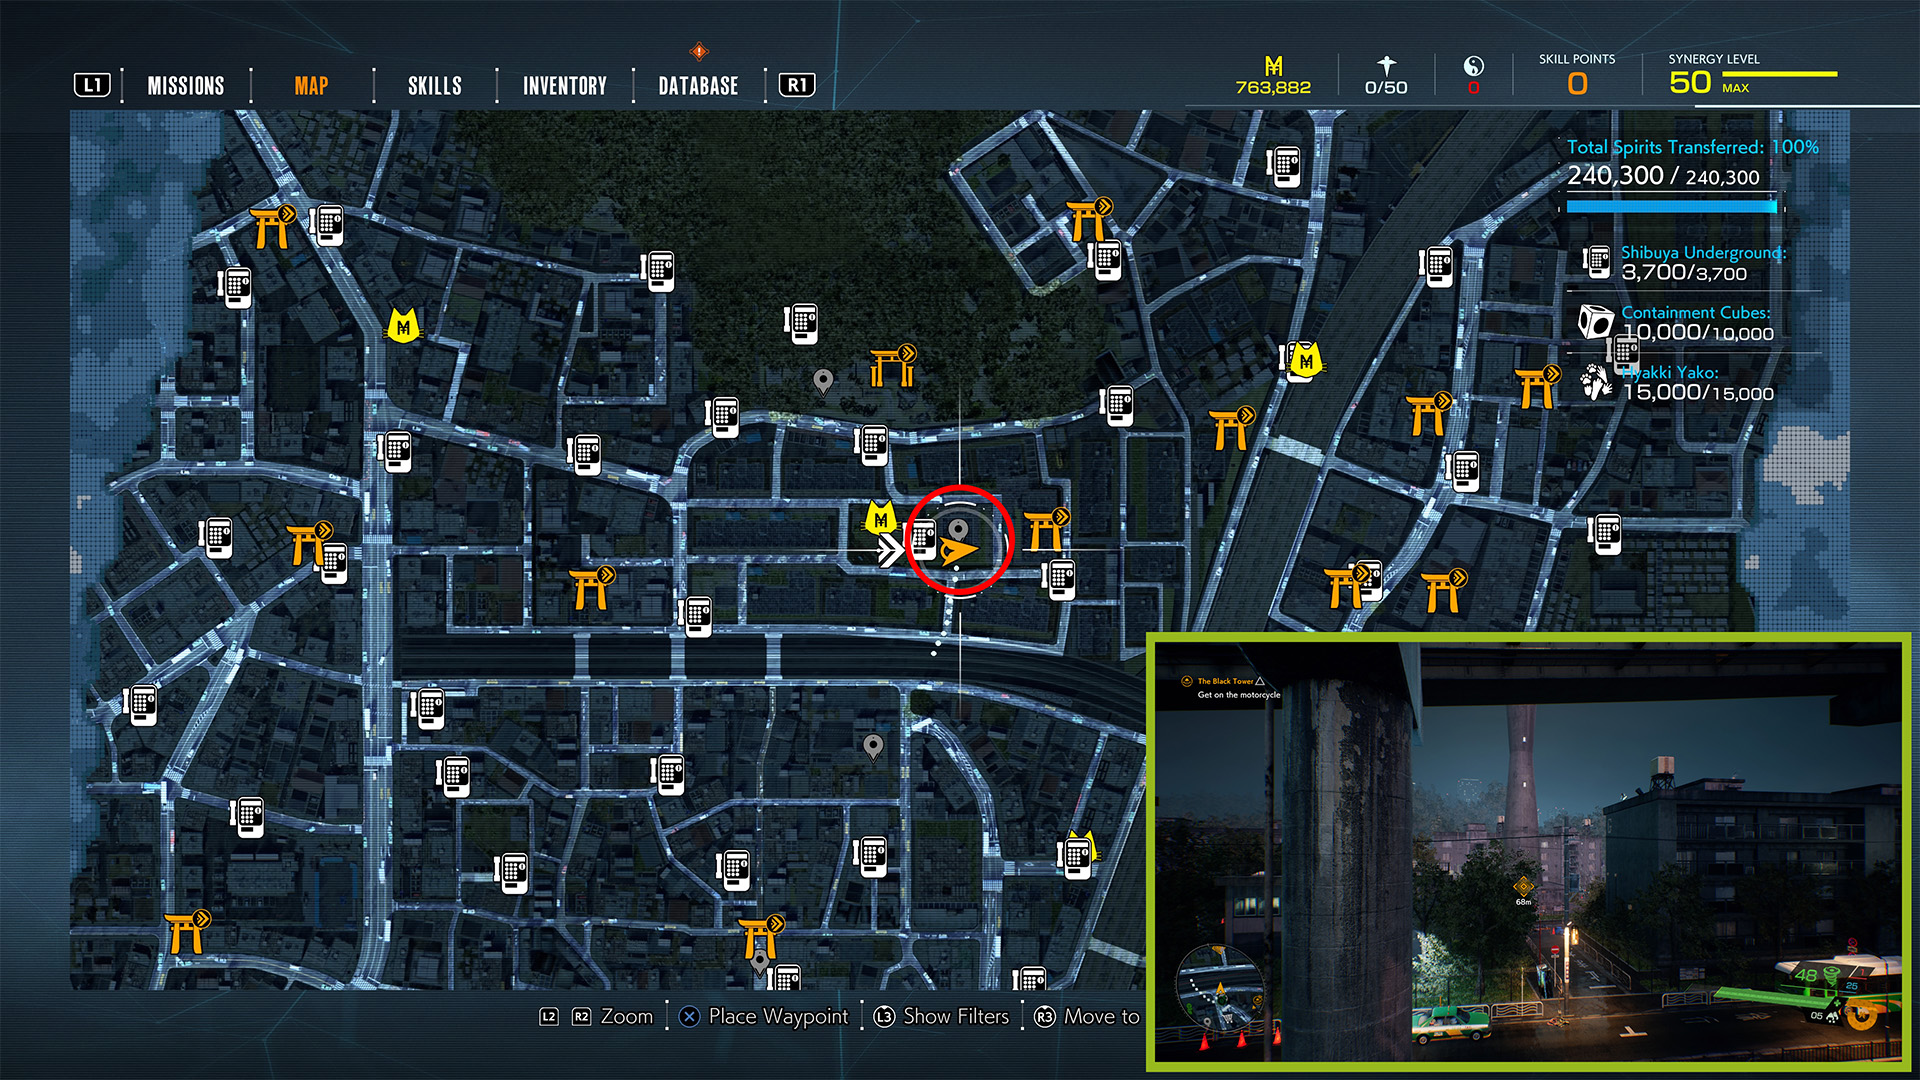
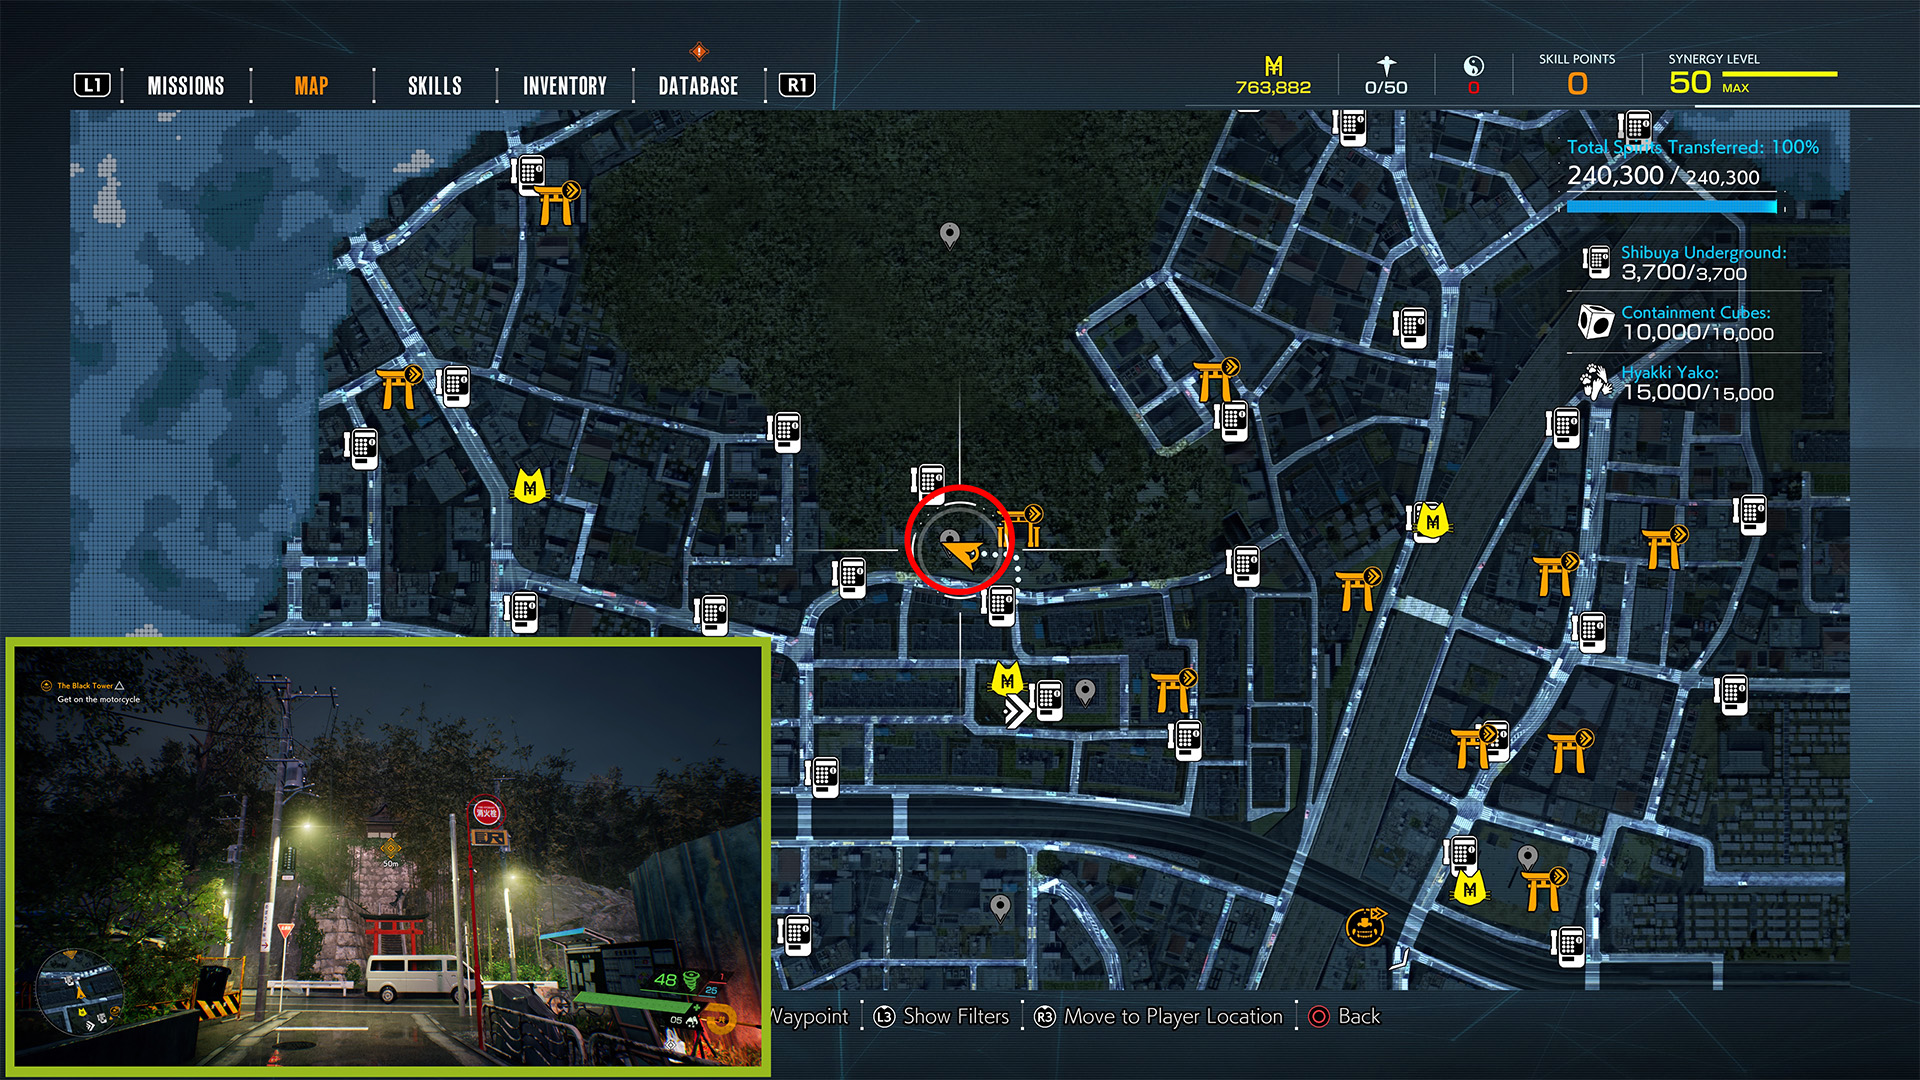
It’s worth noting that most (if not all) Landmark locations can be discovered once you get within about 50 meters of their map icon from any direction. You don’t need to go to the exact location of the map icon in the screenshots below.
Enzan Neon District Landmark
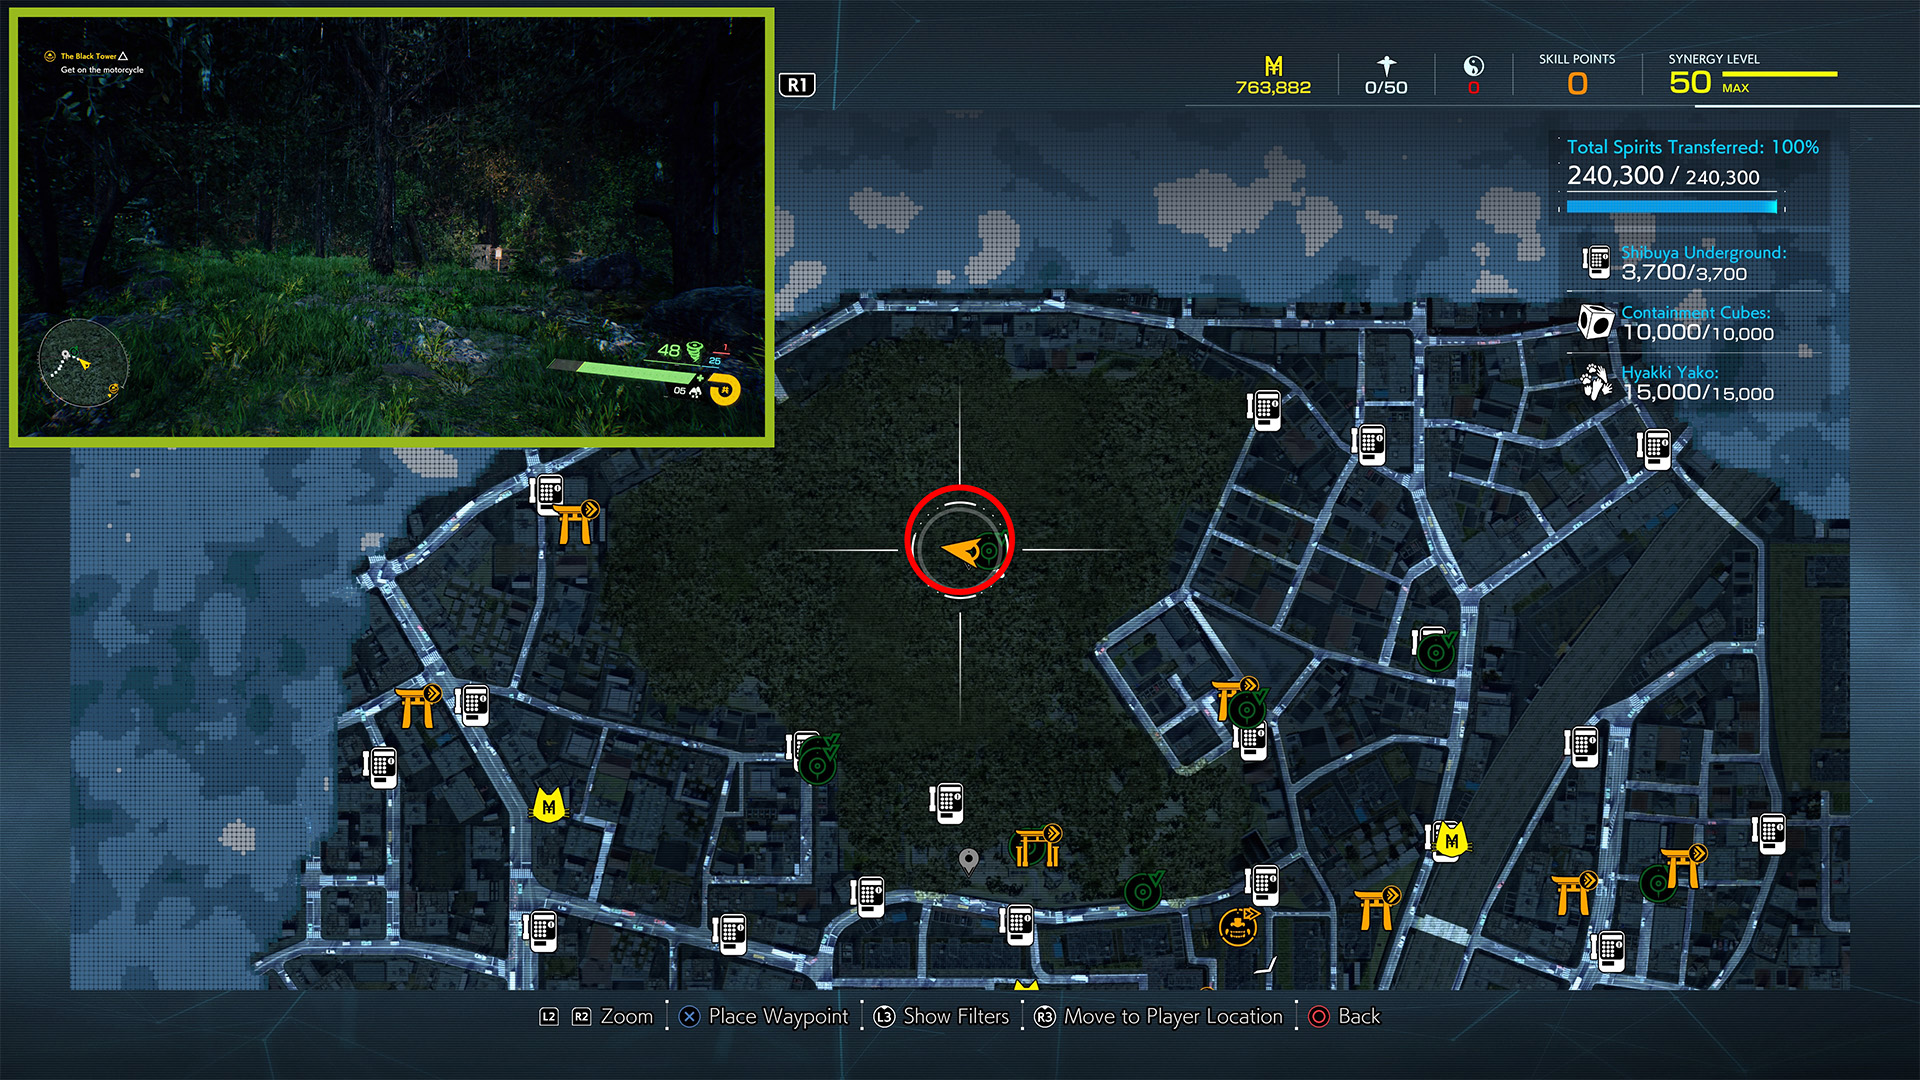
You’ll find Enzan Neon District after transferring spirits for the first time with a payphone. Follow the new objective marker down the road, south of the first payphone, and you’ll automatically find it just south of Club Star 49, near the Kabazeriya family restaurant in Chapter 2: Trouble. The map icon is 55 meters southwest of Akisawa Shrine.
Enzancho Landmark
Enzancho can be found a short distance from the Neon District. It’s likely you’ll get this one during Chapter 2 on the way to KK’s apartment. Try searching around the Hotel Amor across the street from KK’s apartment building. If it doesn’t pop for you there, continue south about 28 meters to find the Landmark icon location just before/at the crossroads.
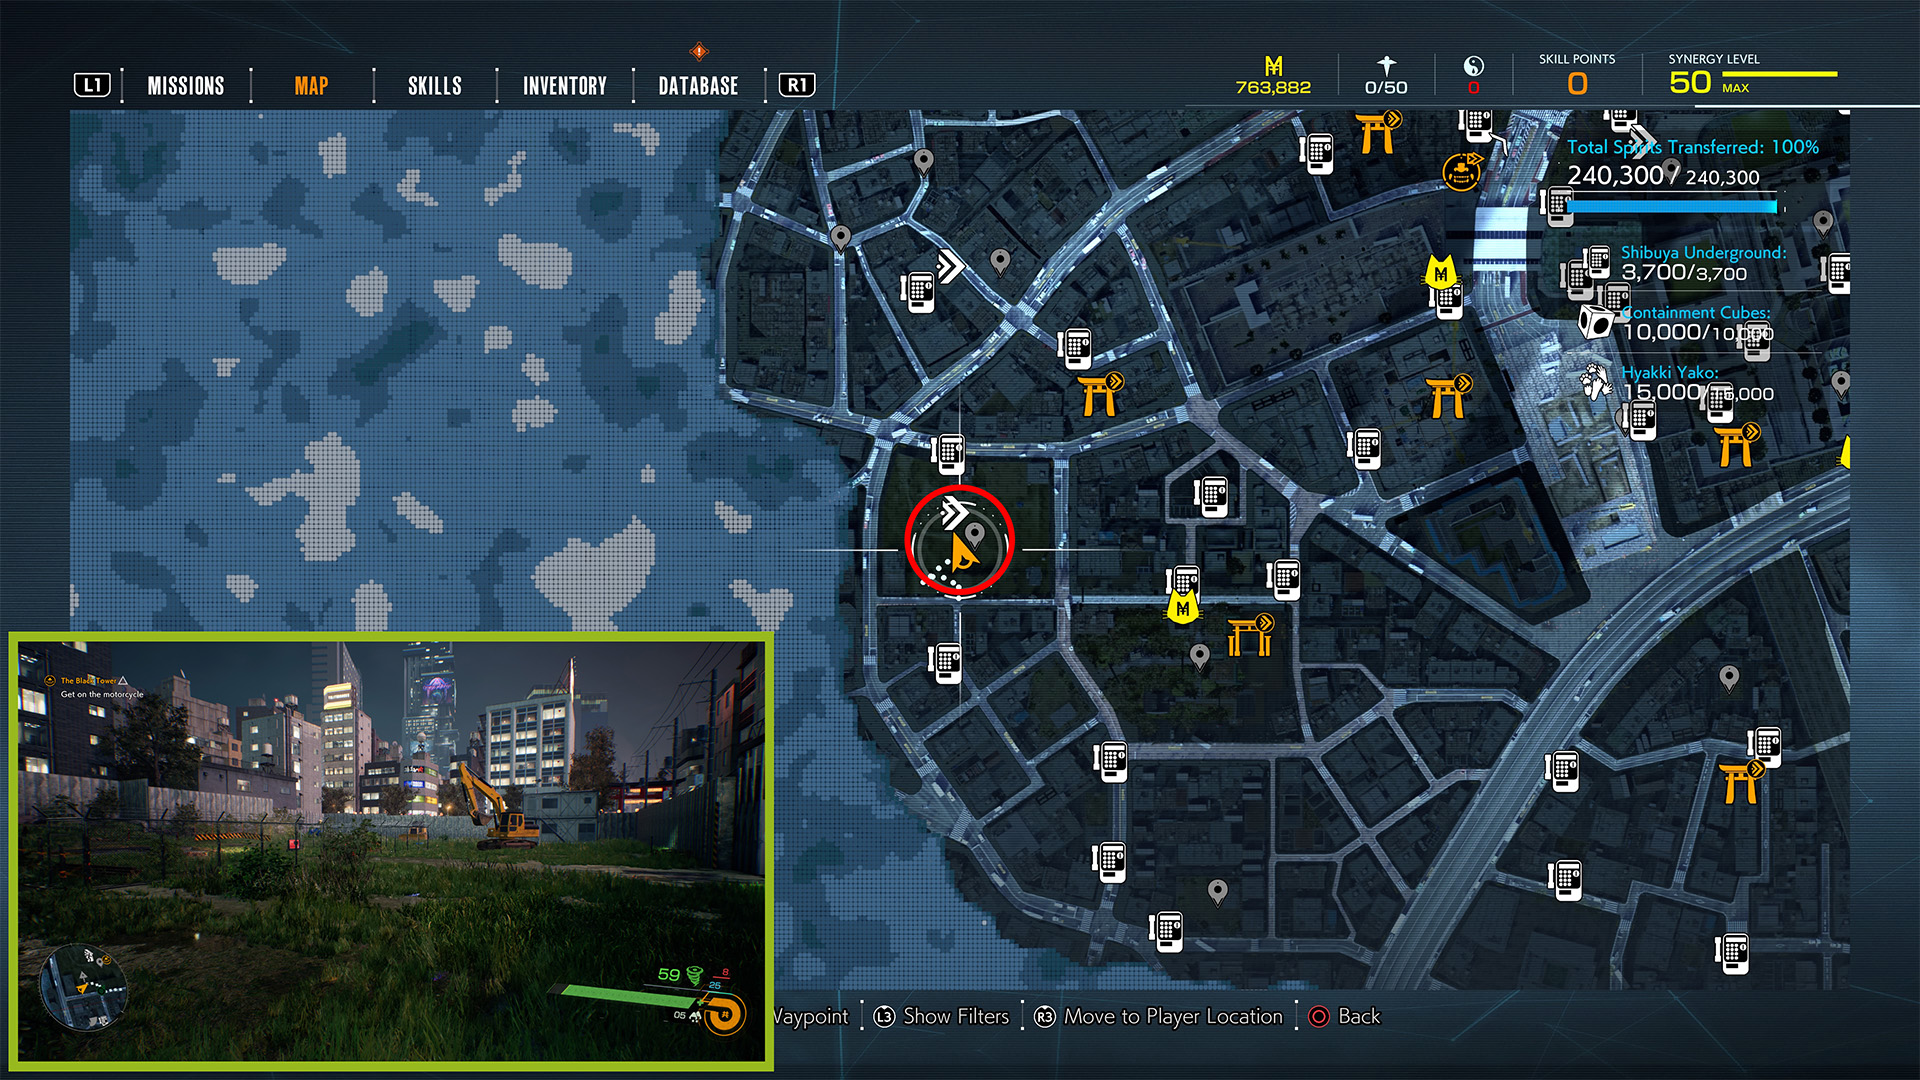
Yugenzaka Junction Landmark
Around this time, you’ll be able to backtrack a little for the Yugenzaka Junction Landmark. This Landmark is 61 meters northwest of Enzancho at a three-way intersection. There is a game, DVD, and comic shop on the northeast corner of the junction.
Shiroyama Shrine Landmark

You’ll get this landmark automatically when you get within about 35 meters of the Shrine itself during Chapter 2, near the Handicraft Nekomata nearby.
Tsukinami Restricted Area Landmark
This Landmark is a walled-off, grassy construction zone with a yellow backhoe 112 meters north/northwest of Shiroyama Shrine. It can only be accessed after cleansing the Shiroyama Shrine.
Tsukinami Dai-ichi Park Landmark
Tsukinami Dai-ichi Park is roughly 136 meters south of Shiroyama Shrine or 195 meters southeast of Tsukinami Restricted Area. It is along the southernmost road, roughly 20 meters northeast of a payphone booth. There is a Choheimin restaurant across the street and a red, white, and blue bus parked in the street.
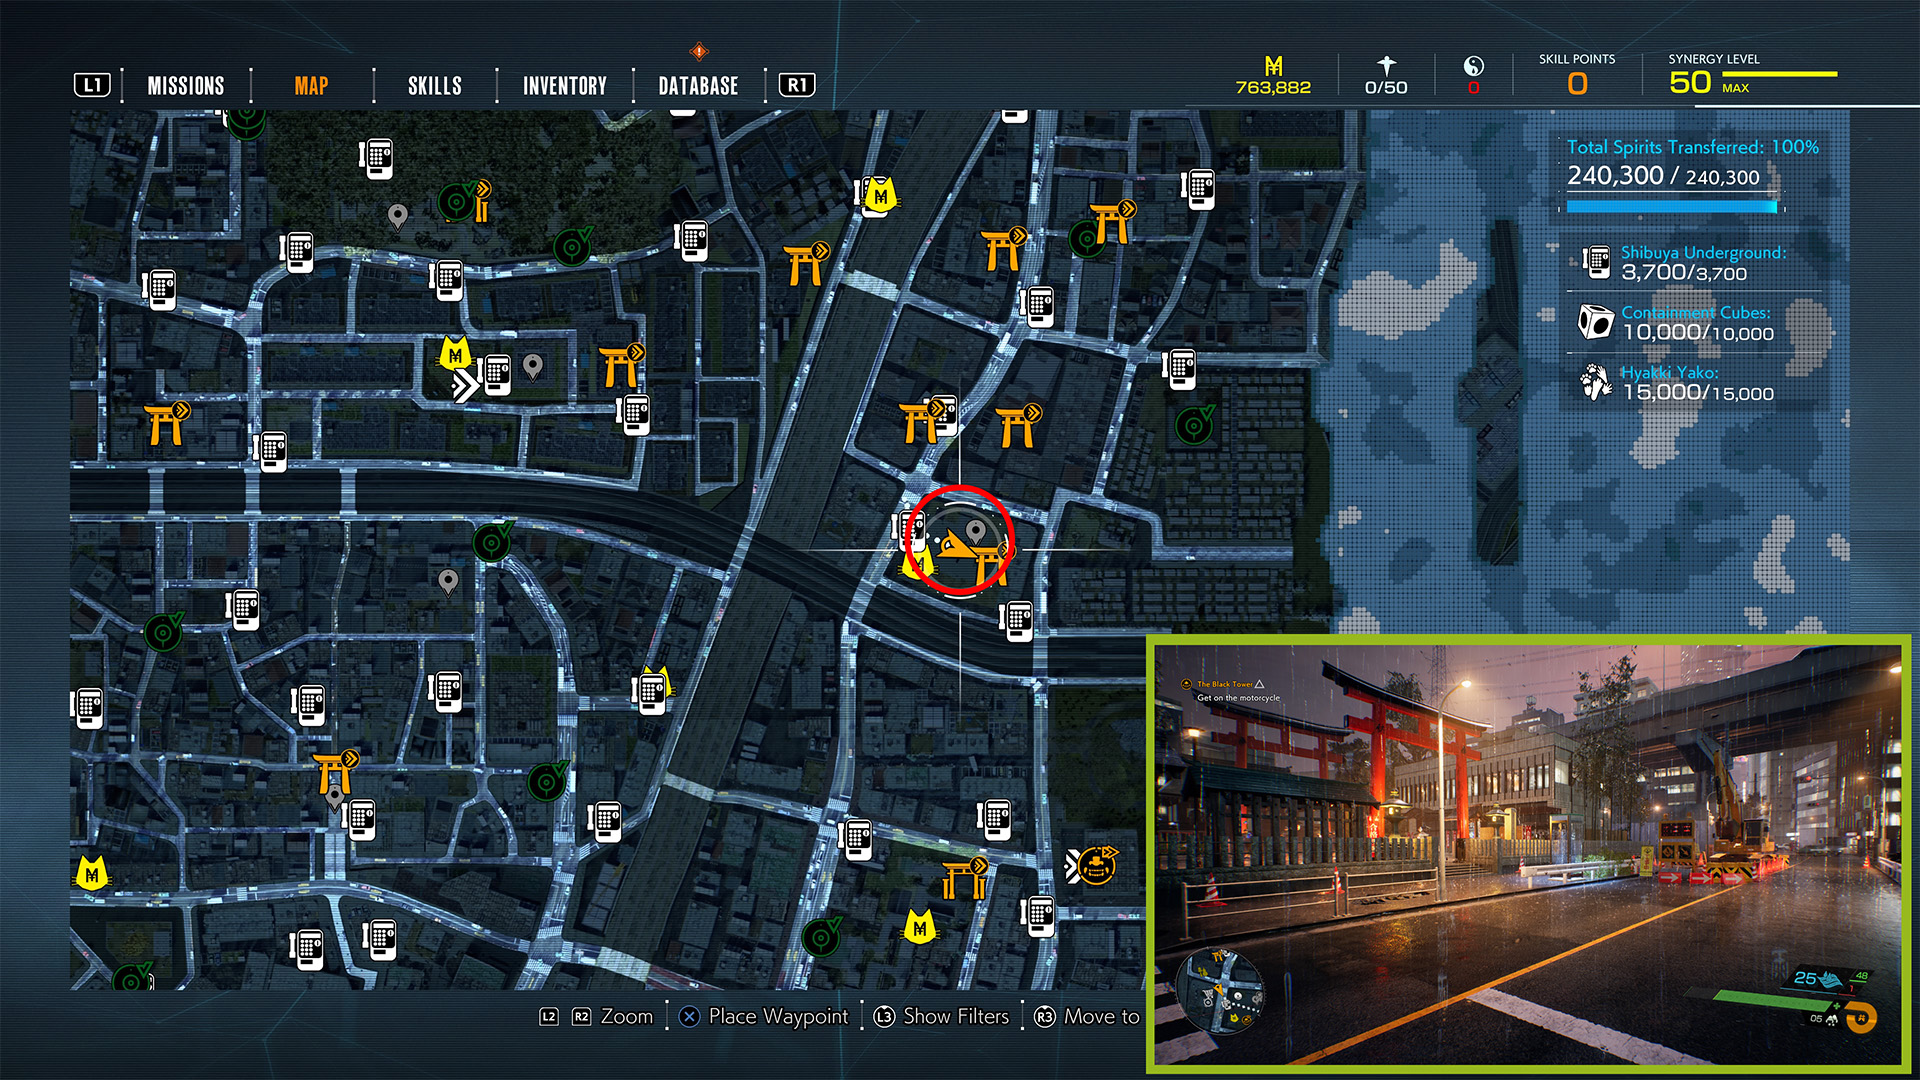
Construction Labyrinth Landmark

The Construction Labyrinth is another walled-off area that can be found in Chapter 2 after cleansing Yashin Shrine as part of the story. It is roughly 80 meters east/southeast of Yashin. You’ll find this when going to Kuo Shrine, situated in the lot in front of the western side of the Shibuya Kagerie Retail Complex. Look for the bus parking lot and the Shibukei (red) and Shibuya Station white/blue) neon signs.
Yashin Redevelopment Area Landmark

You should discover the Yashin Redevelopment Area during Chapter 2 when making your way up to Kuo Shrine. It is 140 meters north of the Construction Labyrinth, in the same area as the rainbow stairs used to enter the hopping complex below the shrine.
Shibuya Kagerie Retail Complex Landmark
After cleansing Kuo Shrine in Chapter 2, you’ll have to climb to the top of the Shibuya Kagerie Retail Complex to find tourist binoculars. This Landmark should pop as you make your ascent.
Sky Garden Landmark
After using the tourist binoculars at the top of Shibuya Kagerie Retail Complex, turn left (south) instead of jumping down to follow the culprit. Go to the end of the path, and look out over the railing to see an adjacent building with a multi-colored pool on its roof. Glide over for the Sky Garden Landmark.
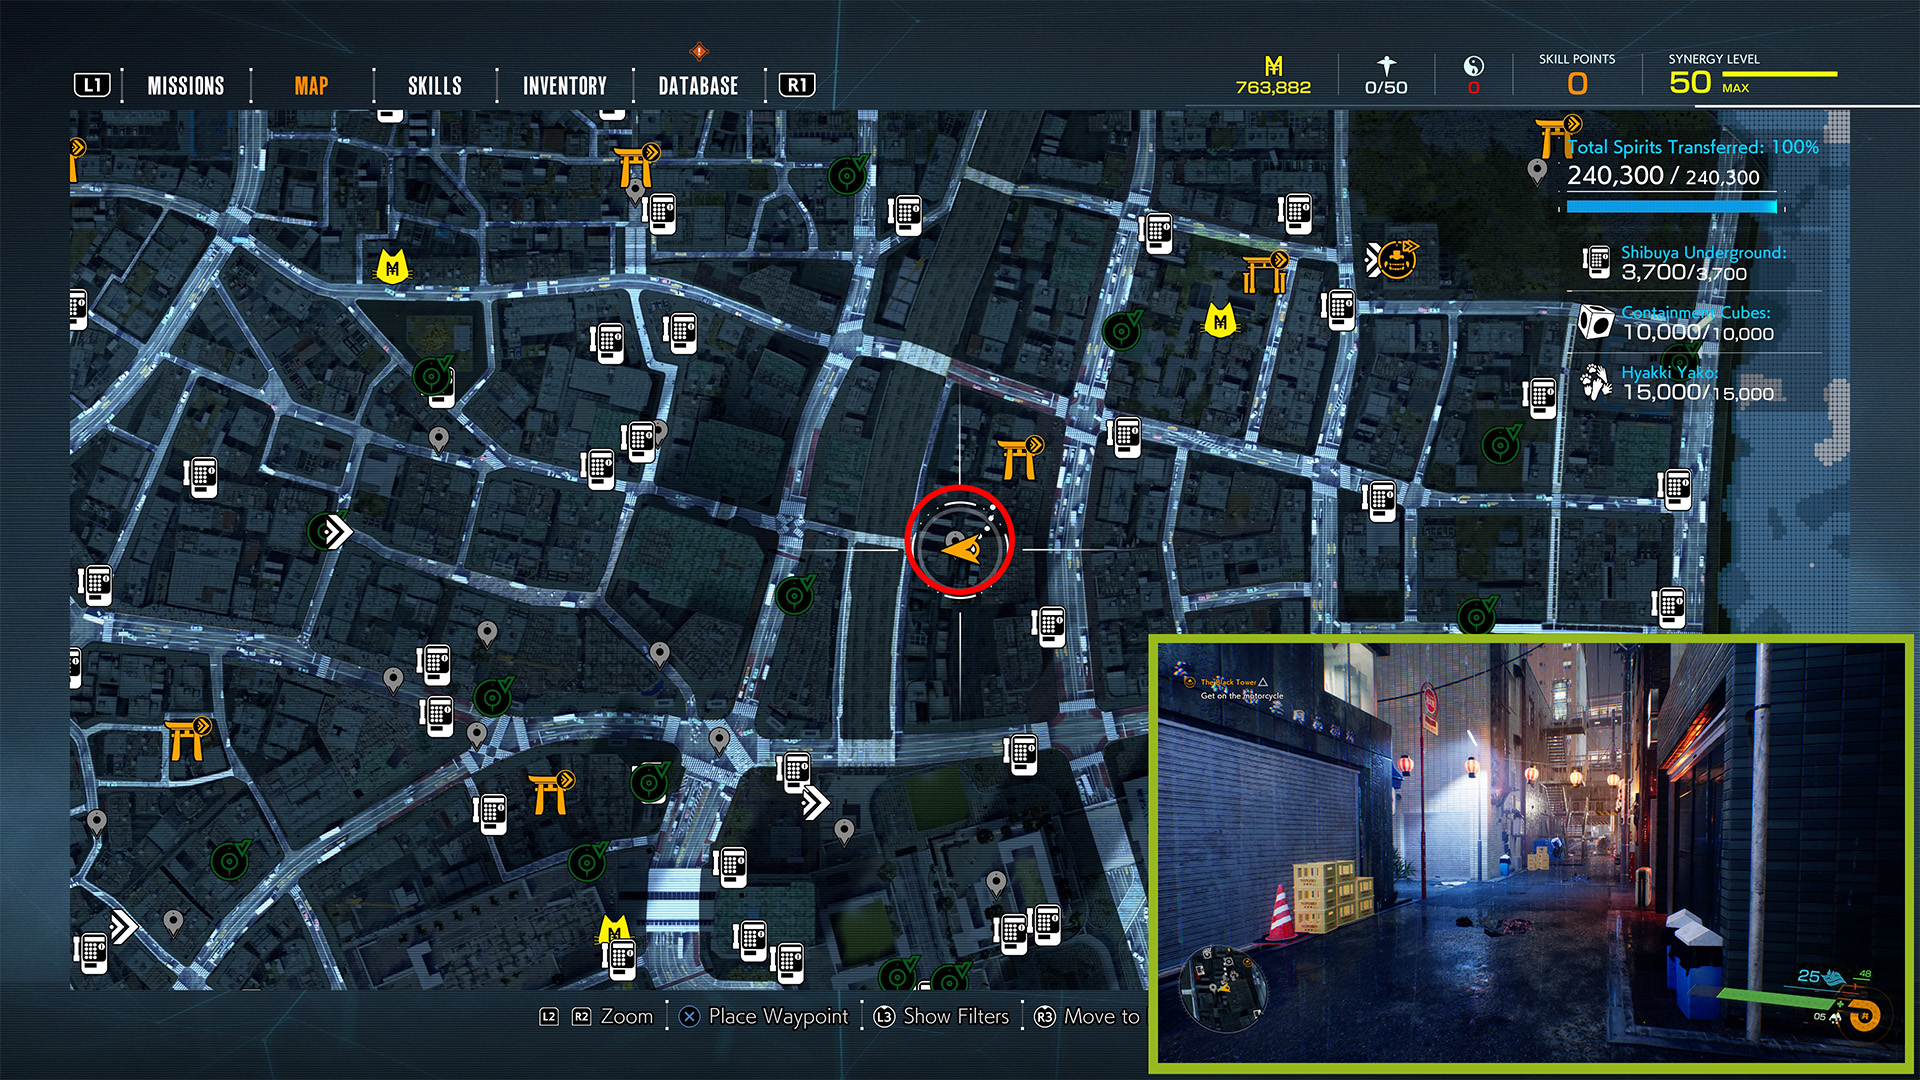
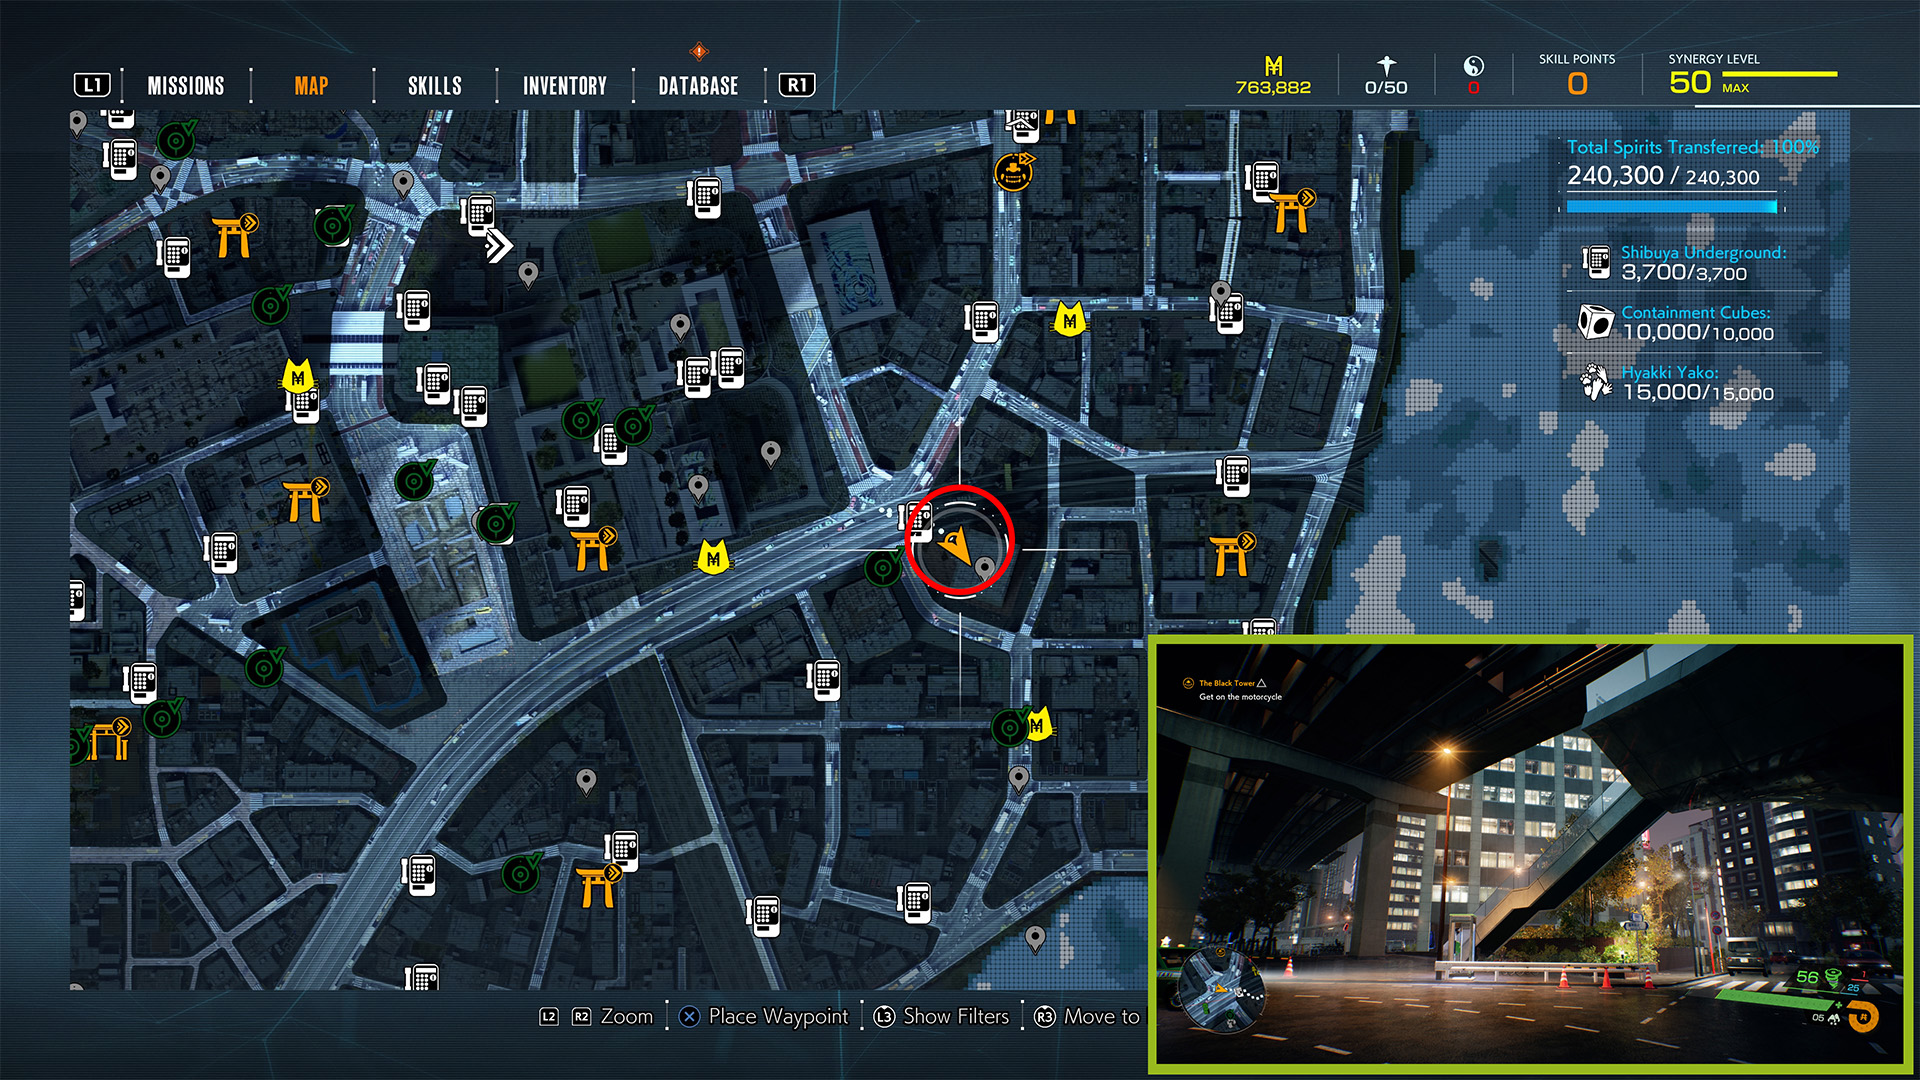
Shibuya Station Landmark
Shibuya Station is about 95 meters west of Shibuya Kagerie Retail Complex. After using the tourist binoculars, glide down toward where you saw the culprit enter the Underground; don’t worry about fall damage even from such a great height.
You should land just southeast of Shibuya Scramble, a large area that resembles Times Square. Instead of continuing ahead toward the objective marker, turn around to find Shibuya Station, covered in digital billboards. You may need to enter the station for the Landmark to pop. For another frame of reference, it’s roughly 125 meters north/northeast of the Construction Labyrinth, through the bottom floor of the Shibukei area.
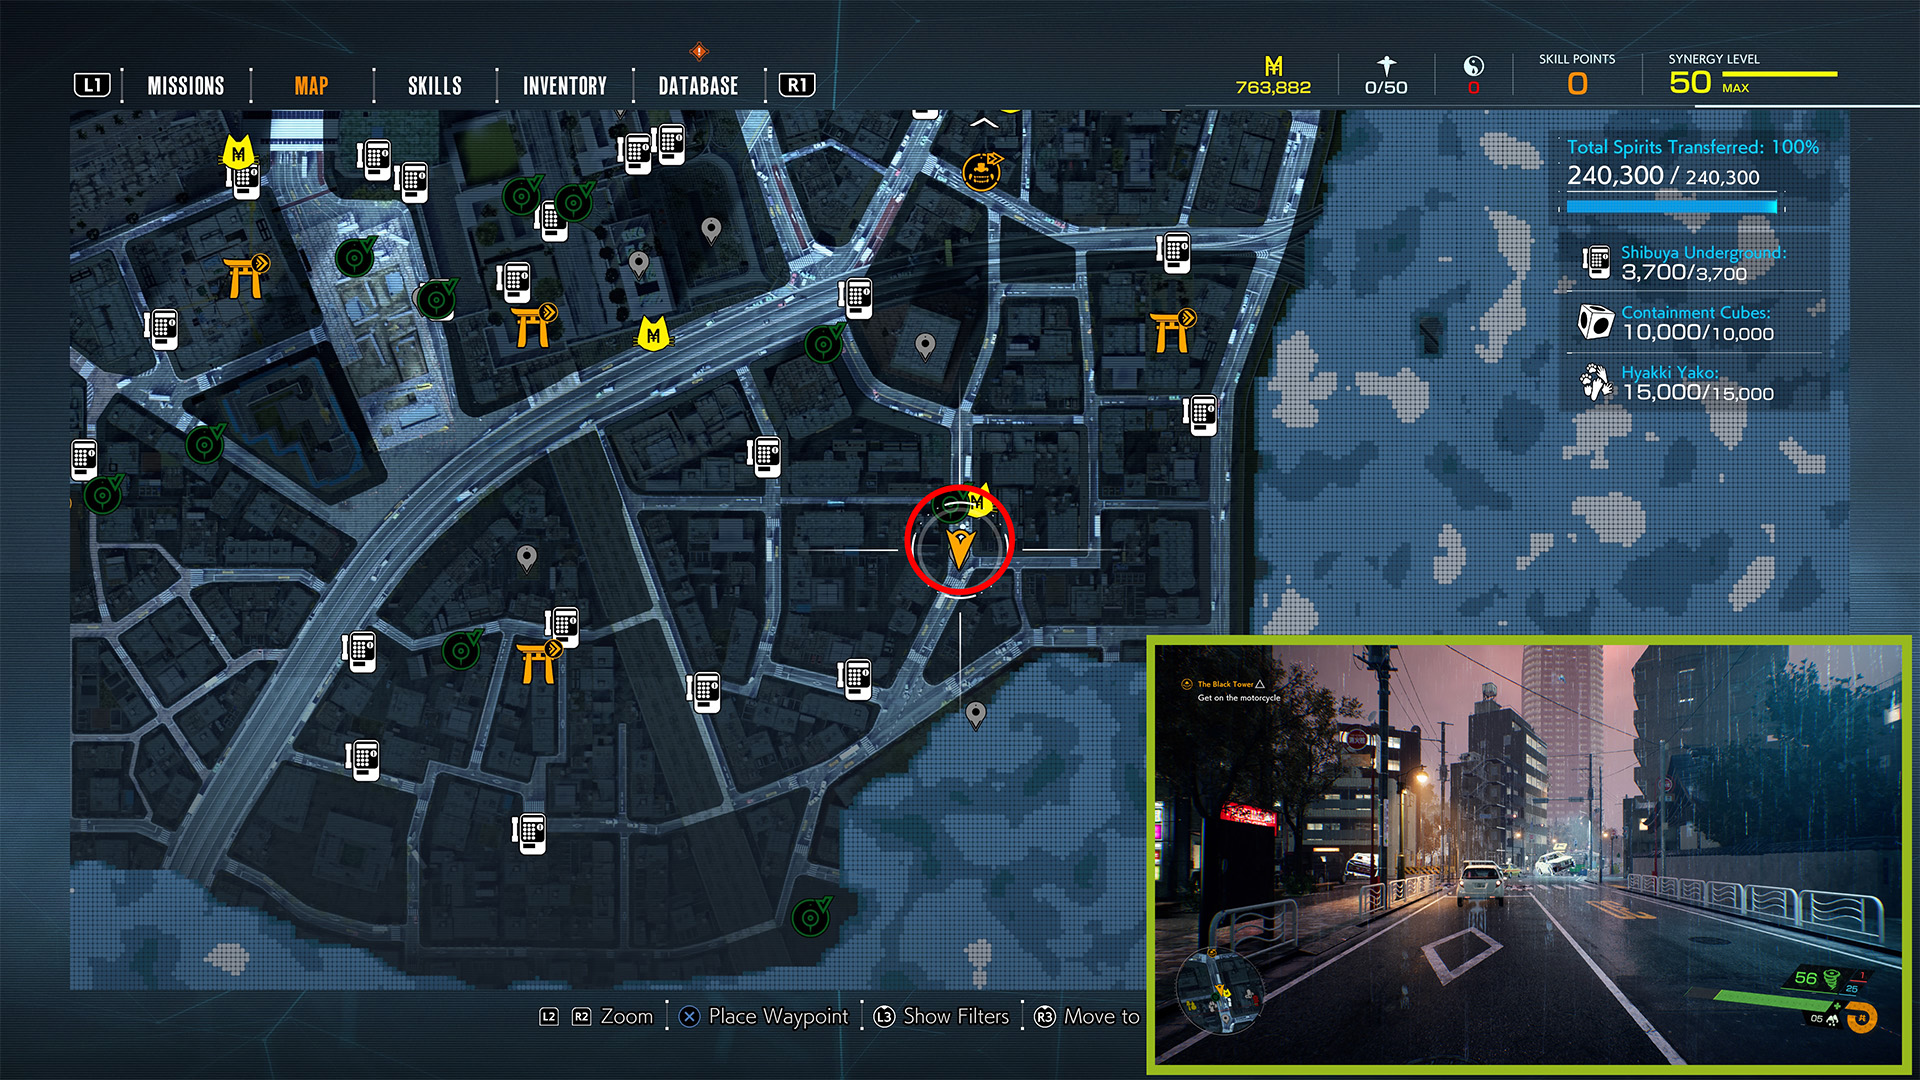
Shibuya Scramble Landmark
From Shibuya Station, continue toward the objective to cross into the large intersection surrounded by digital signs and billboards. This should pop somewhere around the middle of the intersection, 75 meters northwest of Shibuya Station.
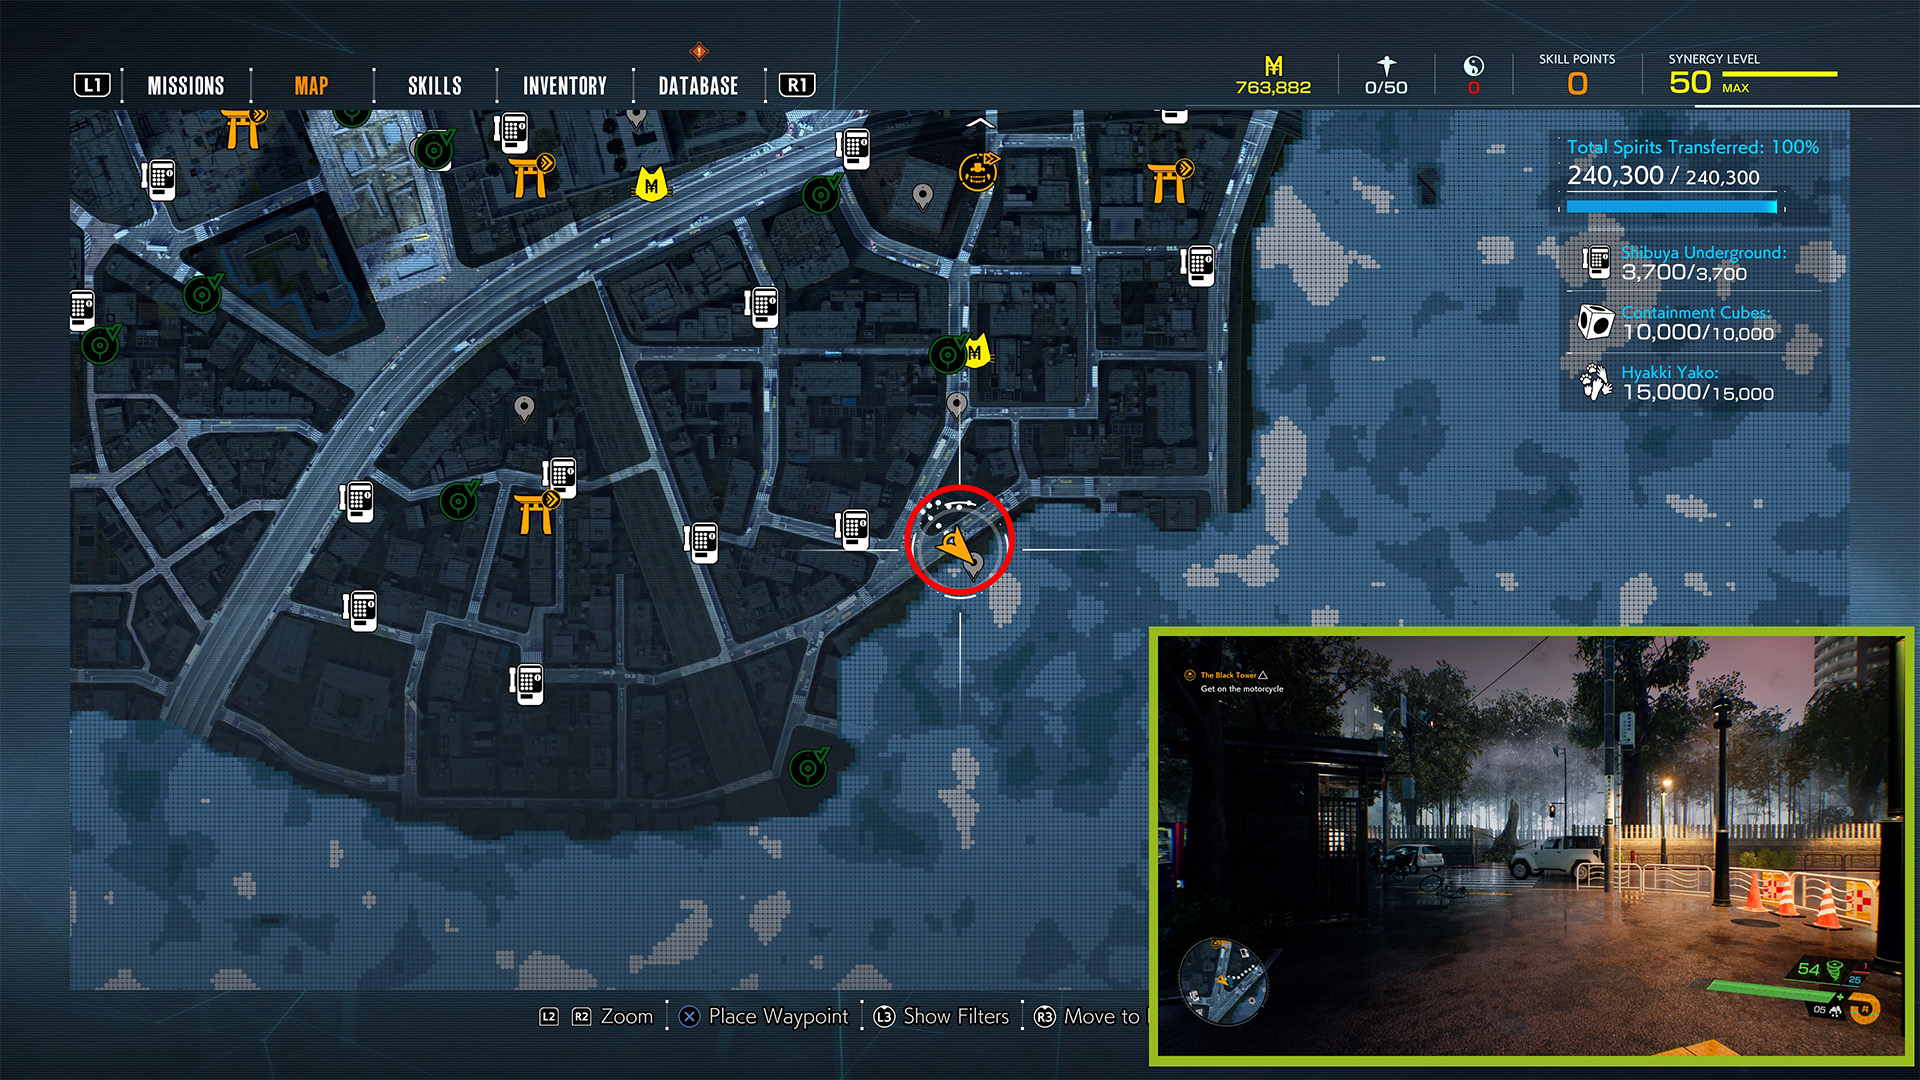
429 Landmark
The 429 Landmark can be discovered after cleansing the Morite Shrine in Chapter 2. It is at another intersection about 47 meters northwest of the Morite Shrine, marked by a cylindrical tower with swirling colors (kind of like a lava lamp). It is 115 meters west of Shibuya Scramble.
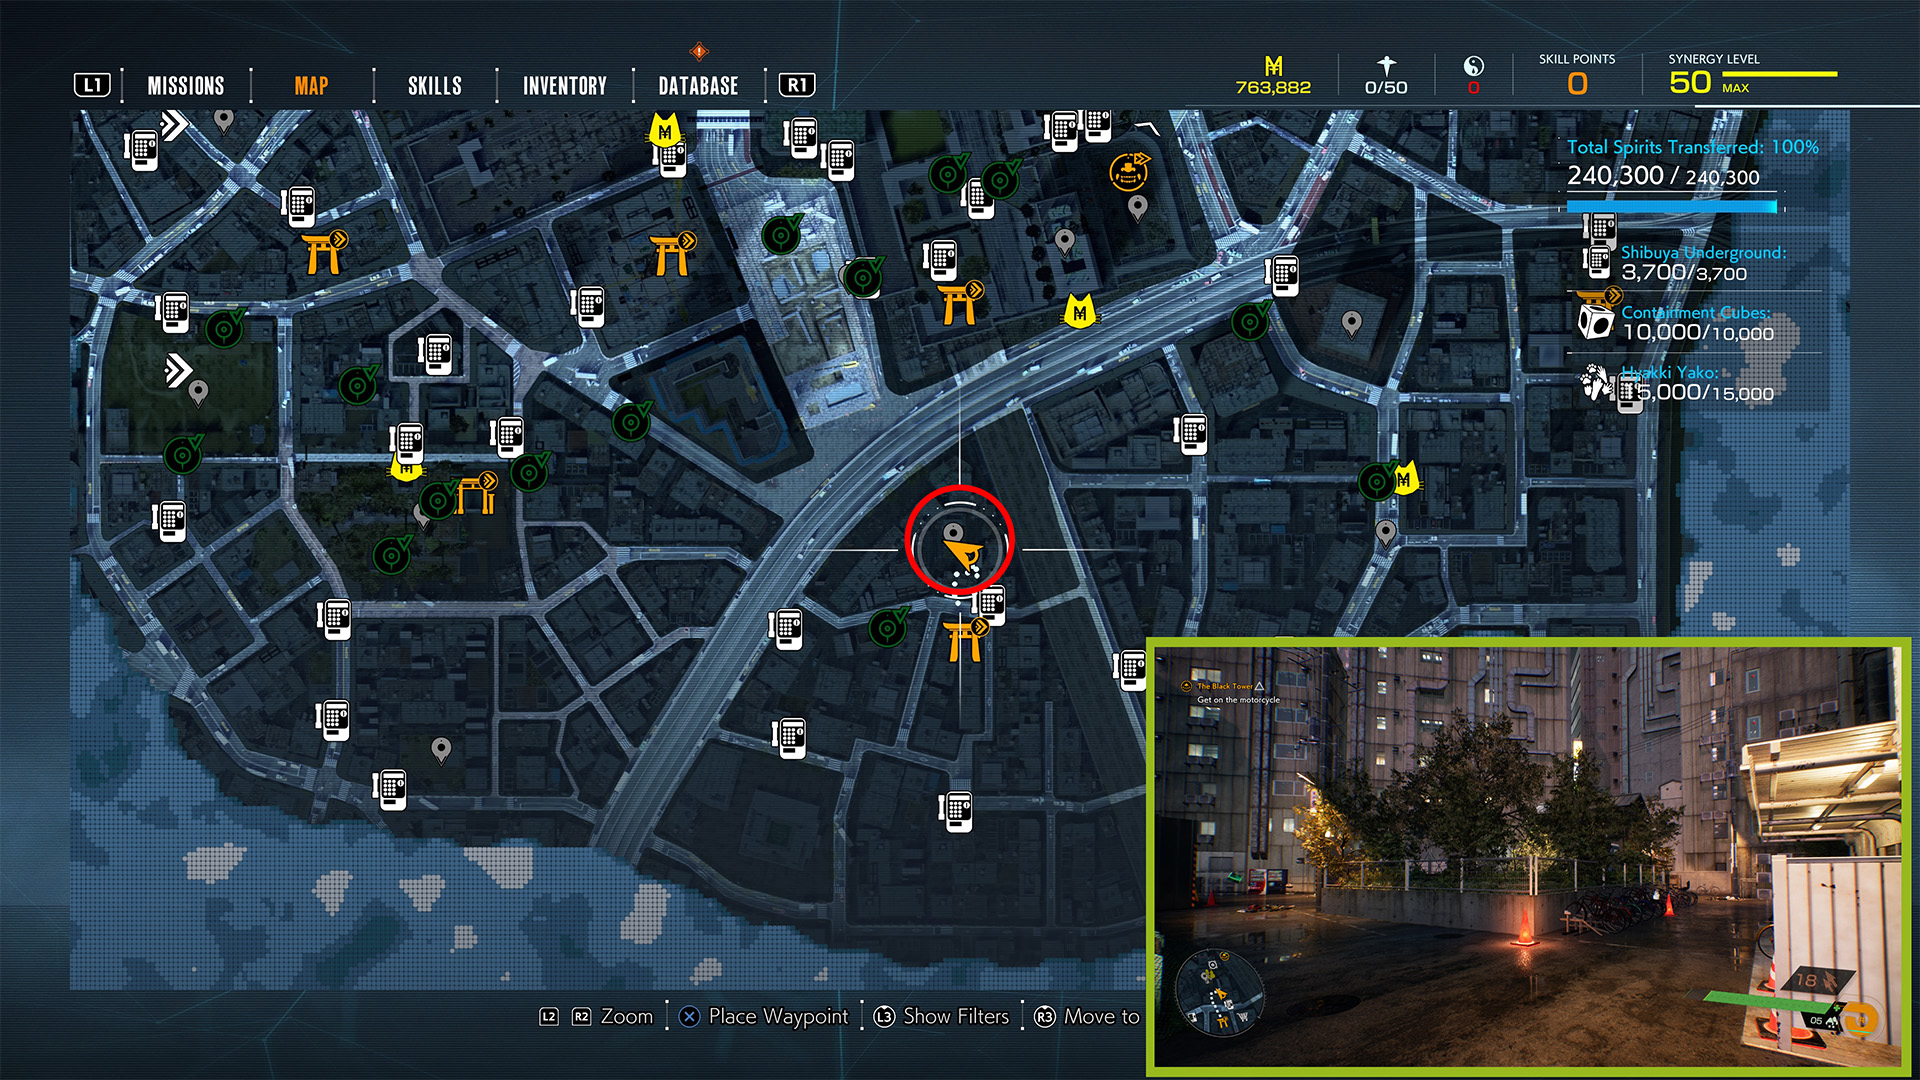
429 Street Landmark
The 429 Street Landmark is 43 meters or so northwest of 429. Take the east-west road north of the 429 tower, and you should discover it around the first crosswalk by a Mitsukuro store on the left side of the street and a Daily Ninja store on the right. There is a blue compact car smashed into a white sedan near the crosswalk, as well.
Lamplight Cemetery Landmark
Lamplight Cemetery becomes available after cleansing the Matsumi Shrine during Chapter 3. It is roughly 48 meters north/northeast of 429 street. To reach it, go down the alleyway between the Kabazeriya and Daily Ninja stores on the northern side of the 429 Street crosswalk.
About 25 meters down the alleyway, look for a very narrow opening between the buildings on the right, across from a Gold Fish restaurant; the small opening is just before a bunch bikes lined up on the right side of the alley. Go to the end, and the Landmark should pop. If not, you’ll need to climb the buildings and drop down into the cemetery itself.
Sengoku Police Box Landmark
Sengoku Police Box is 75 meters north/northwest of Lamplight Cemetery. Continue down the alleyway from Lamplight, and cross the street with the white moving van to go down a smaller street heading north. At the end of that street will be another small intersection. Look left (west) to see the police box that looks like a robot head with red eyes. It’s across from a Boo Boo Burger restaurant.
Sengokuzaka Landmark
Sengokuzaka is about 80 meters north/northeast of Sengoku Police Box. You should find this Landmark on your way to Utagawa Shopping District Torii Gate during Chapter 3 after cleansing Matsumi Shrine. The map icon is roughly under the short pedestrian bridge that crosses above the road leading directly to Utagawa from the south.
Utagawa Shopping District Landmark
This one is essentially impossible to miss. You’ll discover it when you cleanse the Utagawa Shopping District Torii Gate during Chapter 3’s Blindness mission.
Sports Avenue Landmark
Sports Avenue is actually 80 meters south/southeast of Sengokuzaka, closer to Shibuya Scramble Crossing. However, it doesn’t become available until after you cleanse Utagawa Shopping District Torii Gate in Chapter 3. Take the road leading south from Sengokuzaka and then southeast when it forks southeast and west. You should pop this Landmark about halfway down, near the small white truck that’s crashed into the white moving truck by the Boo Boo Burger.
Utagawa Tower Landmark
Utagawa Tower is actually a power transmission tower 105 meters northeast of the Utagawa Shopping District Torii Gate. Take the small road leading directly north of the Torii Gate, through the neighborhood. Go right at the very first crossroads, and follow the road up the hill. Go left at the end/at the game, DVD, comic shop. Turn left and look up and left to see the tower.
Kirigaoka Water Tower Landmark
Kirigaoka Water Tower is 104 meters north/northeast of Utagawa Tower, across the river. Continue north along the road in front of Utagawa Tower, and cross the river beyond the railing at the end. On the other side, take the short road north, and the Water Tower is at the end, encircled by a fence. For another point of reference, Kirigaoka Water Tower is 42 meters west of Yamaki Shrine.
Kirigaoka Shrine Landmark
Kirigaoka Shrine becomes available during Chapter 3’s Agony mission and is 89 meters north/northwest of the Water Tower. You must first cleanse the Yamaki Shrine near the Water Tower to access it. The Landmark icon itself is in the southwestern portion of the area/Restricted Area, though you should discover it after going up the second set of stairs leading up to the Shrine.
Kirigaoka Restricted Area Landmark
While you’re in the same area, go roughly 145 meters north of the Shrine (through the forest) to discover Kirigaoka Restricted Area. This area should be part of the Agony mission, where you must enter a cave to progress the story’s critical path after the cutscene. It is near the Ushi no Kokumairi sidequest.
Tatsui Shrine Landmark
The eastern part of the Ghostwire: Tokyo map doesn’t “unlock” until Chapter 4’s Giants mission. You’ll be able to cleanse more Torii Gates at this point. Tatsui Shrine is impossible to miss, as it’s part of the Giants mission. However, you must first cleanse the Momokane Shrine Torii Gate to access it. Tatsui is 63 meters south of Momokane in a square off of the road near a yellow backhoe, a payphone, and the Archeology Relic-Hunting Nekomata.
Kappagaike Landmark

Cleanse Tatsui Shrine to uncover this location from the fog. Kappagaike is in the middle of a lake in a park roughly 123 meters southeast of Tatsui Shrine; it is directly in front of Kappagaike Torii Gate, which itself is south of the major highway running east-west in the area.
Drunkard’s Alley Landmark
Drunkard’s Alley is about 50 meters southwest of Mikubo Shrine, which you’ll have to cleanse first. Facing the Mikubo Shrine, turn around and go through the small alley square and turn left at the orange traffic cone. Follow the alleyway down and follow the path right at the vending machines. You should discover this Landmark near the yellow crates near the hanging lanterns.
Mitake Shopping Arcade Landmark
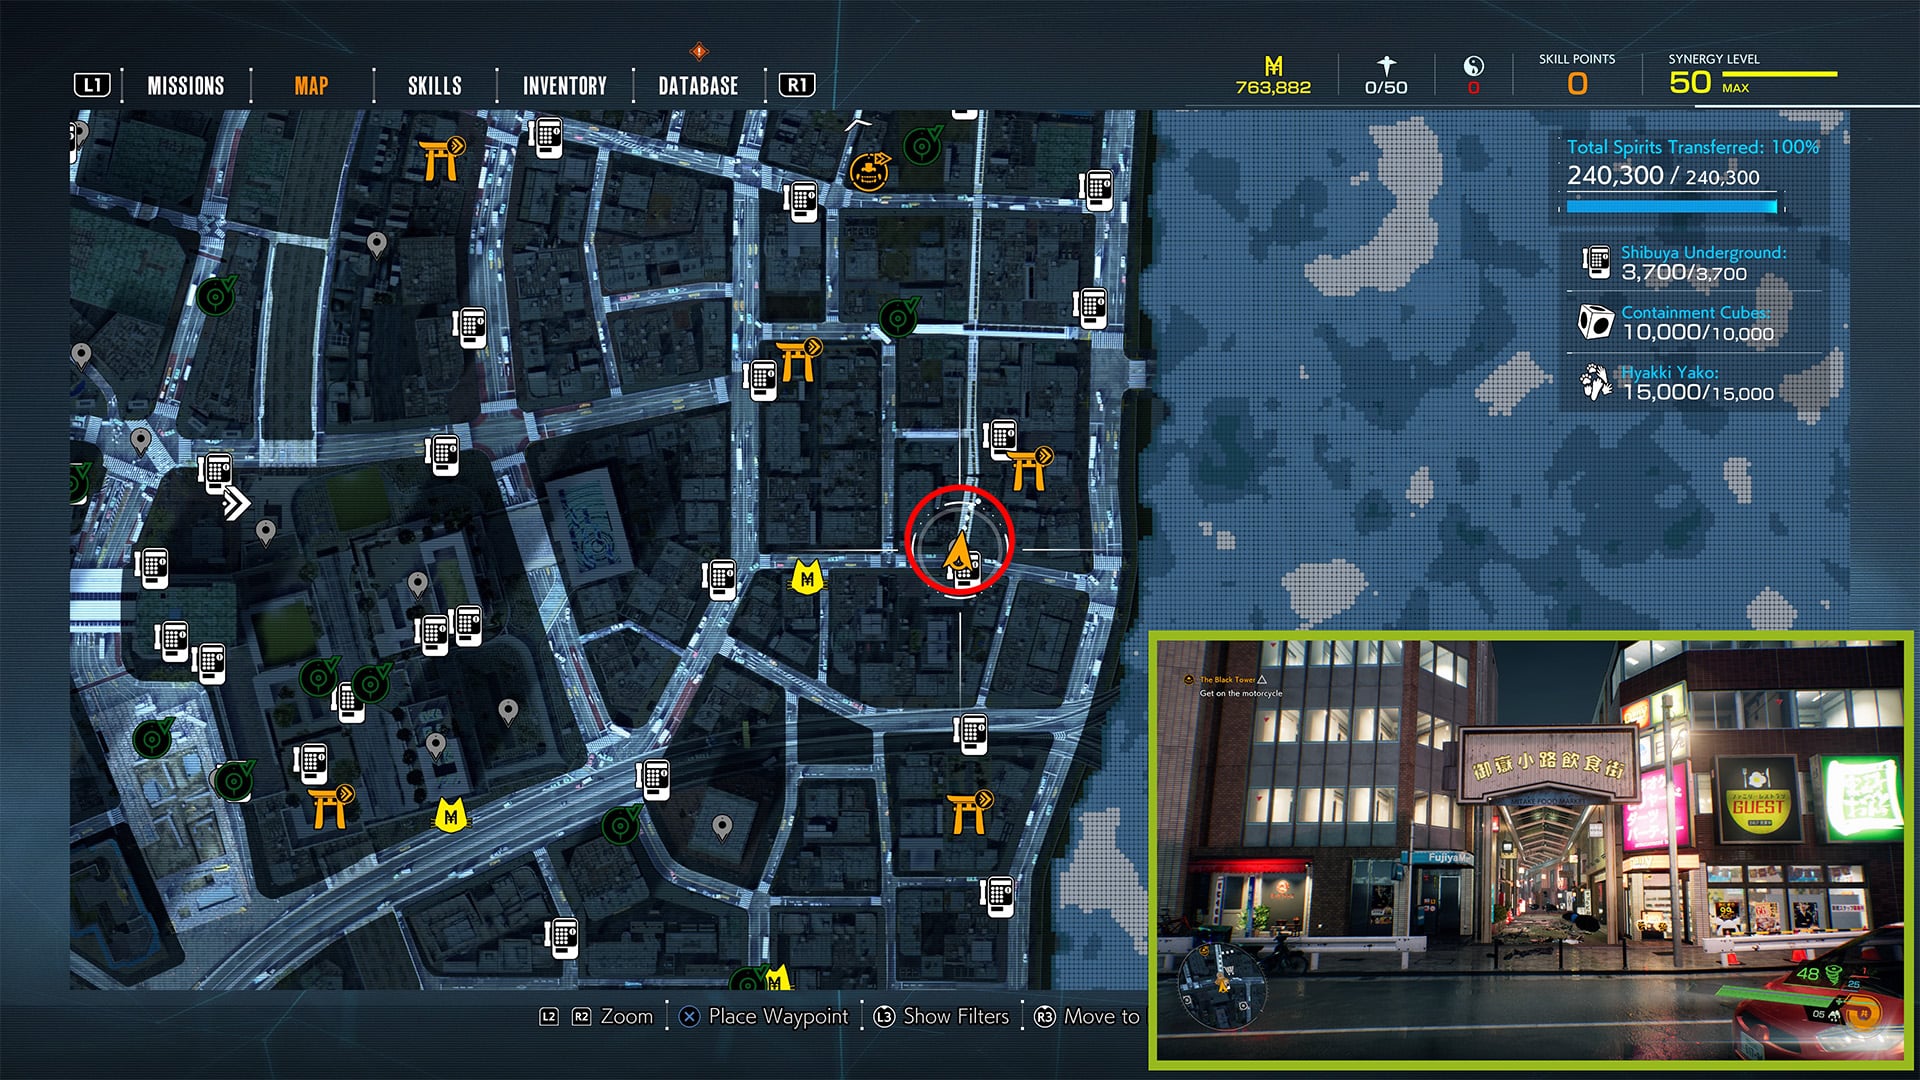
Mitake Shopping Arcade becomes available after cleansing the Shimokusa Shrine during Chapter 4’s Giants mission. The Arcade is about 60 meters south/southwest of Shimokusa Shrine, along the east-west roadway south of the Shrine.
On the map, the Arcade pathway looks like a train car on its side when compared to the roads. The Landmark icon is near a payphone booth and convenience store; there is a Fujiya Mart and Daily Ninja at the entrance of the Arcade.
Shibuya Stripe Tower Landmark
Shibuya Stripe Tower is 118 meters (two blocks) west of Kamio Shrine, which you’ll be able to cleanse during Chapter 4’s Giants mission. The white skyscraper is the only building on the block near a major intersection under the overpass that runs through the area. It is just southeast of Yashin Redevelopment area at Shibuya Kagerie Retail Complex.
Genpei Crossing Landmark
Genpei Crossing becomes available after cleansing Kamio Shrine. It is 137 meters south/southwest of the Shrine, at the intersection just south of the Netsuke Collector Nekomata. There is a Freshmoth Burger joint and another (inactive) Shrine nearby.
Genpei Restricted Area Landmark
Genpei Restricted Area is roughly 80 meters south/southeast of Genpei Crossing. It is near another major intersection of three roadways. Technically, this Landmark is off of the map in the fog, but look for the tree stump with yellow and black caution tape situated in a wall near the intersection. There is a Water Jizo Statue across from it and a white Jeep on the road.
Shibuara Park Landmark
Shibuara Park is the last Landmark in Ghostwire: Tokyo. Technically, it’s closest to the Construction Labyrinth and Kuo Shrine, but it doesn’t become available until after cleansing Kamio Shrine. Shibuara Park is about 50 meters north of Akitsu Shrine in the southern portion of the map. Look for a small, fenced-in park surrounded by buildings one block north of the Shrine.
With that, you’ve found all of the Landmarks in Ghostwire: Tokyo and nabbed the Shibuya is My Back Yard trophy/achievement. If you’re going after more collectibles, check out our guides for finding all music tracks and locating all audio logs. There’s more over in our Ghostwire: Tokyo hub.


Published: Mar 31, 2022 09:38 pm