
The Hidden Missions in Originull Wasteland in Kirby and the Forgotten Land may leave you scratching your head as many of them are hard to find in the world’s puzzle box levels.
In this guide, we’ll tell you where you can find each of the Hidden Missions in Originull Wasteland, as well as how to complete them.
Use the links below to jump to each level:
- The Wastes Where Life Began
- Searching the Oasis
- Alivel Mall (Staff Side)
- Moonlight Canyon
- The Sleepless Valley
All Hidden Missions in the Wastes Where Life Began

There are three Hidden Missions in the Wastes Where Life Began.
Wastes Where Life Began Hidden Mission 1: Shoot 3 Flying Targets
Before attempting this Hidden Mission you need to inhale a Bernard to get the Ranger ability. Then you’ll need to locate the three targets.
- The first is in the first area, above the Star Bit you get from hitting the four green switches. It is floating above a shipping container.
- The second target is up in the sky just to the left of the first.
- The third target can be hard to spot. It is very high up above the arrow sign that points you towards the next part of the stage.
Wastes Where Life Began Hidden Mission 2: Defeat the Lost Squishy
In the Northwest corner of the map of the first area, near the windmill puzzle, you’ll find a lone squid enemy. This is the lost Squishy and all you need to do is bop it with an ability or burst of air to defeat it and complete this Hidden Mission.
Wastes Where Life Began Hidden Mission 3: Defeat Fleurina Using Ring Mouth
You’ll need Ring Mouth to get a couple of other Star Bits in the area where you fight Fleurina. The trick for this Hidden Mission is to not use the ladder up to the ship. Instead, walk around the perimeter to get on top of some rubble. From here you can jump to the ship. Using Ring Mouth mode the fight is a literal breeze
All Hidden Missions in Searching the Oasis
There are three Hidden Missions in the Searching the Oasis level of Originull Wasteland.
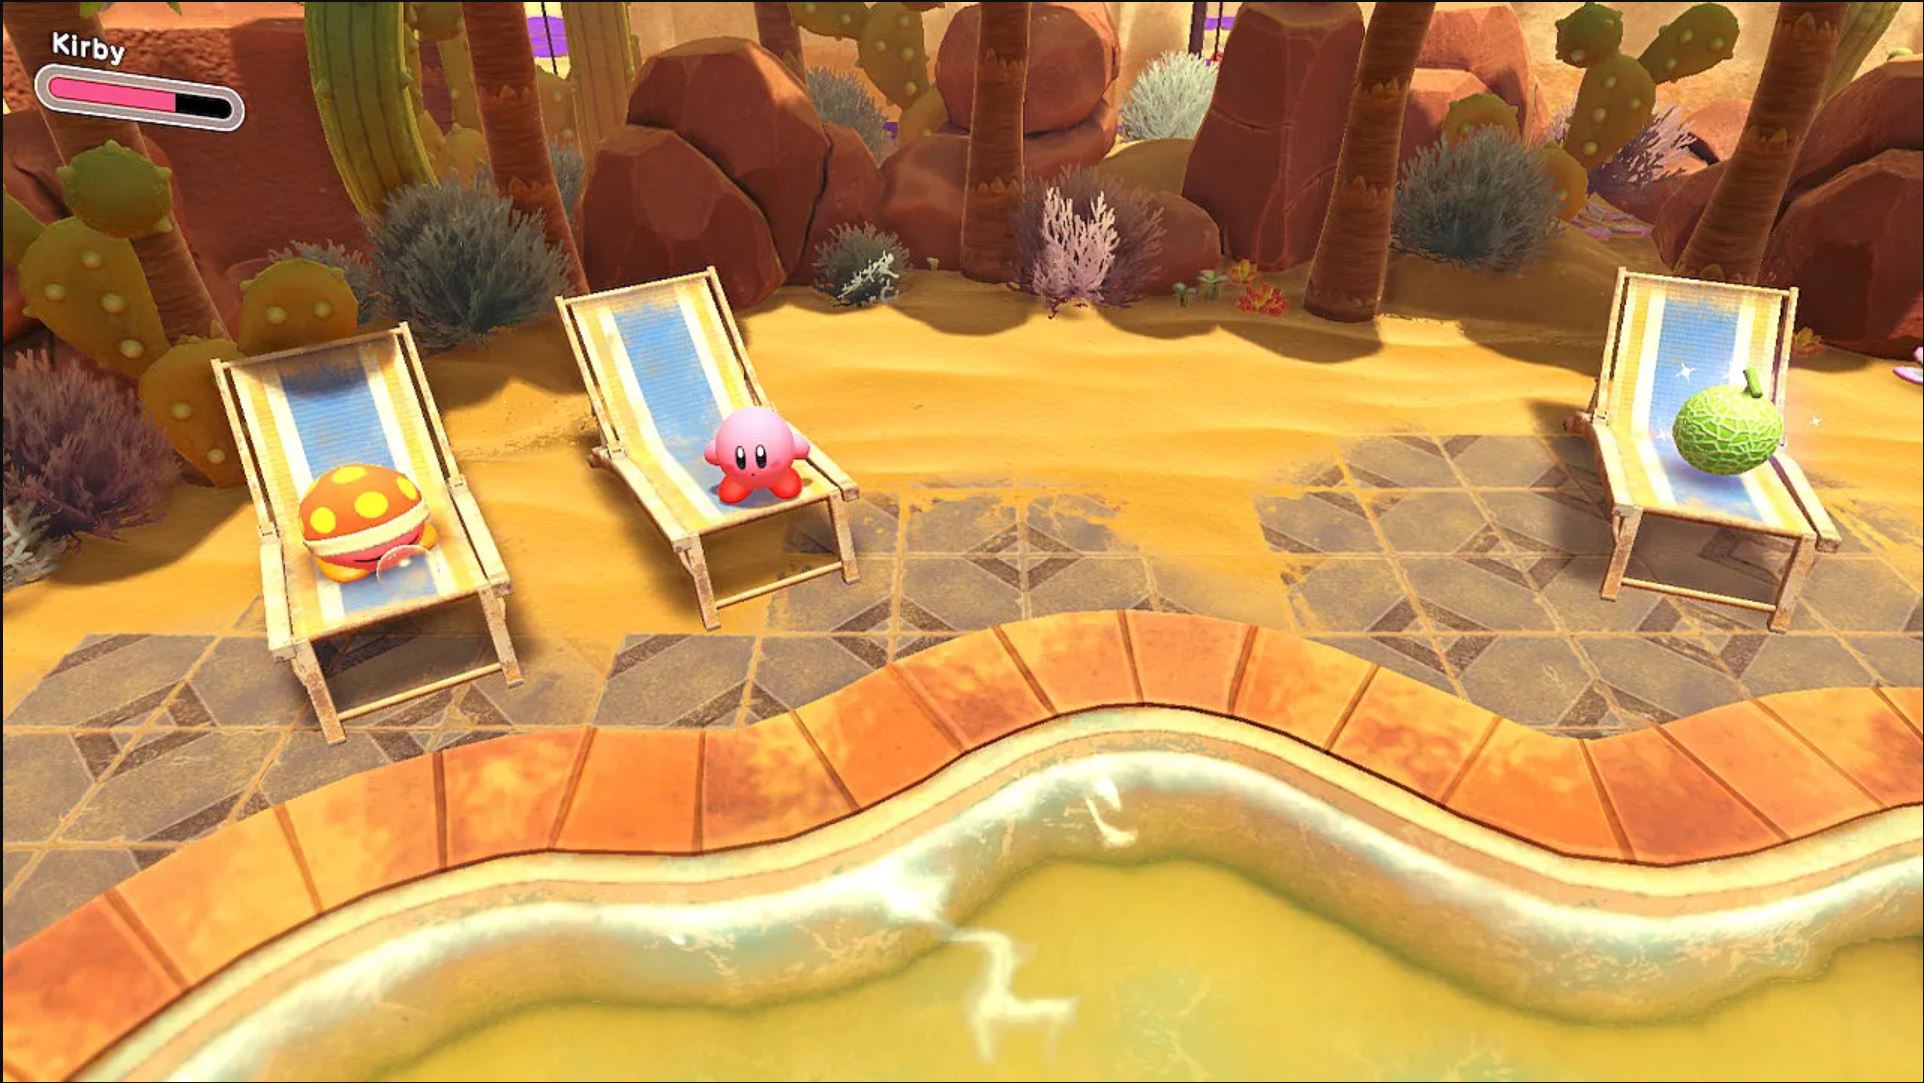
Searching the Oasis Hidden Mission 1: Take a Nap by the Secret Pool
Defeat the big snake that is guarding the Waddle Dee by the pool. Near this location, there is a Noddy, the sleepy Kirby-like enemy you inhale to use the Sleep ability and restore some health. Inhale this harmless enemy to take a nap by the pool for this Hidden Mission.
Searching the Oasis Hidden Mission 2: Defeat 2 Poison Croakoms
You’ll see Poison Croakoms before you can defeat them. It’s only once you reach the part of the stage with Water-Balloon Kirby that you have to worry about this Hidden Mission. Find a spigot and fill yourself up before finding these Croakoms in the area.
- The first is just to the right past where you fill up. you’ll be able to douse it in water to defeat it.
- The second Poison Croakom is further in the level, up a ladder next to a lift platform with a water spigot on it.
- To get the lift to the second story, you need the Drill ability.
- Look to the left for a fence you need to dig under. From here, ascend the ladder on the other side that leads to a switch, which will raise the platform the water pipe is on.
Searching the Oasis Hidden Mission 3: Diligent Digging in the Secret Room
The secret room in Searching the Oasis is in a door that is blocked by a fence and a spot of poison. You’ll need Water Balloon Mouth and the Drill ability to enter the room where you must collect five Star Bits to get the Waddle Dee hidden within it.
To complete this Hidden Mission you must also dig up every sparkling pile of dirt in the area.
All Hidden Missions in Alivel Mall (Staff Side)
There are three Hidden Missions in the Alivel Mall (Staff Side) level.
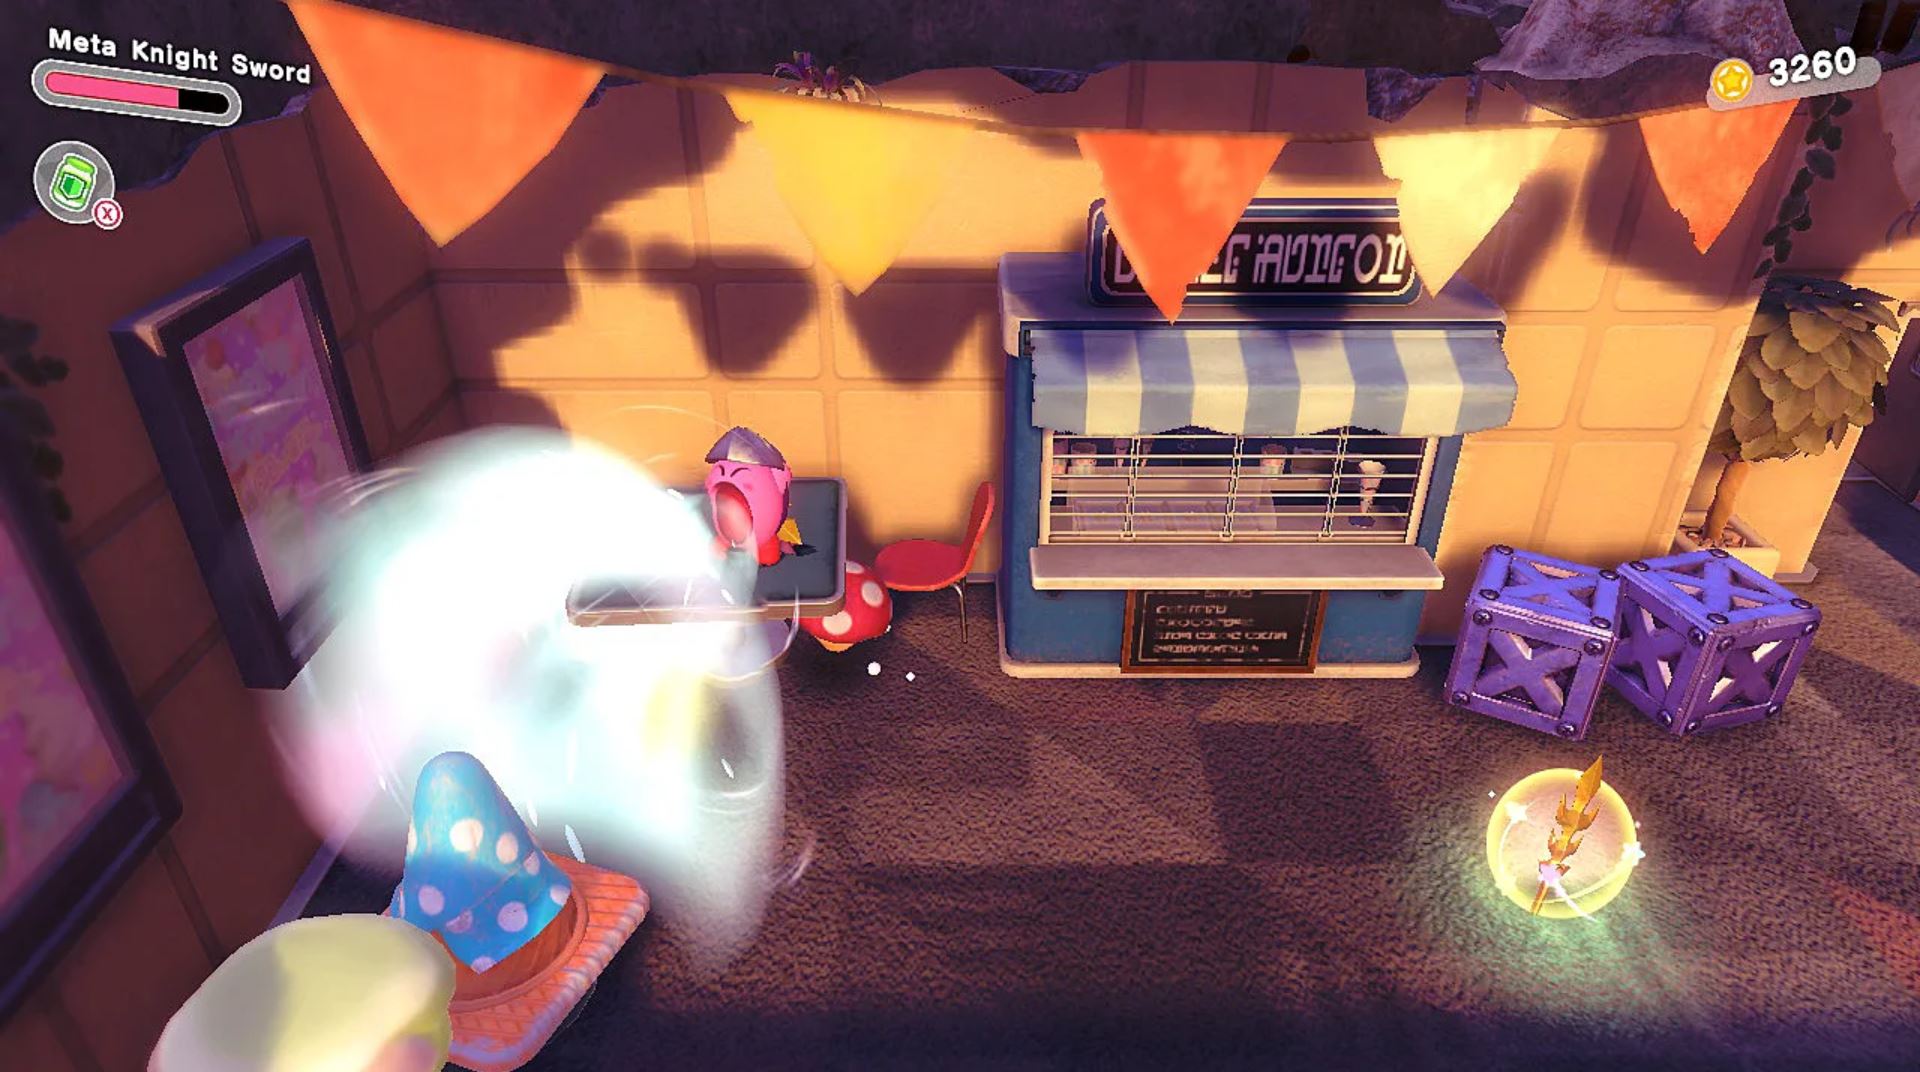
Alivel Mall (Staff Side) Hidden Mission 1: Taste Test 3 Kinds of Ice Cream
- The first ice cream is right near the large Cone Kirby can inhale. This is to the left of the first cone-shaped hole in the wall.
- In the final area of the level, break a cardboard box wall to find a secret area where the second ice cream is waiting for you.
- The third ice cream is also found near a larger cone. However, this one is hidden and requires you to destroy the nearby boxes to find it.
Alivel Mall (Staff Side) Hidden Mission 2: Defeat Wild Bonkers with the Cutter Ability
Right outside the door to the Wild Bonkers fight is an enemy you can absorb to get the Cutter ability. Do this before going into the mini-boss battle, and you’ll be set up to complete this mission.
Alivel Mall (Staff Side) Hidden Mission 3: Fit Through All Holes Using Mouthful Modes
This Hidden Mission is kind of a cherry on top. If you follow our guide on how to get all the Hidden Waddle Dees in this level, you’ll enter all the holes the level has to offer by finding each Waddle Dee.
All Hidden Missions in Moonlight Canyon
There are three Hidden Missions in the Moonlight Canyon level of Originull Wasteland.
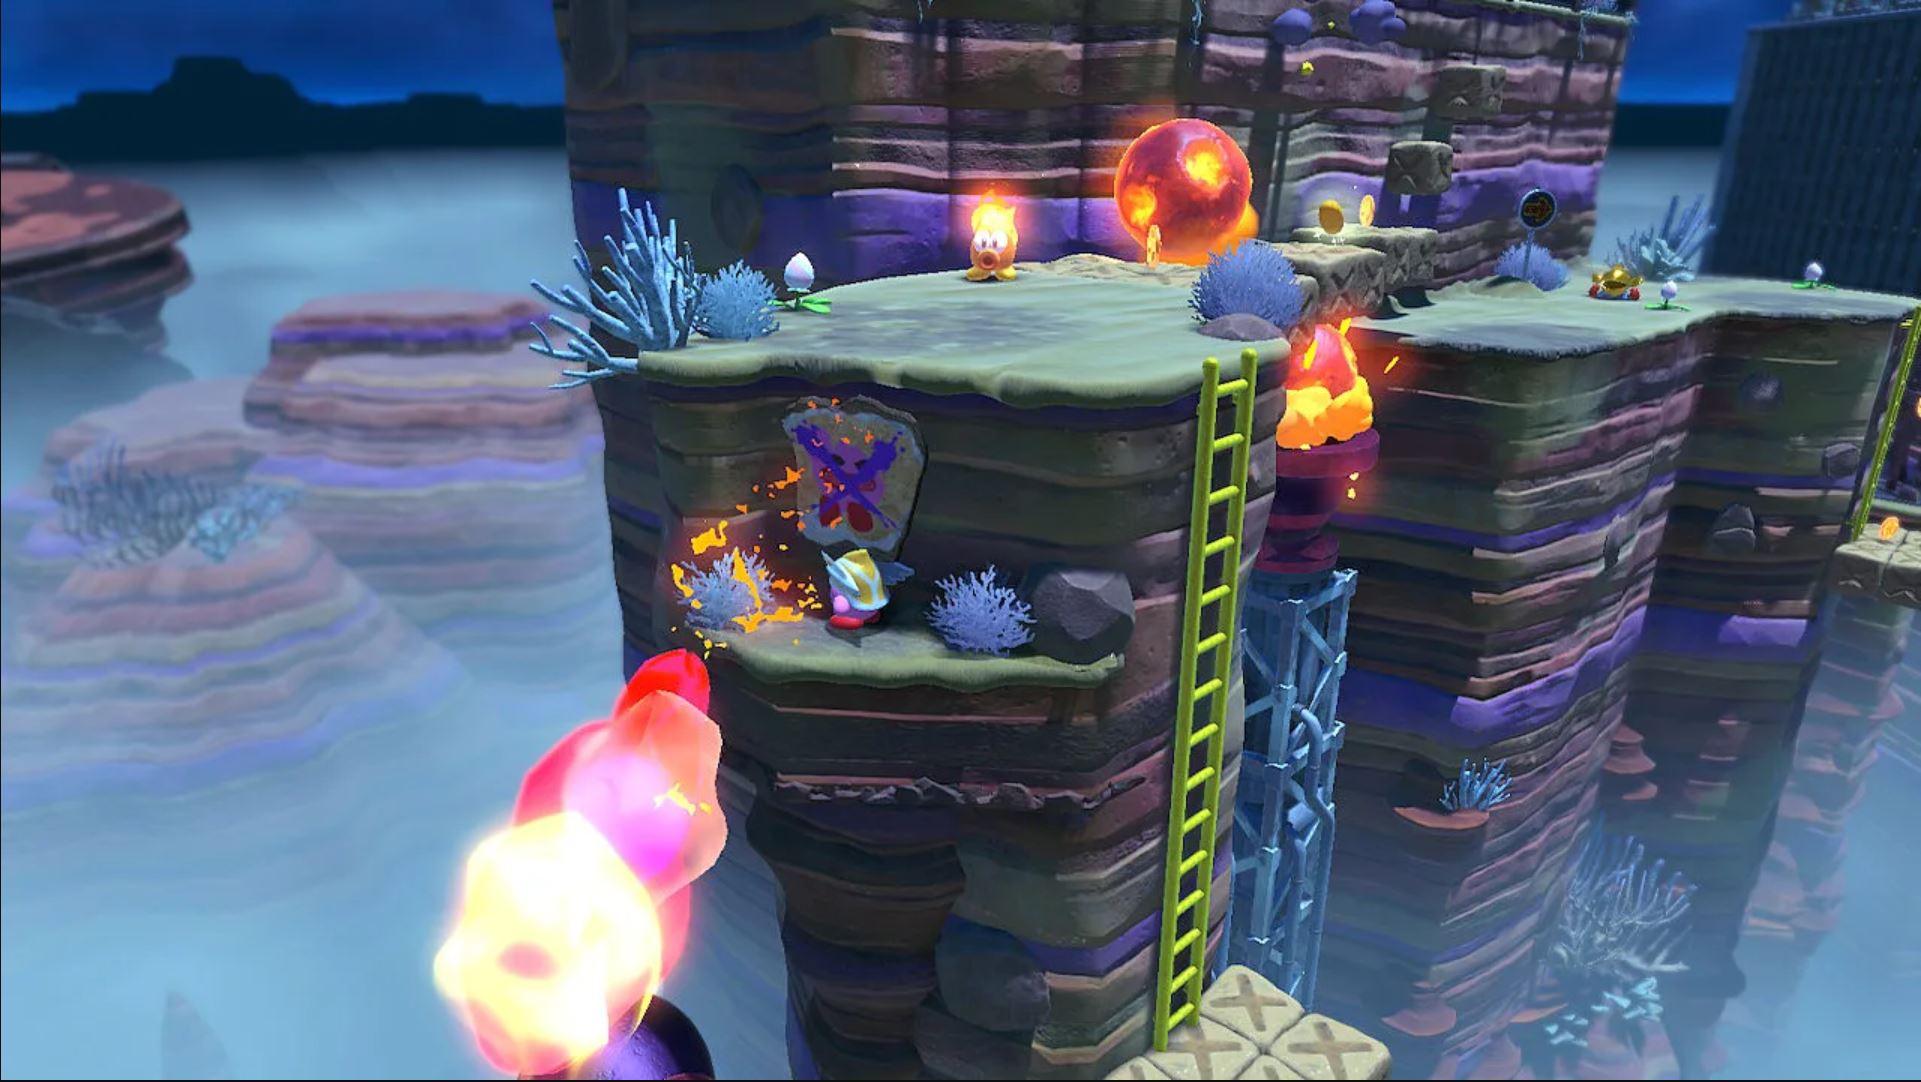
Moonlight Canyon Hidden Mission 1: Remove 3 Wanted Posters
- Right before the exit of the first area of the stage, with the falling blocks, you’ll find the first poster.
- After you find the second Waddle Dee in the Light-Bulb Mouth section, the wanted poster is to the left of the Waddle Dee’s location.
- From the location of the third Waddle Dee, out on the falling block bridge, walk towards the ladder to your right. As you climb, you’ll see the final poster in a small alcove to your left that you can jump to.
Moonlight Canyon Hidden Mission 2: Clear the Secret Room Without Falling
As you pass some falling blocks and upward-facing canons, notice how some blocks lead upwards — the opposite direction of the arrow sign below. Follow this up to find to become Scissor-Lift Kirby. Use this Mouthful Mode ability to hit a blue switch on the ceiling and then avoid the Gordos to make your way to the now unlocked Secret Room.
There are many falling blocks in this room, so you have to navigate it without falling. The guide through this area and to the Hidden Waddle Dee that lies at the end can be found in our Originull Wasteland Waddle Dee guide.
Moonlight Canyon Hidden Mission 3: Find the Treasure by Cactus Triplets
At the very end of the stage, you’ll want to look behind the final cage of Waddle Dees. There is a cactus back here hiding a hidden treasure. Finding it will make you richer and mark this Hidden Mission complete.
All Hidden Missions in Collector in the Sleepless Valley

The Hidden Missions in this boss level can actually all be collected in one go, but a couple of them may get pretty tough. Here are all four of the Hidden Missions in the SillyDillo fight:
- Hit 3 of Sillydillo’s handmade Kirbys.
- Defeat Sillydillo with the Hammer ability.
- Clear within 2:00.
- Clear without taking any damage.
At the start of the fight, we recommend taking the Hammer ability in order to get this easy mission complete. By this point in the game, you can unlock the Wild Hammer upgrade for the Hammer Copy Ability. If you need to find the blueprint, we can help you with that in our Kirby and the Forgotten Land blueprints guide.
In Sillydillo’s second phase, it will summon handmade (not so epic) yarn Kirby’s to fight against you. Destroying three of these will be easy as long as you focus on them and not Sillydillo during this part of the fight. At least until you see the Hidden Mission is complete.
The last two might be tough your first go at this boss. We recommend first fully upgrading your Bomb Copy ability and using that to deal massive damage to SillyDillo quickly and from a distance.
That’s it for how to find all the Hidden Missions in Originull Wasteland. If you found this guide helpful and need help with Hidden Missions and hidden Waddle Dees, check out our other Kirby and the Forgotten Land guides.


Published: Apr 7, 2022 04:20 pm