Category: Tips Skyrim Carry Weight Command: How to Increase Weight Permanently Nikola L Nikola L Jun 21, 2024
Category: Tips Skyrim Vampire vs Dawnguard: What’s the Benefit of Each Choice? Nikola L Nikola L Jun 17, 2024
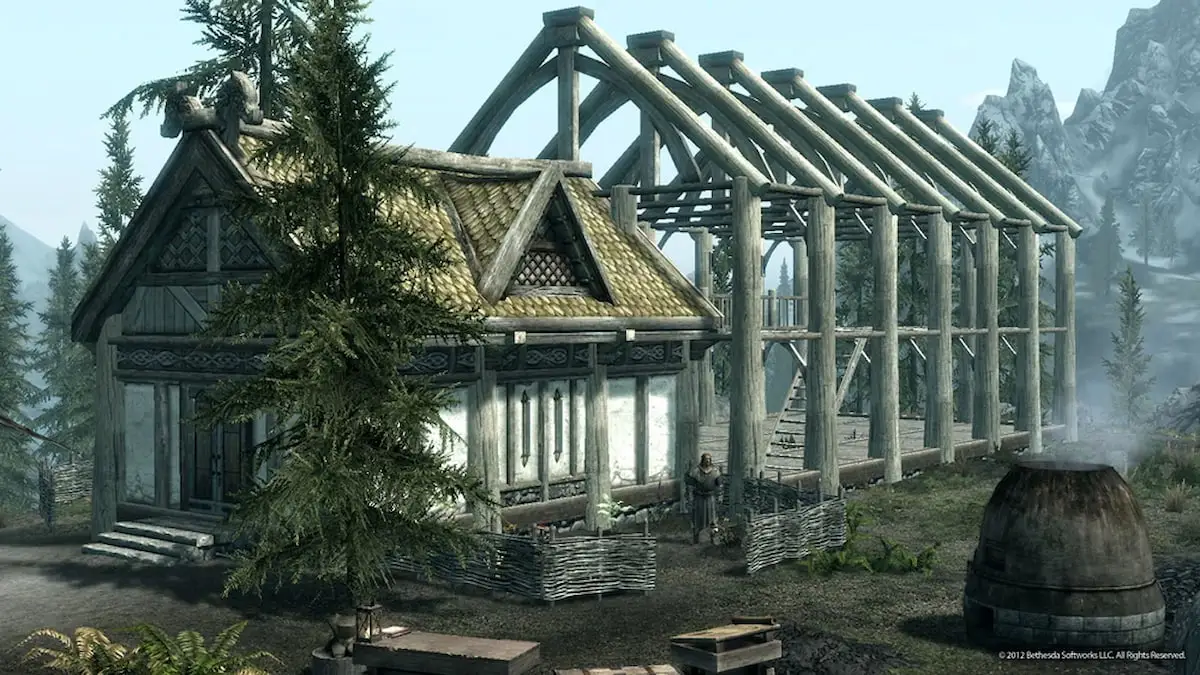
Category: Tips The Definitive Skyrim House Guide: How to Buy and Build Houses Jason Rodriguez and others Jason Rodriguez and others May 10, 2024
Category: Tips Skyrim: How to Get All Dragon Priest Masks Gavin Burtt and others Gavin Burtt and others Apr 26, 2024
Category: Tips Skyrim Carry Weight Command: How to Increase Weight Permanently Nikola L Nikola L Jun 21, 2024
Category: Tips Skyrim Vampire vs Dawnguard: What’s the Benefit of Each Choice? Nikola L Nikola L Jun 17, 2024
Category: Tips The Definitive Skyrim House Guide: How to Buy and Build Houses Jason Rodriguez and others Jason Rodriguez and others May 10, 2024
Category: Tips Skyrim: How to Get All Dragon Priest Masks Gavin Burtt and others Gavin Burtt and others Apr 26, 2024
Category: Tips Skyrim Golden Claw Puzzle: Round Door Solution Guide Gavin Burtt and others Gavin Burtt and others Apr 18, 2024
Category: Tips How to Find (& Craft) Refined Moonstone in Skyrim Antonio Samson Antonio Samson Apr 17, 2024
Category: Tips Skyrim Skuldafn Puzzle Solution Guide Gavin Burtt and others Gavin Burtt and others Apr 11, 2024
Category: Tips How to Make the Best Necromancer Build in Skyrim Special Edition AwesumPawsum and others AwesumPawsum and others Apr 11, 2024
Category: Tips Skyrim Invisible Chests: How to Find These Infinite Loot Locations Gavin Burtt and others Gavin Burtt and others Apr 11, 2024
Category: Tips Skyrim Dragon Locations: Where to Find Dragons Serhii Patskan and others Serhii Patskan and others Apr 11, 2024
How to Make the Best Necromancer Build in Skyrim Special Edition AwesumPawsum and others AwesumPawsum and others Apr 11, 2024
Skyrim Dragon Locations: Where to Find Dragons Serhii Patskan and others Serhii Patskan and others Apr 11, 2024
Skyrim Fishing Locations and Complete Fish List Jason Rodriguez and others Jason Rodriguez and others Mar 7, 2024