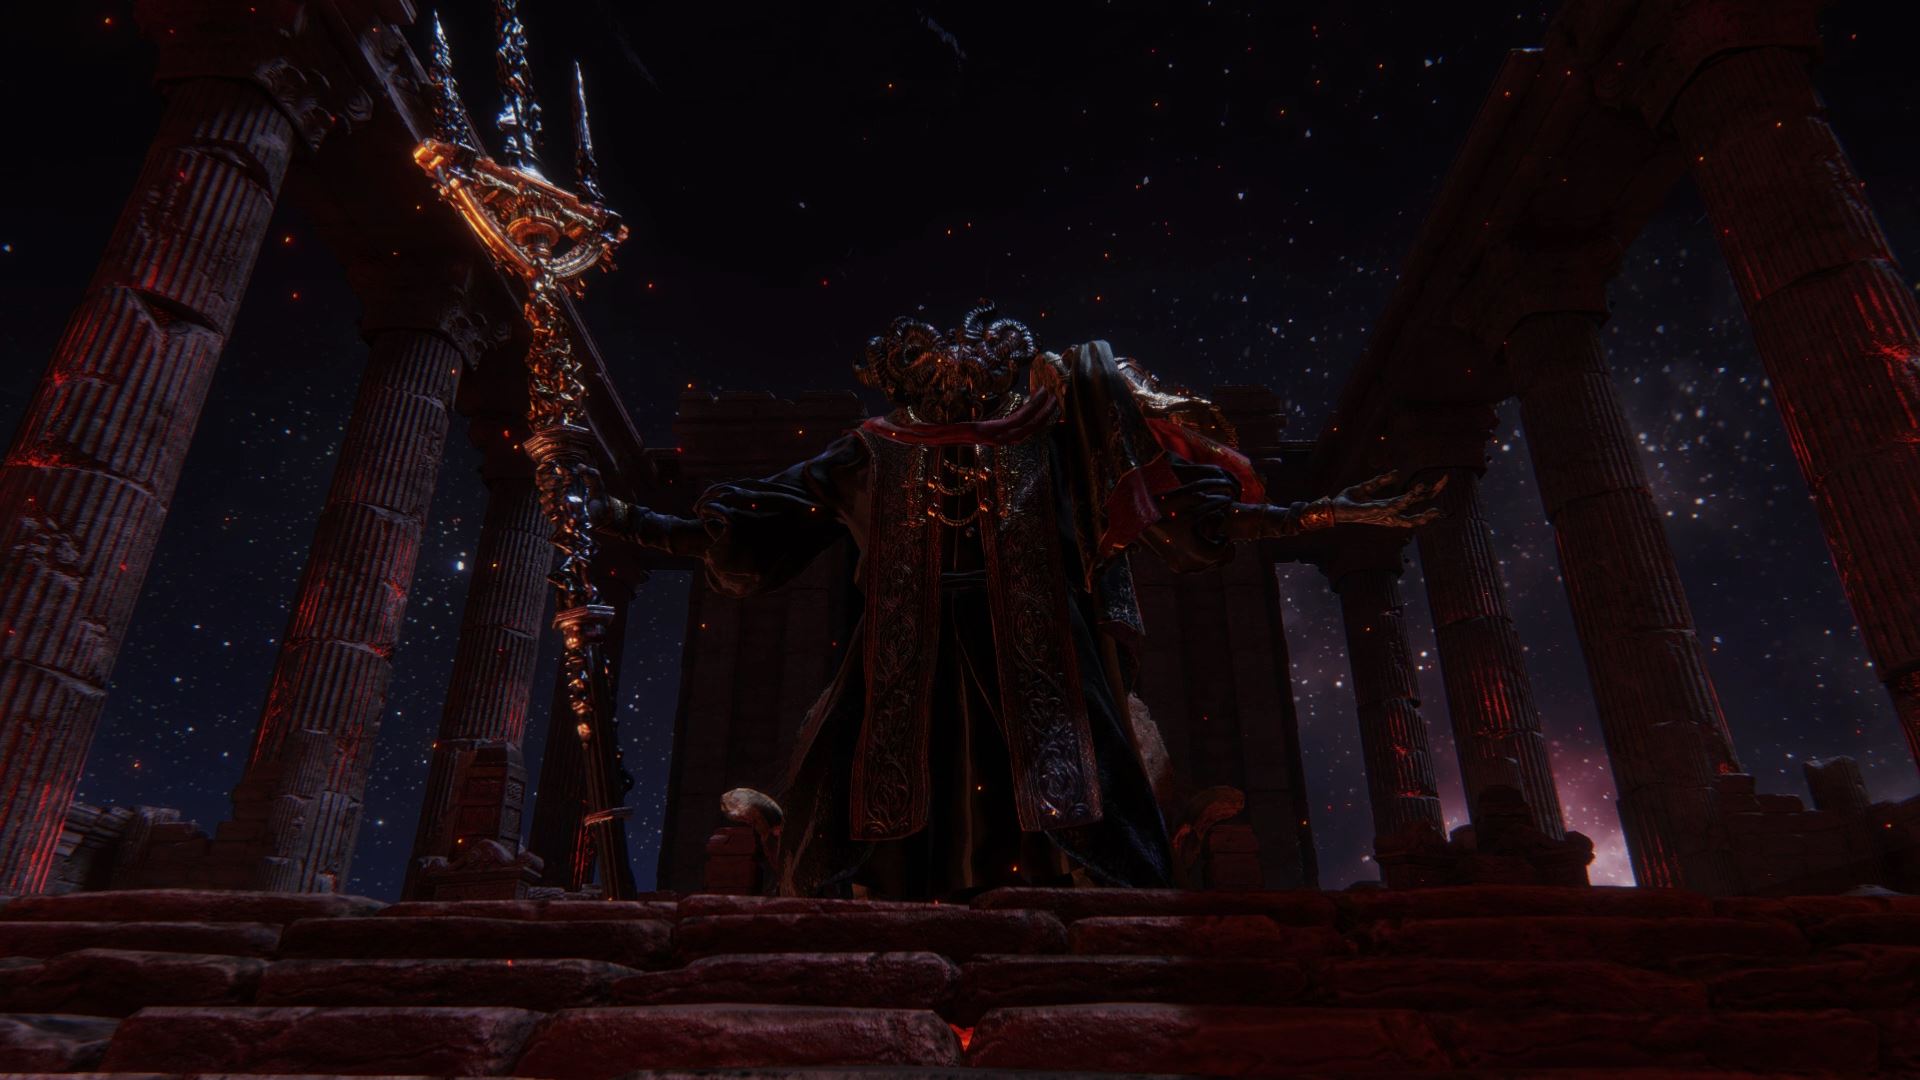
Mohg is actually two bosses in Elden Ring. His lesser form, Mohg, the Omen, lives deep below the city of Leyndell, Royal Capital, in the Cathedral of the Forsaken. With multiple phases in a proper arena filled with story significance, the full fight is against Mohg, Lord of Blood.
Defeating the Omen is required for the Frenzied Flame ending, earned via Hyetta’s questline. Mohg, Lord of Blood, is one of the shardbearing demigods who lives in Mohgwyn Palace. You get to the palace either via the Pureblood Knight Medal received during the Bloody Finger questline or through the portal in the Consecrated Snowfield.
The fight below Leyndell consists only of the first phase, which doesn’t need too much room to maneuver. The fight against the Lord of Blood will need all the space his palace provides. Here’s how to beat Mohg, no matter where you face him.
How to Beat Mohg in Elden Ring
You have access to Mohg, the Lord of Blood, much earlier in Elden Ring through the Pureblood Knight Medal, but if you never find it, Mohg, the Omen is your likely first encounter. Neither is a guarantee, though, as they’re both very well hidden.
The strategies you develop against one will translate directly to the other, though if you fight Lord of Blood first, you’ll have a much easier time with the Omen. His shardbearer version in the palace has more health, deals more damage, and an entirely separate phase with plenty more to learn. This section covers the first phase/Omen fight. As always, the first phase attacks will carry over into the second phase.
Mohg Phase 1 Attacks
Attack 1: Standing Swing Into Running Swing
One of Mohg’s most commonly used moves, he’ll take a small step forward and swing from left to right. Shortly after, he will raise his trident over his head with both hands and run toward you for about two and a half seconds. Mohg will then swing across himself, ending on his left side. This attack has a significant delay, as it’s designed to punish bad timing. If you think the attack is about to come out, it likely won’t for a quarter-second more.
Attack 2: Charging Slam
Mohg takes a few quick steps forward and slams his trident down. As with Attack 1, there is more delay in the attack completing than it seems. It’s usually a solo attack from middle distance, but Mohg can use it as a combo ender from time to time.
Attack 3: Wide Swing into Slam Combo
There are three variations of this combo in Mohg’s arsenal.
- The first is two hits. Mohg will swing across his body, then do so again while holding his trident with two hands.
- The second variation adds a third attack: a faster swing at the end with a quick back step.
- The final, deadliest version removes the back step and instead has Mohg spin around and jam the points of his trident into the floor. After a second or so, he then violently removes the trident for an additional AoE. Avoiding this attack requires you to first roll right, then left, and then right with specific timing. Blocking it is possible, but as there are up to four high-power attacks, watch your stamina carefully.
Attack 4: Bloodflame Explosion
A “get away from me” attack, Mohg quickly claws at the air in front of him, leaving behind red lines of blood magic that quickly explode into a fireball. Rolling through this attack takes precise timing, but you’re better off circling around and to Mohg’s left side (your right) and dodging behind him, as the hitbox doesn’t quite reach that point.
Attack 5: Bloodflame Explosion and Follow Up
Mohg creates sparks in his left hand and then swipes again, creating a larger explosion. Avoiding this attack is easier than the quick version, as you have more time to circle to his back. The catch is Mohg will make a wide swing with his trident shortly after the explosion dissipates, and that swing covers about 270 degrees around him, dealing quite a bit of damage if it connects. It’s easy to dodge, however, regardless of the direction you choose.
Attack 6: Lunging Stab
Exactly as advertised, Mohg will quickly draw his trident behind him, then run forward with its three tines pointed directly at you. This attack has much more range than you might expect, but rolling to the side with the right timing negates it entirely.
Attack 7: Blood Rain
Mohg reaches into a portal over his head and pulls down a localized shower of burning blood. The falling blood deals damage and causes lingering blood loss buildup, then leaves pools of burning bloodflame on the ground for a brief period. If touched, the pools deal minor damage and increase blood loss buildup. You can avoid both by going directly behind Mohg’s back and attacking from there, but be even a little to either side will see the attack clip you at least once.
Attack 8: Blood Throw
Once again reaching into a blood portal, Mohg throws it at you in one of two patterns. If he holds his off-hand to the side, he will throw the blood in a wide arc. If his hand goes above his head, Mohg will toss it in a long line. Both deal damage and cause lingering blood loss buildup. Dodge through the arc and to the side of the line.
Attack 9: Tres, Duo, Unus
In these transition attacks, Mohg will raise his trident into a portal above his head and count down from three in Latin. At each number before zero (nihil), he’ll place a red blood seal around you, making three concentric rings. Mohg will also take a small swing to his front and right, leaving his left side or the right side if you’re facing him.
Attack 10: Nihil
At Nihil, Mohg will summon more of his power, and the entire arena will turn red. He will say “nihil” three times, each time absorbing about half your health and healing him in the process. There are two ways of dealing with this attack. The first is to tank all three hits and heal between each. As this attack occurs at about 50% of Mohg’s health, he’ll enter the second phase with almost 80%.
The only way to be unaffected by Nihil is to use the Purifying Crystal Tear inside the Flask of Wondrous Physick. Travel to the Second Church of Marika in the Altus Plateau after reaching the Mountaintops of the Giants or during Yura, Hunter of Bloody Fingers’ questline. An NPC named Eleonora, Violet Bloody Finger, will invade and, when defeated, drop the Tear.
Be sure to drink the Flask just before Nihil begins, and the barrier it creates will nullify Mohg’s blood magic.
Mohg Phase 2 Attacks
Again, these attacks only apply to Mohg, Lord of Blood. The Omen never uses them. The big change between phase one and two of the fight with Mohg, Lord of Blood is every attack now sprays burning blood everywhere. Part of the challenge of phase two is spacing and situational awareness because blood loss going off staggers you, leaving you vulnerable to any of his attacks.
Mohg also has wings now, and several divebomb attacks that use his new, though limited, flight. He’s also much more aggressive and will be in your face more often than at any time in phase one.
Attack 1: Divebomb Swings
Mohg will fly to the top of the arena and away from you, raise his trident high, then divebomb toward and behind you. Avoiding this attack is easy, as you need only run toward Mohg’s position in the sky and allow him to land safely behind where you were. Mohg sometimes follows the divebomb up with one or two trident swings, so be mindful.
Attack 2: Divebomb Thrust
This attack is like the lunging stab in phase one, except Mohg flies backward into the air, readies his trident ahead of him, and charges at you. Avoiding this attack follows the same protocol as any thrusting attack: dodge to the side. Beware of the mild tracking on the attack, however, as Mohg can somewhat correct during the dive if you move too early.
Attack 3: Flying Blood Rain and Swing
Mohg flies up and away from you once again, then quickly reaches into the blood portal above his head to send out a huge arc of burning blood. Shortly after that, Mohg charges down and makes a wide horizontal swing. You’ll need to roll forward and then backward to avoid this attack entirely.
Attack 4: Slam and Explosion
This time, when Mohg slams his trident into the floor, in addition to pulling it out to deal damage, it creates a large explosion that completely covers the area immediately around him. Get away from this attack if you manage to avoid the initial slam, as the radius on the blast is larger than it appears.
Mohg isn’t likely to go down easily, but hopefully, armed with the knowledge of how the boss fight works, you can spend less time learning and more time taking down the Omen and the Lord of Blood versions of Mohg. If you’d like some help with the fight but don’t want to summon friends, try out the Mimic Tear using our guide. If you do want to summon friends but aren’t sure how, check out our guide to cooperating. We’ve got more coming, so stay tuned to our Elden Ring guides hub.


Published: Mar 14, 2022 09:00 pm