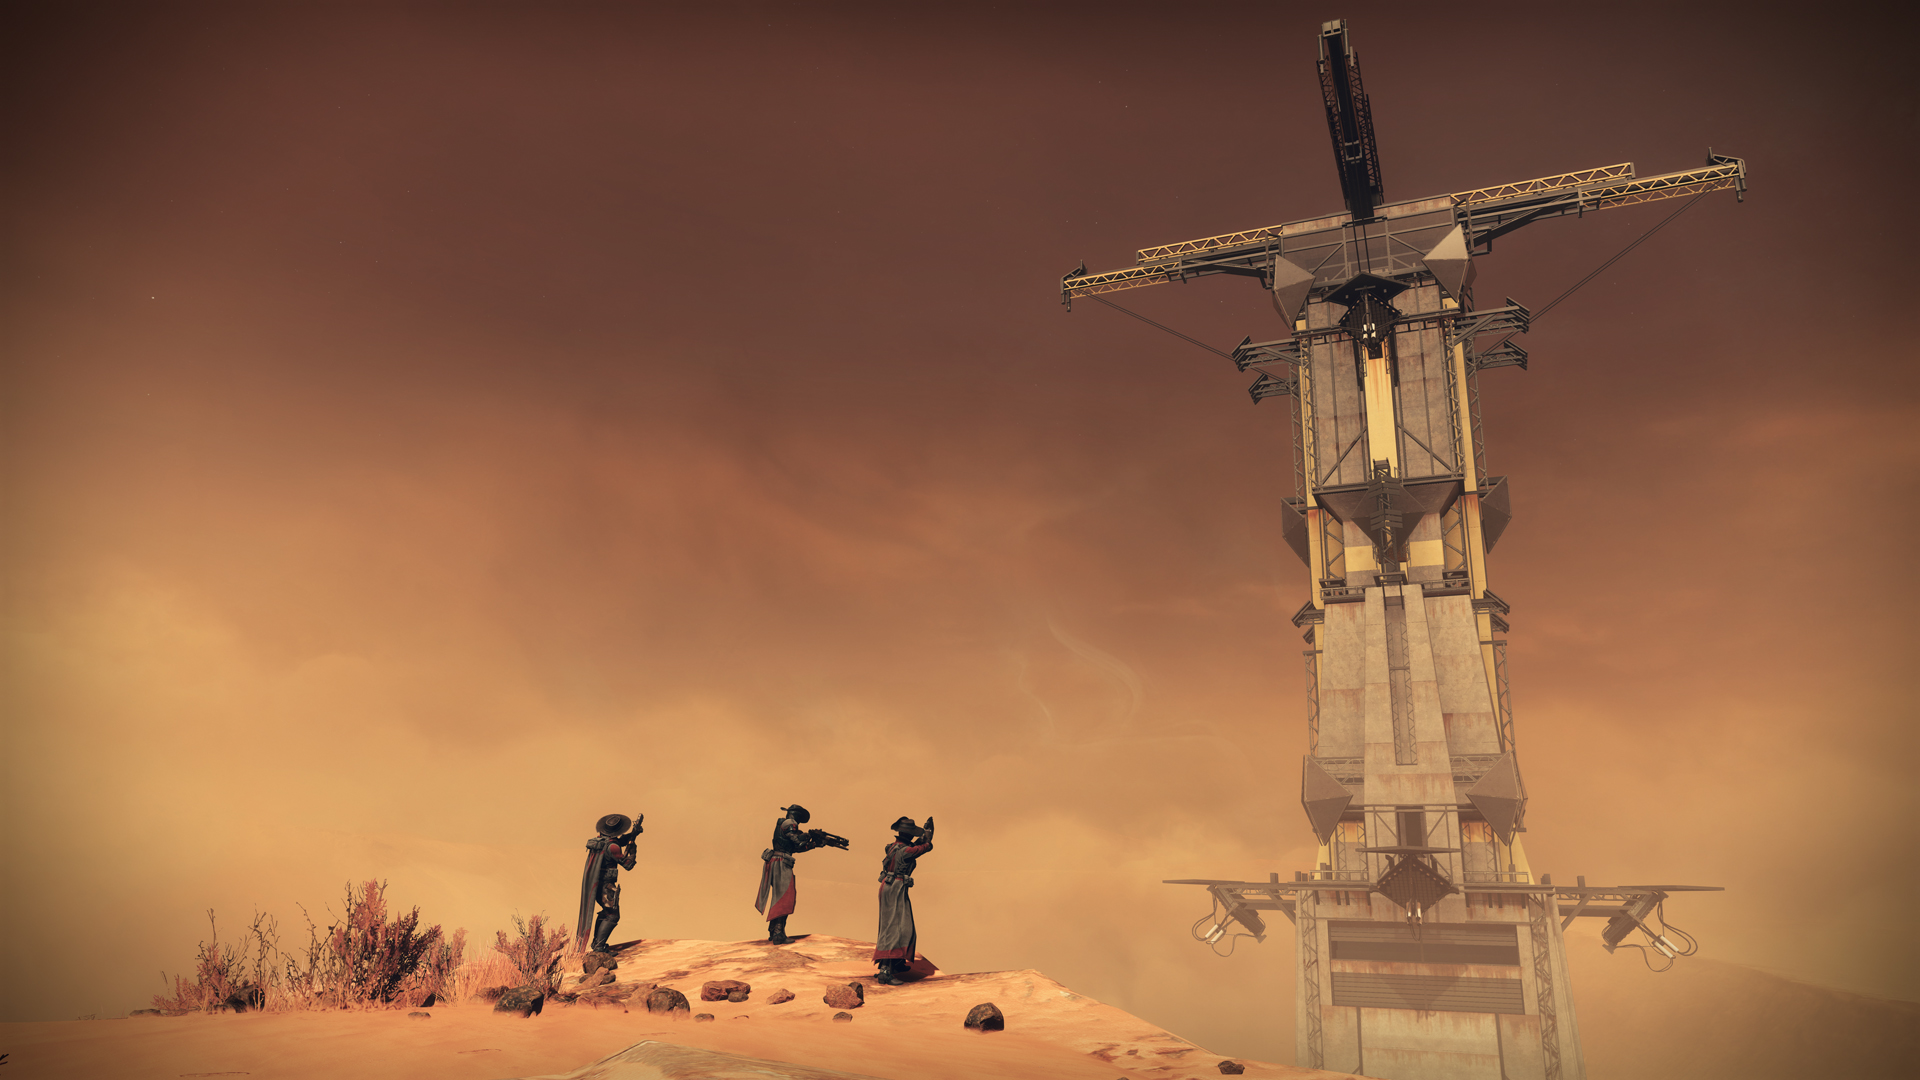
Probably the longest encounter in the Spire of the Watcher Dungeon and one of the longest Dungeon encounters in Destiny 2 generally. It’s also one of the easiest, provided you don’t have any issues with platforming. The most significant threats are the boss-level Hydras that spawn and the ever-present Supplicants that want to blow you to kingdom come.
Completing the encounter is an extension of the Reestablish Power section, just on a more vertical scale. You’ll be connecting two sets of Arc node circuits from their starting nodes to termination points three times.
All three sections are to activate anti-gravity lifts, with the final section’s lift leading to a room beneath the boss encounter. Finishing the third
section also awards your first loot chest. We’ll cover everything you need to know about completing the Spire encounter in this guide.
How to Complete the Ascend the Spire Encounter in Destiny 2’s Spire of the Watcher Dungeon
You’ll start this encounter in a server room with the Dungeon’s first Rally Flag point. Jump out the window and onto the small platform, the solar panels, and the main platform to your right.
How to Complete the First Section of Ascend the Spire
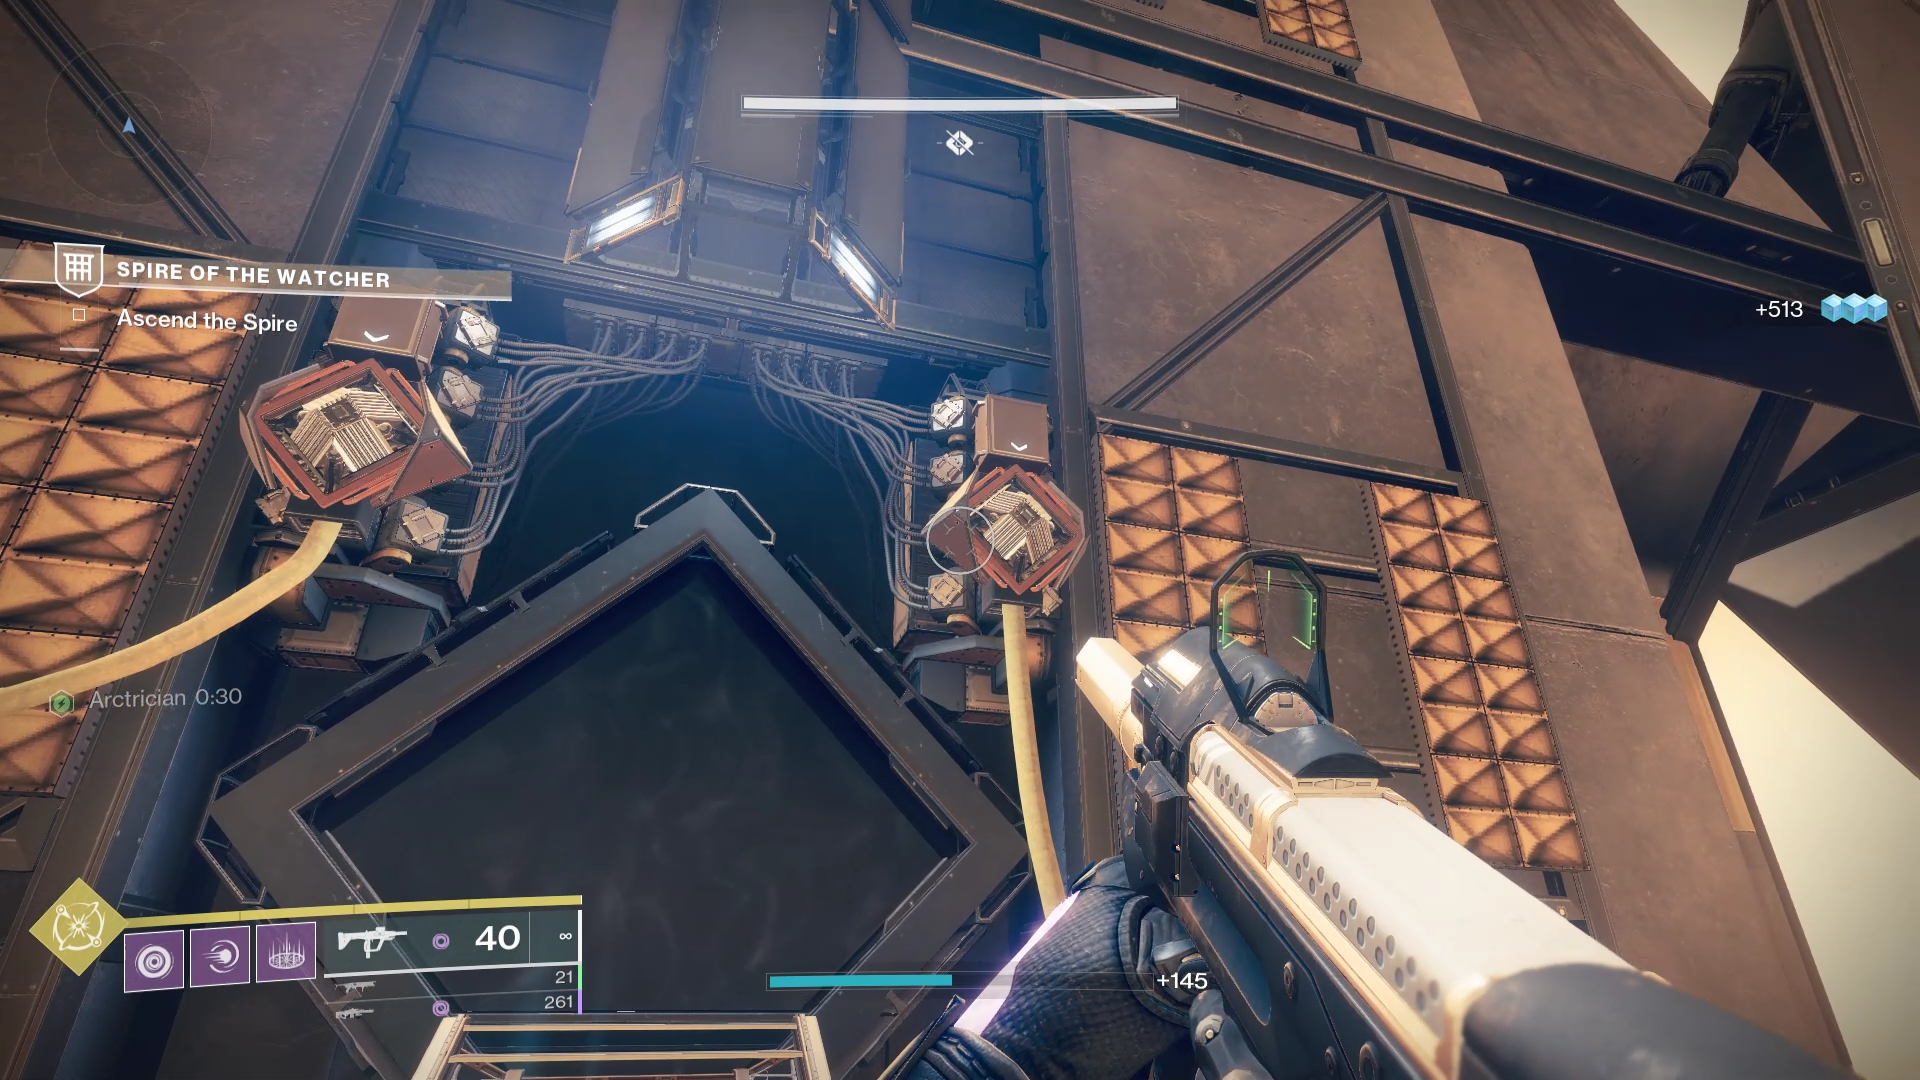
Continue along the wall, then turn the corner to your right. A Minotaur will spawn shortly after you round that corner, so pick up the Arctrician buff, then turn around and shoot one of the Arc conduit nodes. From there, follow the wires in this order:
To the right
- The second node is between two short sets of stairs not far from the Minotaur platform.
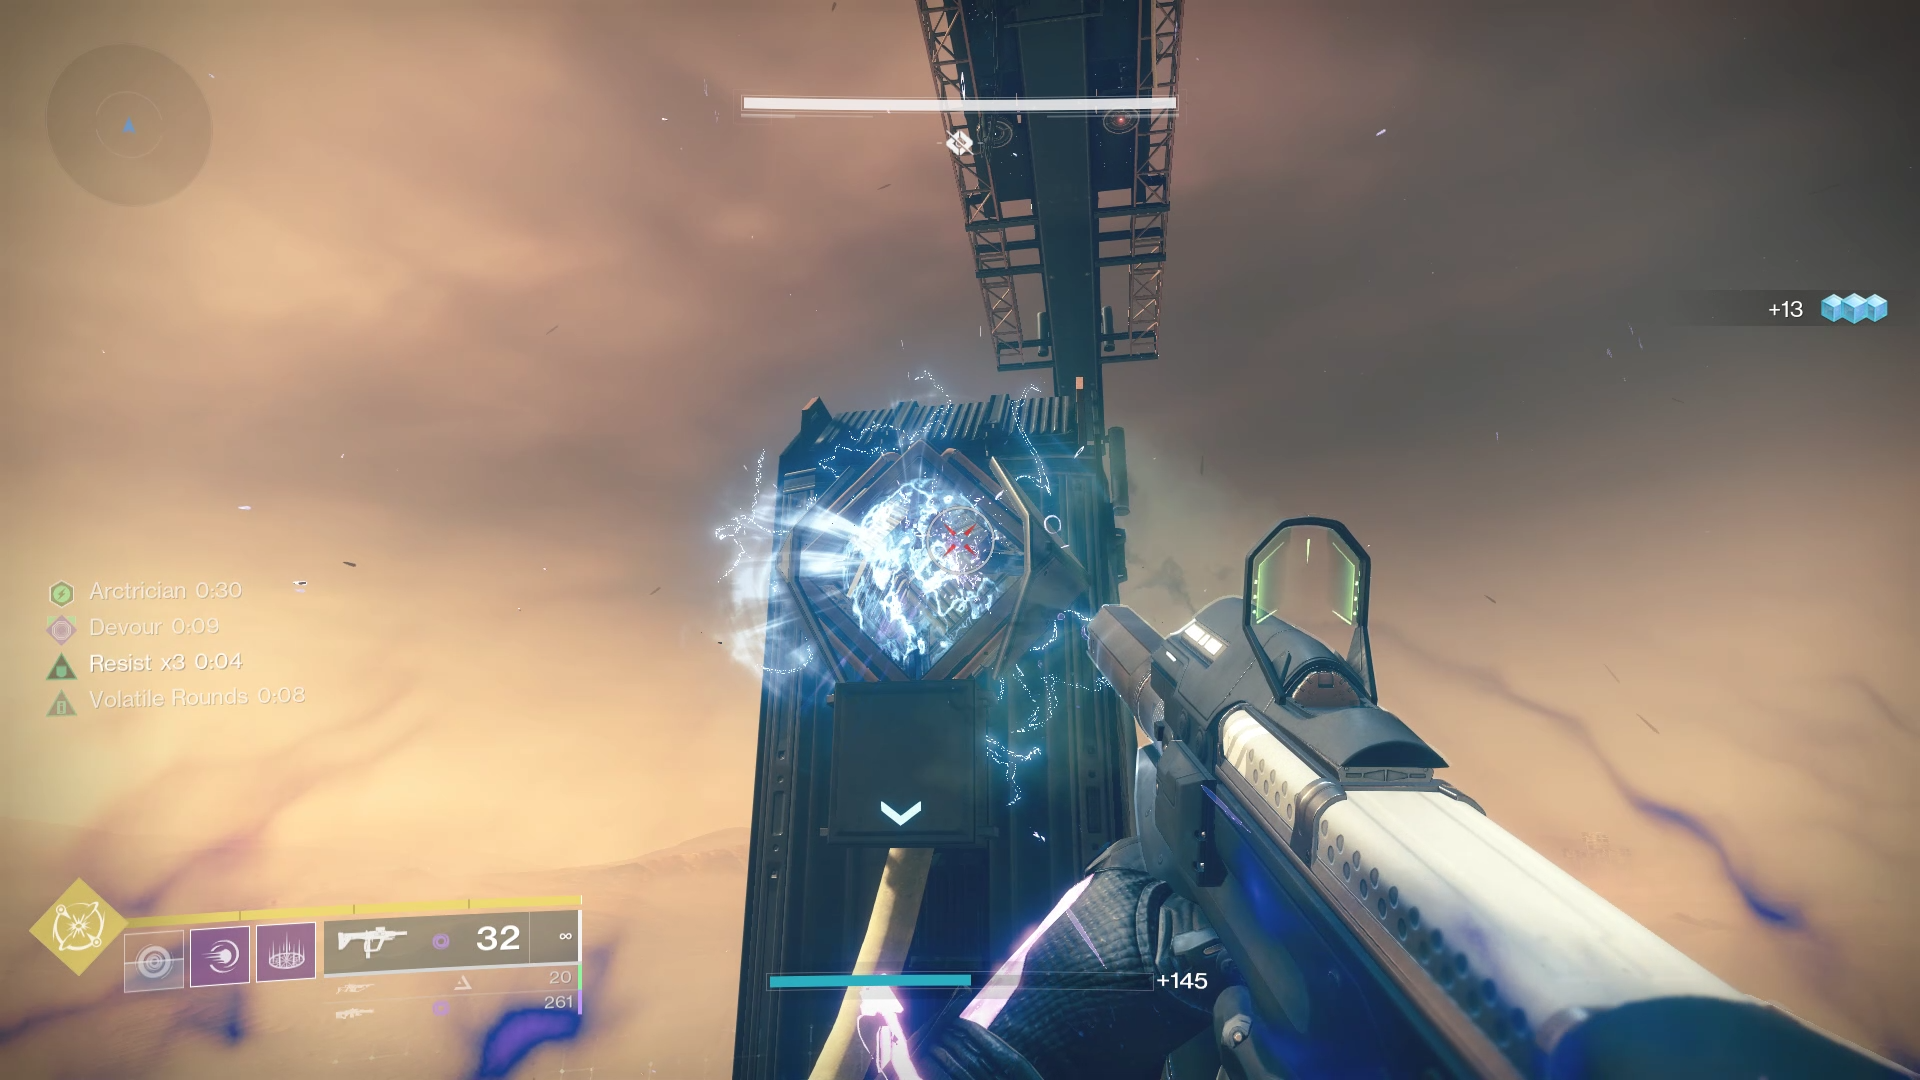
- The third node is on the wall of the Spire itself across, high up above the spawn door and a pair of platforms.
- The fourth node is nestled beneath the farther platform, a short distance from the third.
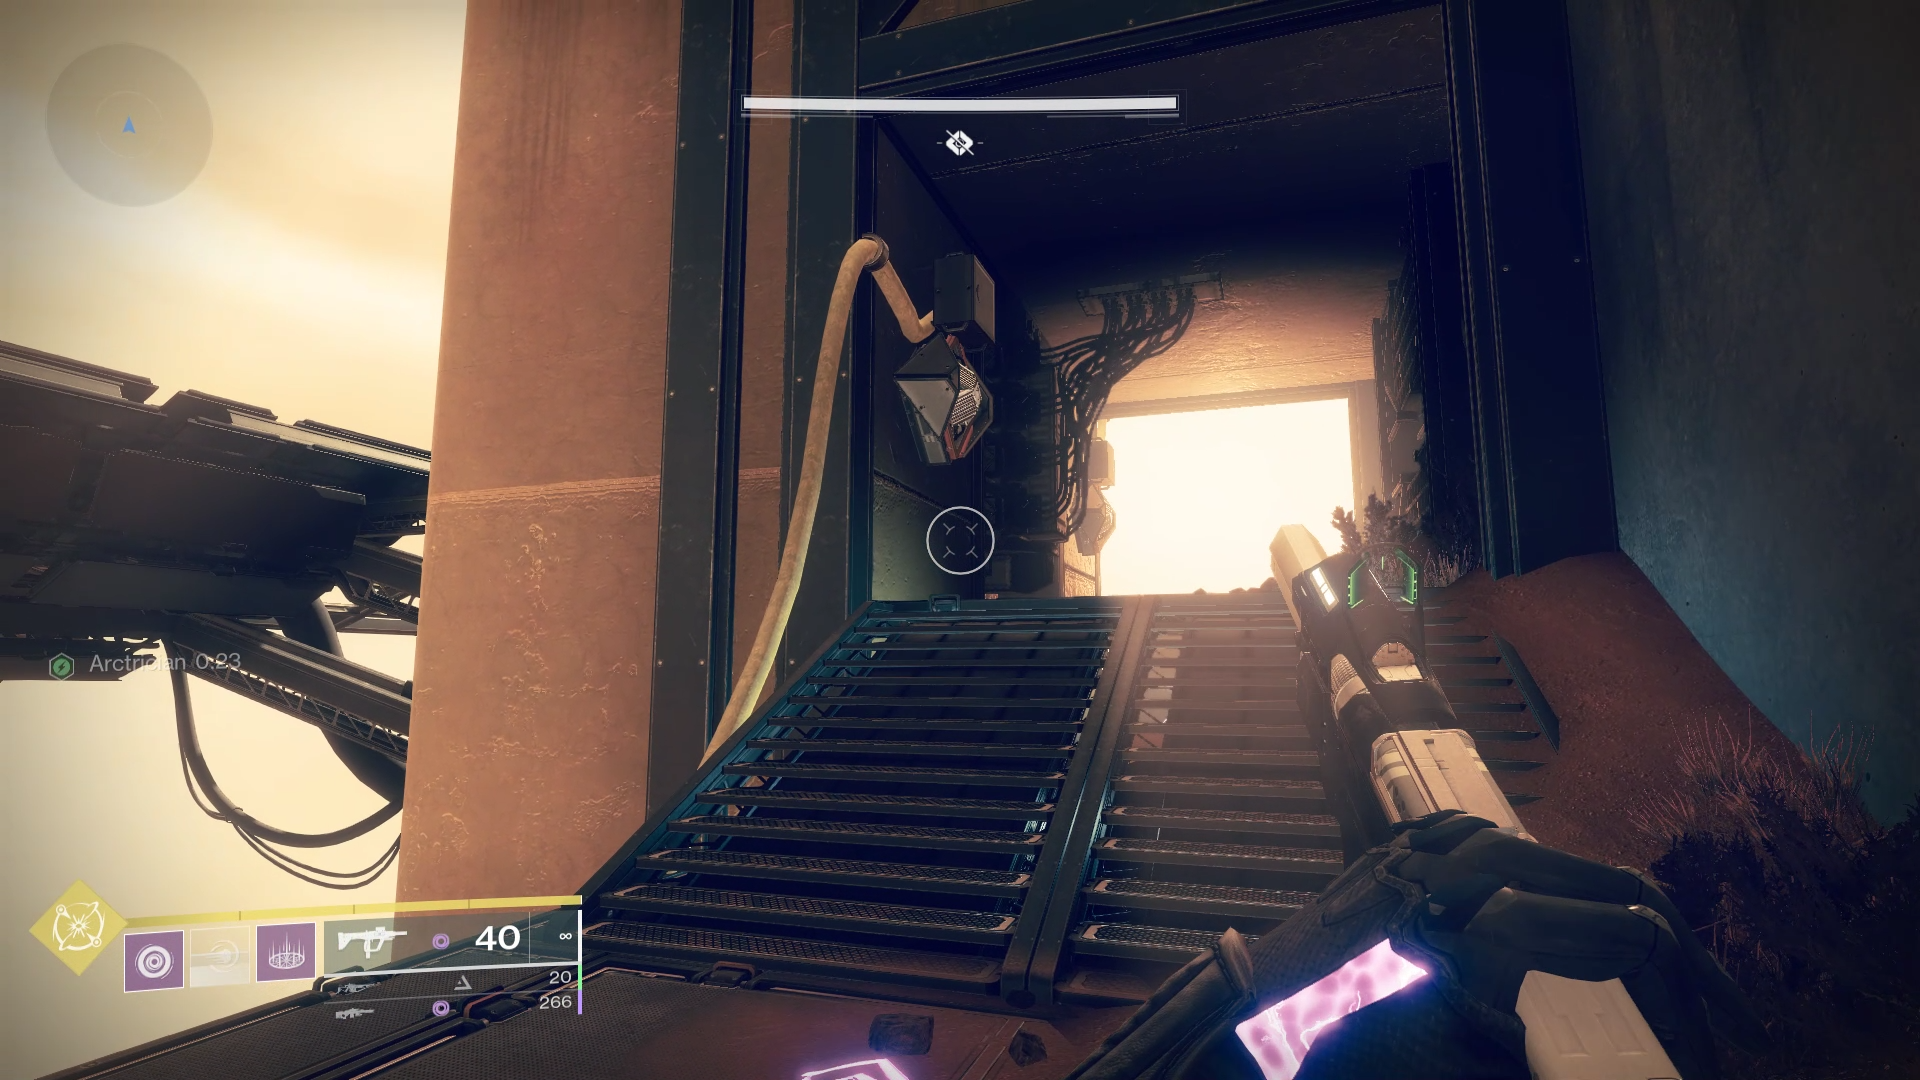
- The fifth node is beneath and between another set of stairs at the corner, which you’ll reach if you continue along the wire.
- The sixth and final node is next to the anti-gravity lift.
To the left
- The second node is nestled behind the large panels hanging over the area. It can be a little hard to see, so hug the wall and look up for the best view.
- The third node is underneath the stairs and raised platform, a short distance from the overhanging panels.
- The fourth node is underneath the platform that extends past the solar panels. Go to the solar panels’ lowest point and look back at the side of the Spire to see it.
- The fifth node is underneath yet another set of stairs as you make your way toward the lift.
- The sixth and final node is next to the lift.
How to Complete the Second Section of Ascend the Spire
As you leave the grav-lift, a group of Vex Goblins will spawn. Turn around to face the Spire and then head to your right. You’ll pass another Minotaur and reach the starting nodes guarded by volatile streams of Arc energy. You don’t have to interact with these hazards. Simply shoot the starting nodes. For our purposes, the one closest to you here will be “right.” The farther one will be “left.”
To the right
- The second node is near the top of the large tower across from the starting node. Facing the start, turn around, and follow the wire.
- The third node is attached to the side of the Spire, beneath the platform that supports the tower. Jump to the platform, turn around, and you’ll see the node.
- The fourth node is underneath a set of stairs directly across from the tower.
- The fifth node is guarded by another set of Arc streams. Ignore the hazard and shoot the node.
- The sixth and final node is attached to the Spire and is above the solar panels jutting out near the Arc stream hazard. Jump onto them and shoot the last node near the grav-lift.
To the left
- The second node is attached to the side of the Spire below this area’s floor. Look over the side of the walkable space, and you’ll see it. Beware if you have a fear of heights.
- The third node is behind a set of panels facing a similarly shaped tower. It’s well hidden, but the best way to see it is to go beneath the tower and look back at the Spire. You should see the node peaking out of the space between the panels.
- The fourth node is attached to a small machine rising from the floor close to the Arc stream hazard.
- The fifth node is behind the Arc streams.
- The sixth node is above the solar panels next to the grav-lift.
How to Complete the Third Section of Ascend the Spire
Exiting the grav-lift will put you next to the first of two more Arc node circuit starting points. For clarity, we’ll call this first node set “close” and the other “far.” Follow this order to connect the nodes.
Close
- The second node is underneath the starting platform and behind some stairs, attached to the Spire.
- The third node is attached to the right side of an angled panel beneath a square platform. Four Goblins spawn on the platform, and the platform and panel hang out over the chasm.
- The fourth node is nestled behind another set of panels covering the corner on the opposite side of the Spire. Jump up onto the small overhang attached to the side of the Spire for a better view.
- The fifth node is behind another set of angular panels covering the next corner beyond the far starting node.
- The sixth and final node is just beyond the sixth, next to the grav-lift.
Far
- The second node is to the left of the starting node underneath the stairs, attached to the side of the Spire.
- The third node is attached to the same angular panel beneath the square platform, roughly opposite its close starting node counterpart.
- The fourth node is behind another set of triangular panels in a familiar spot against a corner.
- The fifth node, like the fourth, is behind another set of triangular panels covering a corner. Follow the wires along the wall.
- The sixth node is just beyond the fifth next to the grav-lift.
Once you complete the third set of Arc node conduits, the door to the next section of the Dungeon will open, and you’ll receive your first of three loot chests. The Ascend the Spire encounter might be the longest in the activity, but it’s also the easiest. The remaining fight will test your mettle. For more Destiny 2 content on Season of the Seraph and beyond, check out our guides hub.


Published: Dec 12, 2022 11:27 am