Wondering how to solve all of the Mutare Magnus puzzles in Honkai: Star Rail? There are many fun puzzles in HSR, and the Xianzhou Luofu has quite a lot to pore over. While some are simply all around the location like collectibles, others are a bit more organized and challenging. Here’s how to find and solve the Mutare Magnus puzzles.
What are Mutare Magnus Puzzles? Explained
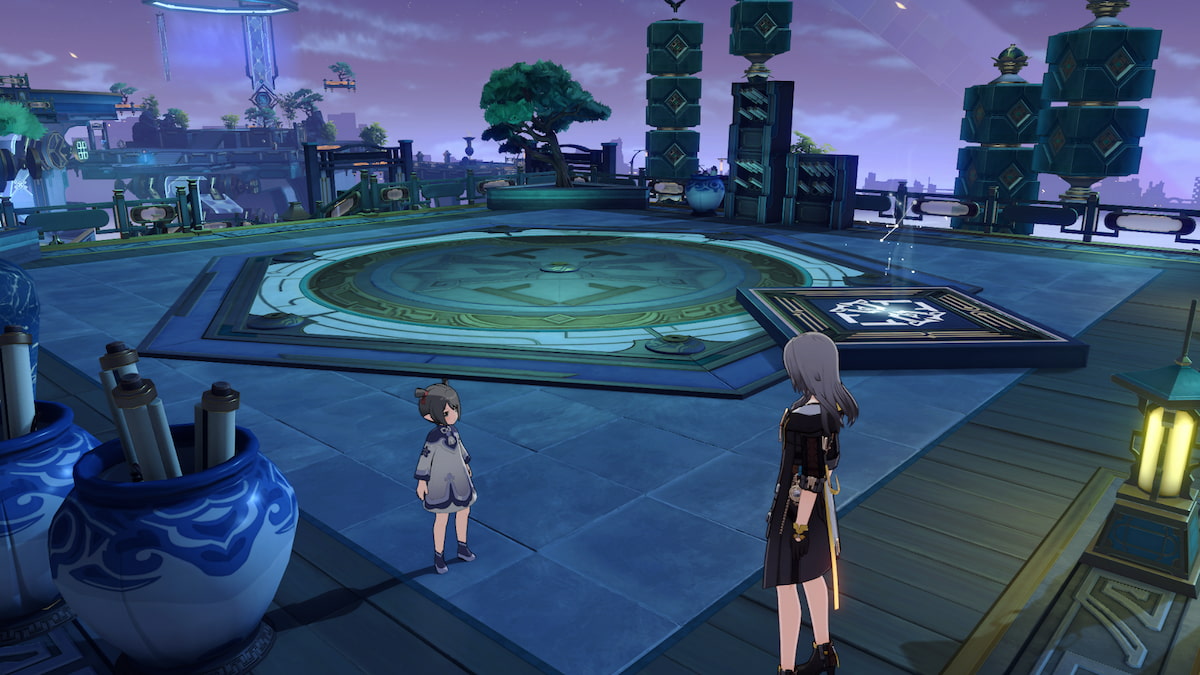
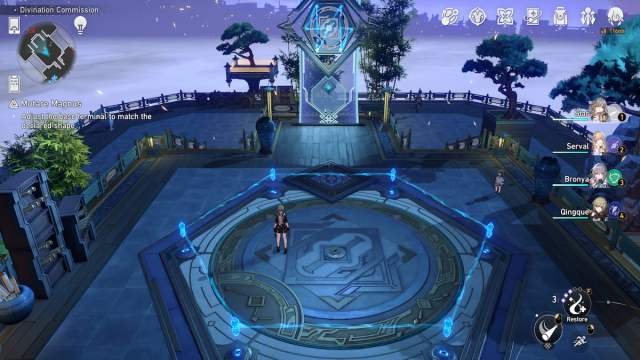
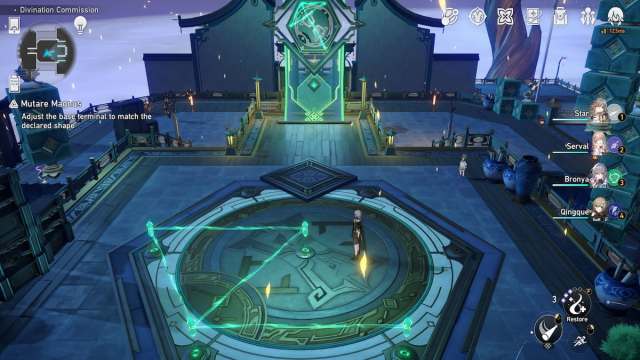
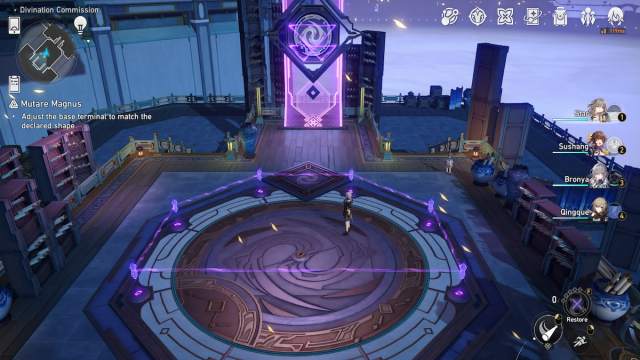
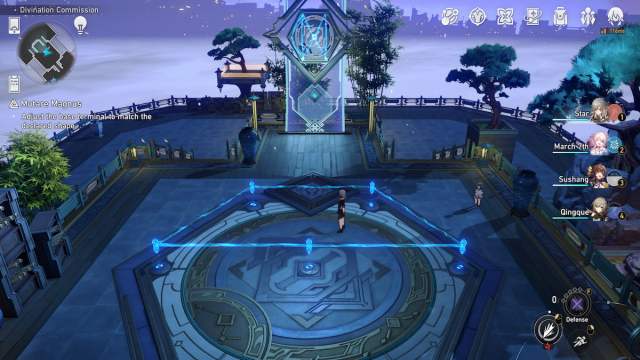
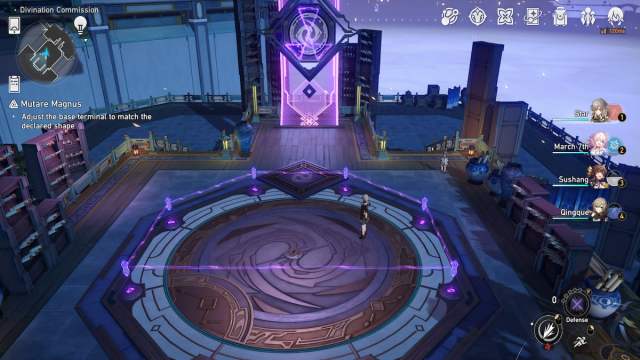
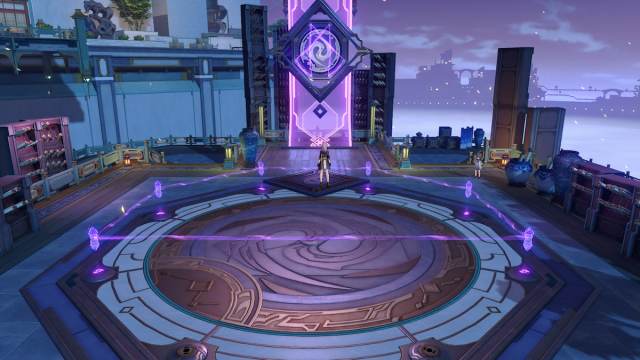
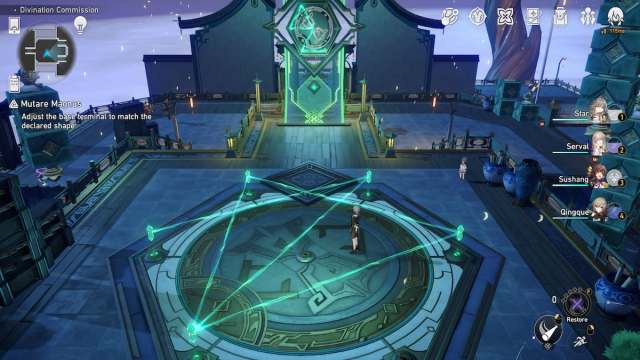
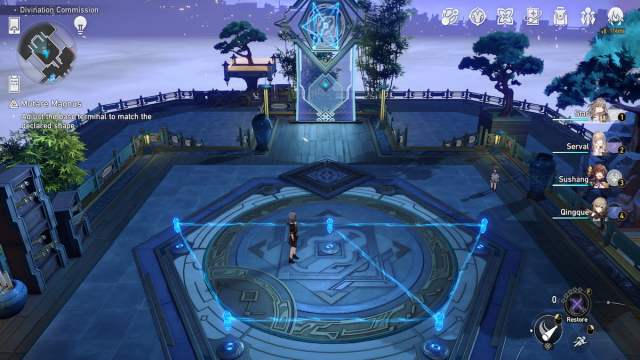
The mechanics behind the Mutare Magnus Puzzles in Honkai Star Rail are first encountered during the Omniscient Inquiry of Arcana Trailblaze mission, where you have to reset three terminals. These puzzles function exactly the same — all you need to do is move the crystals on the ground so they match the pattern shown at the top of the screen.
Your time spent solving them will be well rewarded with chests of loot. Beyond the typical rewards of Stellar Jade and various EXP materials, you’ll also earn a variety of 4-star relics. Comparing what I received with others, it does appear there’s a bit of RNG with what relics are awarded.
Where to Find Mutare Magnus Puzzles?
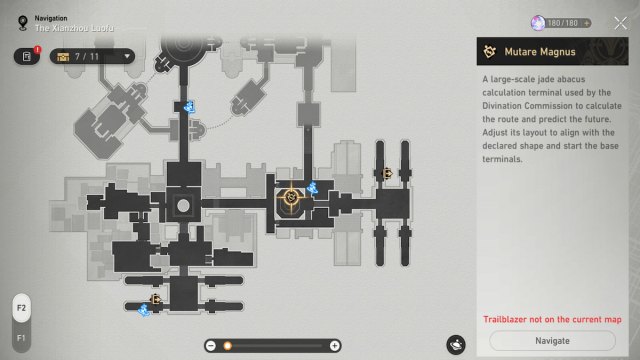
Mutare Magnus puzzles must be accessed by talking to Huixing, the Matrix Manager. He can be found on the second floor of the Divination Commission area and just up the stairs from the Conclave Hall Space Anchor.
Solving all of these puzzles will likely take you three days. Huixing will initially offer three puzzles before telling you to come back the following day (once the server resets). You’ll repeat this cycle two more times for a grand total of nine puzzles.
First Day Mutare Magnus Puzzles
All of the first day Mutare Magnus puzzles are relatively simple, with only six outer positions and a central one to worry about. After solving the last puzzle, I received a Musketeer’s Wind-Hunting Shawl relic. Here are the solutions.
First Day Puzzle 1

- Move the center crystal to the upper-left position.
- Move the bottom-left crystal to the middle-left position.
First Day Puzzle 2
- Pick up the crystal in the bottom-left, and carry it to the upper-right position. Switch it with the crystal there.
- Take the one you’re currently holding, and switch it with the crystal in the middle-left position.
- Take the one you’re currently holding, and move it to the bottom-left position.
First Day Puzzle 3
- Move the center crystal to the upper-right position.
- Move the bottom-left crystal to the upper-left position.
Second Day Mutare Magnus Puzzles
Th second day Mutare Magnus puzzle set is a bit more difficult than the first day’s, and two of them have eight outer positions instead of six. Due to this increase, I’ll be referring to the additional side positions as upper-middle and lower-middle.
I received a Thief’s Meteor Boots relic after the first puzzle and another Thief’s Meteor Boots with Thief’s Gloves With Prints after the last one.
Second Day Puzzle 1
- Move the upper-middle-right crystal to the bottom-right position.
- Move the upper-middle-left crystal to the bottom-left position.
- Move the upper-left crystal to the upper-middle-right position.
- Move the upper-right crystal to the upper-middle-left position.
Second Day Puzzle 2
- Move the middle-left crystal to the bottom-left position.
- Move the center crystal to the middle-left position.
- Move the middle-right crystal to the upper-left position and switch it with the crystal there.
- Take the one you’re currently holding and switch it with the one in the upper-right position.
- Take the one you’re currently holding and move it to the bottom-right position.
Second Day Puzzle 3
- Move the upper-middle-right crystal to the bottom-left position.
- Move the upper-middle-left crystal to the bottom-right position.
- Swap the positions of the lower-middle-right and lower-middle-left crystals
Third Day Mutare Magnus Puzzles
The third day Mutare Magnus puzzles are the hardest set for sure, but you’ll be fine following this guide. The first rewarded me with Thief’s Gloves With prints, and the last puzzle gave me a Thief’s Myriad-Faced Mask and a Thief’s Steel Grappling Hook.
Third Day Puzzle 1
- Move the upper-middle-right crystal to the bottom-right position.
- Move the upper-middle-left crystal to the bottom-left position.
- Swap the positions of the lower-middle-right and upper-right crystals.
Third Day Puzzle 2
- Move the middle-left crystal to the bottom-right position.
- Move the upper-right crystal to the bottom-left position and switch it with the crystal there.
- Take the one you’re currently holding and move it to the center position.
- Move the middle-right crystal to the middle-left position.
Third Day Puzzle 3
- Move the center crystal to the upper-right position.
- Move the middle-right crystal to the middle-left position and switch it with the crystal there.
- Take the one you’re currently holding and switch it with the bottom-left crystal.
- Take the one you’re currently holding and move it to the upper-left position.
That covers how to solve all of the Honkai Star Rail Mutare Magnus puzzles. If you’re in the area looking for other hidden things to do, you‘ll want to complete the Panbroken Handian Item Trading quest. For all other trailblazing tips and tricks, check out our Honkai Star Rail guide hub.


Published: May 15, 2023 01:35 pm