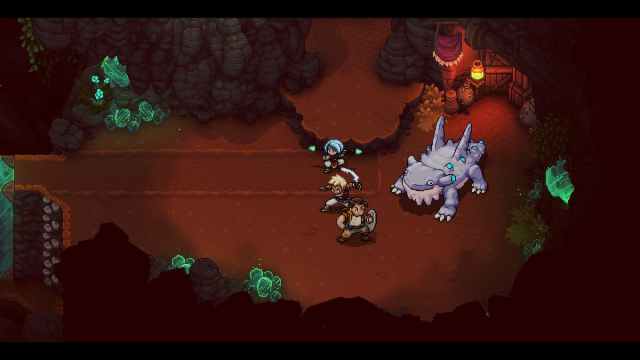
A prime example of the sorts of puzzles strewn throughout Sea of Stars is the Wind Tunnel Mines. You’ll need some sharp thinking skills and a little perseverance to get the wind flowing through the mines and reach Brisk. Though a boss fight with Malkomud awaits before you can make your way out. Here’s how to solve the Wind Tunnel Mines puzzles in Sea of Stars.
How to Solve the Wind Tunnel Mine Puzzle in Sea of Stars
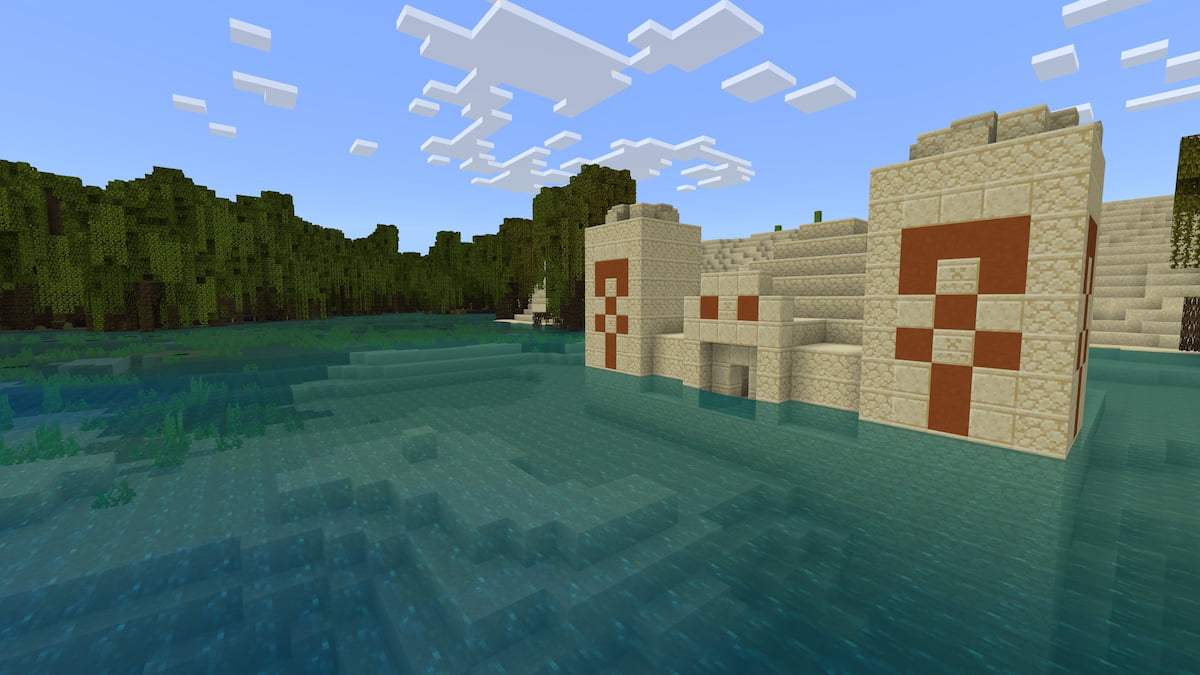
When you first arrive in the Stonemason’s Outpost, you’ll find the Molekin scrambling in despair as Malkomud has overtaken the Wind Tunnel Mines. This mine is essential in keeping The Sleeper asleep, the giant serpent wound around the island. If no music is playing to preserve its slumber, it will awaken and destroy the world. Jump down the mineshaft to clear the mind of Malkomud and his cronies alike.
To clear the mine, save the world, and get to Brisk, you need to:
- Unblock the wind tunnels.
- Obtain the Mistral Bracelet.
- Solve the green crystal puzzles.
- Defeat Malkomud.
How to Solve the Green Crystal Puzzles
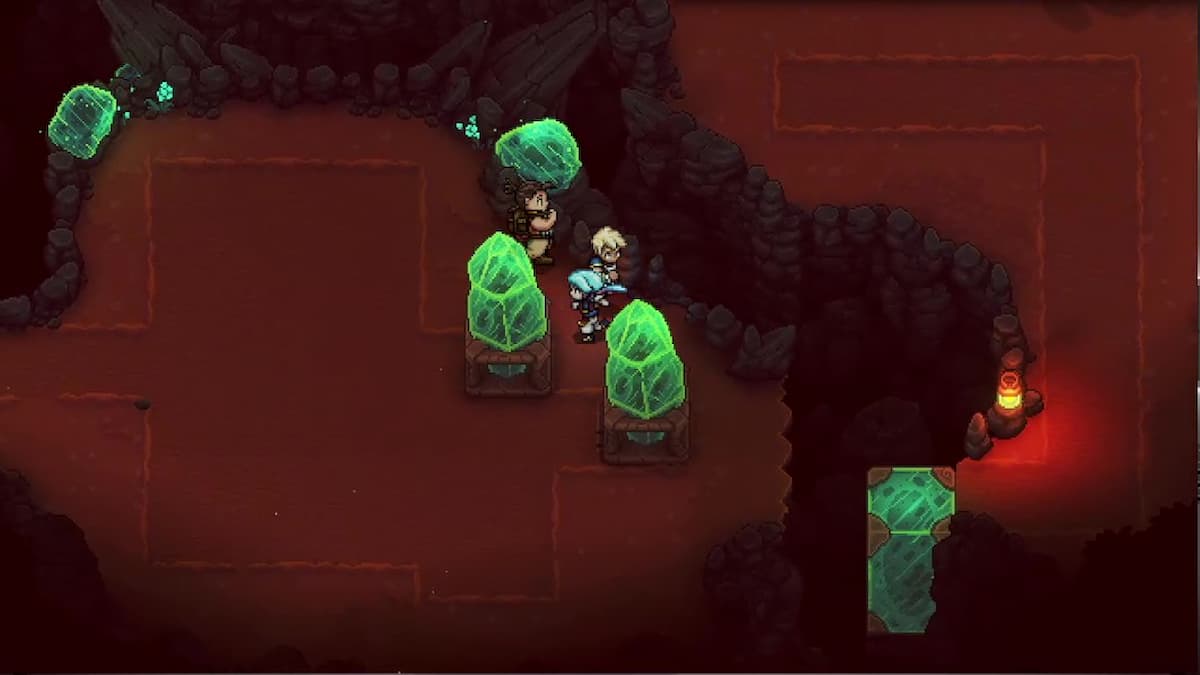
You’ll be able to move the crystal pillars throughout the mines once you have the Mistral Bracelet. These pillars travel in the direction you sent the gust of wind along the grooved patterns on the ground. Relocating these crystals to their proper places grants you access to Malkomud.
When leaving the Mistral Bracelet room, use it to push the pillar down from the ledge. You’ll be met by a fight with a Salamander. To defeat it, use boosted physical attacks and Solstice Magic, as it’s vulnerable to it. Once defeated, send the crystal column flying to the left. This bridges the gap, allowing you to jump back over to the other portion of the room.
To correctly move the crystal in this area, you need to:
- Move the pillar up (to the north)
- Move it right
- Move it down, it should go into the smaller grooved section at this point
- Move it left
- Move it up
- Move it left onto the landing spot
The crystal will disappear into the ground to be replaced with a pillar you can climb to reach the ledge. Jump down into the other room. This pillar is easy to move left then upwards, which let’s you snag a treasure chest. This chest contains the Mines Key, which opens the heart shaped door you saw before.
Unblock the Remaining Wind Tunnels
Leave the room through the south exit to return outside. At this point, you want to jump off the ledge across the doorway. Now leap across the gap. Head to the right where there’s a pillar. Blow it down on the landing zone and then launch yourself to the other side.
Climbing the ladder lets you harvest berries, while going down the stairs has enemies guarding a chest and more ingredients. You want to go up the stairs, hop over the gap, and slide down the ladder. There’s cooking ingredients off to the left, while the entrance you want is to the top right of this region.
Inside the room is another set of enemies, including the one that blocks the wind tunnel. Defeat them then head into the tunnel to return you to where you landed after jumping in the shaft. As you land you’ll see the turbine activate, unveiling small windmill blades hidden on up the upper ledge.
Travel to the left side of the room and ascend the ladder. This time go up the stairs and cross the ledge to where you saw the windmill appear. Using the Mistral Bracelet, rotate the blades with a gust of wind, causing the green crystal behind you to lower to the ground.
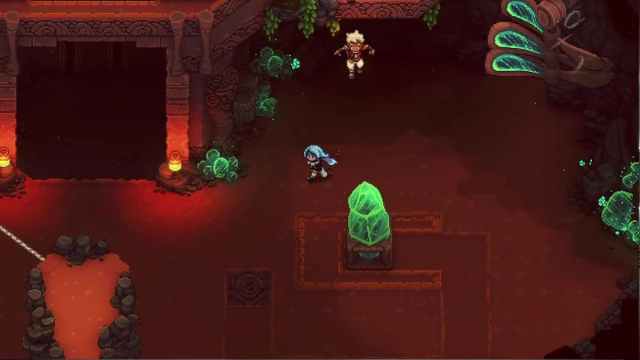
Now you can move it into the proper position. Move the crystal to the right, down to the left and then up. Once in place, the crystal disappears and a pillar appears on the other side of the room. Blow the pillar down, left then up to get it where it needs to be. With the pillar next to the ledge you can climb up and go into that room.
Keep traveling left, as climbing up the ledges only gives you some mushrooms. Scale the wall, then defeat the enemies at the top. After your victory moment, you can gather more food from the picnic basket to the right, just make sure to not jump off the ledge there. This will return you to the bottom ledge in the area.

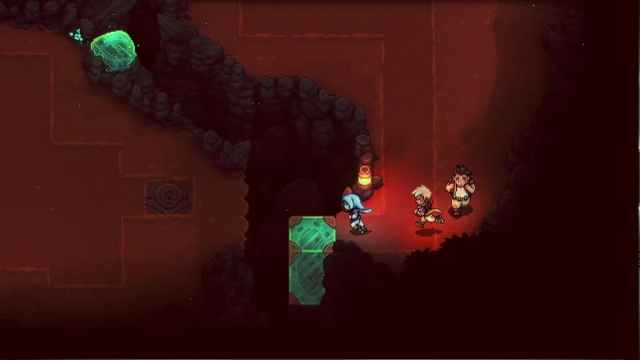
Head down the stairs and along the hallway into the last wind tunnel room. Defeat the enemies here to return to the area with the lift shaft. Another turbine has been revealed as you land. Go up the ladder and blow wind on it. This drops another ladder down on the other side of the ledge.
Find Malkomud
Taking the ladder up returns you to the previous floor where you originally landed in the mine. This is a good opportunity to save your game as you’ll be facing Malkomud next.
Now that you have the Mistral Bracelet, you can move the green pillars that you saw previously. Below the save book, send that pillar to the right, down, and then to the left. Leap over the gap to reach the opposite side of the zone.
The next area is a bit tricky to complete, as there are two crystals you need to move:
- Move the north crystal down
- Move it right
- Move it up
- Move the south crystal right
- Move it up
- Move it right onto the landing spot
This removes the barrier blocking the grooved path to the left. Send the other crystal, previously the north one, to the left, then upward to reach the main puzzle area. Once it’s there:
- Push it right
- Push it down
- Push it left
- Push it down
- Push it left
- Push it up
- Push it right
- Push it up
A pillar will appear in the landing zone when the crystal is removed, allowing you to reach the mini turbine up the ledge. Powering it reveals an entrance behind a moving panel. Going in the entrance brings you face to face with Malkomud in his fort.
That’s how to solve the Wind Tunnel Mines in Sea of Stars and reach the boss, Malkomud. If you’re looking for help on defeating him, or other bosses, be sure to check out our guide hub.


Published: Sep 7, 2023 01:46 pm