The Zelda: Tears of the Kingdom A Bouncy Device Morok Shrine will have you bouncing and gliding your way to the end. This puzzle will have you bouncing to big heights to reach the Light of Blessing. This is our complete guide to solving the Morok Shrine A Bouncy Device puzzle in TotK.

Morok Shrine A Bouncy Device Puzzle Solution in Tears of the Kingdom
Morok Shrine Location
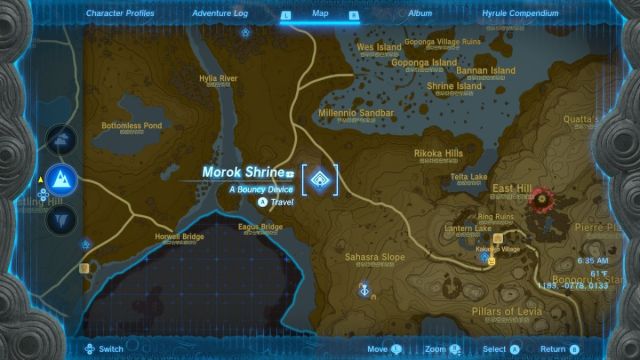
The Morok Shrine can be found on a low sky island southwest of the Lanayru Wetland and north of West Necluda. I had the easiest time getting there by heading to Gutanbac Shrine on Great Sky Island, and using the nearby Zonai Fans. The map above has Morok Shrine’s location marked, and the exact coordinates are 1183, -0778, 0133.
TotK A Bouncy Device Walkthrough
What will the Bouncy Device puzzle use exactly? Well, you probably guessed it, bouncy devices! You’re going to be using your Ultrahand ability to combine Zonai Springs and get the air you need to glide to the finish. Here’s what you need to do:
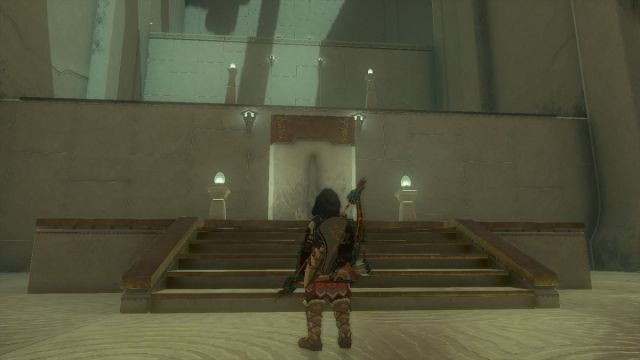
- When you enter the Shrine you’ll notice a platform that pops out in front of you, walk on to it and wait for it to launch you into the air.
- Glide to the next platform.
- Jump onto the Spring in front of you, and hit it with your primary weapon while you’re on it to launch into the air.
- Glide to the next platform.
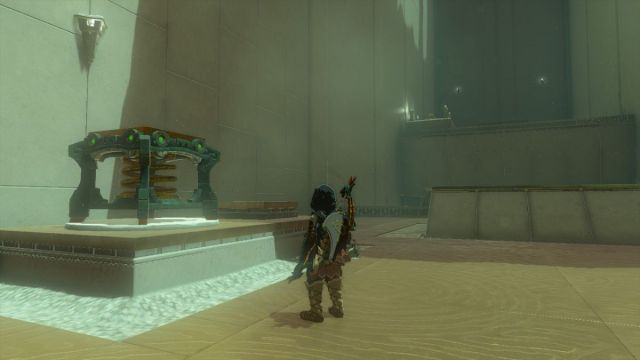
- Jump onto the Spring in front of you, and glide to the platform on your right.
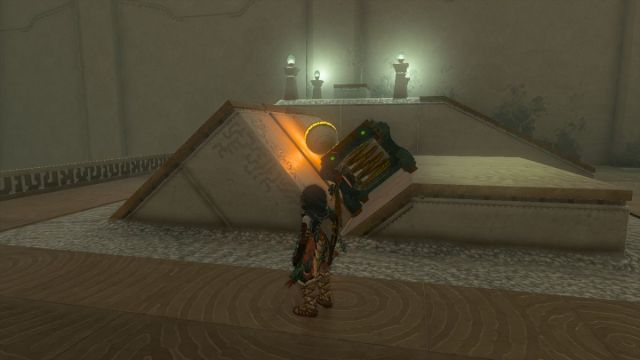
- Move the Spring device to the right with your Ultrahand, so that it rest between the angled stones, as shown above.
- Move the orb with your Ultrahand so that it rests on top of the Spring. I accidentally attached it the first time, and then of course, it didn’t go anywhere. So make sure to just drop the orb on top of the Spring.
- Hit the Spring with your primary weapon to launch the orb to the other side of the room.
- Hit the Spring again to reset it, and step on top of it.
- Hit the Spring and glide to the main area with the orb.
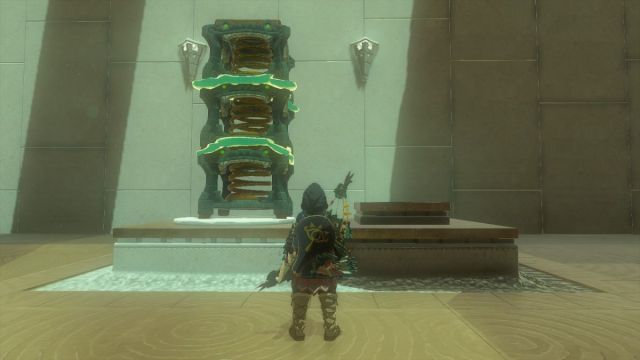
- Once the orb rolls into the target, a gate will open revealing two attached Springs. First, make sure you’ve reset the Spring you originally launched from in this area.
- Grab the Springs from behind the gate with Ultrahand and attach them to the existing Spring, as shown above.
- Climb on top of the Springs and hit it with your weapon to fly towards the exit.
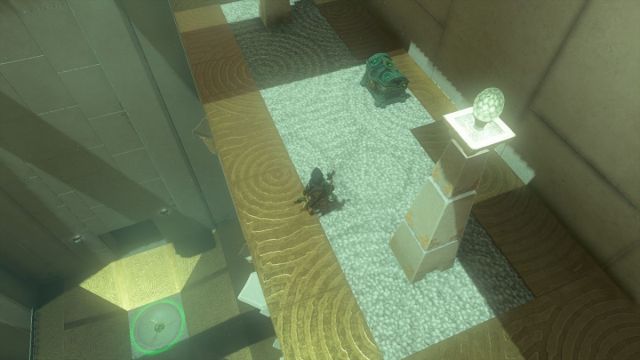
How to Get the Morok Shrine A Bouncy Device Treasure Chest
- While gliding, you’ll spot a lower platform that’s just before the exit.
- Drop down to this platform and open the chest.
- You’ll receive a Sneaky Elixir.
- Then, glide down to the set of springs again and reset them.
Related: How to Reach the Snow Shrine
- Climb the springs and hit them to launch into the air, one final time.
- Glide to the exit, and receive your Light of Blessing.
Well, that’s it for our guide on solving the Bouncy Device puzzle in the Morok Shrine. Be sure to check out our other guides at our Zelda: TotK guides hub.



Published: May 18, 2023 01:52 pm