
Base building, zombies, card drops, and buckets of bullets? What more could a gamer want in a multiplayer experience?
Epic’s Fortnite has finally hit Early Access, and is now ready to be wrecked by hordes of gamers jumping in and crafting absurdly elaborate bases to defend. Not sure how to get started with an effective base layout? We’re here to help!
Below, we’ll walk you through putting together a defensive base both for your storm shield and any given multiplayer quest. Need help with other aspects of Fortnite? Be sure to check out our collection of Fortnite guides:
- Map Exploration and Resource Gathering Guide
- Fortnite Class Guide
- Beginner’s Guide to Defending Storm Shields
- Fortnite Base Building Layout Guide
- Navigating the Skill Trees
- Understanding F.O.R.T. Stats and Using Squads
- V 1.03 Bug Fixes
Persistent Home Base Storm Shield
Your home base retains its defenses and structures between missions, so you can build it up to truly epic proportions. While the home base storm shield map has plenty of wood, stone, and metal to harvest, it lacks all the other resources.
Unlike the quest maps, there aren’t houses full of objects to loot for finding ammo, so always prepare on the ammo and trap material fronts before starting these missions or accessing the home base on the map.
This is especially critical because — unless you happen to have a group of friends online waiting to help you — these missions are frequently undertaken solo.
Unlike the other quests, Husks are very likely going to get past you and reach your base in these missions, so trap placement and base layout is important here right from the beginning.
Husks make a beeline straight for the storm shield in the middle of the map, so start with walls and floors immediately surrounding the shield, then add a second layer of either full or low walls to slow Husks down while you run around the map.
Your floor and wall traps should be placed on the two tiles closest to the storm shield, either in between the two layers of walls or on the outer side, which is where the Husks will run after breaking through your defensive line.
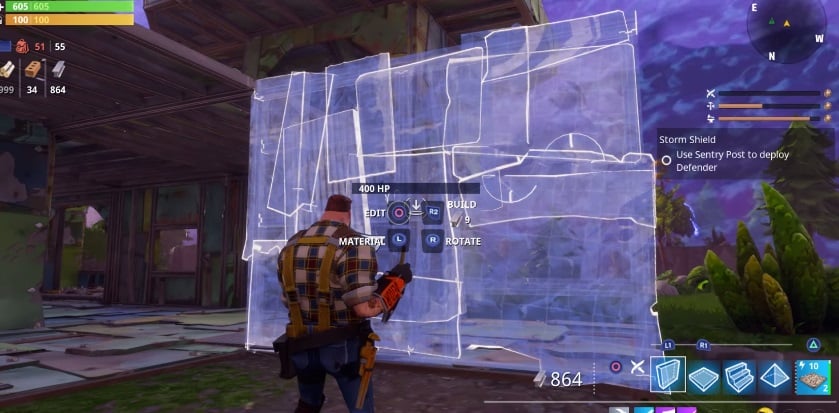 Adding a second layer of defensive walls
As you get more resources for building more elaborate defenses, focus on funneling enemies into specific areas — or at the very least slowing them down at a specific place so you can mop up large numbers of Husks quickly with your preferred weapon.
You can accomplish this with a combination of full walls with stairs and low walls that act as hallways. You want to be able to see over them for a clear line of fire, while still stopping or slowing the Husks as they approach. Low walls can be built in hedge maze style farther out from the storm shield in the area where the Husks spawn. While working through the low walls, they can be sniped from above or cleaved with melee attacks before they even get close to the base.
 Setting up low walls and traps on the eastern appraoch
Over several returns to this map, you will find that from each of the directions that the Husks approach, there tend to be specific segments where they mass first on the way across the field to your base. Set a low wall at that position with a wall trap to handle enemies before you need to shoot at them. A single floor panel on either side with a floor trap is a nice added touch for extra protection.
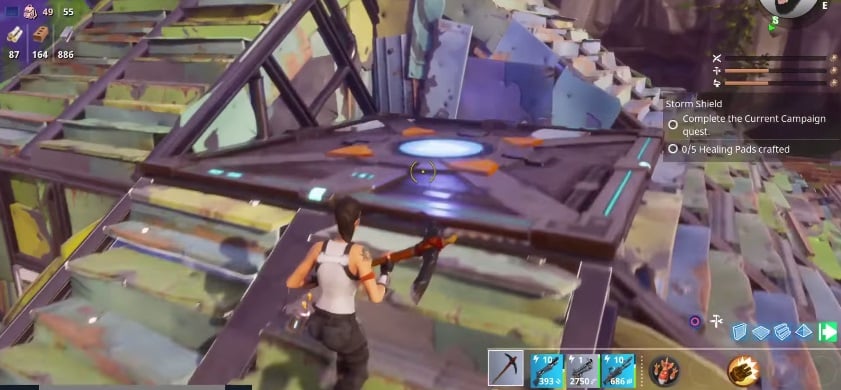
Eventually you unlock the ability to place Defender tiles and build up your Defender crew with new AI allies. Defenders don’t have great accuracy and are more of a last resort at the beginning, however. One solid tactic is to build around your storm shield in a pyramid shape, setting Defender panels on the four outer edges of the pyramid next to stair segments located one tile up from the ground.
This building pattern will have your Defenders close enough to the shield that they can pick off anyone who gets past you and makes it to the inner base. Don’t forget that Defenders don’t arm themselves — you have to give them a gun, and they use your ammo, so single shot weapons are more efficient for Defenders than automatic firearms.
As the waves get bigger and you need to move from one side of the map to the other much faster, spend some resources to build bridges connecting the hills on each side. This not only gives you high ground line of sight for sniping, it makes it much quicker to get from west to east to south without having to run through your maze of low walls.
Quest Maps
Quest maps outside your home base storm shield aren’t persistent, so anything you build won’t be there the next time around.
First and foremost, don’t bother building any traps at all during the first few hours of the game. Depending on your team’s skill level, the Husks will simply never reach your traps at all on the first 15-20 missions, so building them is a waste.
Traps require materials that are more rare than the standard wood, stone, and metal — and once you place a trap, it is gone from your inventory with no way to recover it (besides using materials to craft a new one). Save those traps for when you need them later in the game.
Many quests have a bonus Badge available if you don’t over build and keep your structure count under a specific amount — so keep an eye on that amount that goes up in the menu on the right side of the screen.
Instead of traps, focus on base layout with walls, floors, and stairs. Doors and windows are easy to make for line of sight and allowing your team unrestricted movement by just removing individual panels out of a wall. Make sure you give yourself access to anything you need to reach during a mission, and don’t lock yourself in by forgetting a door!
Like with the home base, it can be helpful to have two or three layers of low walls set a few tiles apart to block the enemy at more than one point. That way, if you and the crew are busy on one side and Husks break through the first layer of low walls, they’ll still have to hit a second and third before reaching their destination.
You can also remove panels diagonally to put a wall next to an open staircase so you don’t have an open spot for Husks to get through or a full wall blocking your view of the staircase.
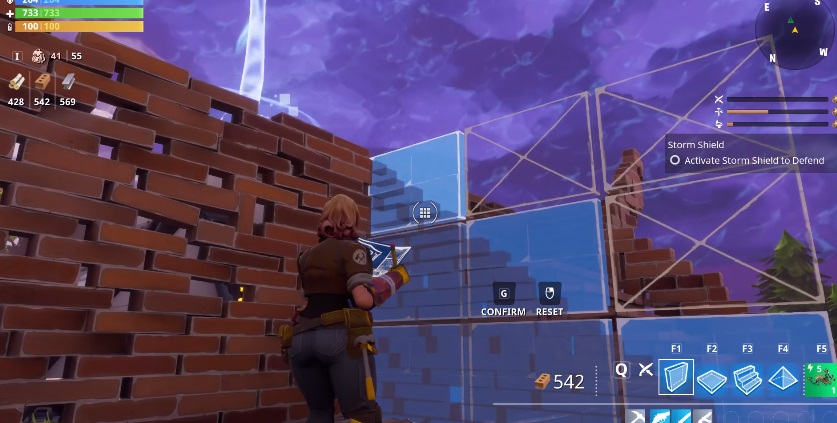 Building a partial wall next to a staircase
Remember to think in three dimensions while constructing a base — you can build floors above you to create upwards mobility. Crows nests, bridges, and overhangs with low floors to kill from above are all valid base sections to build. In some cases, you may need to build up to complete objectives, like locating shards to destroy in group activities that are floating in the air or located on rooftops.
Several enemies can hurl flaming objects through the air and hit your base without getting close, so ceilings become important if the quest has you defending a specific object through the waves.
In fact, building two separate floors with their own ceilings doesn’t ever hurt, just make sure to set stairs somewhere in the configuration so you can reach different areas quickly. Stairs can also have panels changed just like walls, letting you build curling staircases that double back on themselves to go up multiple floors at once.
 Building a multi floor staircase
While building top floors, keep in mind locations for snipers to come out and take aim in any direction where the purple haze is found on the map. If one player is sniping while one is focused on melee and the other two have standard ranged weapons, in most cases Husks will go down quickly in each wave.
Finally, don’t forget about ceiling traps that hang down! They require you to build overhangs from the floor above so you can set a ceiling trap right next to the Atlas (or whatever object you are defending). Ceiling traps can also be useful if you are building tunnels with walls on all four sides to funnel Husks in a specific direction towards a kill zone.
—
Those are all the best Fortnite base building layout strategies we’ve discovered so far? Got any base layout tips for us to share? Let us know in the comments below!


Published: Jul 26, 2017 04:54 pm