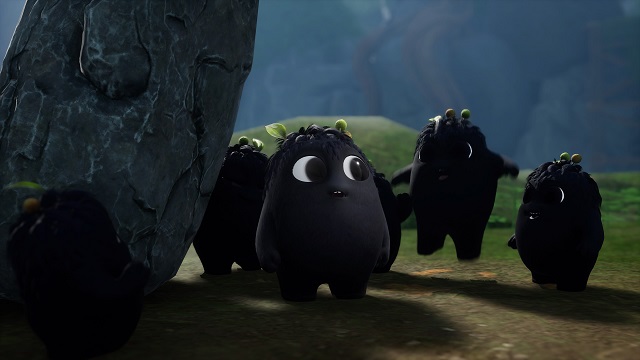
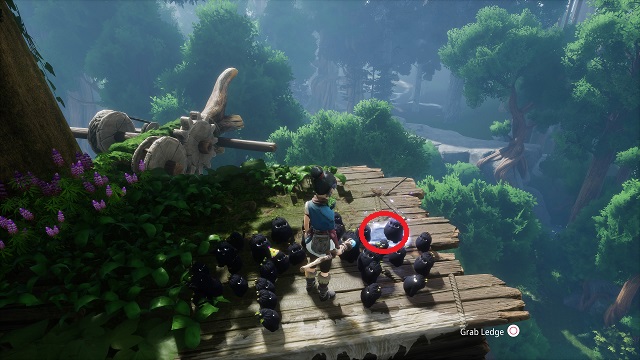
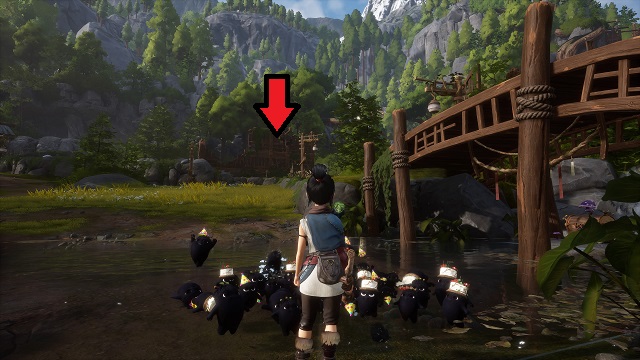
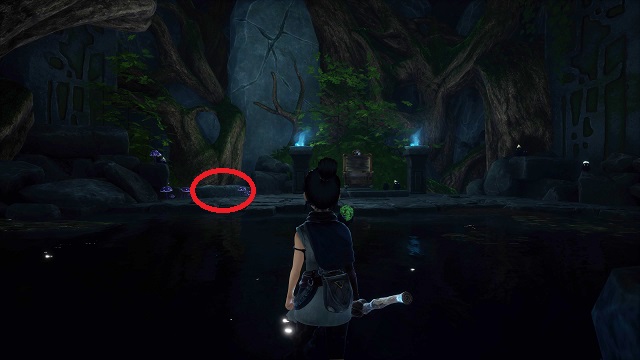
Rot are little creatures that help Kena throughout her journey in Bridge of Spirits, whether that be in combat or exploration. Rots look like blue or purple teardrops when you first see them but grow into something a little bit larger and much cuter. There are 100 of them in the game, so you might be wondering about their locations for the No Stone Unturned (gold) trophy.
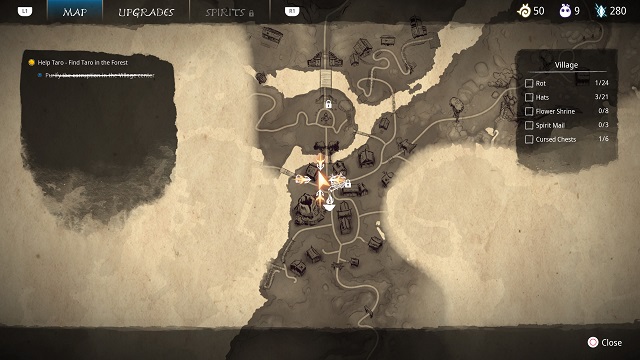
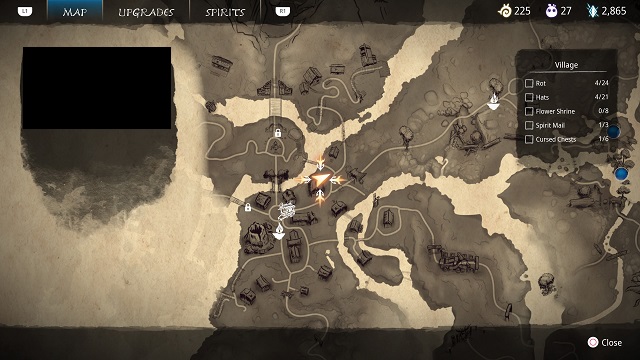
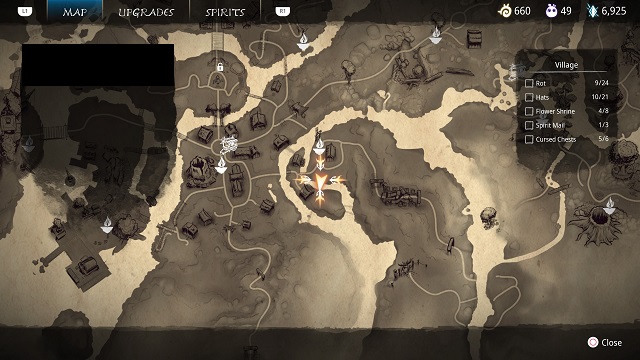
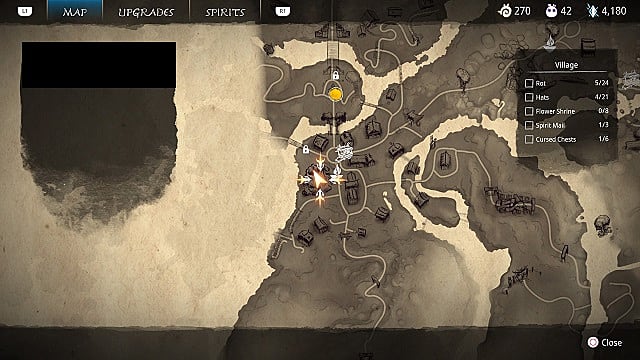
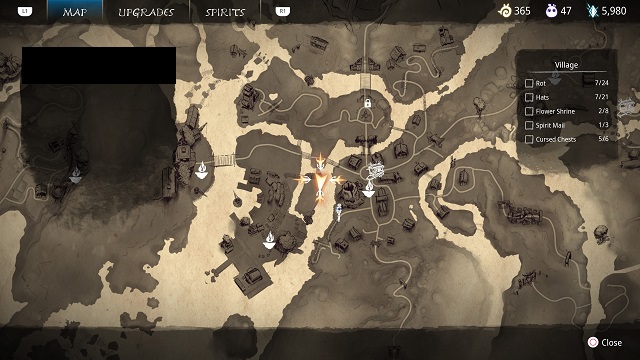
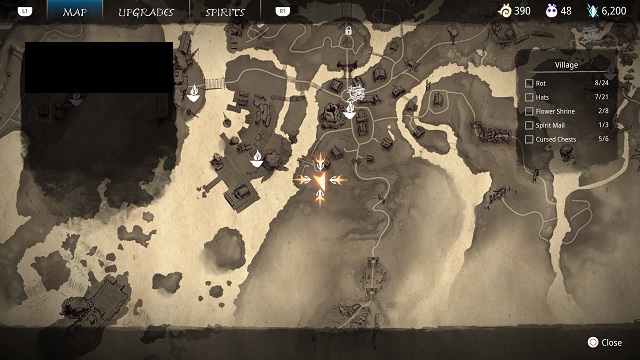
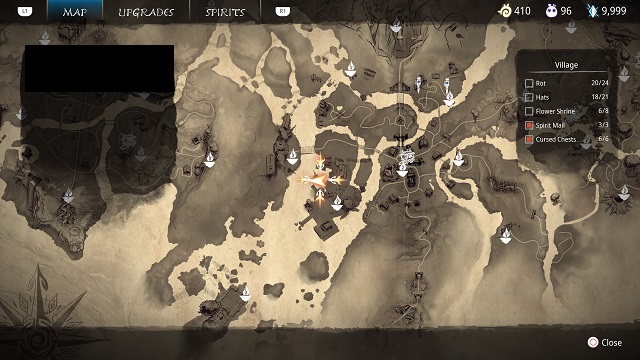
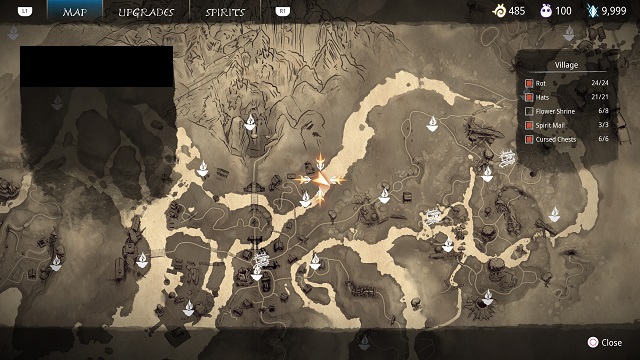
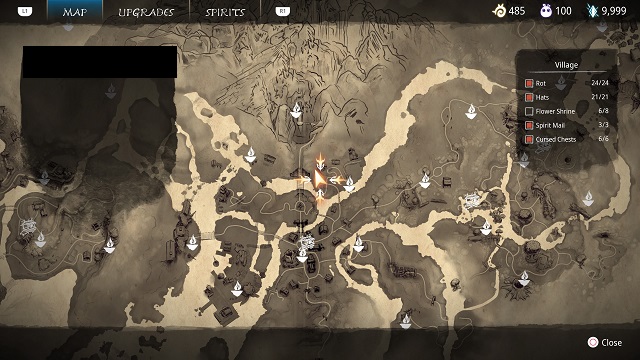
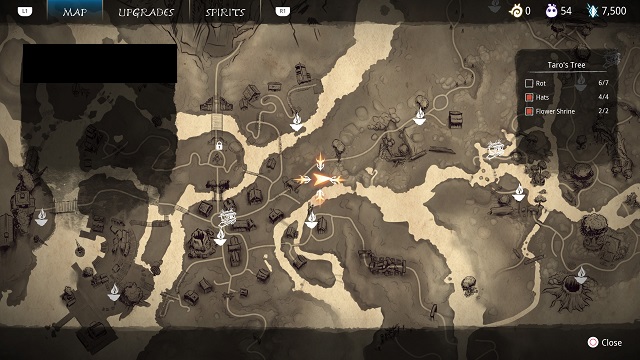
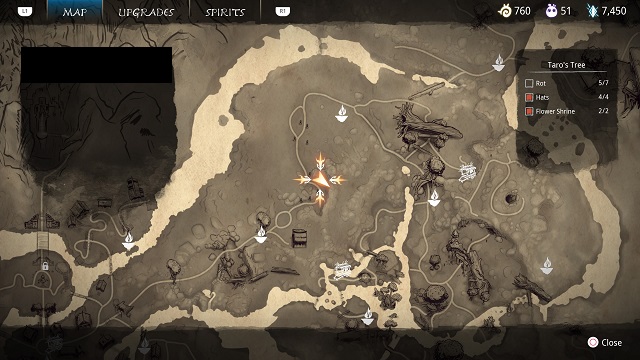
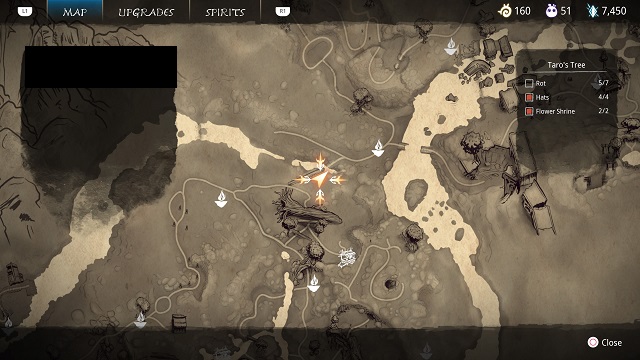
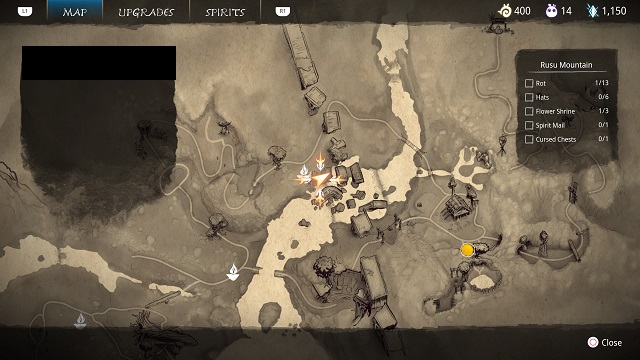
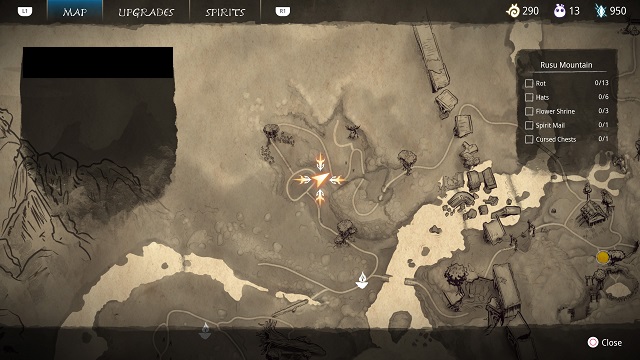
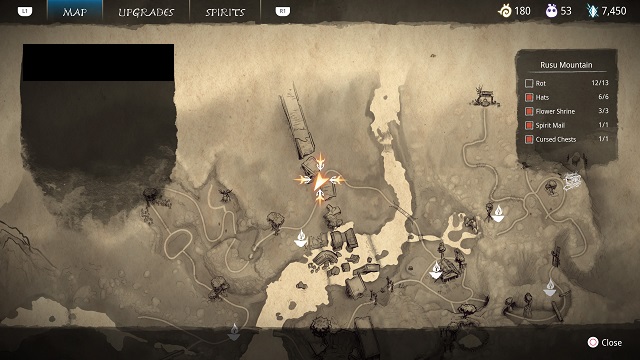
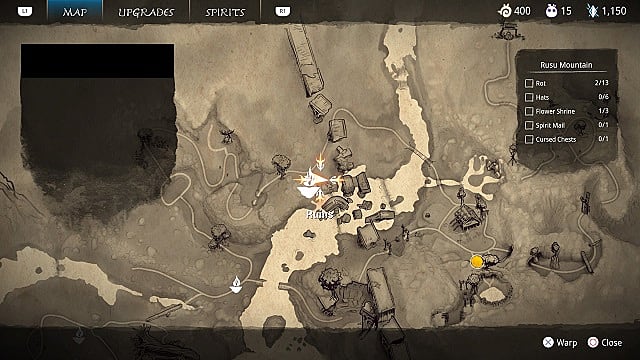
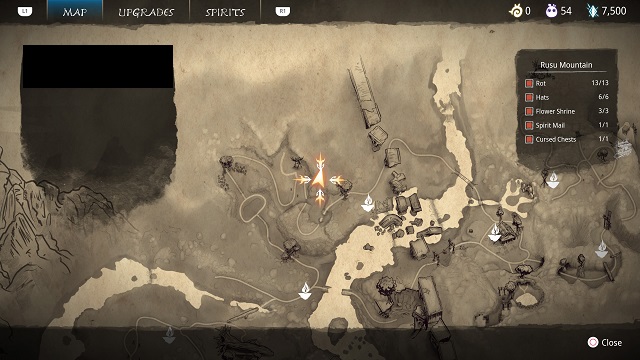
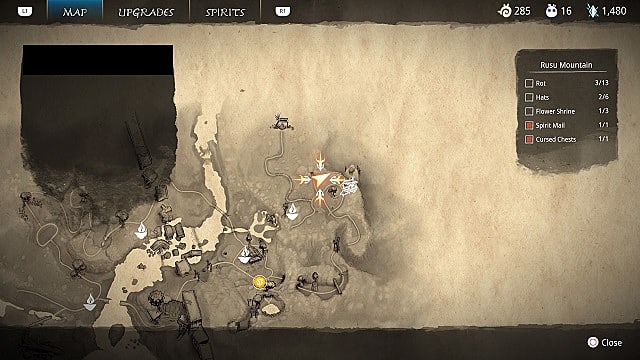
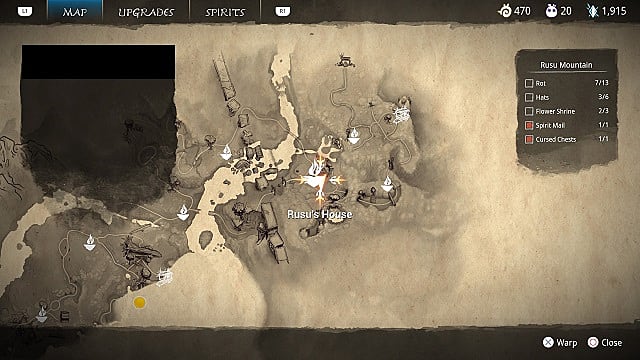
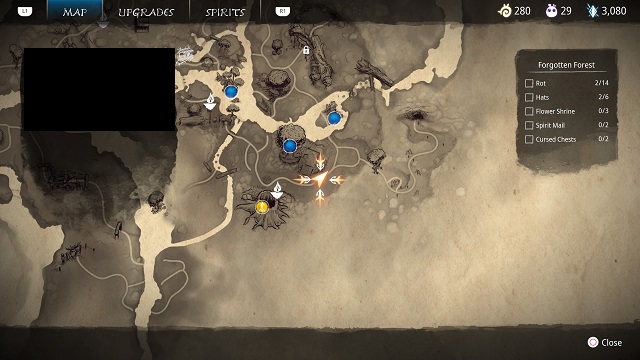
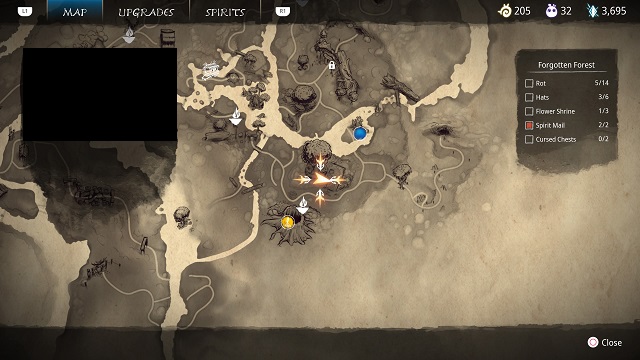
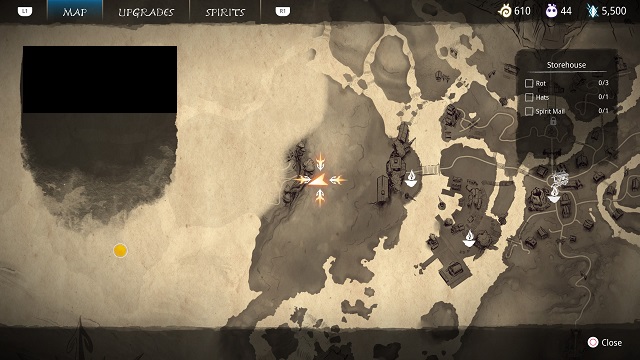
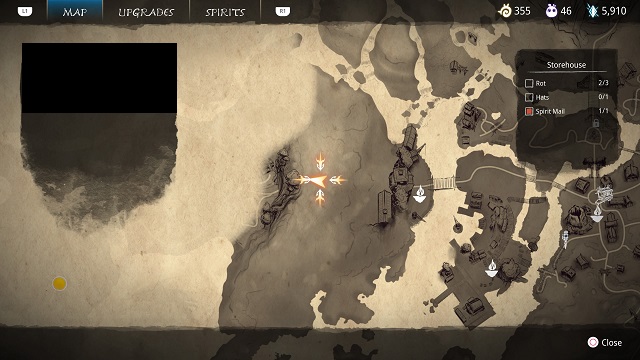
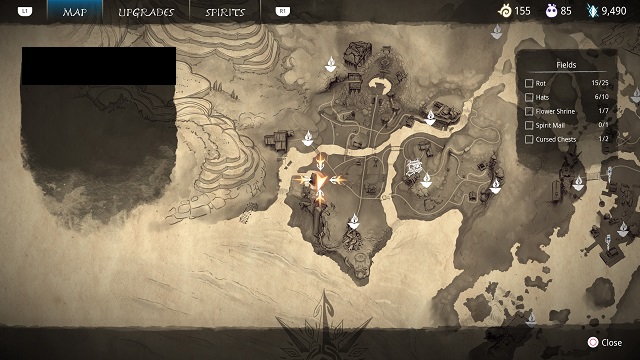
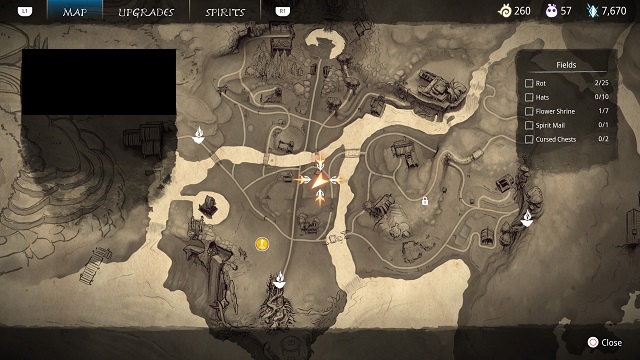
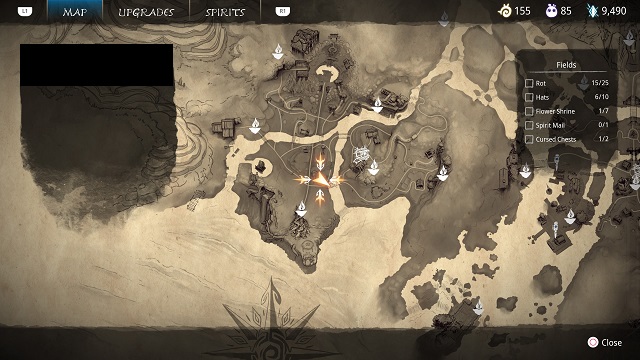
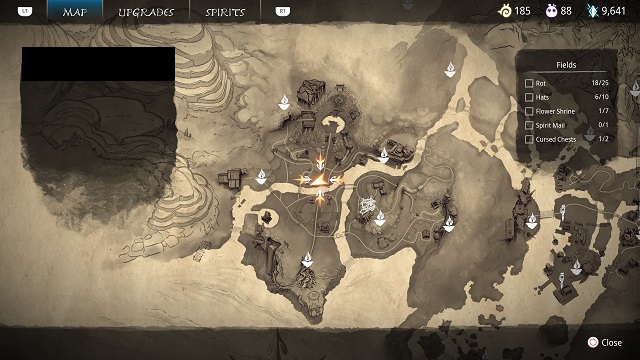
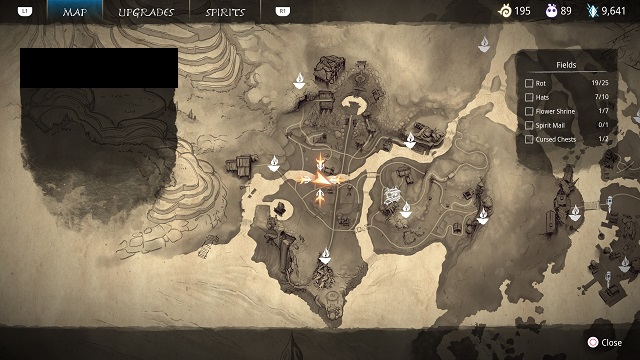
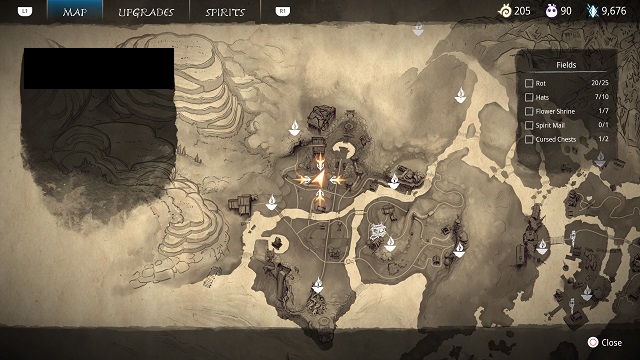
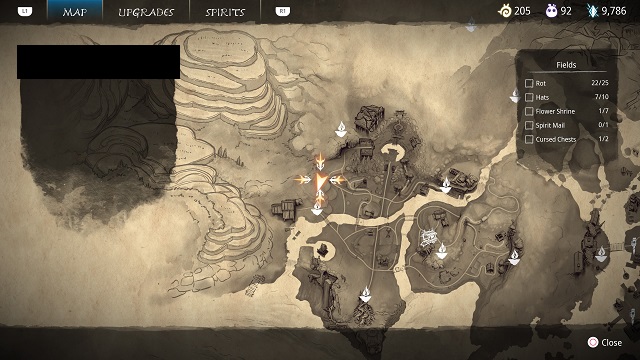
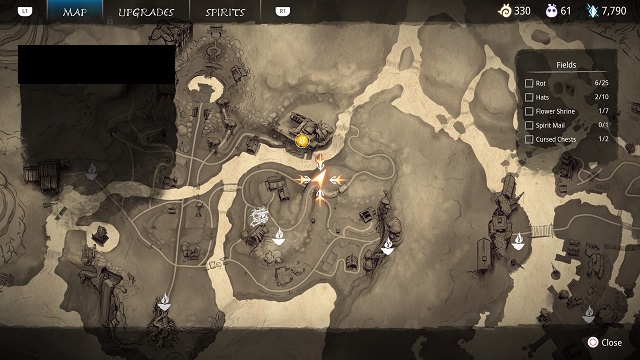
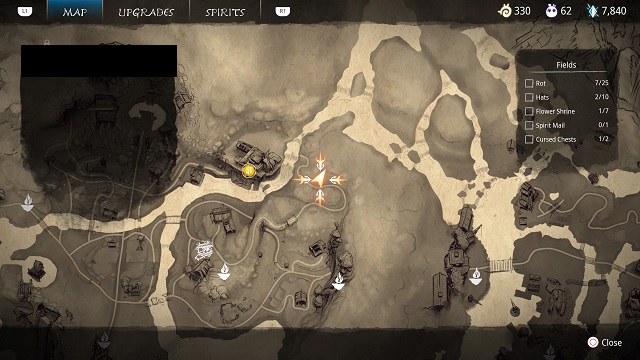
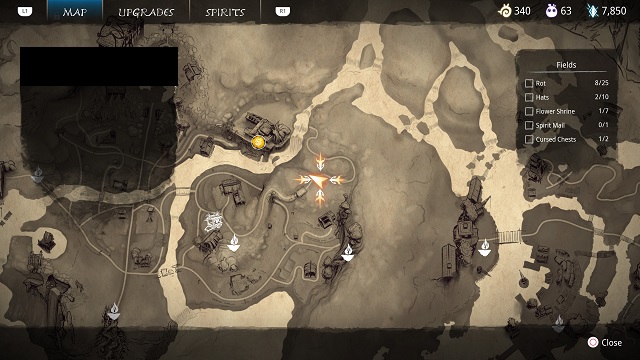
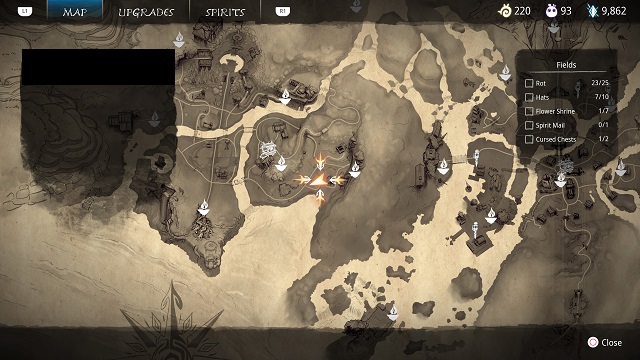
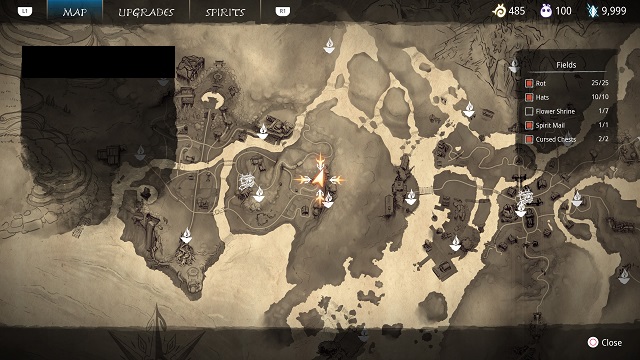
Each main area in Kena Bridge of Spirits has a certain number of Rot locations. You can check how many you’ve found by pausing the game and highlighting each area of the map. The collectibles for that area will appear on the right side of the screen.
The very first little one you interact with is unmissable and becomes your first companion. After that, their locations get progressively more difficult to find and some require backtracking after you’ve unlocked new areas and gained new abilities.
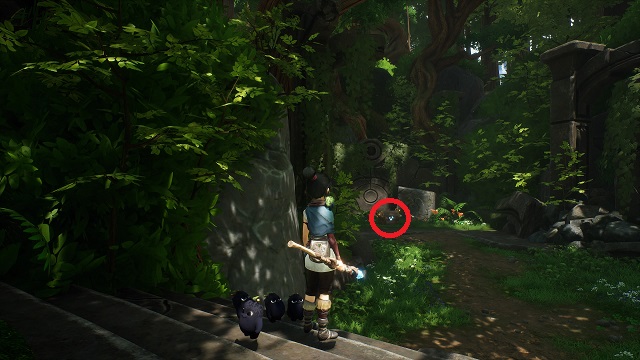
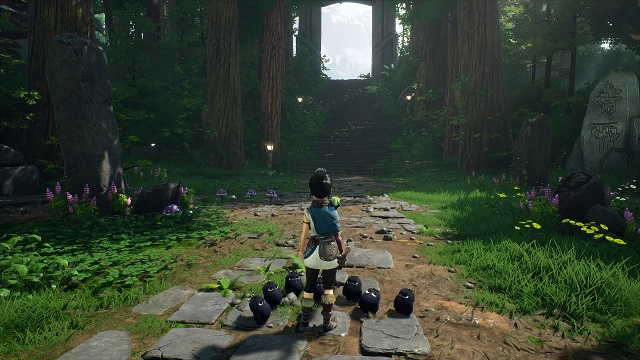
Ruins Rot Locations (8)
Rot #1
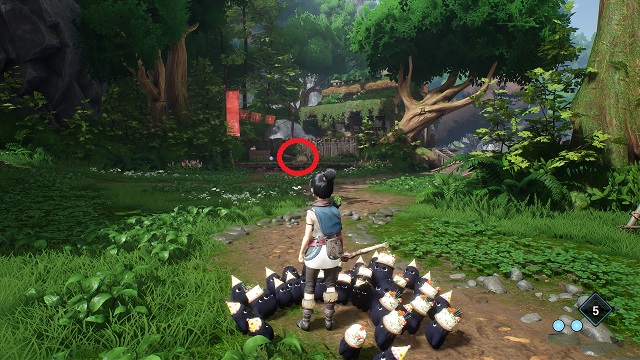
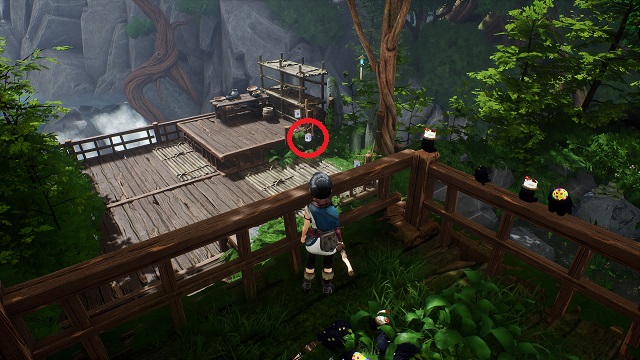
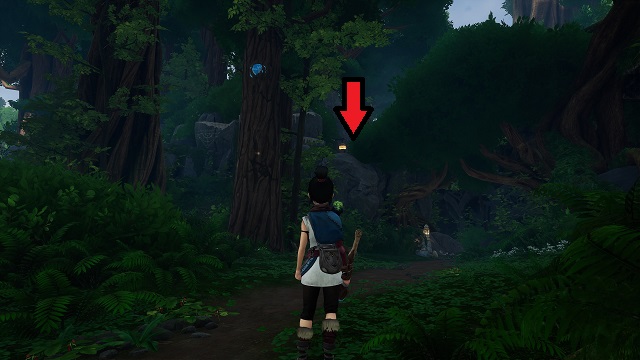
This one is found very soon after the first Rot in the game. Use Pulse to raise the rock pillars and follow the children up the cliff. At the top, your companion will stop at the small rock formation in the middle of the area.
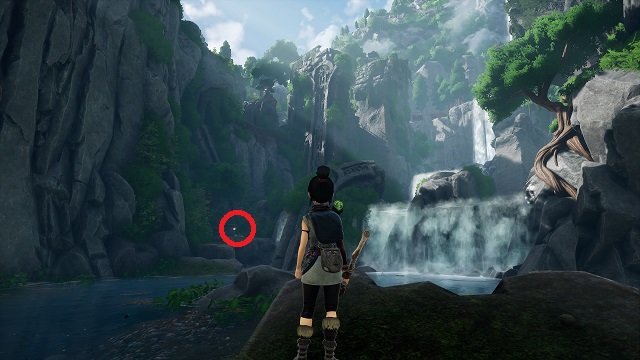
Rot #2

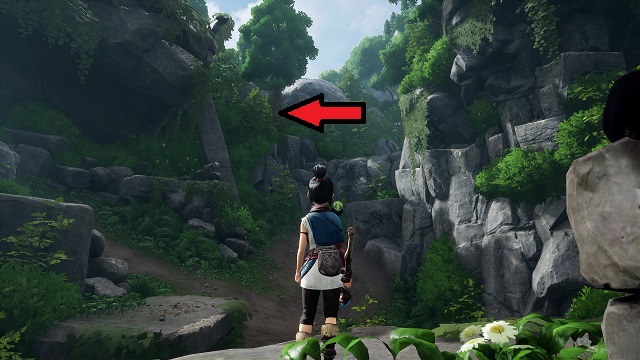
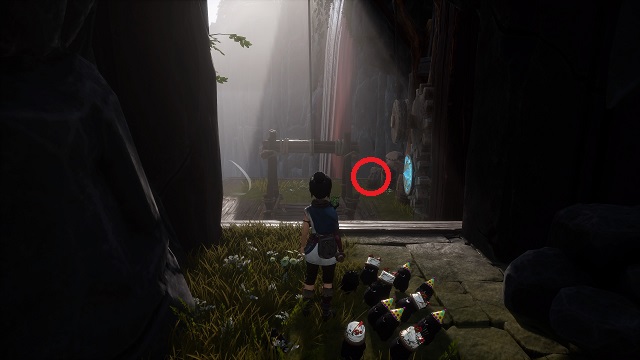
For the next one, go past the rock formation and take the right path. At the top, you’ll see a waterfall, as well as three tall, oblong rocks with symbols carved in them. Go up to the rocks and interact with them.
Rot #3
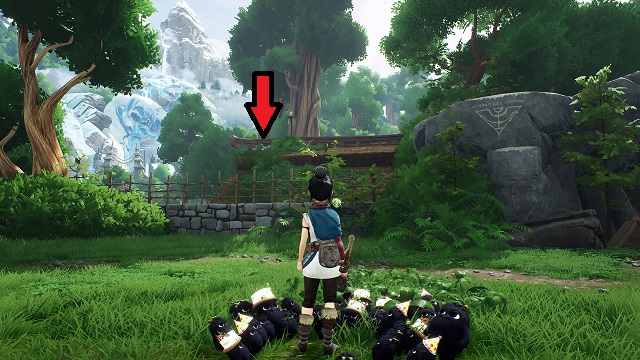
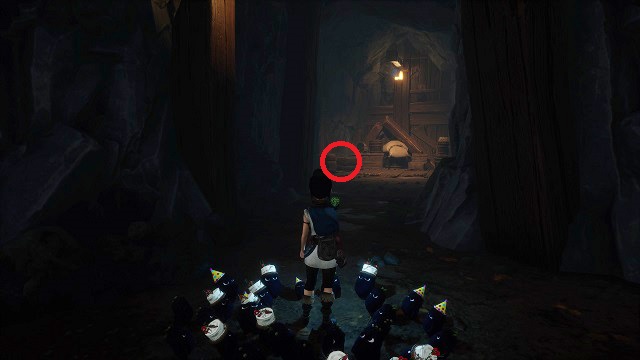
Next, turn around, jump across the gap, and cross the tree bridge. The next collectible is in the center of the area by the lantern.
Rot #4
From the Rot above, follow the path down. Go right at the bottom (the children will go left). Pass the red Deadzone area on the left, and activate the ground switch at the waterfall. Climb up the pillars, and go through the waterfall to the rock wall in the back.
Rot #5
Now go back, and go down the path the children took. At the bottom of the stairs, you’ll see a chest in front of you. What you’re looking for is inside.
Rots #6-#8
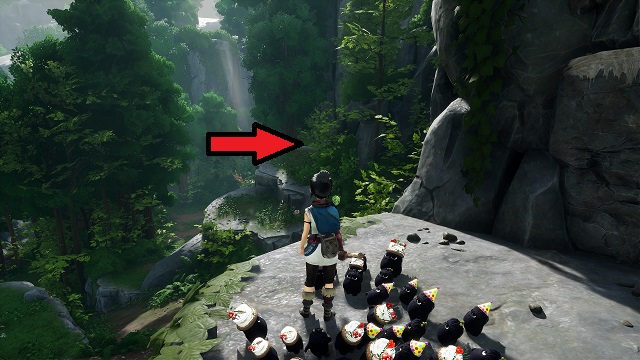
After defeating the first mini-boss (and cutscene), you’ll find these by the purple mushroom patch just to the left.
Village Rot Locations (24)
Rot #1
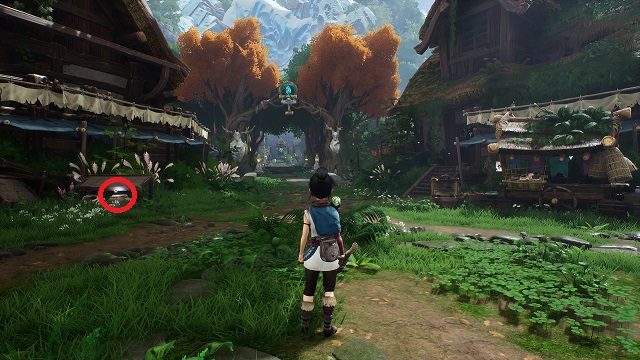
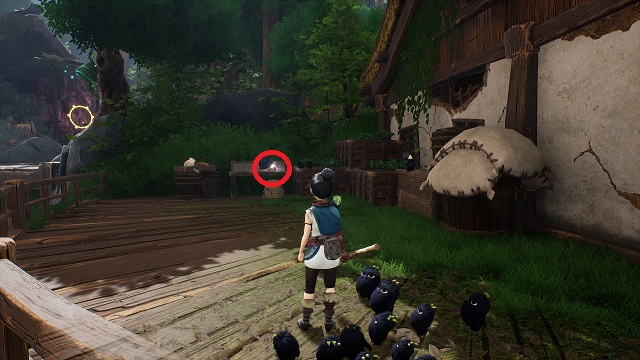
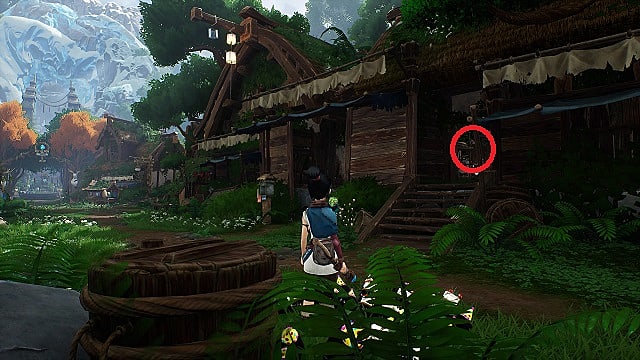
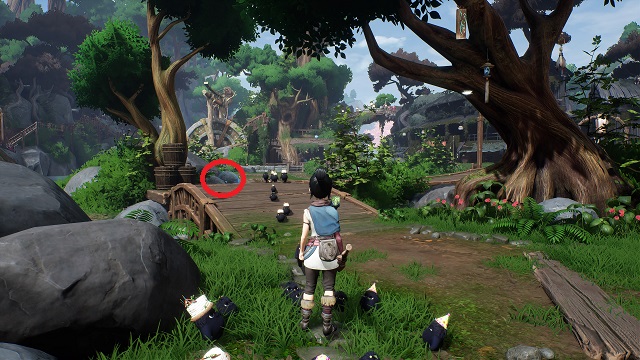
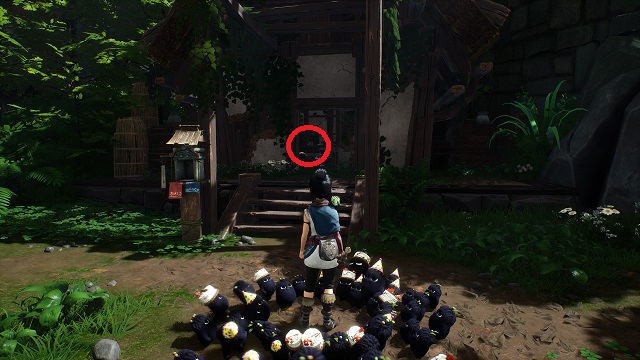
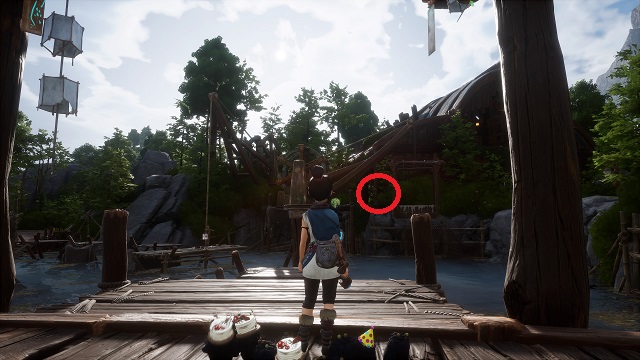
The first one can be found opposite the hat cart in the village. It’s on a wooden crate near pampas grass.
Rot #2


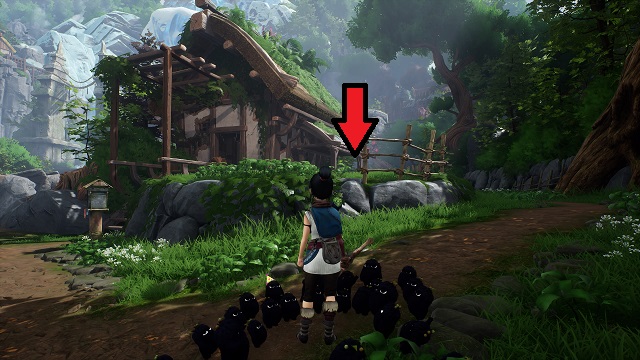
After speaking to Zadju and getting Taro’s mask, turn right toward the tree with pink flowers at its base. Turn right, then immediately left. Go down the slope. There will be a rock at the end just before the water. Pick it up to reveal another collectible.
Rot #3
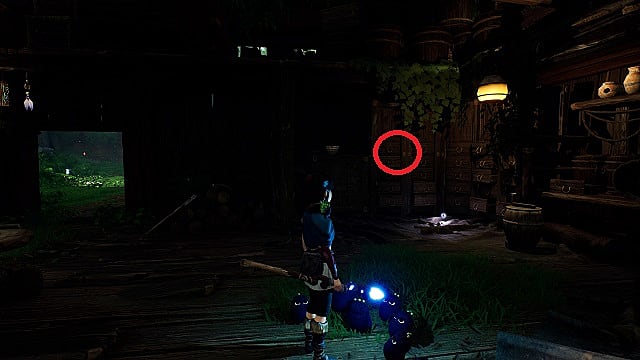
Open the Taro Gate near the hat cart, and deliver spirit mail to the first house on the left. Destroy the corruption, and go to the backside of the house. There is a bowl glowing purple by a stack of crates.
Rot #4
Deliver Spirit Mail to the second house on the left on the same path. There will be a blue pot on the right side of the house next to a pile of cut wood. The rot is under the log to the right of those.
Rot #5
When you get the Bow ability, return to the Village Center warp stone, and go through Taro’s Gate toward Taro’s Tree. Turn right after the last house (just before the stone steps) and activate the bridge.
Cross and turn right to enter the archery range. Clear the corruption and enemies, then activate the lever at the far end. Complete the archery challenges for this one.
Rot #6

Deliver Spirit Mail to the house south of the village warp stone, on the left side coming from the Village center. Follow the newly opened path behind the house and remove the corruption. Backtrack and go into the house. There will be a drawer glowing purple on the left side.
Rot #7
Deliver Spirit Mail to the house south of the Village warp stone, on the right side (it’s the building the warp stone is connected to). Clear the corruption, and you’ll drop down after a cutscene. Open the Cursed Chest.
Rot #8


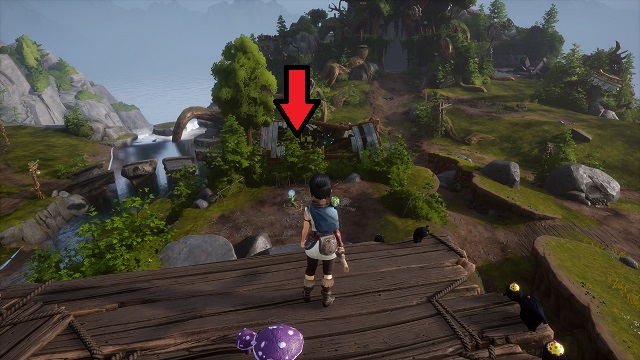
After getting Adira’s Mask and opening a new section of the village, enter the area, and turn left after you cross the water. You’ll see a large water wheel in the distance by the river.
Go up the steps of the building behind it. At the top, turn right, and go up two sets of steps. You’ll see a bridge with lanterns on either side. Use Pulse on the first lantern on the right.
Rot #9
Once you get the bomb ability, return to the entrance of the docks from the village (from the Adira portal/gate). Go toward the water wheel and you’ll see glowing rocks on the ground between the wheel and the bridge along a wooden walkway by the river. Use the bomb to reveal this one.
Rot #10

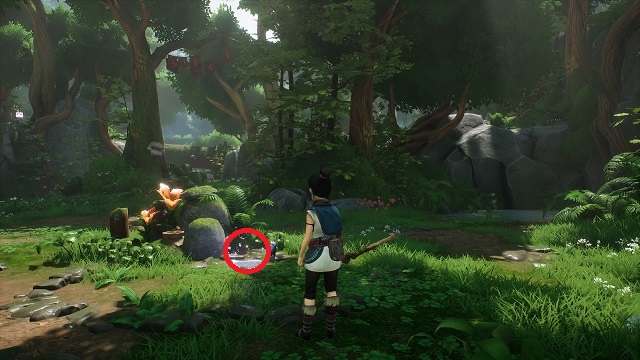
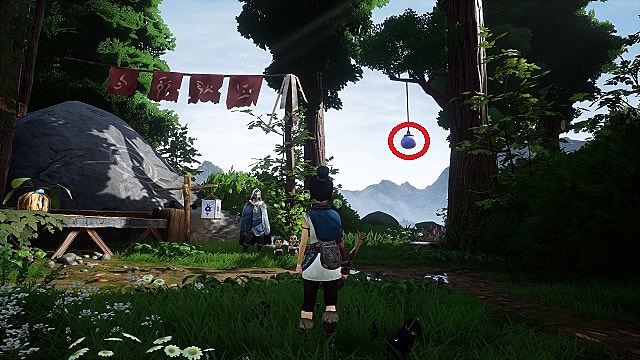
From the village center, go southwest and take the first road to the right after the warp stone. Deliver Spirit Mail to open the barrier. Follow the path and cleanse the corruption. You’ll see a pond in the back right corner and three blue stones. Shoot them to reveal the rot and the frog hat.
Rots #11-#19
You get three Rot each for completing Toshi’s Fear, Toshi’s Regret, and Toshi’s Love. You get them automatically after defeating the boss at the end of each questline.
Rot #20

Deliver Spirit Mail to the house southeast of the Village Center Warp Stone. Clear the corruption, and go back to the previous area with the blue glowing rocks. Climb the cliff on the left side to get on top of the house. Activate the purple symbol on the roof, and shoot the whirly birds.
Rot #21

Deliver Spirit Mail to the house just southwest of the Docks Warp Stone. Clear the corruption at the very top, and enter the previously blocked off room there. Open the chest for this one.
Rot #22
Deliver Spirit Mail to just east of the Storehouse Warp Point (cross the bridge from the point and turn right). Clear the corruption and use the tether that was behind the corrupted flower. Land, and use the rot to pull the basket out of the water for this one. You’ll also get a hat.
Rot #23
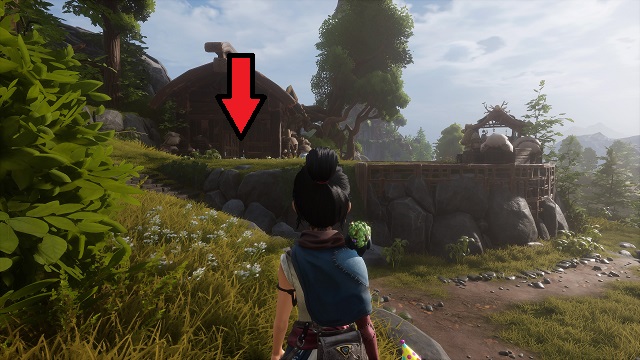
Deliver Spirit Mail to the house directly next to the Village Onsen Warp Stone. Defeat Kappa, and return to the entrance by the Warp Stone. Go up the stairs to the right. At the top, look down at the deck area below. There will be a blue and white lamp on the right side below the three-tiered rack. Use pulse on it.
Rot #24
From the same Warp Stone, continue down the path toward Zajuro’s Shrine. At the broken stone bridge, turn right, and deliver the Spirit Mail. Destroy the corruption and get this collectible from under the box just inside to the left.
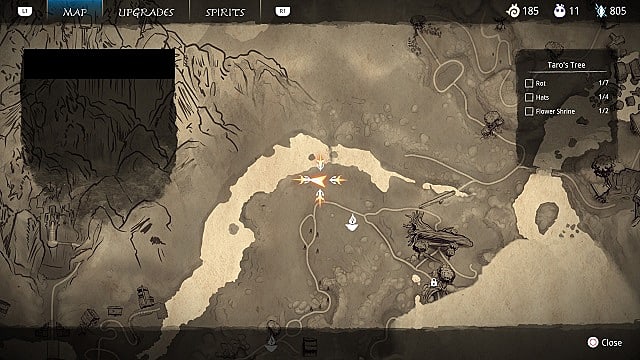
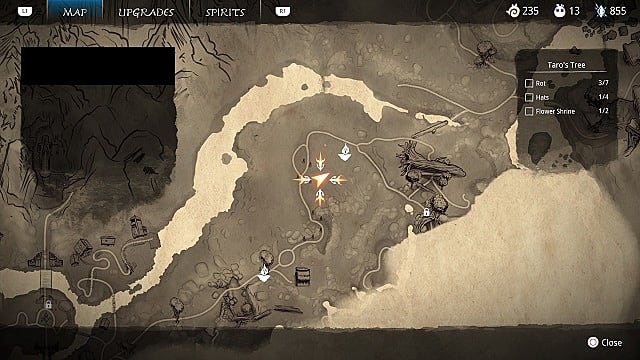
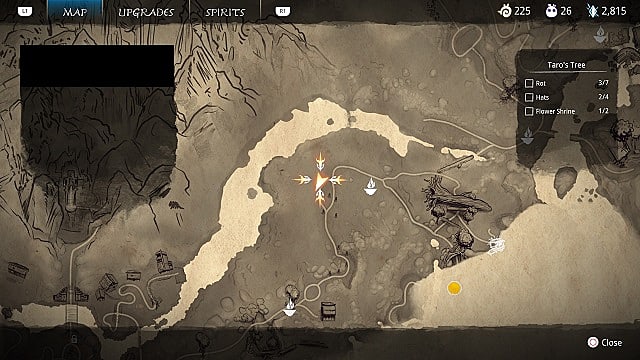
Taro’s Tree (7)
Rot #1
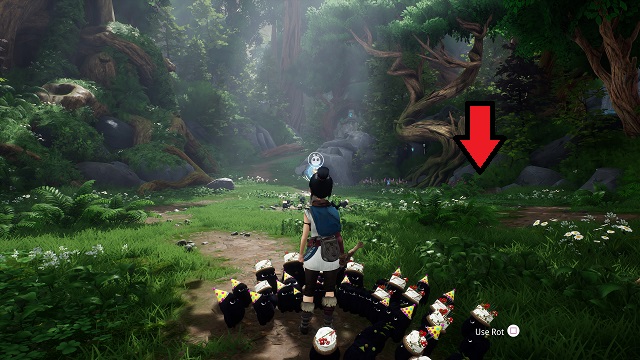
After learning the Forest Tear ability, use it to break up the piles of leaves on the right side to reveal a log. The rot is under it.
Rot #2

Defeat the Sprout mini-boss, and use the nearby Tear to combine the rot. Destroy the barrier on the left side (if the children are to your back). Use Pulse on the stone in the alcove there to get this one.
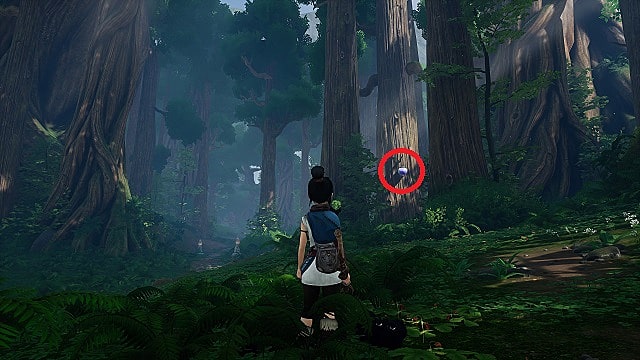
Rot #3
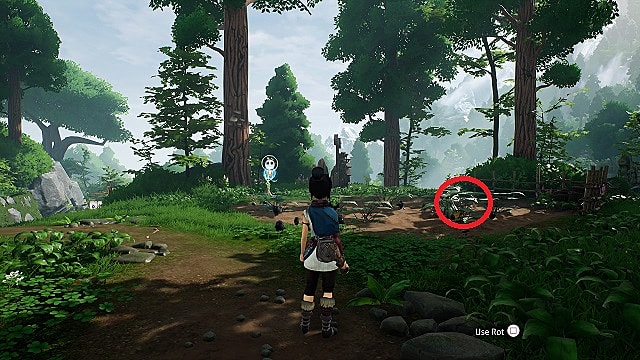
Before you seek out Rusu, turn around, and go back through the forest. Stay on the right side, and continue down to the broken bridge. Just beyond that is a blue target hanging from a tree on the left. The rot will alert to a rock below it. Defeat the enemies and get what you’re after.
Rot #4

From the last one, go left, back out onto the center path. Go south (or back toward the village). You’ll pass three lanterns. Go left after the third one, and interact with the log on the ground on the left.
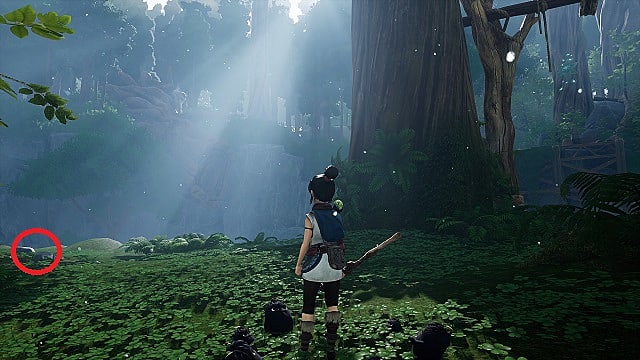
Rot #5
After getting the bow, return to the area where you found Rot #2 (beyond the broken bridge heading toward the village). Shoot the blue hanging pot to the left of the rock you previously overturned.
Rot #6
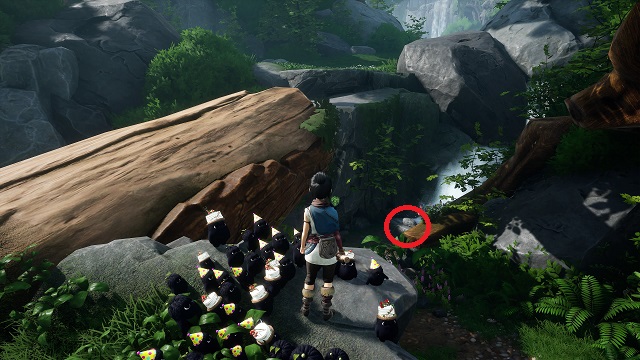
Now turn around and go past the Taro’s Tree warp point. Turn right at the water, and go up the tree trunk leaning on the stop. Look up and right for the tether. Use it and follow the path. Then climb on the cliff to find the rot under a rock.
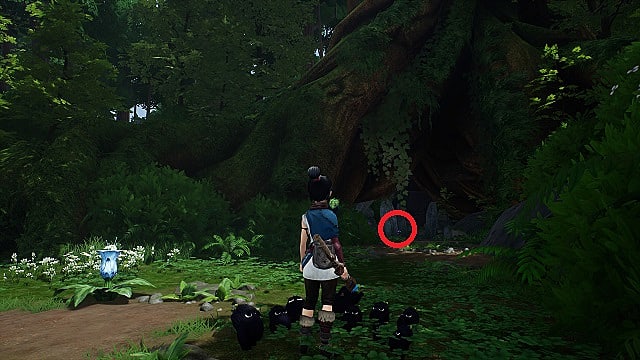
Rot #7
As you go up the large tree trunk toward Rusu Mountain, look right and down at the base of the waterfall before you jump over. The rot is under a rock just before the waterfall.
Rusu Mountain Rot Locations (13)
Rot #1
After you speak with the children near the water in the Gorge, swim out to the far back left corner. This one is under a rock.
Rot #2
Go back to the main shore with the warp stone, and go right through the large torii gate with the lamps on either side. Defeat the enemies at the end of the oath, and go to the right side of the area to find one hiding under a rock.
Rot #3
Continue up the mountain, and you’ll reach a Forest Tear. The main path will go right and up. You’ll be forced to climb over rocks to avoid the sliding terrain.
When the path curves left, jump onto the second rock, and then slide down to the right side. Use Pulse on the stones by the lantern.
Rot #4

When you reach the Ruins fast travel stone going up the mountain, look over the cliff just to the left. You’ll see you can climb down. Do so and use Pulse to get the rot.
Rot #5
Now, climb all of the way up the rock formations. When you reach the top, you’ll see a dirt pathway in front of you. Turn left to see a grapple point in the cliff. Hop up and use the rot to move the block to the far end of the area. Climb up, and find the rot under a rock.
Rot #6
From the center area of Rusu’s archery training ground, where you shoot the four targets hanging from the large tree, go along the left side to the whirly bird training section. Just to the right, there is a purple pot hanging from a tree. Shoot it to get the rot.
Rots #7-#9
You get these from defeating Wood Knight at Rusu’s house, a boss fight you can’t miss.
Rot #10
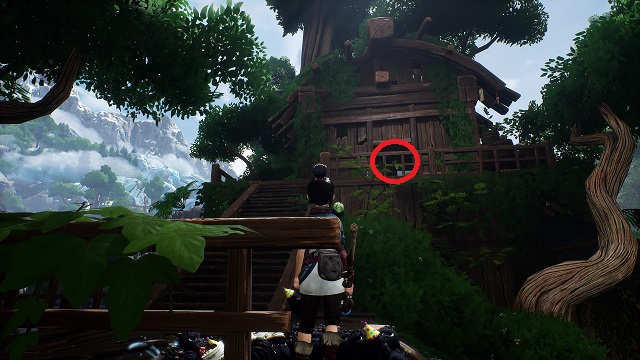
Go into Rusu’s house, and turn right. You’ll see a drawer glowing purple. Open it.
Rot #11

Exit to the front of Rusu’s house and turn left. You’ll see a small untilled field with a wooden wheel attached to two blue targets. Shoot the targets and then activate the tear. Move the rot around the field to till it, making sure to go over the purple glowing spot. Vegetables will appear. Use Pulse on the purple glowing one.
Rot #12
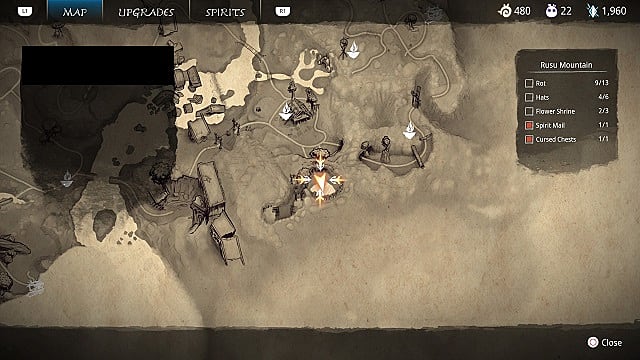
You’ll find a grove directly behind Rusu’s house with a statue and water wheel. There is a fit running back and forth with a flower in front of the water. Use Pulse to stop it.
Rot #13

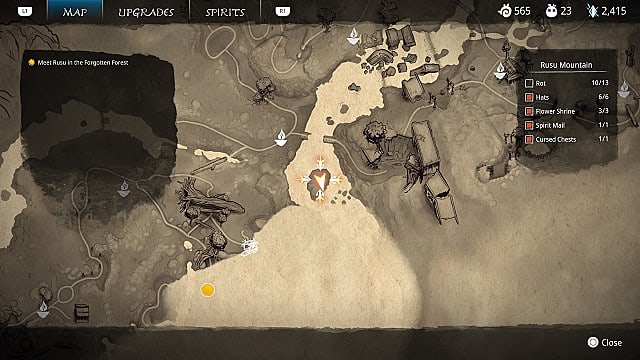
Now travel back to the Gorge, the first area of Rusu Mountain. You can access the island to the right of the warp stone with the tethering ability. Use Pulse on the purple stone there.
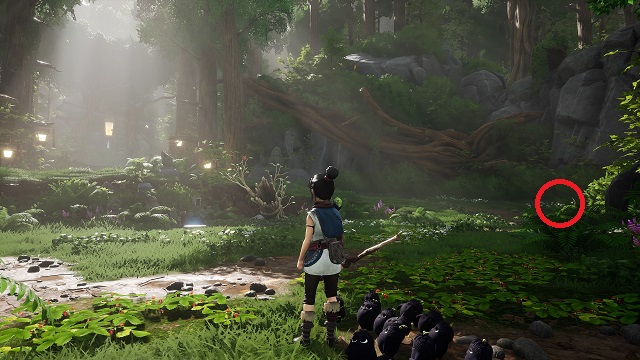
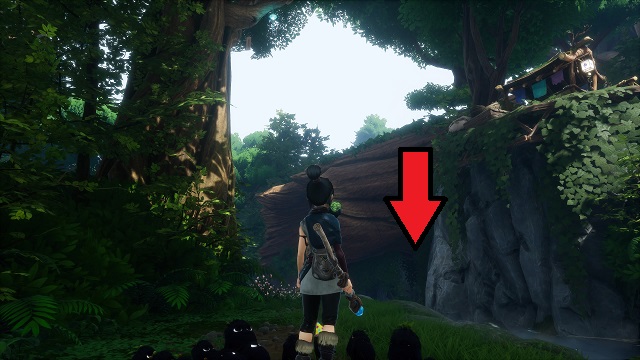
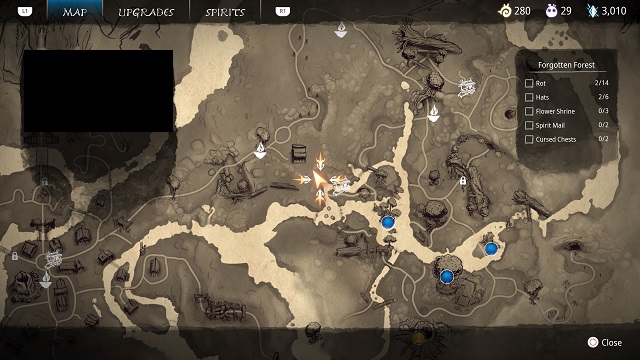
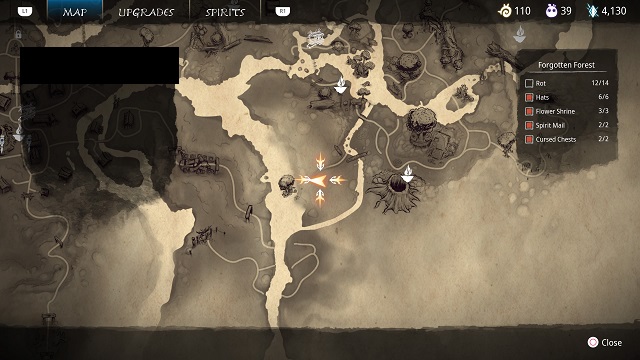
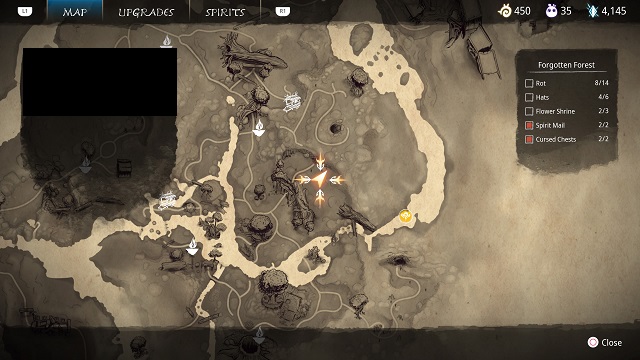
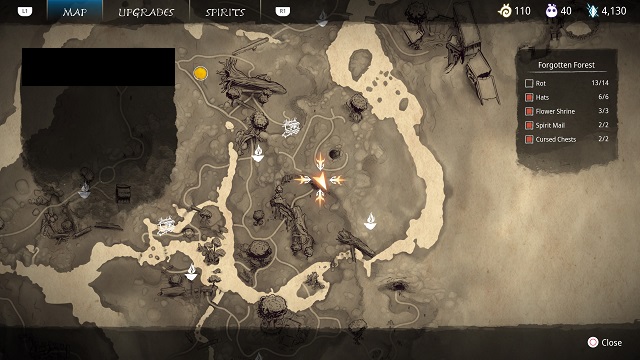
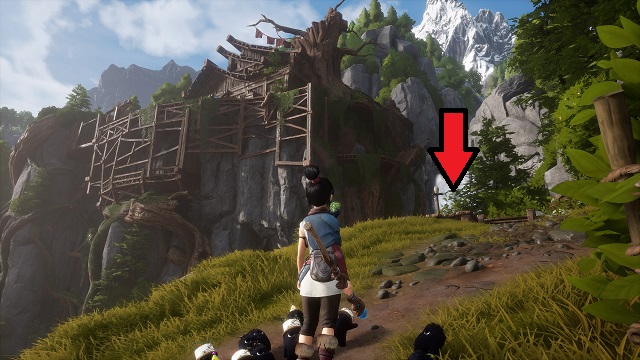
Forgotten Forest (14)
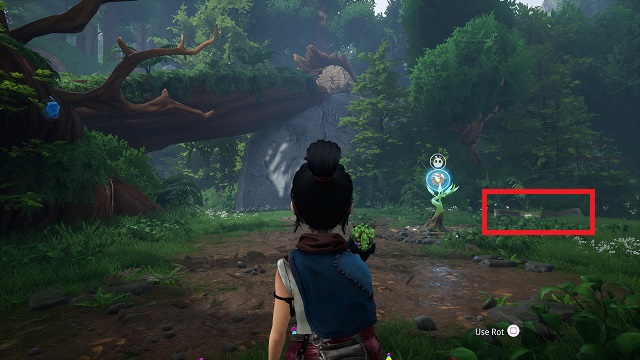
Rot #1
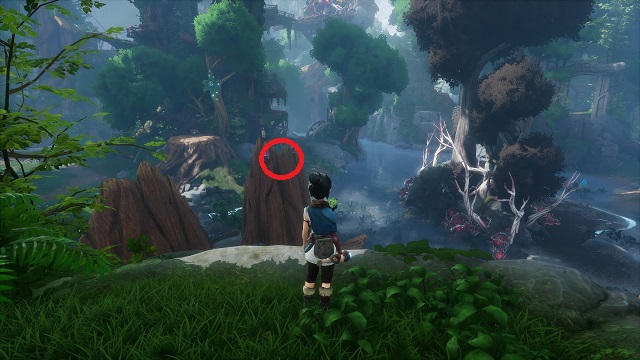
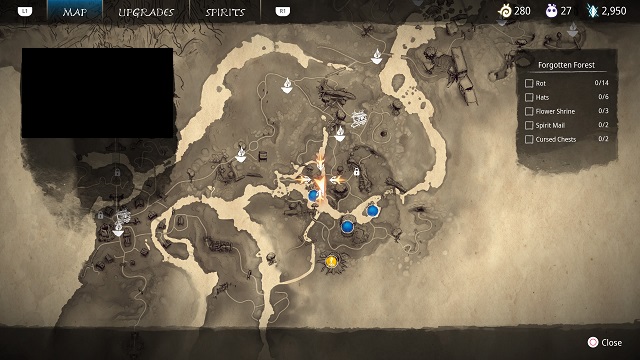
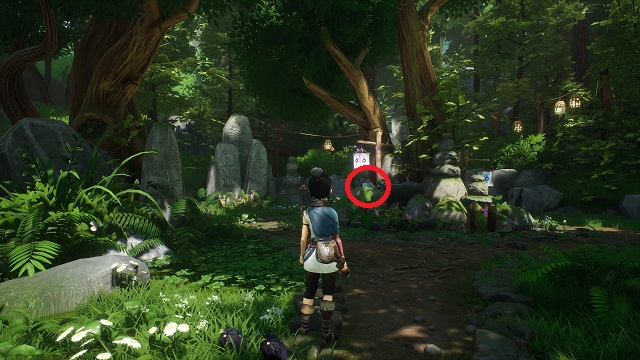
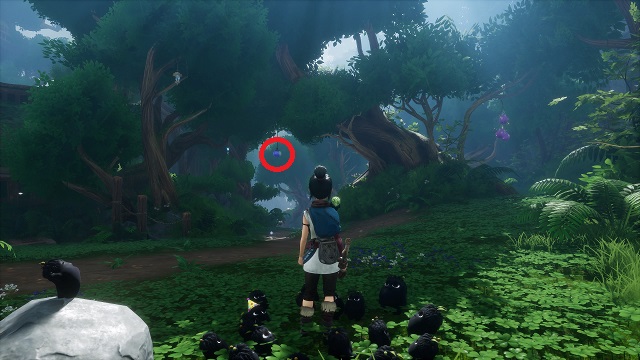
Enter the forest and stay in the right side to restore the wood shrine (it’s the first corruption you come to on this side; it’s by a waterfall). Once you’ve done that, look to the left of the shrine, and you’ll see two large tree trunks hitting out from the cliff below you. There will be a circular purple symbol on the right one. Go to it and use Pulse to spawn four whirly birds in front of you. Shoot them all down.
Rot #2
Turn right and jump off the log to the path. Follow the path toward the waterfall and the hat cart. Turn left at the ledges leading up to the cart. There will be a huge tree trunk ahead and an alcove in the cliff beneath it. Use Pulse.
Rot #3
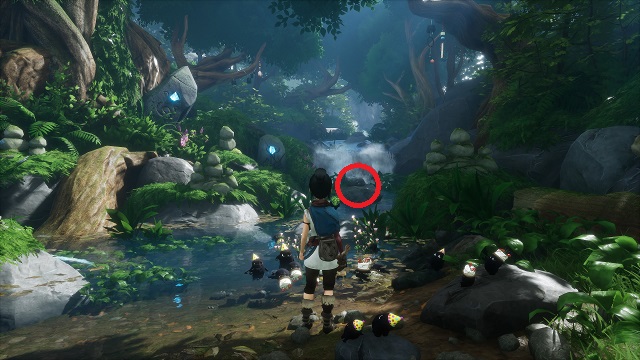
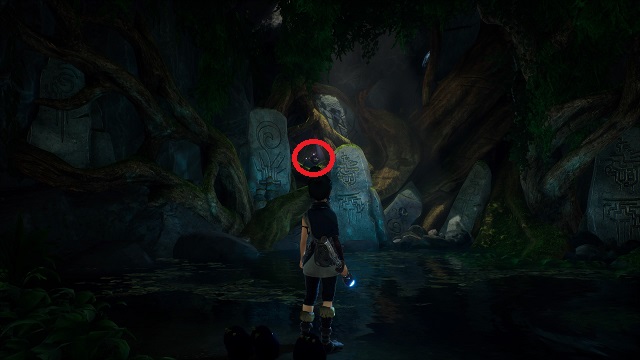
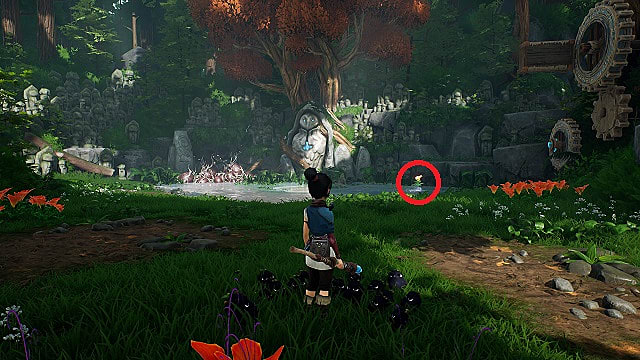
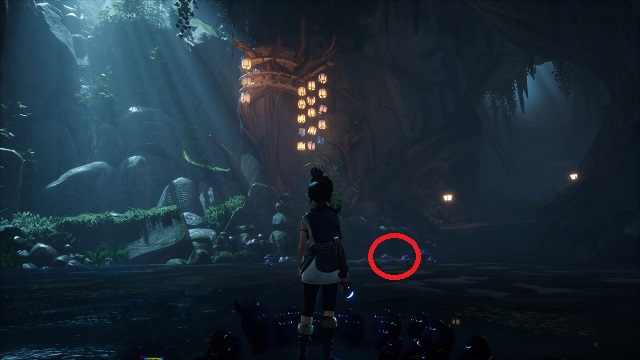
Keep going and you’ll come to the water shrine and its warp stone From the warp stone, go up the steps to the right, and follow the ruined path up the cliff. Turn right at the wooden root bridge, and follow the water into the cave.
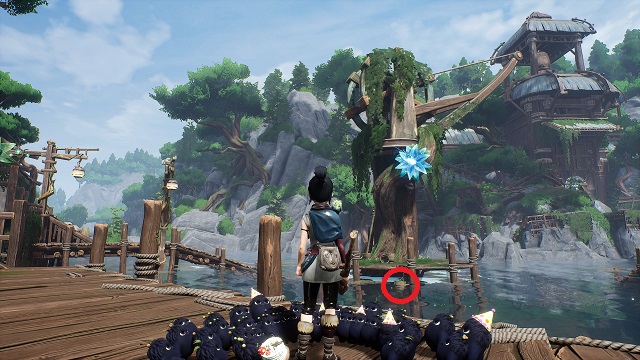
Jump on the rock on the right side and shoot the blue gem to raise two pillars in the water jump over to find a meditation spot, with the rot on a rock in the water to the right.
Rot #4
Go to the gold objective marker (where Rusu is standing near a large temple gate with four braziers). Facing him, continue down the path left (east on the map) until you reach a ruined building on your left. Shoot the blue pot hanging from the tree near it.
If you’ve already completed the objective, go to the Sacred Tree fast travel point, and go left if facing it.
Rot #5
Complete the water shrine. With your back to the shrine, use the Forest Tear to destroy the corruption in the back left portion of the ruins in front of you. Use the stone block to climb the ledge to the left of the warp stone.
Climb up, turn right, and remove the wood blocking your way. Use the tear at the shrine again, and lead the rot up to you. Use them to destroy the leaf pile to the right.
Rot #6
Climb to the top of the God Tree. There will be a grapple point up and to the right of the shrine stone. Use it, and follow the path. Use Pulse on the puddle you find on the last platform.
Rots #7-#9
Defeat the boss and complete Taro’s Love.
Rot #10
Complete all of the Shrines, and open the gate for Taro’s Regret. Stay on the right side and the rot will be under a rock.
Rot #11
Climb up the left side of the same area. Eventually, you’ll come to a Forest tear and need to cleanse the corruption. Use the second tear you get while doing so to destroy the leaf piles next to it, revealing a log.
Rots #12-#14
Defeat the shrine guardian and get the lantern.
Storehouse (3)
Rot #1
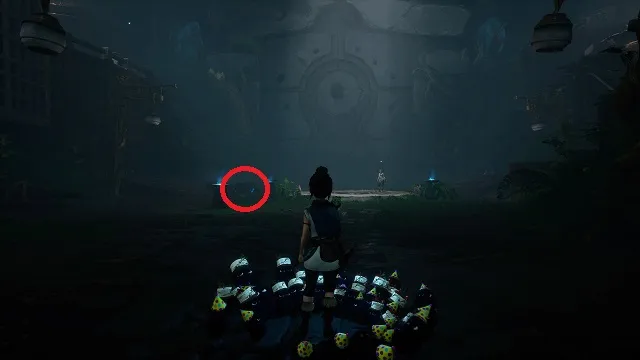
Enter the storehouse and acquire the bomb ability. Destroy the rock to the left of the pressure pad in front of the door. Use Pulse on the puddle under the rock.
Rot #2
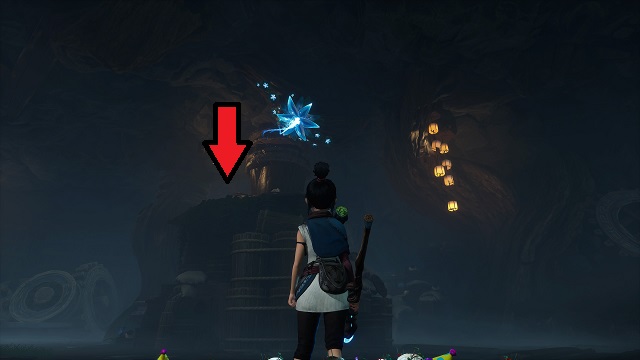
On your way to reactivate the left power crystal mechanism (if you’re facing the large locked door), you’ll enter a room with new enemies you must use your bomb on. Clear the corruption and look for the tether node in the room. Use it and open the chest on the platform for this one.
Rot #3
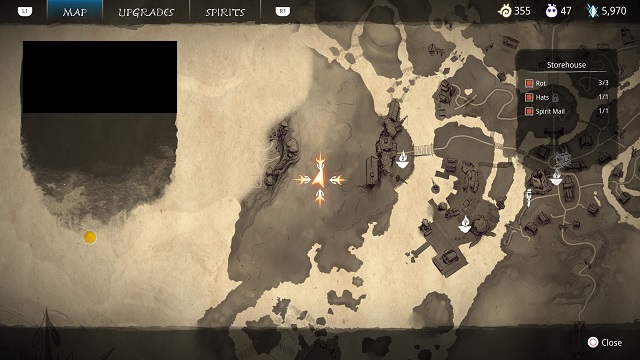
After you reactivate the power crystal on the left side (the same as above), take the stairs to the left and follow the path around. Use a bomb on the rocks in the cliff. Go through the opening and use Pulse on the purple symbol on the ground. Shoot the whirly birds that appear for this one.
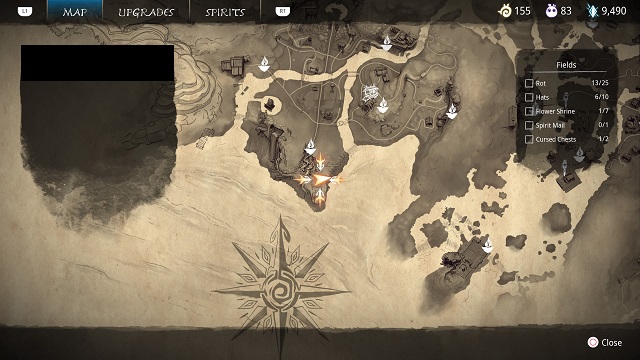
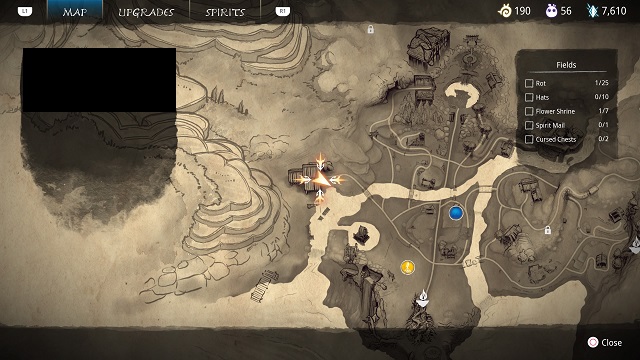
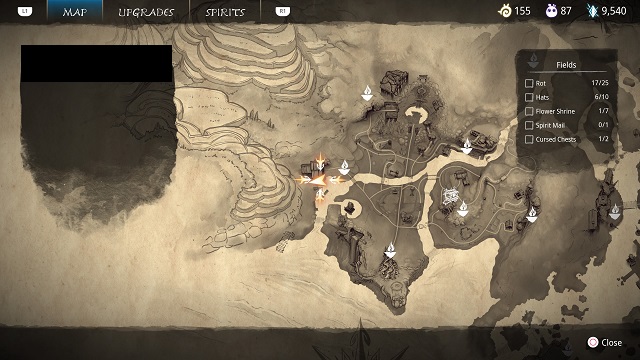
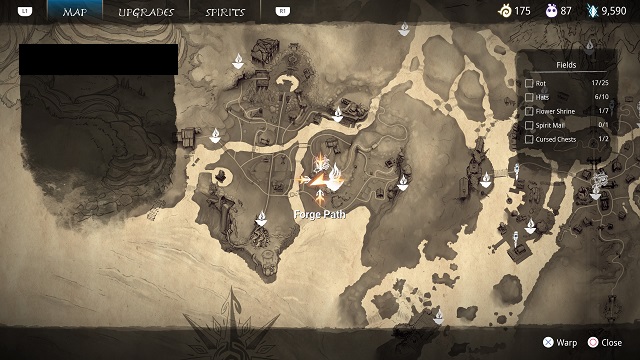
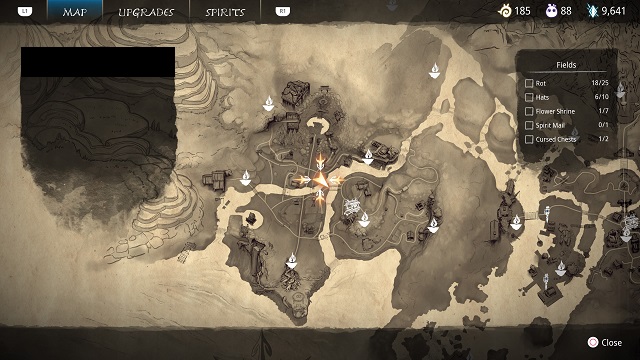
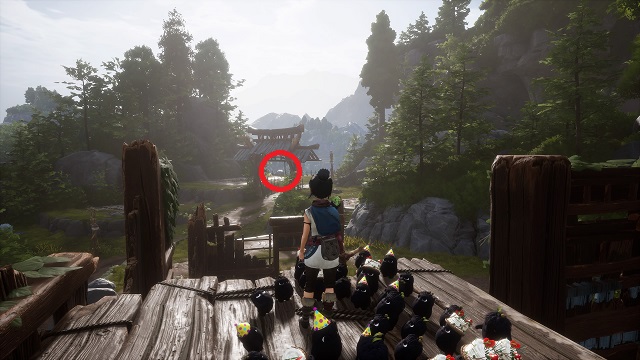
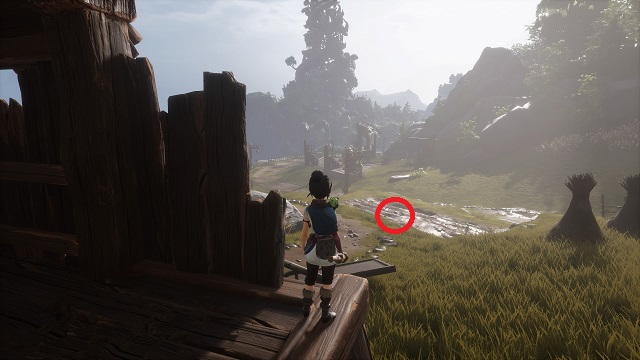
Fields (25)
Rot #1

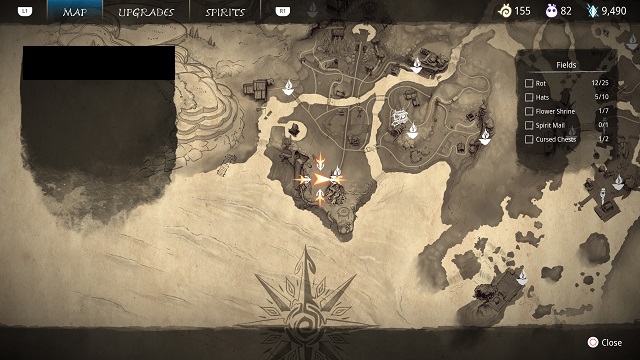
Near the beginning of the area, you’ll need to cleanse three areas of corruption. One of them is a watchtower. You’ll need to use your bomb to create a platform up to the tower.
Do so, but use a second bomb to remove rocks just to the left of the cliff (at the base of the tower platform you’re trying to get to. Use pulse on the puddle inside.
Rot #2

In this same area, you’ll descend a set of stone spiral stairs. At the bottom, you’ll drop down into a cave. Turn right and use pulse on the stone with purple runes.
Rot #3

After clearing the corruption under the watchtower, you’ll come to an elevator. This one is just beyond that, under a wooden column on the right.
Rot #4
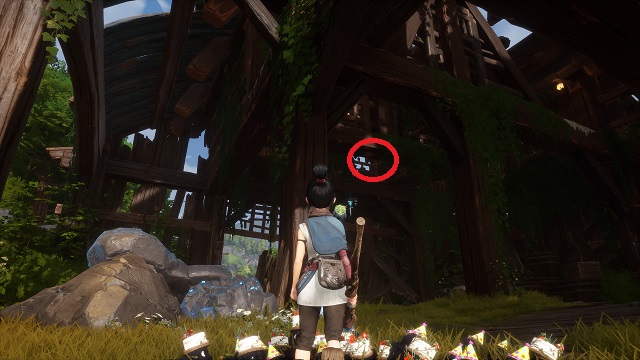
Take the elevator up. You’ll see the ruins of a house in front of you, and there will be several enemies in it. Get to the second story of the house and open the chest there for this one.
Rot #5
After defeating the Vine Knight, use your bomb on the rocks in the barn to get up into the rafters. Follow the path, and use pulse on the puddle.
Rot #6
Leave the barn and return to the rotating platform you used to enter. Instead of going left, go straight to across and to the outside left-side of the barn. Open the chest here for the Rot.
Rot #7
After clearing the corruption at the ancient well, interact with the purple symbol on the platform. Destroy the whirly birds and claim the rot.
Rot #8
From this platform, turn left (south). You’ll see a ruined building with a tether inside of it. Use your bomb on the rocks by the Tear and use the tether to get inside the building. There will be a chest inside to the left with the rot.
Rots #9-#11
Complete Adira’s Love.
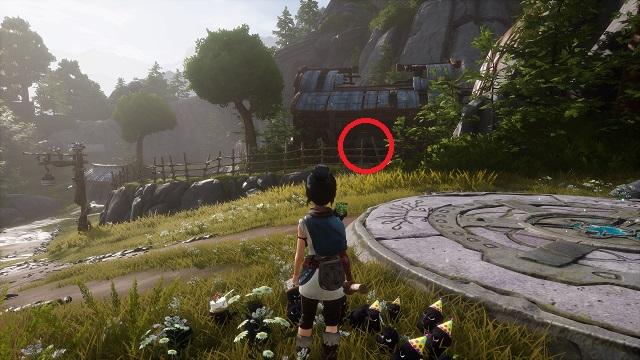
Rot #12
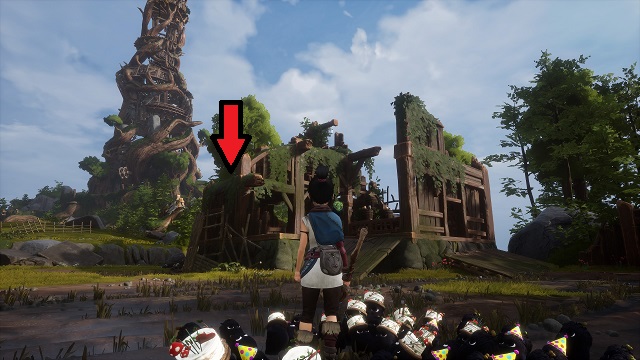
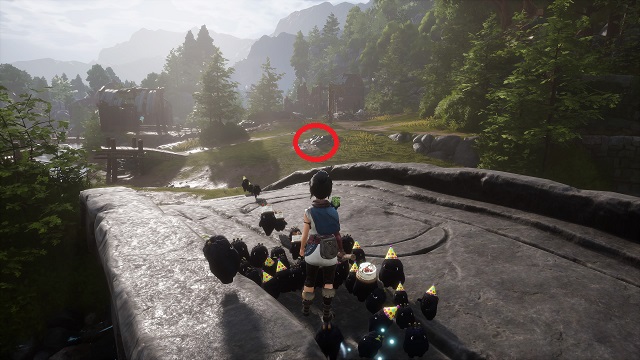
When you start Adira’s Fear, head Northeast toward the Forge area. Cross over the broken stone bridge and follow the path up the stone stairs, then right up another set of stone stairs.
The Hat Cart will be to your right, and a tear will be to your left near a Cursed Chest. Use the tear to open the house behind the cart. This collectible is to the right of the tether point inside.
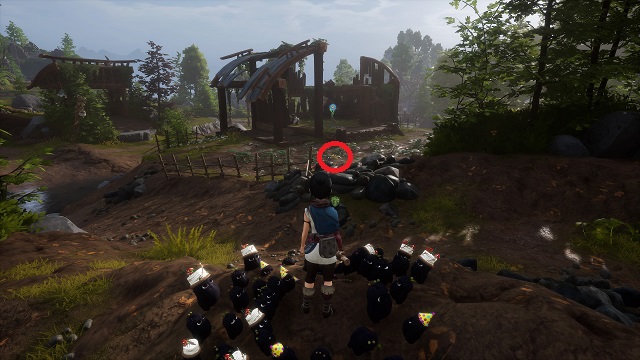
Rot #13
Now go west, toward Rufus’ Barn. You should cross an intact stone bridge just west of the hat cart. Cross it, and turn right. You’ll see a pile of rocks between the water and the road, to the right of the broken wooden bridge. Destroy those for this collectible.
Rot #14
Continue west toward the barn, and you’ll find a destroyed house with a semi-circular field in front of it. Defeat the mage, and activate the tear. Use it to grow the crops for the rot.
Rot #15

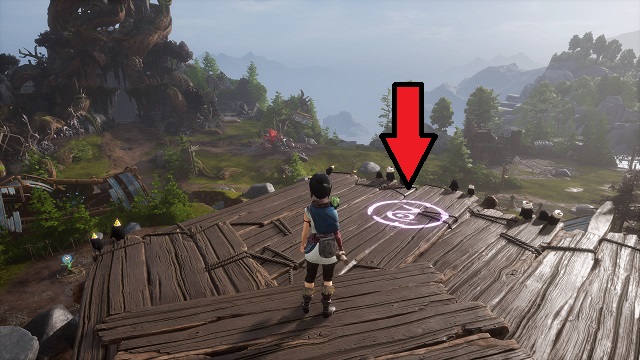
Behind the house is an intact wooden bridge. Open the chest under the bridge.
Rot #16
From the bridge, turn left to face north. You’ll see the ruins of a two-story wooden building. Climb to the second story, and you’ll find a purple puddle. Use pulse on it.
Rot #17
Jump back over to the platform behind you, and turn right. At the far western edge of the area, you’ll see a rock against a wooden fence, overlooking the valley below. Use your bomb on it to reveal this collectible.
Rot #18
Just after you clear the way to the Forge, follow the path forward. Then interact with the purple symbol on the platform at the end. Shoot the whirly birds.
Rot #19
Continue along and slide down the slope to the lower level. Enter the cave and turn left. The rot is under a wooden pillar in the storage room.
Rot #20
Keep going, and clear the corruption in the next area. When the hole opens, use your bomb to levitate the rocks and climb up. Take the path left to find a puddle on the ground (you may have seen it when sliding into the cave). Use pulse.
Rots #21-#23
Defeat the guardian at the Forge.
Rot #24
Now return to the Fields Warp Stone. Go behind the house on the left side, and use the tear on the crop field below and in front of the house, the one with the wheel buried in it.
Rot #25
From the field, turn right (facing north). You’ll see another house (directly across from the Warp Stone). Destroy the rocks on the front, and open the Cursed Chest inside for this one.
Village Heart (6)
Rot #1
After sliding down to the bottom of the area, swim along the path and defeat the enemies. Go right and swim again. You’ll reach an area where you must use your bomb on rocks in the water.
Look right and you’ll see a tether, as well as another tether on an outcropping behind it. Use both and activate pulse when you land.
Rot #2
After reaching the bridge above, you’ll eventually enter an area with red water. You’ll need to build a pathway up. When you reach the top, turn around to find a puddle on the ground. Use pulse.
Rots #3-#5
Complete Adira’s Regret.
Rot #6
Before leaving the area with the elevator after defeating the boss, jump into the water on either side, and swim through the opening leading under the elevator platform. This one is under a stone column on the left by a chest.
Here are some related tips and collectibles guides that may help as you make your way through Kena: Bridge of Spirits:
- Hat Locations
- Cursed Chest Locations
- Spirit Mail Locations
- Flower Shrine Locations
- Fast Travel: How it Works
- Karma: How it Works
- Healing: How it Works
Those are all of the Rot locations in Kena Bridge of Spirits. When you collect all of the Rots, you’ll get the No Stone Unturned (gold) trophy. If you found this guide useful, consider checking out our other tips articles for Ember Lab’s action-adventure title.


Published: Sep 21, 2021 04:37 am