There’s a lot of materia in Final Fantasy VII Remake, even though the game only covers about a quarter of the story from the original. A lot of old favorites make their return, as well as new faces designed to complement the more active battle system.
Also, like the original game, where and how you use the options at your disposal will determine your success throughout your approximately 40 hours in Midgar.
This guide will list every materia in the Remake, where you find them, and briefly describe what they do as they advance in level. There’s a lot to cover, so let’s get started.
Chadley
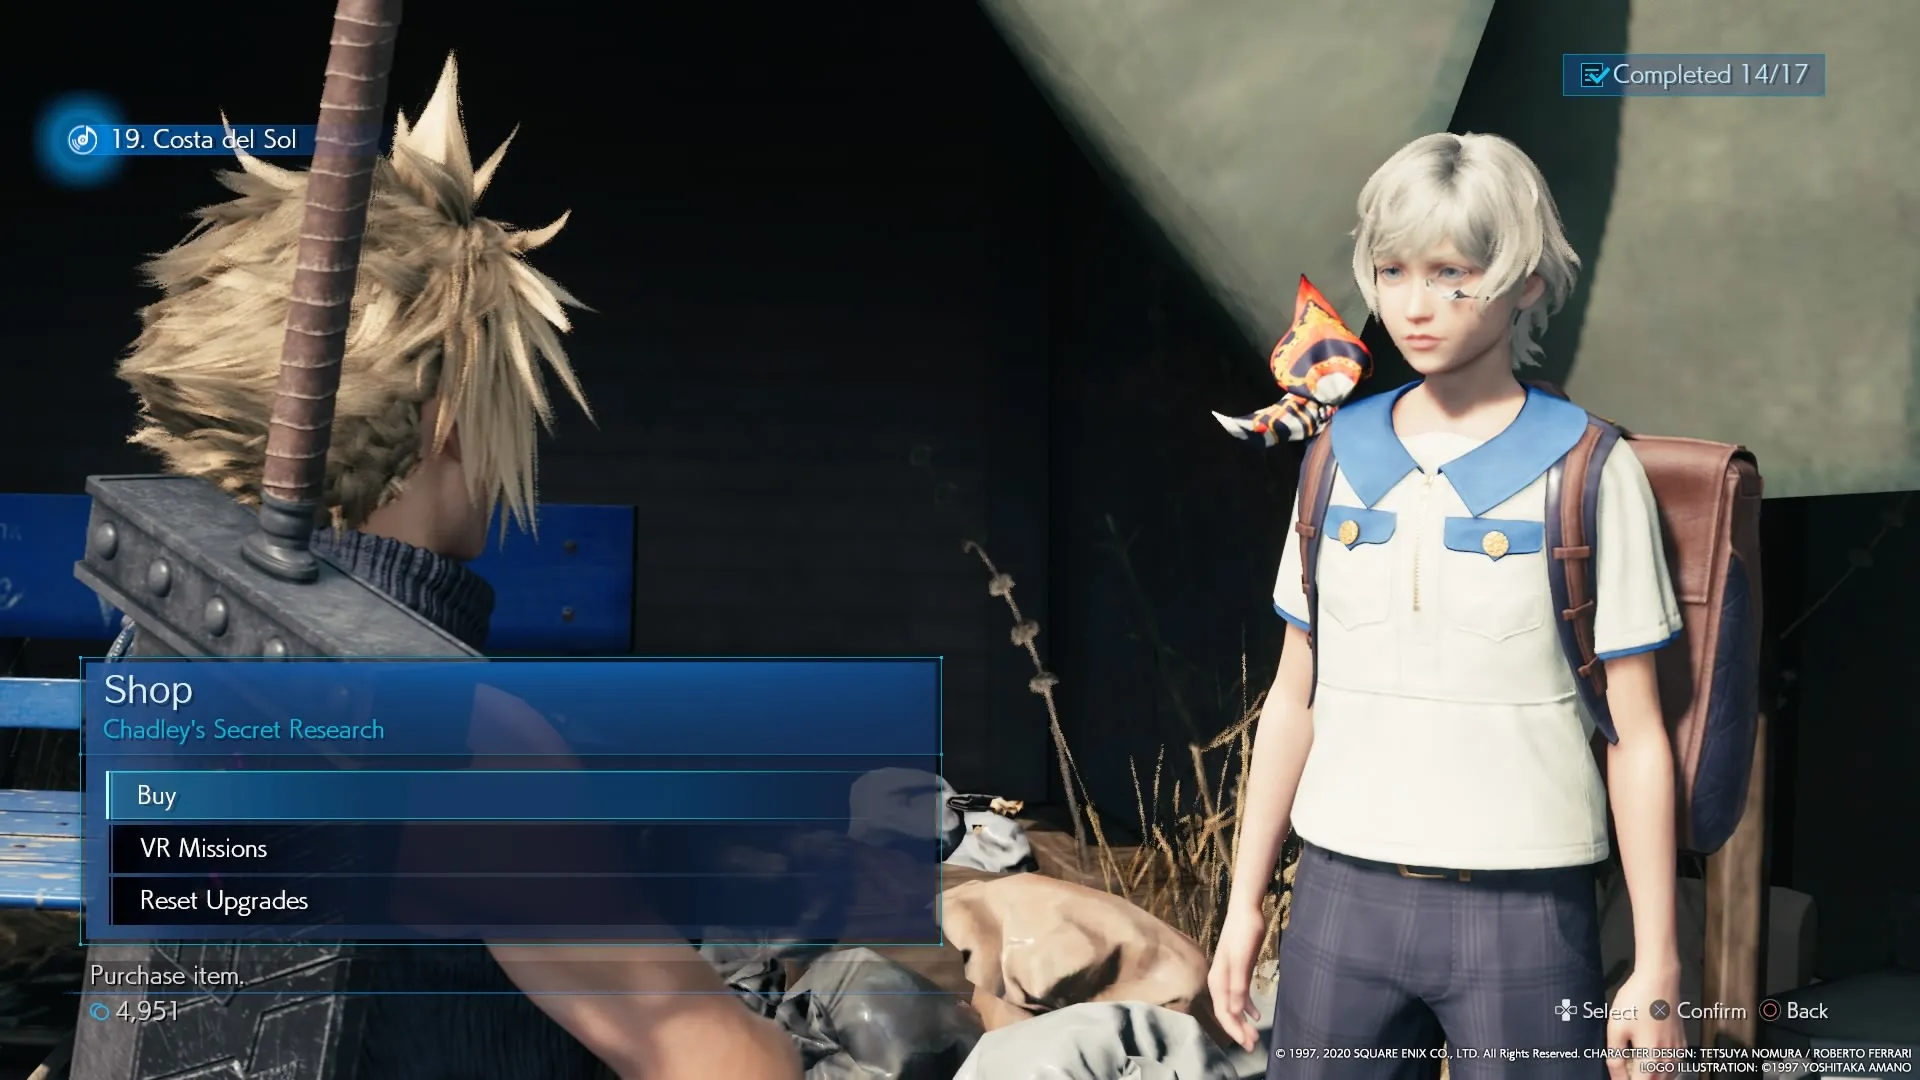
In the various hub areas (Sector 5, Wall Market, Sector 7), you’ll meet a young man named Chadley, who will charge you with completing various tasks called Battle Intel Reports.
These are usually simple things like “Stagger X enemies” or “Assess X enemies.” Once you finish one of the Battle Reports, he’ll make unique and impossible to find materia available to you. Which materia he offers and their associated report are noted below.
Green Materia: Magic
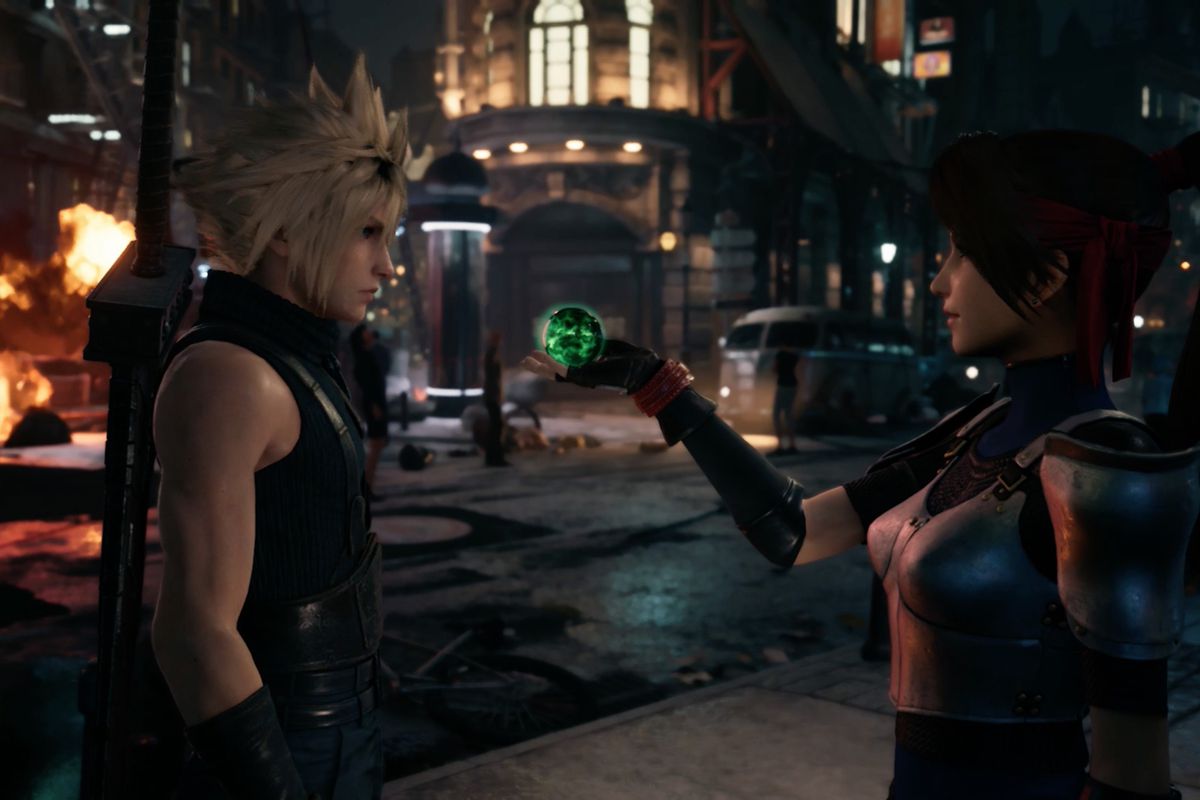
The most basic materia in the game, in Final Fantasy VII Remake, green materia allows you to cast spells, either to damage and debuff your opponents or heal and buff yourself.
You’ll find standard spells like Fire, Blizzard, and Thunder in this category, as well as costlier, more situational spells Barrier, Haste, and Raise.
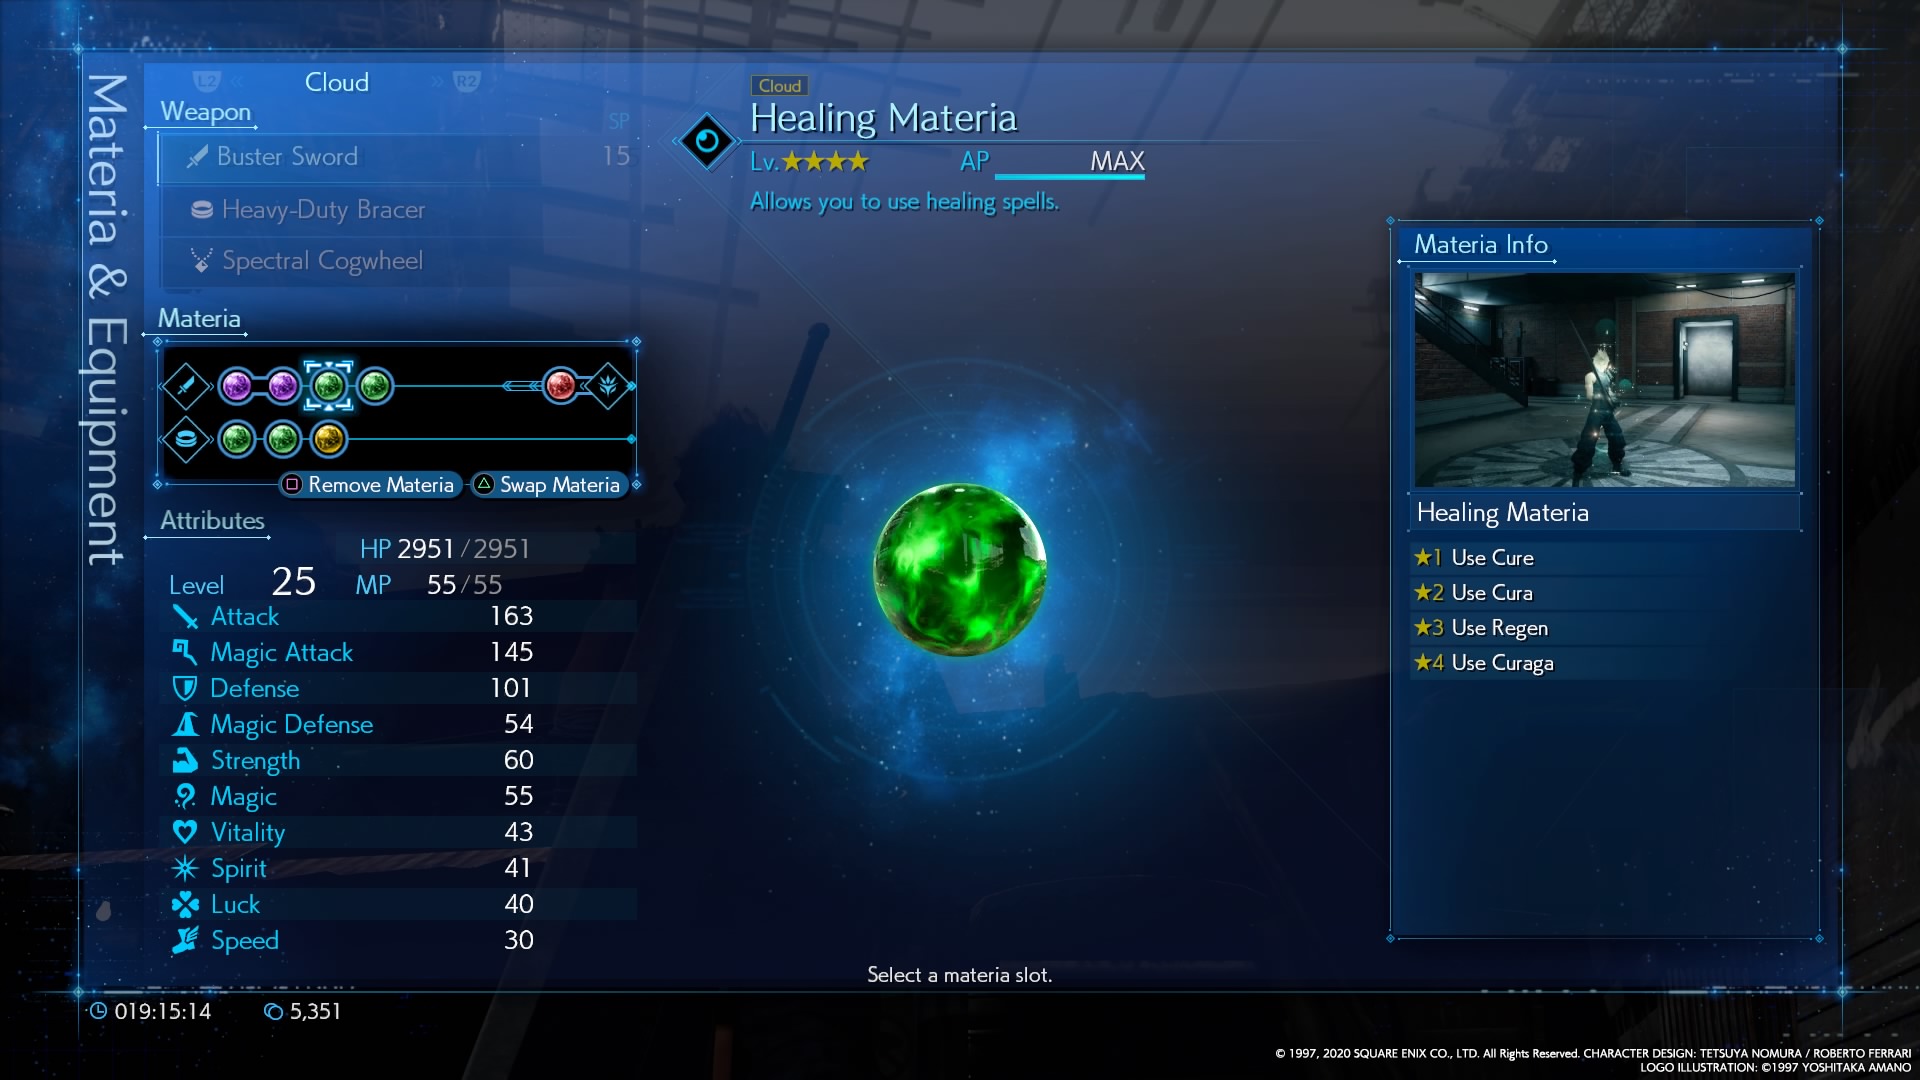
Healing Materia
Casts: Cure, Cura, Regen, Curaga.
Spell Effect: Cure spells restore successively more HP per cast at the cost of longer casting time. Regen regenerates health at about 1% total HP every few seconds.
Location: Equipped to Barret at the game’s start, given by Jessie at the beginning of Chapter 2, purchasable after Chapter 2 in all shops for 600 gil.
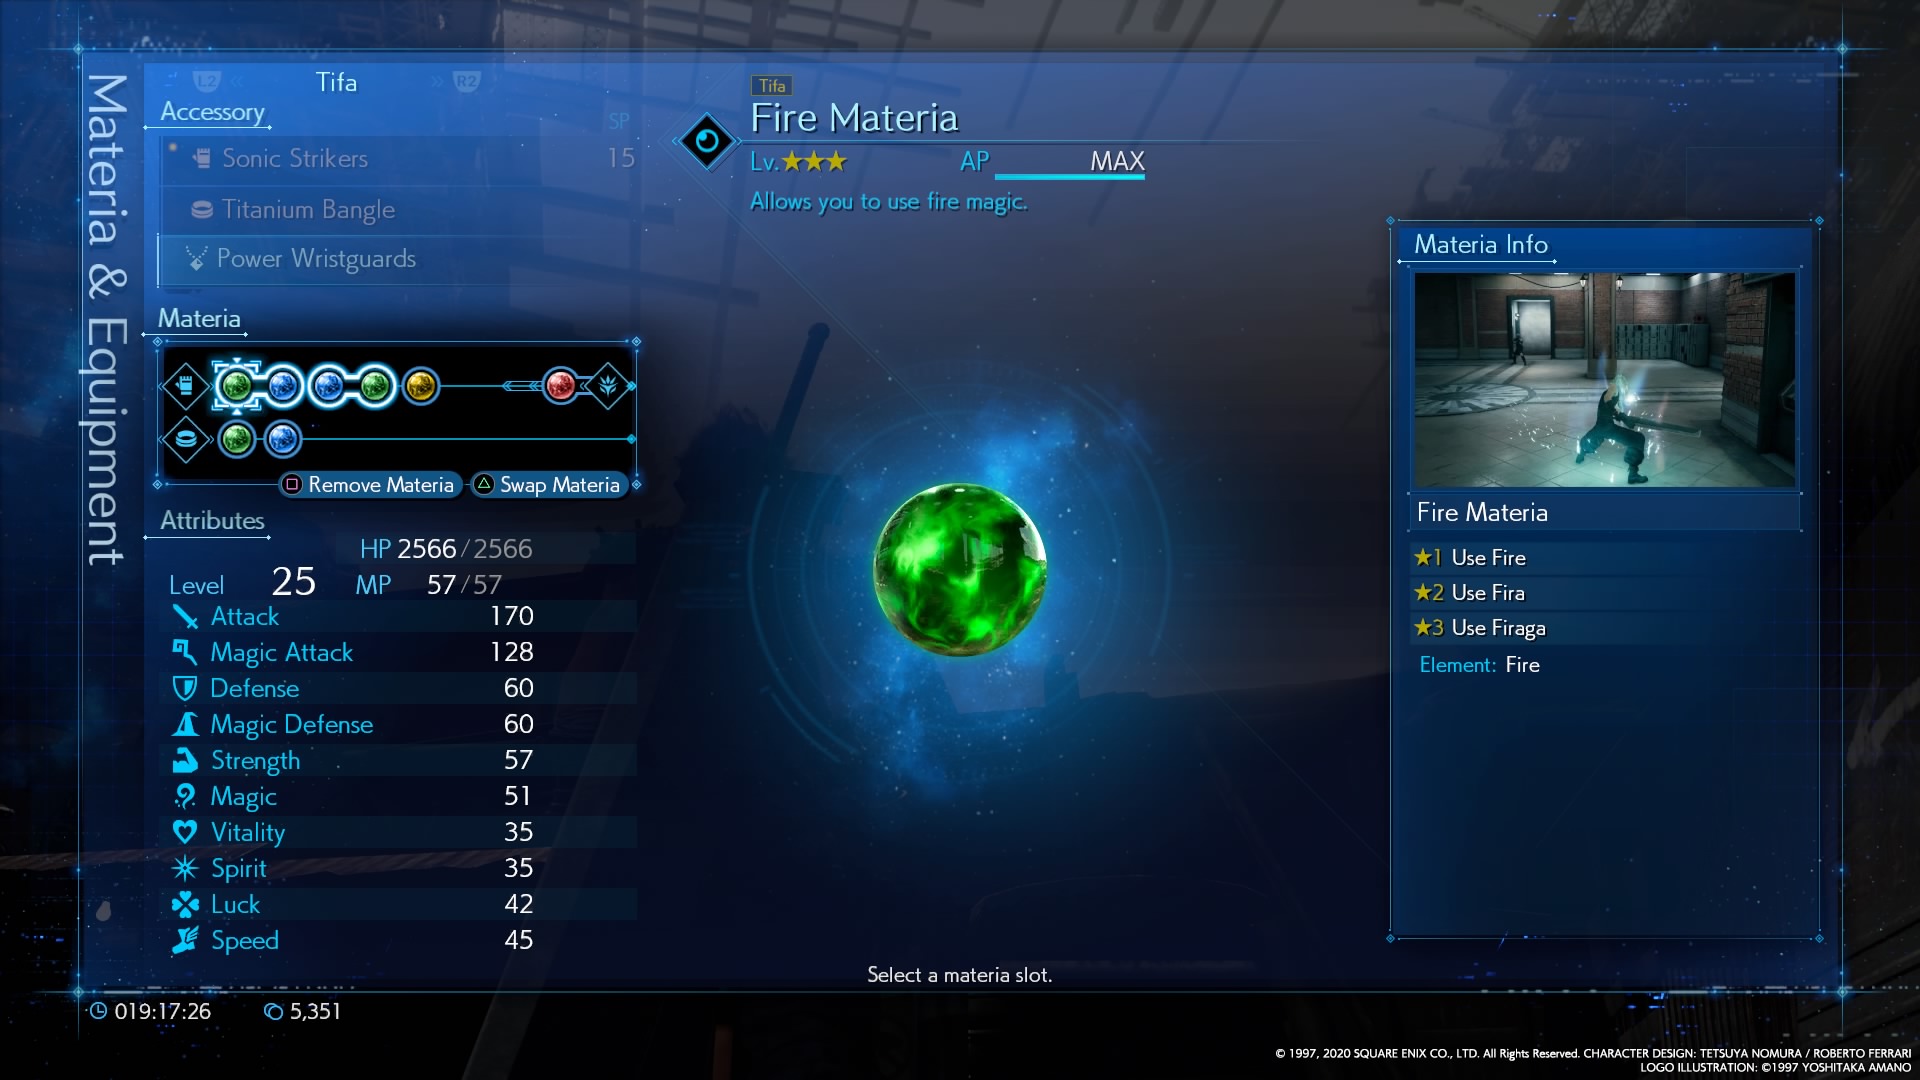
Fire Materia
Casts: Fire, Fira, Firaga
Spell Effect: Successively stronger fire-based attacks with proportionately longer casting time.
Location: Cloud begins the game with Fire materia. You can find an orb in the side mission Just Flew In From the Graveyard during Chapter 3. Can also be purchased from shops for 500 gil.
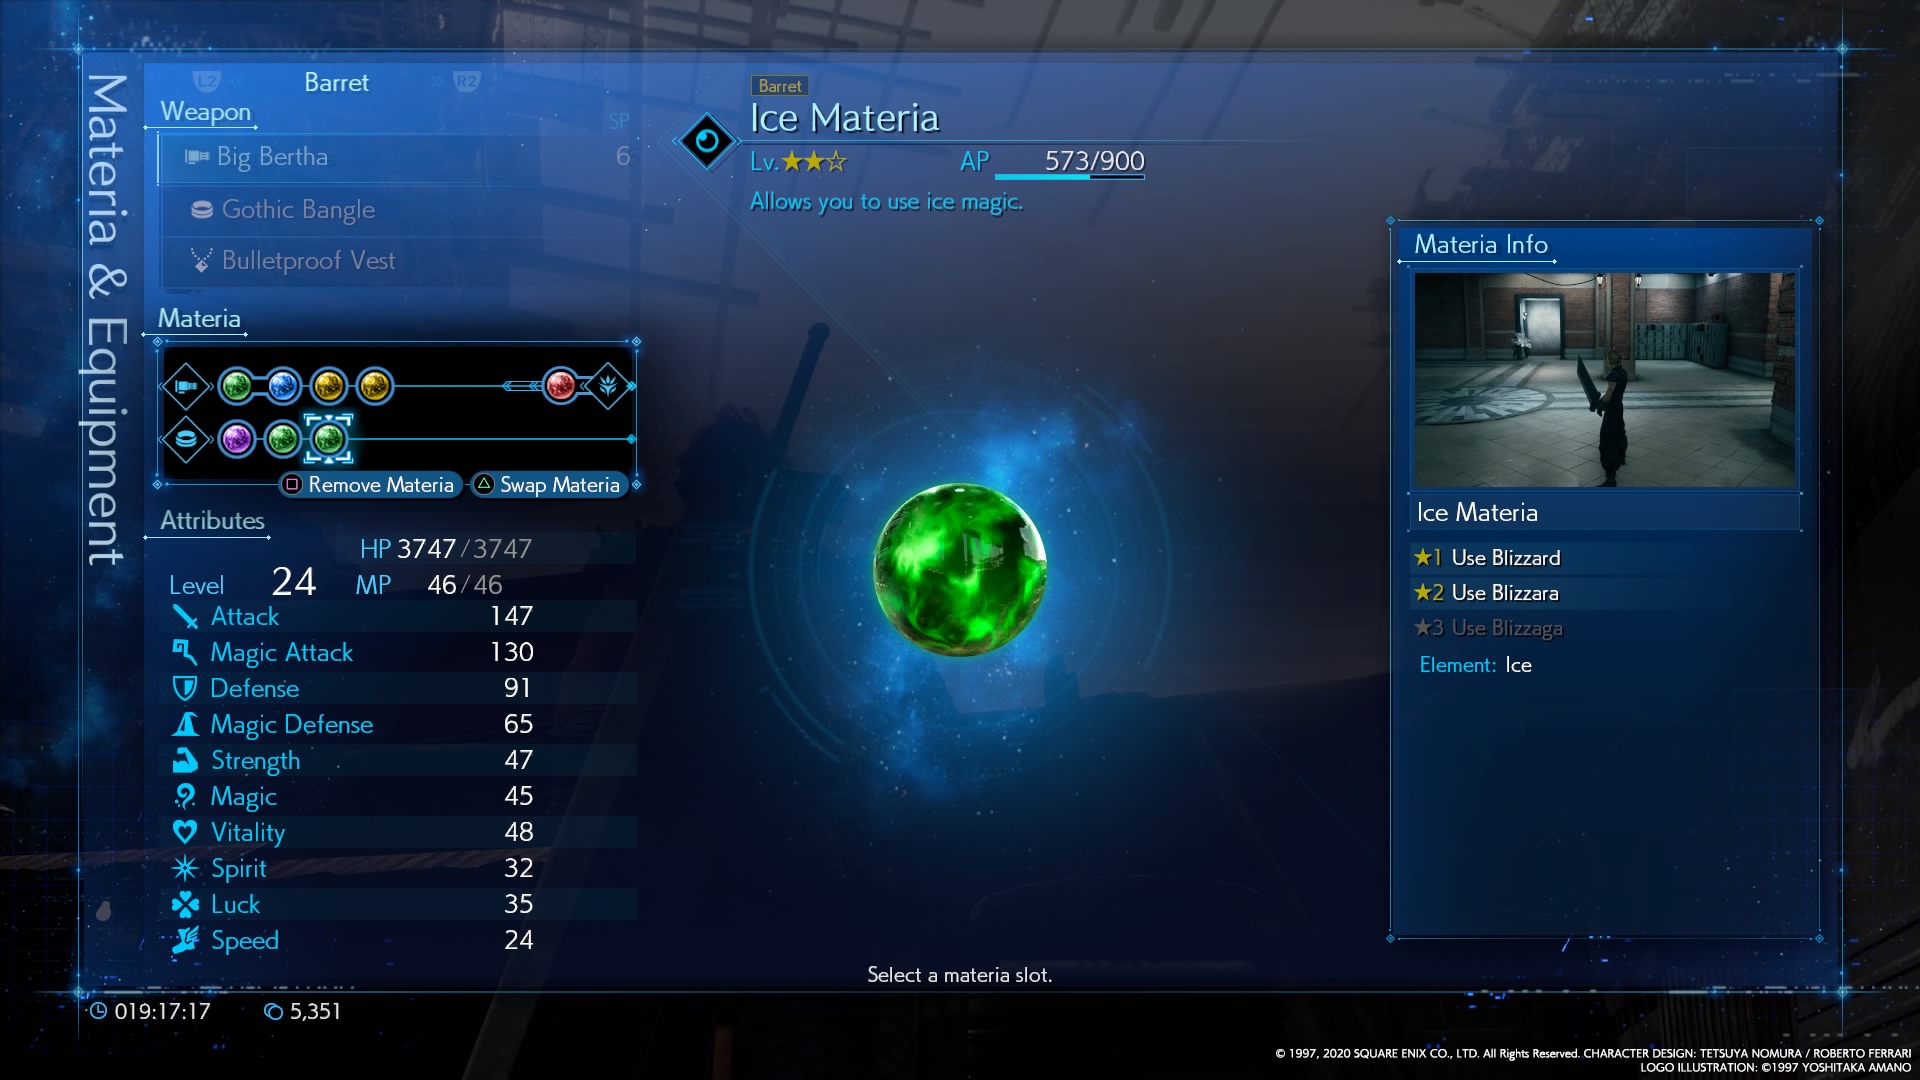
Ice Materia
Casts: Blizzard, Blizzara, Blizzaga
Spell Effect: Successively stronger ice-based attacks with proportionately longer casting time.
Location: You’ll find your first orb of Ice materia in the Scrab Boulevard during the Chapter 3 section A Job for the Neighborhood Watch. You can also buy it for 500 gil beginning in Chapter 3.
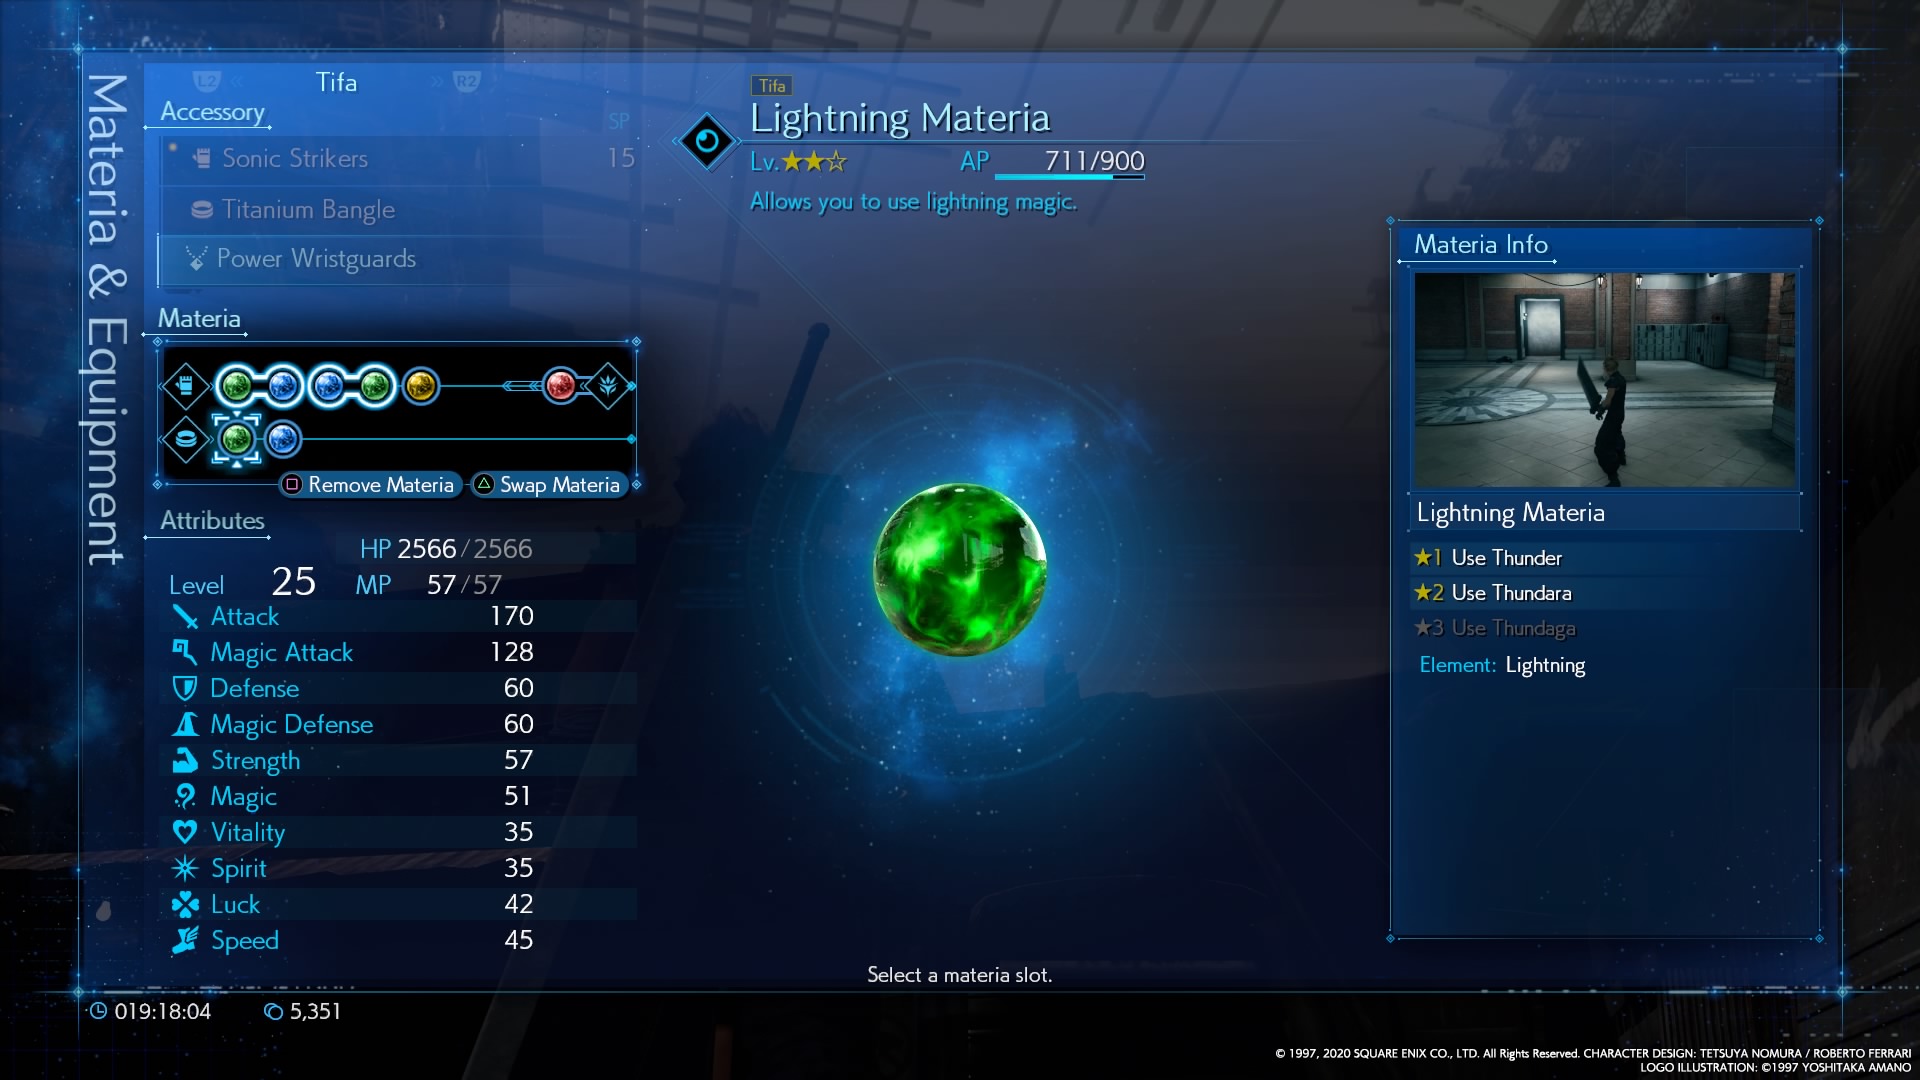
Lightning Materia
Casts: Thunder, Thundara, Thundaga
Spell Effect: Successively stronger lightning-based attacks with proportionately longer casting time.
Location: Barret begins the game with a single orb. You can purchase more at shops throughout the game starting in Chapter 3
Wind Materia
Casts: Aero, Aerora, Aeroga
Spell Effect: Successively stronger wind-based attacks with proportionately longer casting time. High stagger damage on aerial opponents.
Location: Complete Battle Intel 2 for Chadley, which requires you to hit enemies with an element they’re weak to, then purchase the Wind materia for 100 gil. Subsequent purchases will be 2,000 gil.
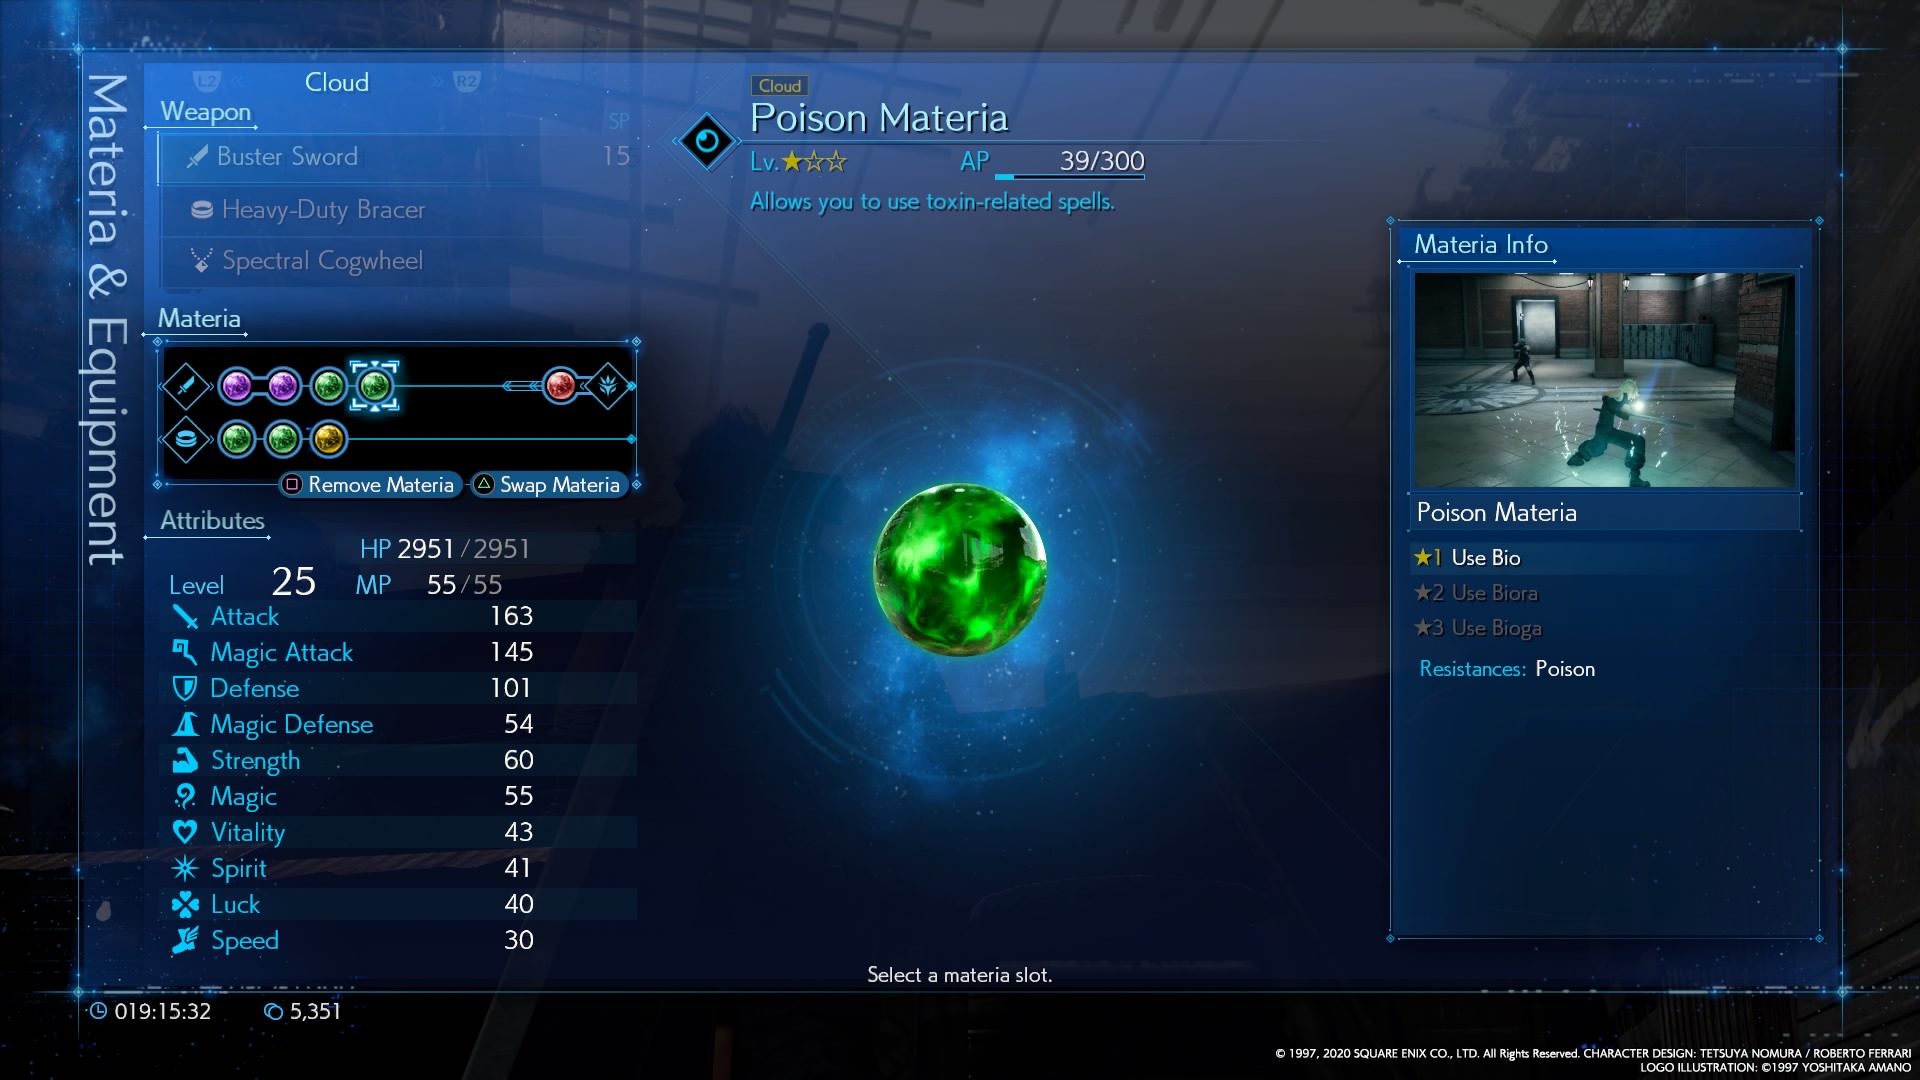
Poison Materia
Casts: Bio, Biora, Bioga
Spell Effect: Successively stronger poison-based attacks with proportionately longer casting time. Has a chance to poison the target.
Location: Poison becomes purchasable shops throughout the game starting in Chapter 5 after you defeat the Queen Grashtrike. It costs 1,500 gil.
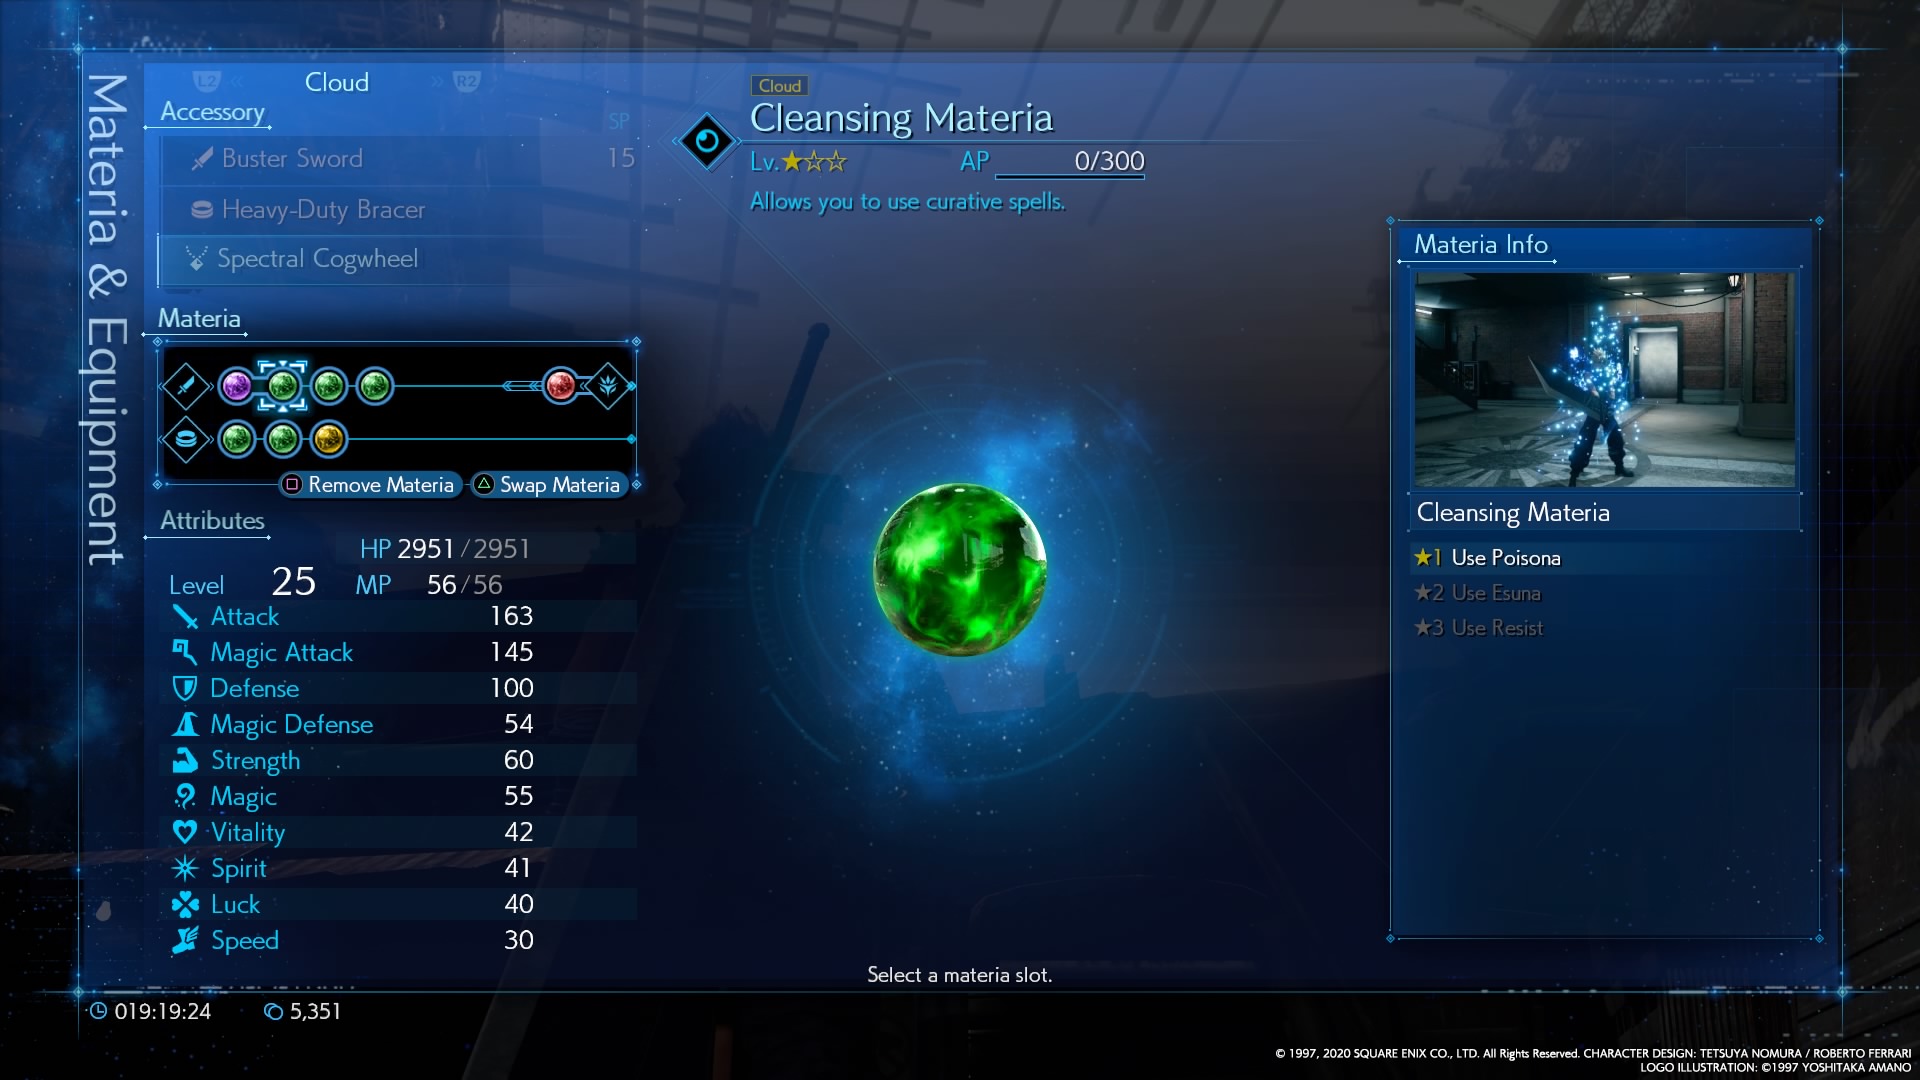
Cleansing Materia
Casts: Poisona, Esuna, Resist
Spell Effect: Poisona cures poison (obviously). Esuna cures most detrimental effects. Resist improves your resistance to detrimental effects.
Location: You can purchase the cleansing materia for 300 gil after completing the Rat Problem sidequest in Sector 7. Alternatively, you can buy it for the same price starting in Chapter 5.
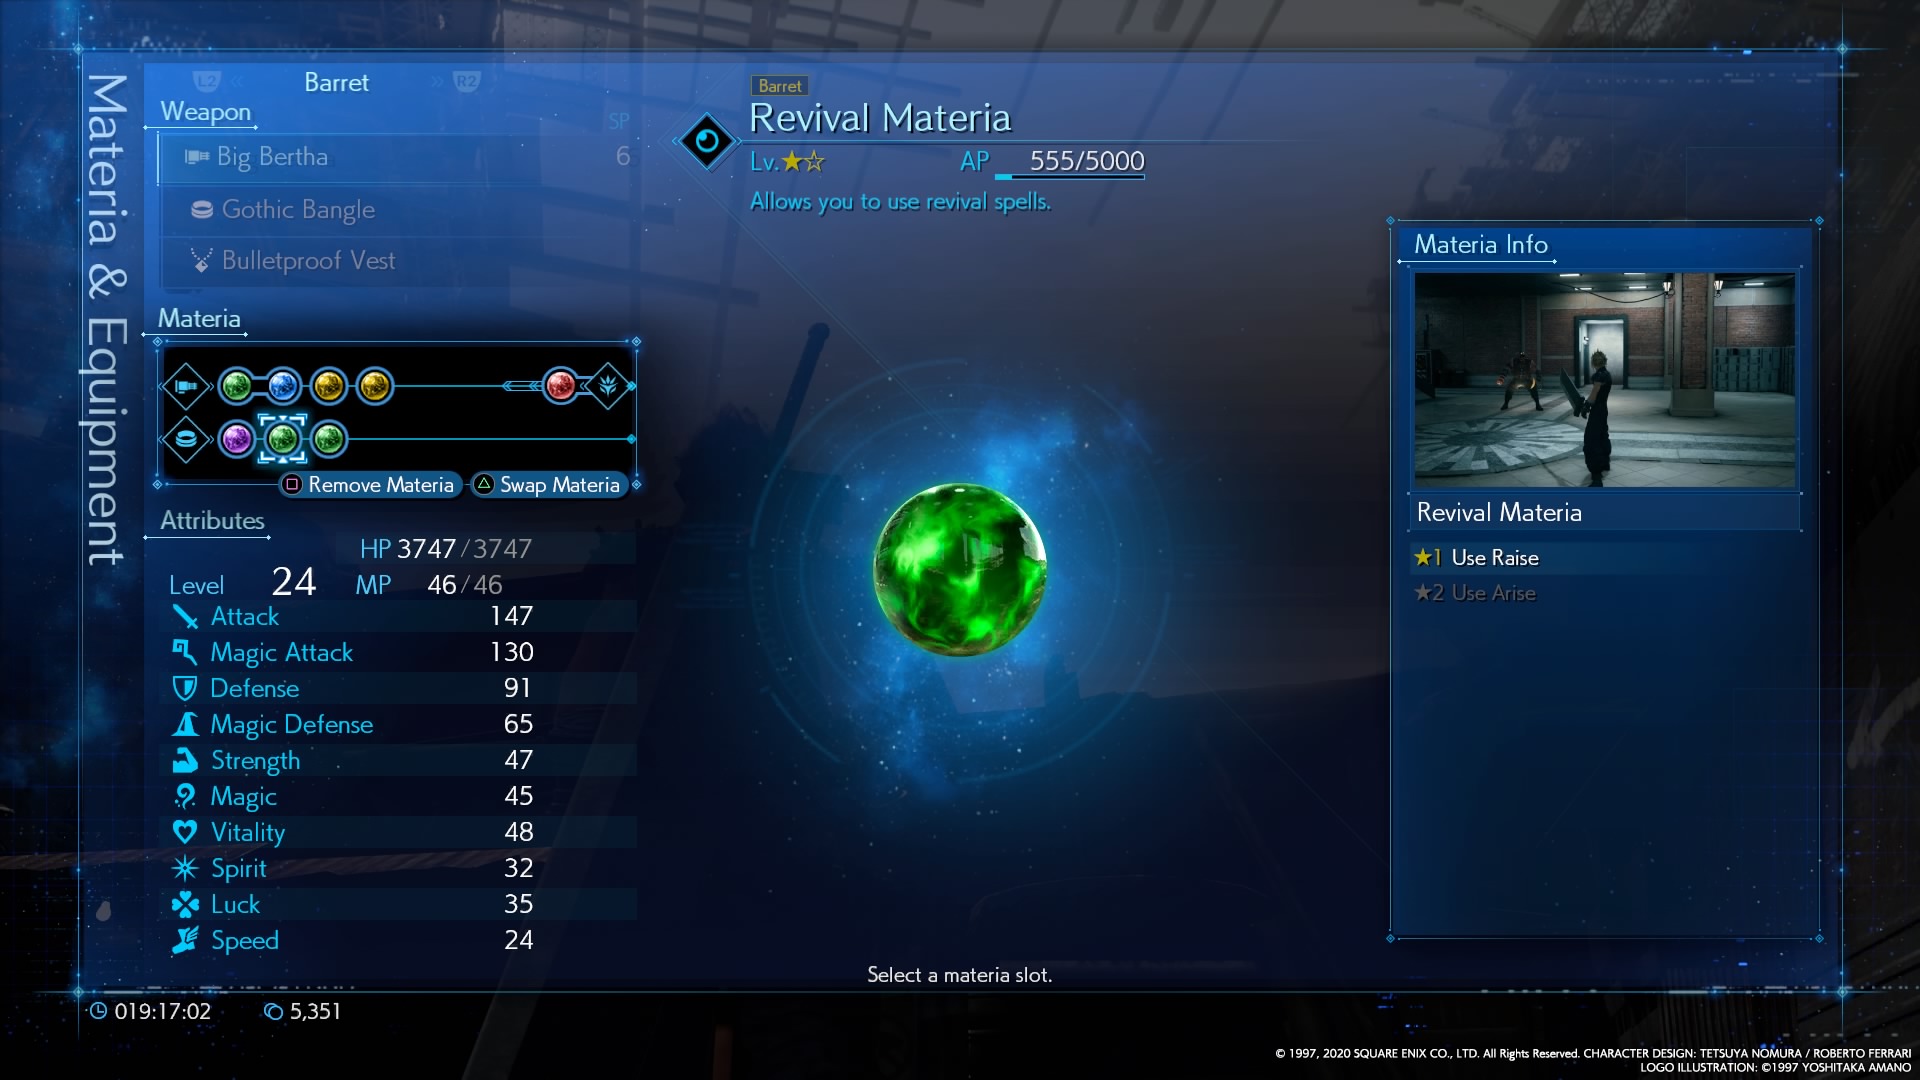
Revival Materia
Casts: Raise and Arise
Spell Effect: Raise revives downed party members with a small amount of HP. Arise revives them with most of their HP.
Location: Afte the second Roche SOLDIER fight in Chapter 4, Revival will be on the ground. You have to try to miss it.
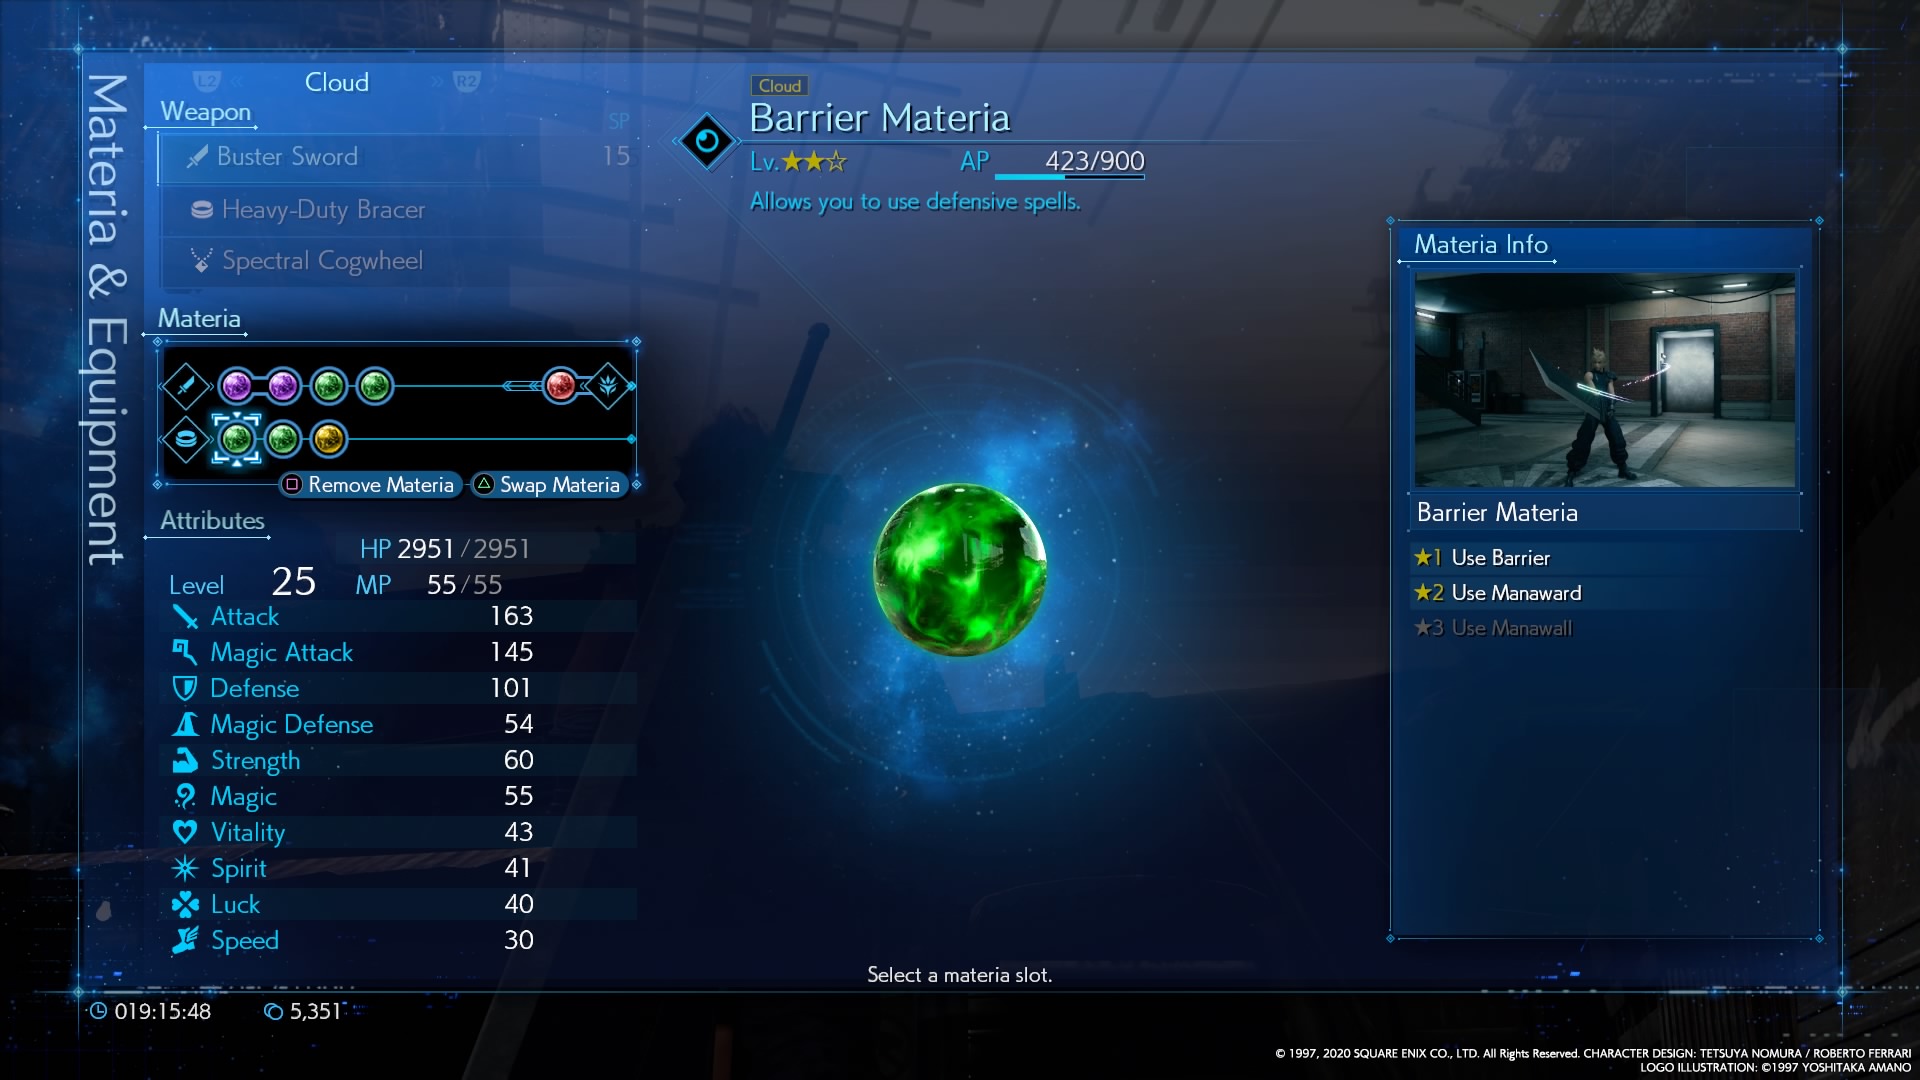
Barrier Materia
Casts: Barrier, Manaward, Manawall
Spell Effect: Barrier lowers physical damage. Manaward lowers magic damage. Manawall lowers both.
Location: Jessie will give Cloud the Barrier Materia at the “Remaining Payment” portion of Chapter 4.
Binding Materia
Casts: Sleep, Silence, Berserk
Spell Effect: Sleep puts enemies to Sleep if it connects. Silence prevents them from using magic. Berserk forces them to only use physical attacks.
Location: You’ll find the Binding materia at the second robot hand puzzle in Sector 6, shortly after you meet up with Aerith.
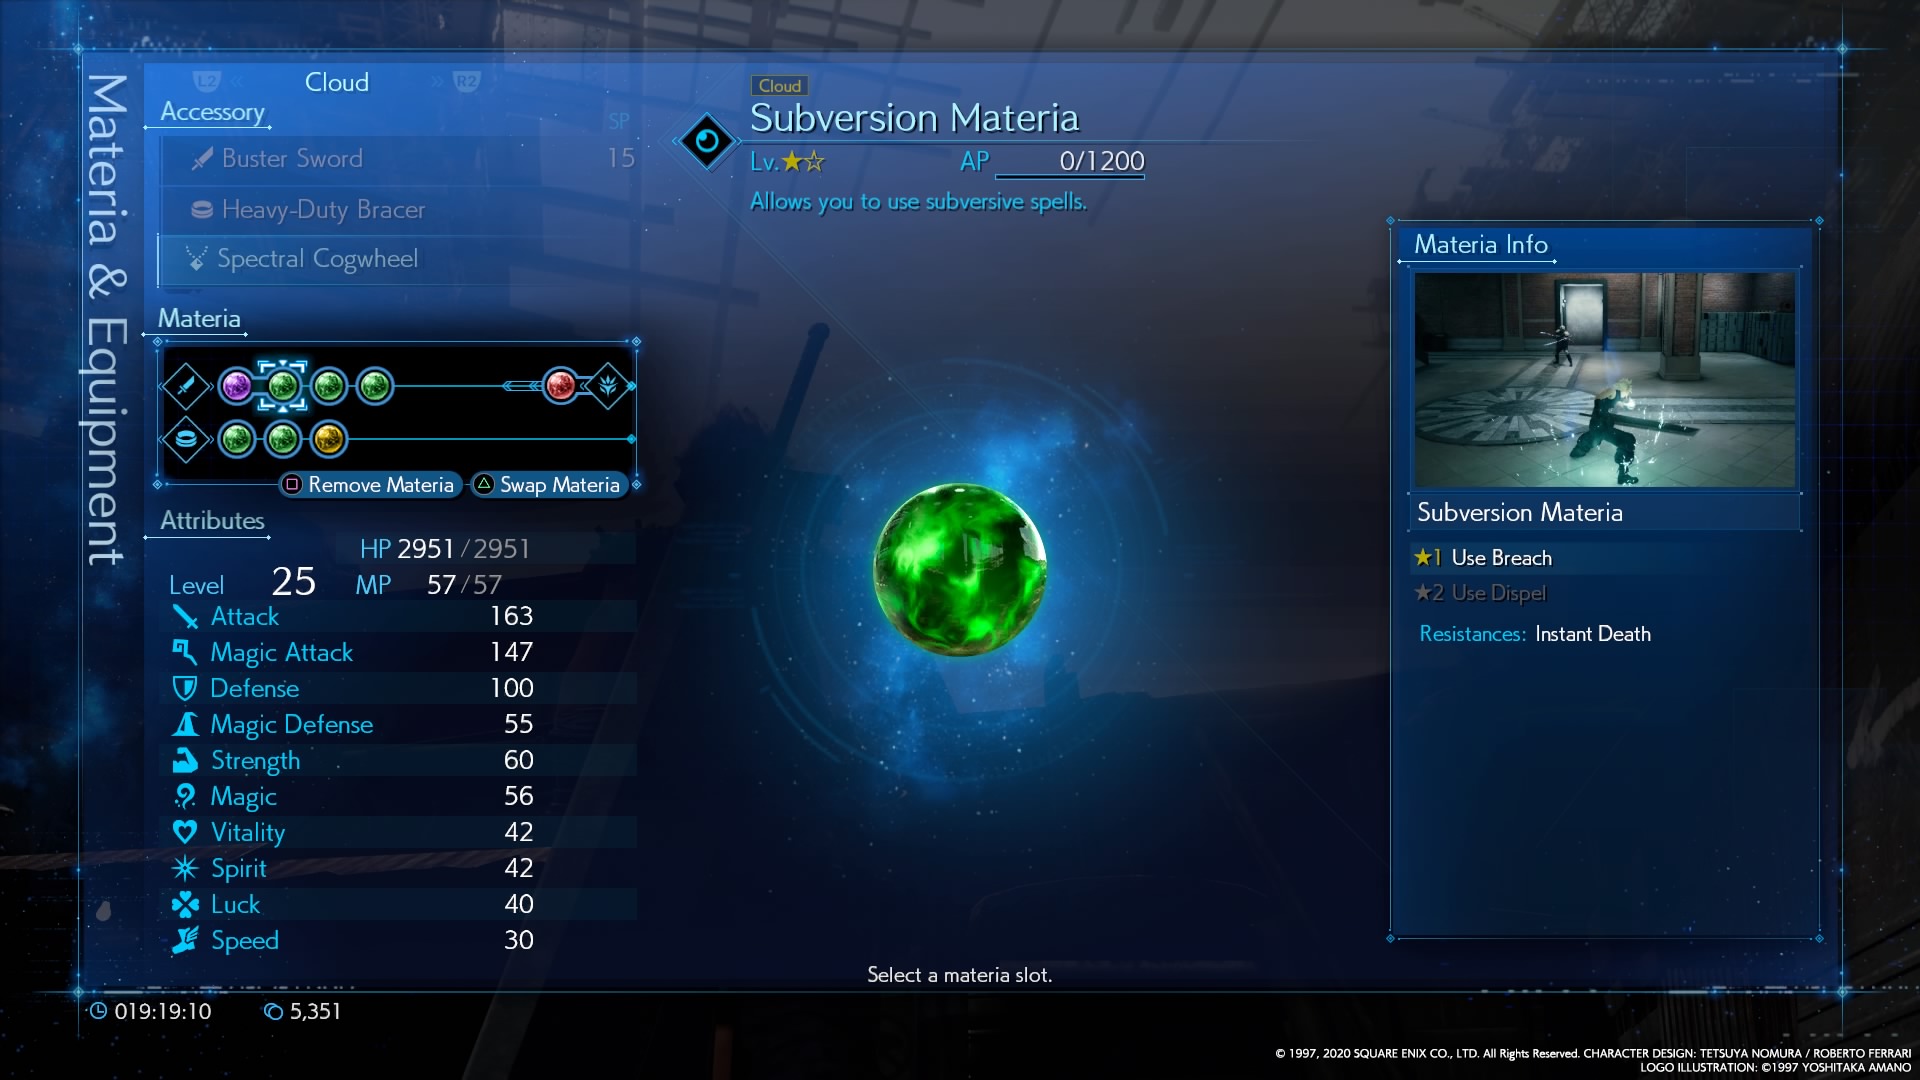
Subversion Materia
Casts: Breach, Dispel
Spell Effect: Breach removes barrier-type spells like Barrier and Manawall. Dispel removes continuous effects, but not barriers.
Location: You’ll receive Subversion as a reward for defeating the Ghoul boss at in Chapter 11.
Time Materia
Casts: Haste, Slow, Stop
Spell Effect: Haste increases the rate you gain ATB. Slow and Stop slow and stop enemies respectively for a period of time.
Location: Time materia sits in the Drum facility during Chapter 17. You can also acquire an orb of Time by completing the Missing Children sidequest in Chapter 14.
Purple Materia: Complete
Complete materia, previously known as Independent materia, has no activated effect and does not modify materia linked to it. It either generates a passive buff to the equipped character or allows for a specific trigger ability.
HP Up Materia
Effect: Increases character HP by 10%, increasing to a maximum of 50%. Equipping two increases the max HP improvement to +100%.
Location: You’ll find HP Up at the end of a dead-end alley on Loveless Street where you meet Aerith in Chapter 2.
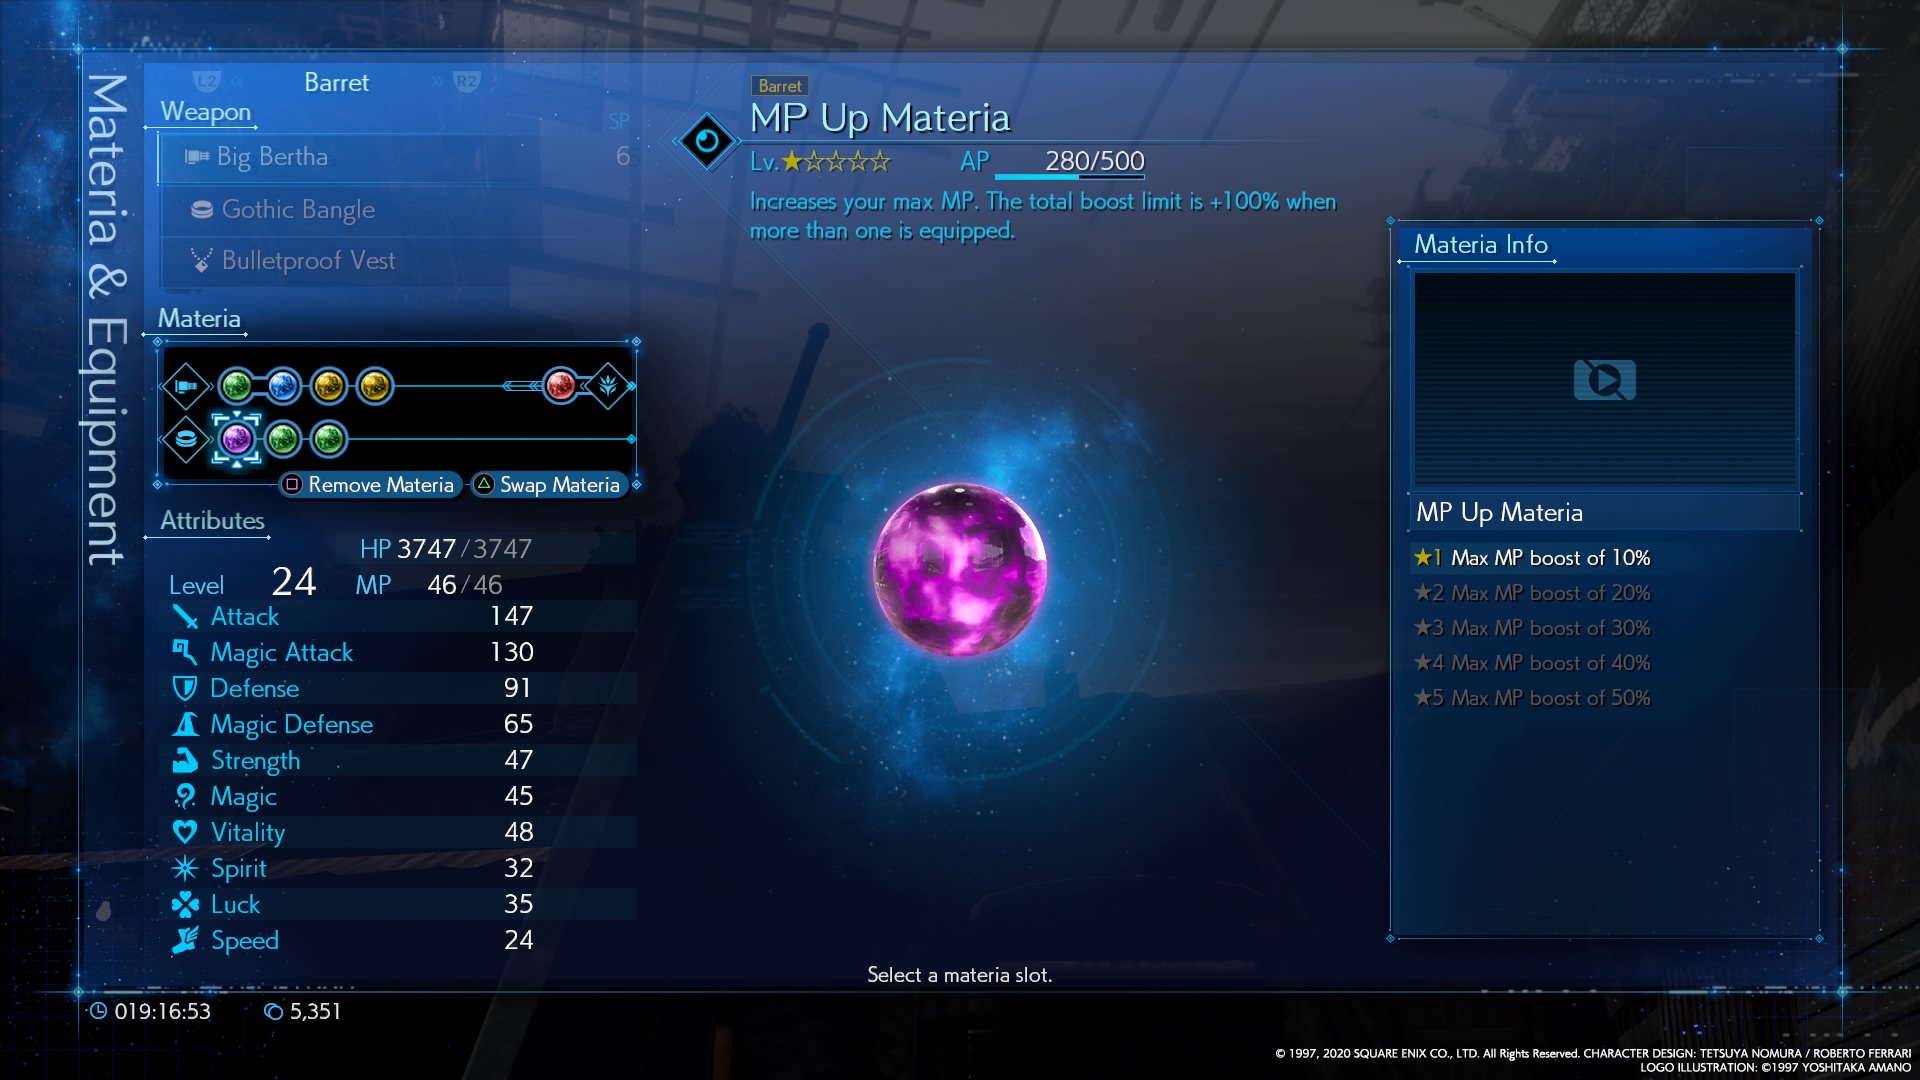
MP Up Materia
Effect: Increases character MP by 10%, increasing to a maximum of 50%. Equipping two increases the max MP improvement to +100%.
Location: You find MP Up sitting atop a construction platform on the H-01 platform in Chapter 6, the section before the second reactor bombing run. You’ll have powered down two plate lamps, and you’ll need to run past the third and down a ladder. Manipulate the crane to move the platform down to reach the materia. It becomes purchasable for 2,000 gil after that.
Item Master Materia
Effect: Increases the effectiveness of items used in battle, up to 30%.
Location: Chadley’s Battle Report 11, which requires you to Assess 20 enemy types.
Magic Up Materia
Effect: Increases a character’s magic power by increments of 5%, up to 25%. Multiple copies of the materia can take the bonus to 100%.
Location: During the second reactor section, you’ll need to manipulate levers in sync with Barret and Tifa to progress. Then, to open the nearby vault, you have to do it again, four times. Succeeding there will open the vault where you can pick up the materia.
Luck Up Materia
Effect: Increases your Luck stat by increments of 10%, to a maximum of 50% with a single orb equipped. More than one orb equipped increases the maximum bonus to 100%. The Luck stat increases the probability of stealing and receiving rare items in combat.
Location: If you can claim the top spot on the Darts leaderboard by the end of Chapter 4, Wedge will give you the materia. Doing so requires you to take the score from 300 to 0 in seven darts.
Gil Up Materia
Effect: Increases the gil you earn in battle by 100%.
Location: Complete the Two-Person Team vs. High Flyers” VR battle challenge in Shinra Tower during Chapters 16 and 17.
EXP Up Materia
Effect: Increases the experience (EXP) you earn in battle by 100%.
Location: Complete the Three-Person Team vs. High Flyers” VR battle challenge in Shinra Tower during Chapters 16 and 17.
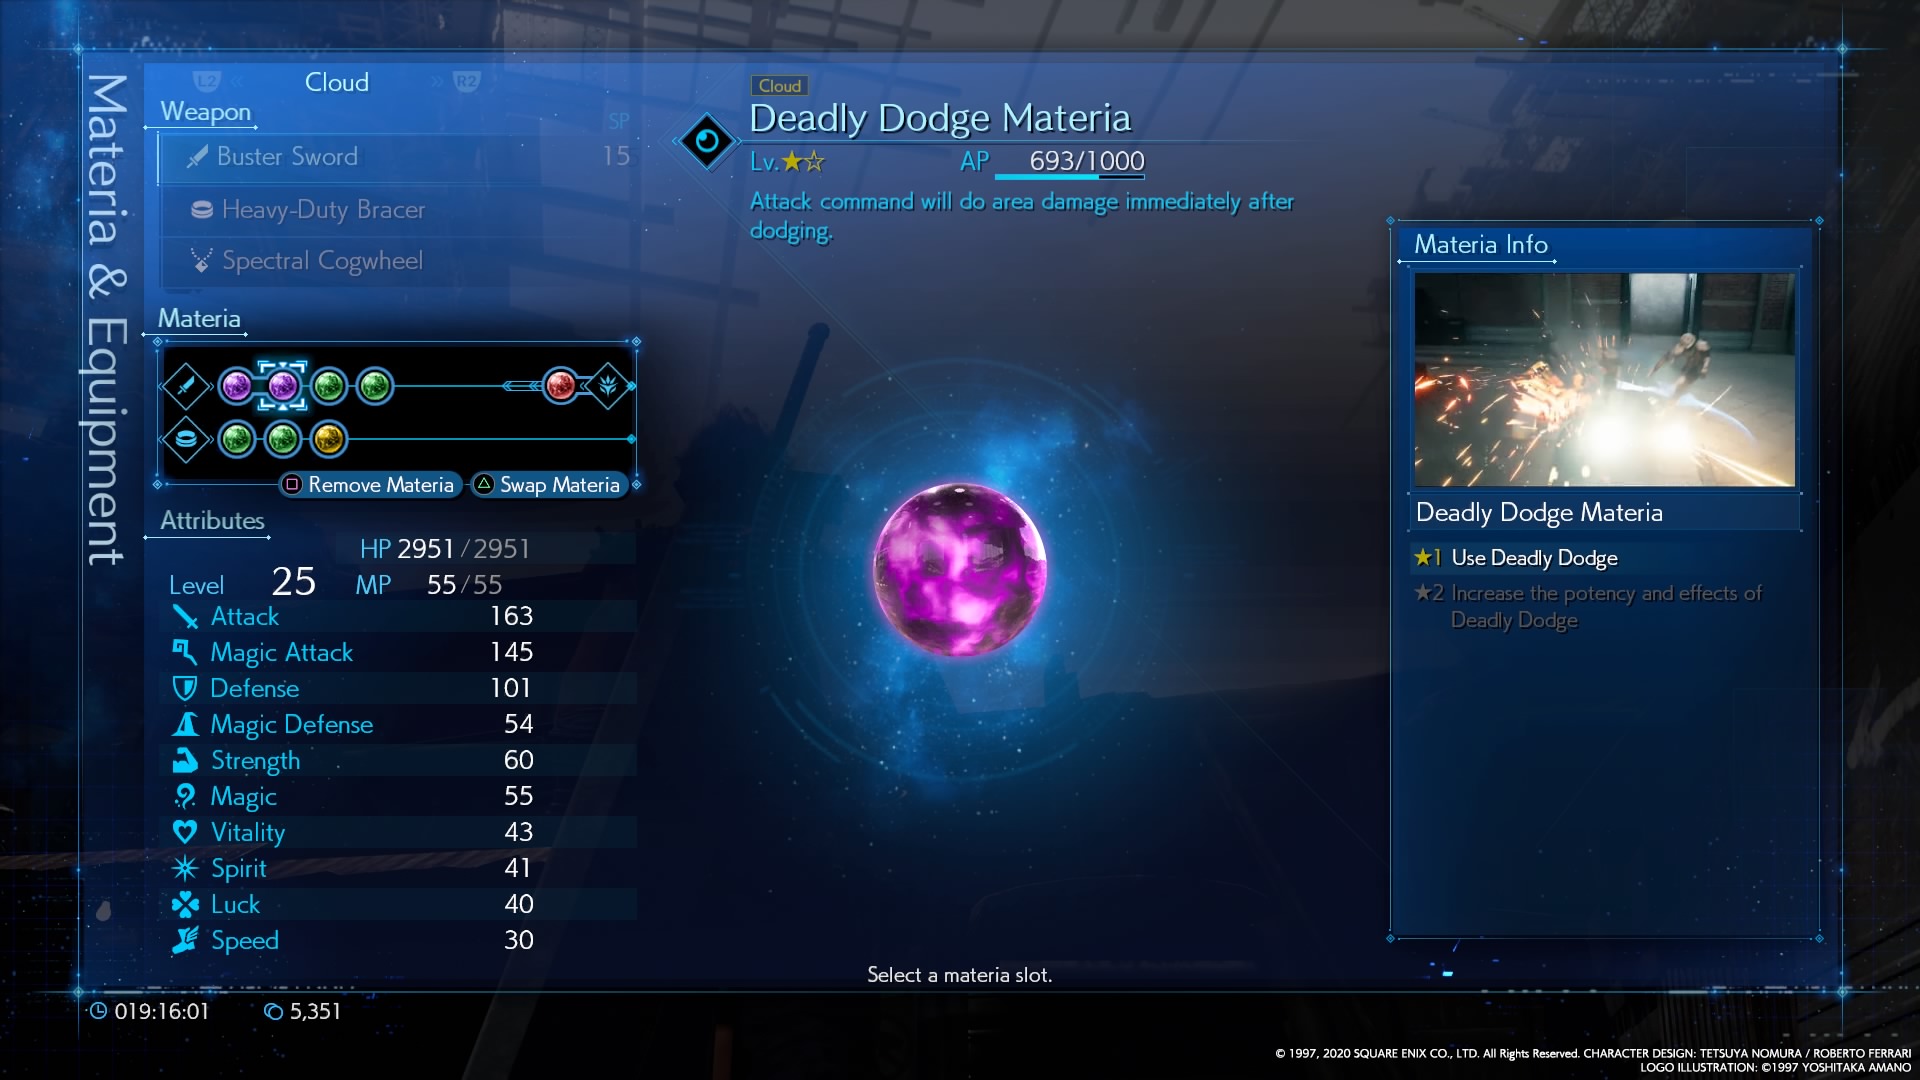
Deadly Dodge Materia
Effect: Adds a follow-up attack just after you dodge. The upgrade increases the potency of the attack.
Location: In chapter 2, on Loveless Street, after you defeat the Guards and their Guard Dogs. You can also purchase it in Chapter 4 for 600 gil.
Parry Materia
Effect: Increases the damage dealt via parry attacks and slightly increases the ATB once activated.
Location: Chadley offers this materia for sale after you complete Battle Report 12, which requires you to increase your stagger damage bonus to 200%.
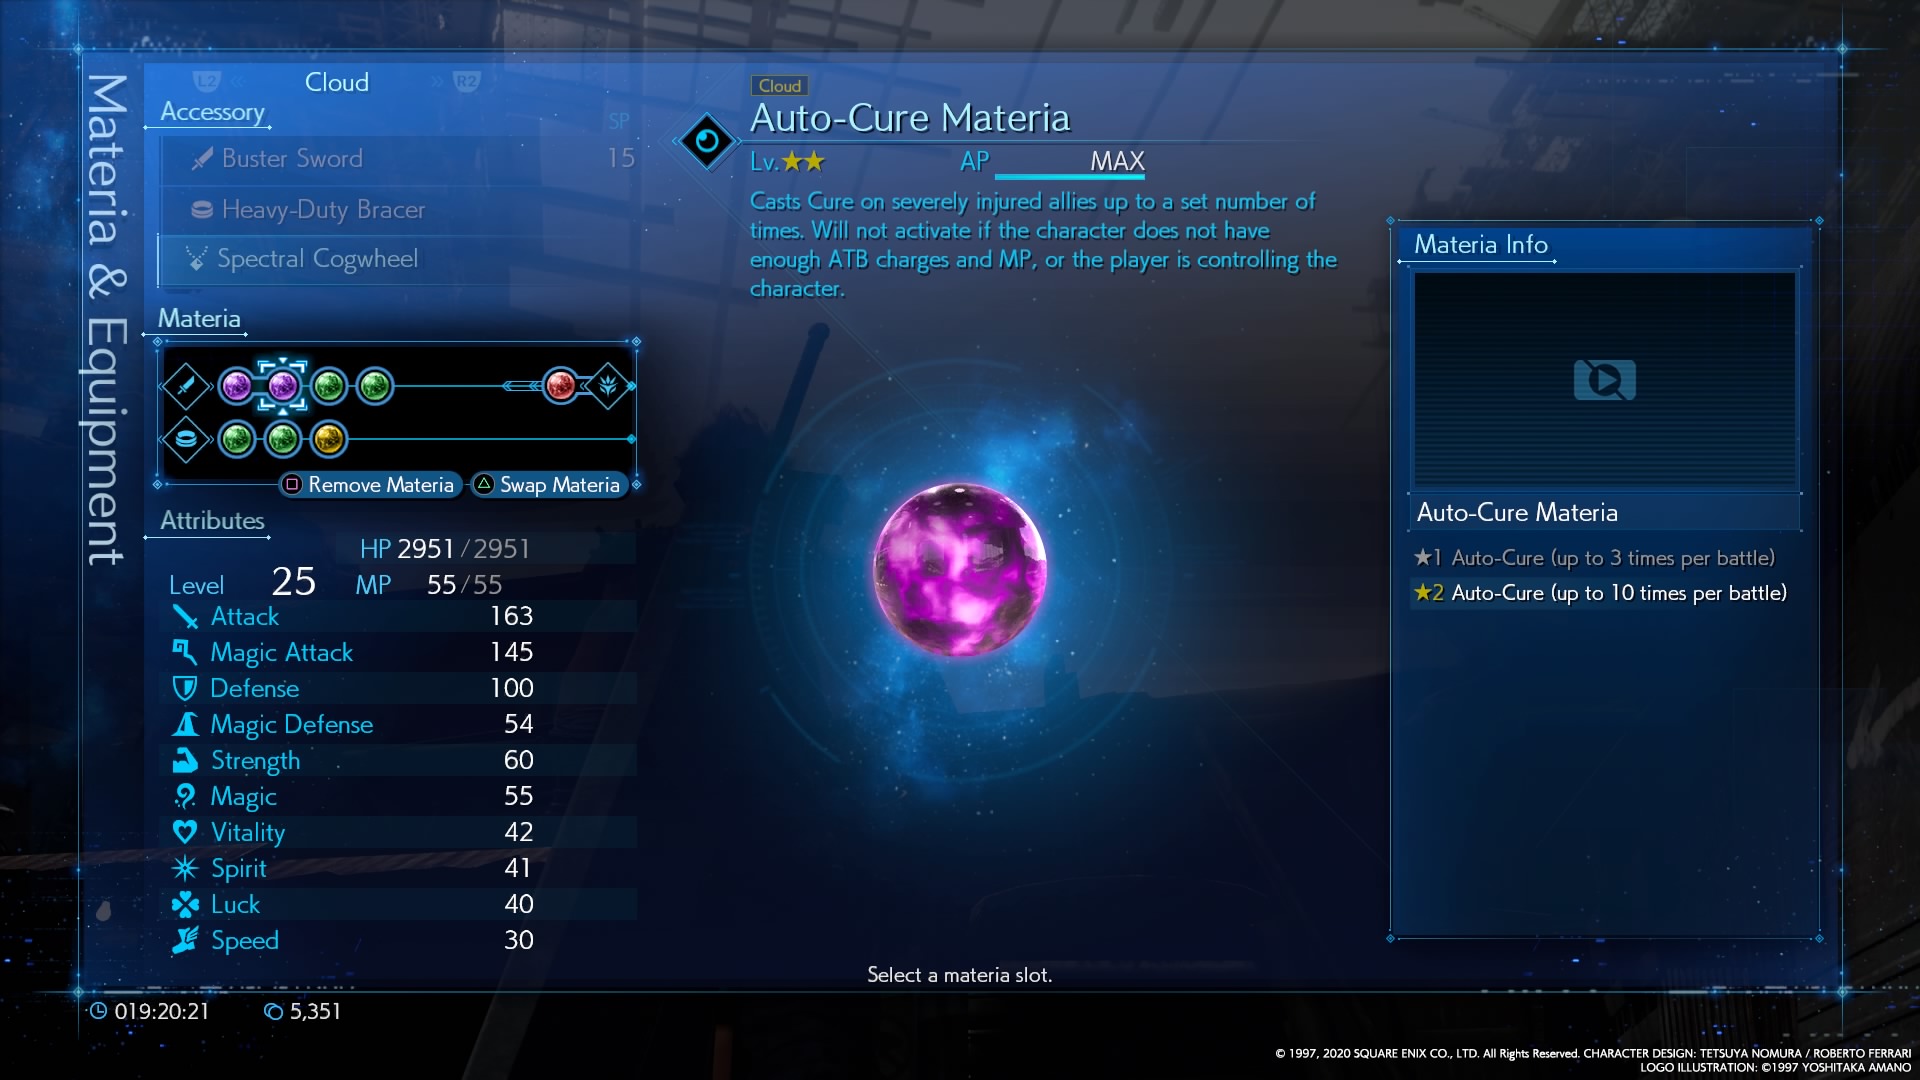
Auto-Cure Materia
Effect: Enables AI-controlled party members to cast Cure spells a certain number of times per combat when character HP drops low. At base, it casts cure three times, upgraded ten times.
Location: Your first assignment from Chadley asks you to Assess two monsters. Once completed (the first Battle Report), he’ll sell you the Auto-Cure materia for 100 gil.
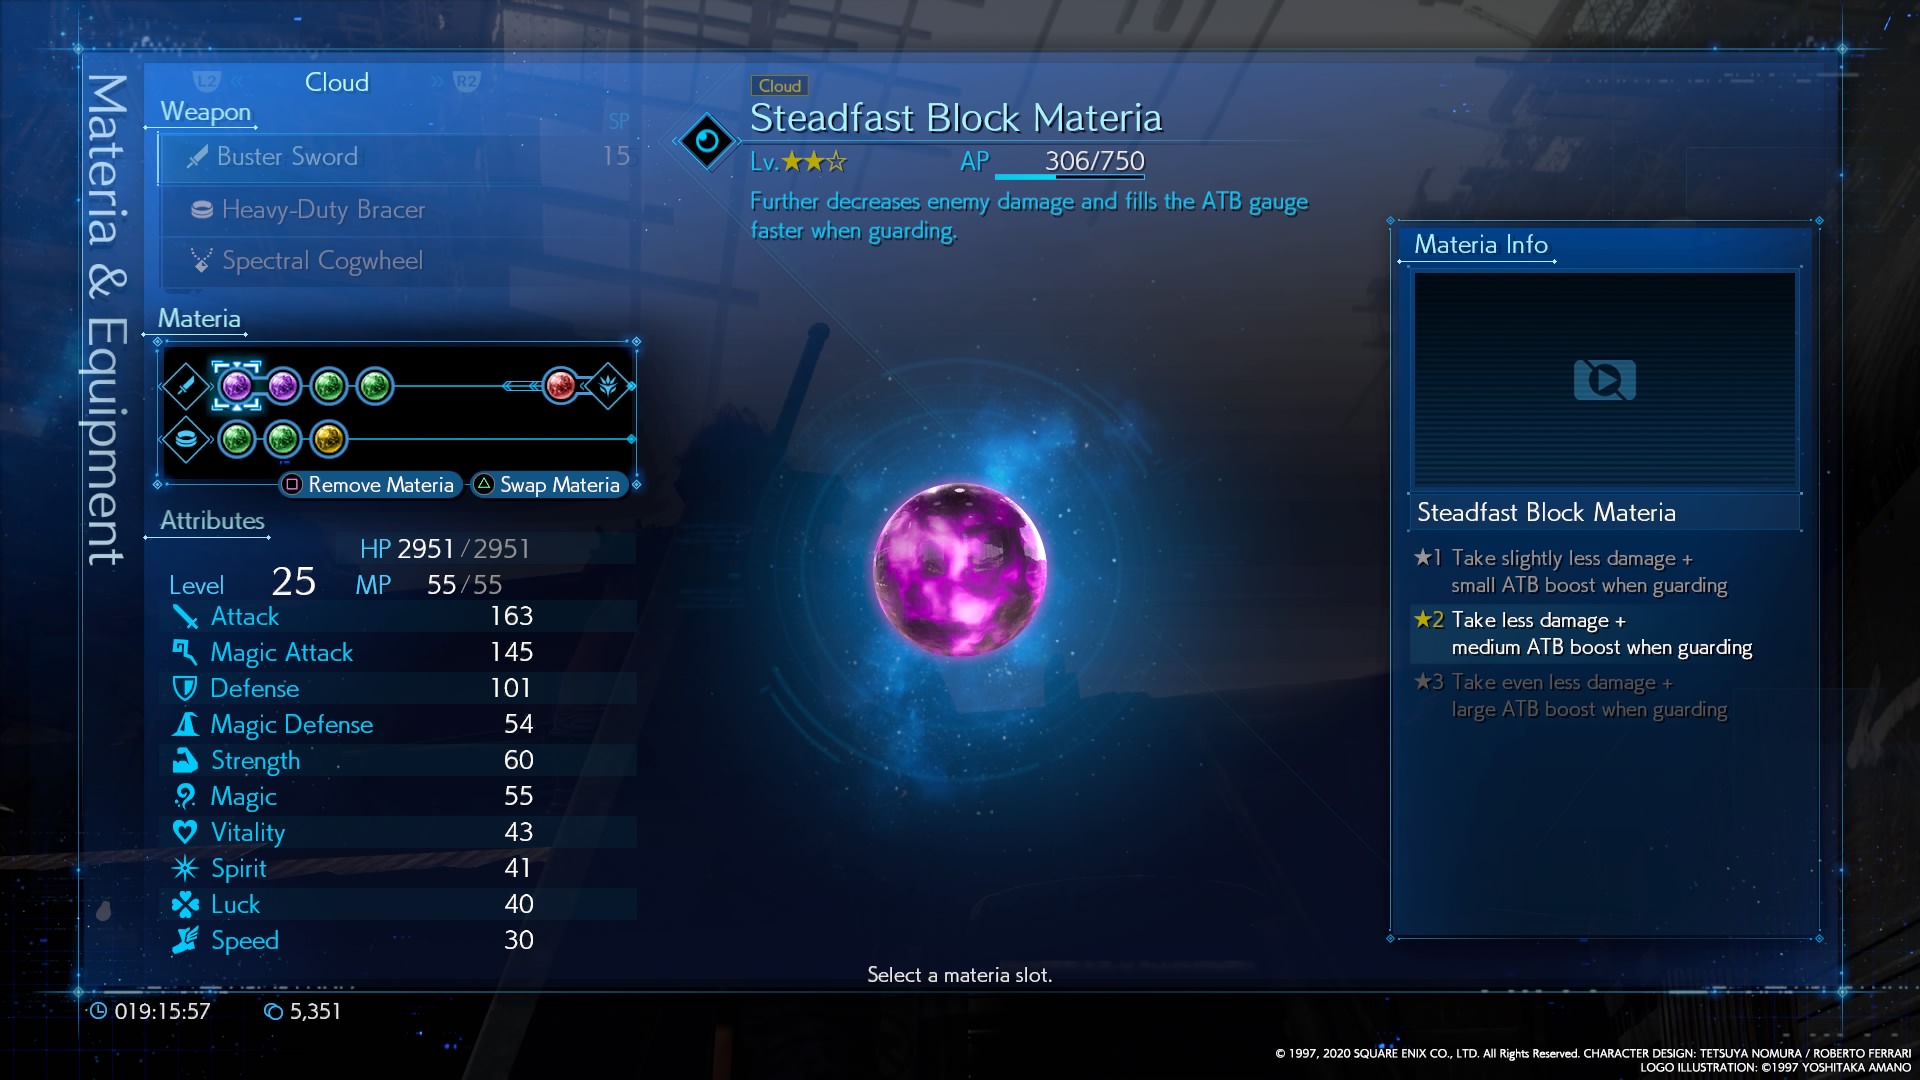
Steadfast Block Materia
Effect: This materia reduces the damage you take while blocking and increases the ATB gauge gain while blocking. The amount of both depends on the materia’s upgrade level.
Location: Complete Battle Report 6 for Chadley, which requires you to assess 10 enemy types. Purchase for 100 gil.
ATB Stagger Materia
Effect: Gives a boost to your ATB gauge on staggering a foe. The boost gets bigger, depending on the materia’s upgrade level.
Location: Complete Battle Report 14 for Chadley.
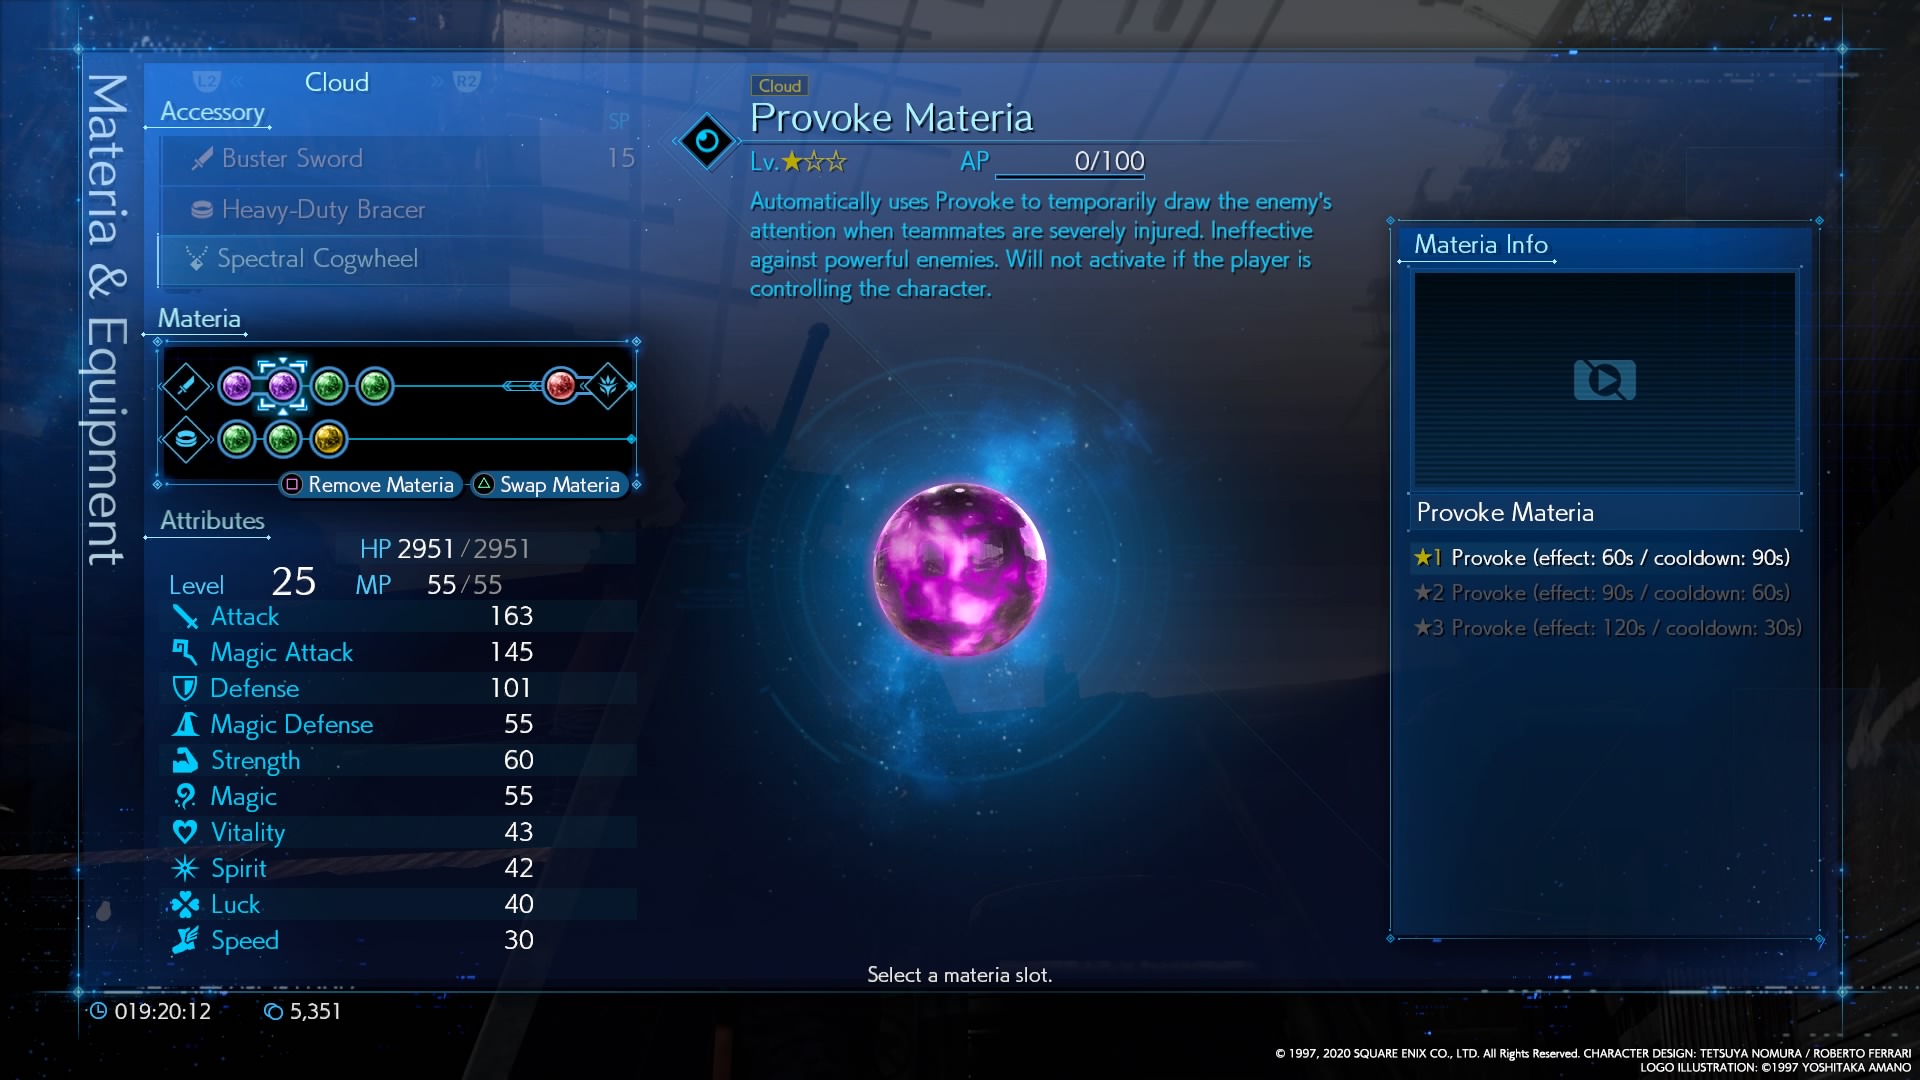
Provoke Materia
Effect: Forces enemies to focus on a particular, AI-controlled character if their teammates are injured. Does not work on powerful enemies and bosses. Higher levels reduce the cooldown.
Location: Complete Chadley’s Battle Report 5, which requires you to defear three monsters of different varieties, and purchase for 100 gil.
ATB Assist Materia
Effect: Increases teammate ATB gauges when the controlled character uses their ATB. The increase size depends on the level.
Location: Complete Chadley’s Battle Report 8, which requires you to trigger Refocus twice, and purchase for 100 gil.
Skill Master Materia
Effect: Gives a boost to the ATB gauge when using three different ATB commands successively.
Location: Complete Chadley’s Battle Report 17 and purchase for 100 gil.
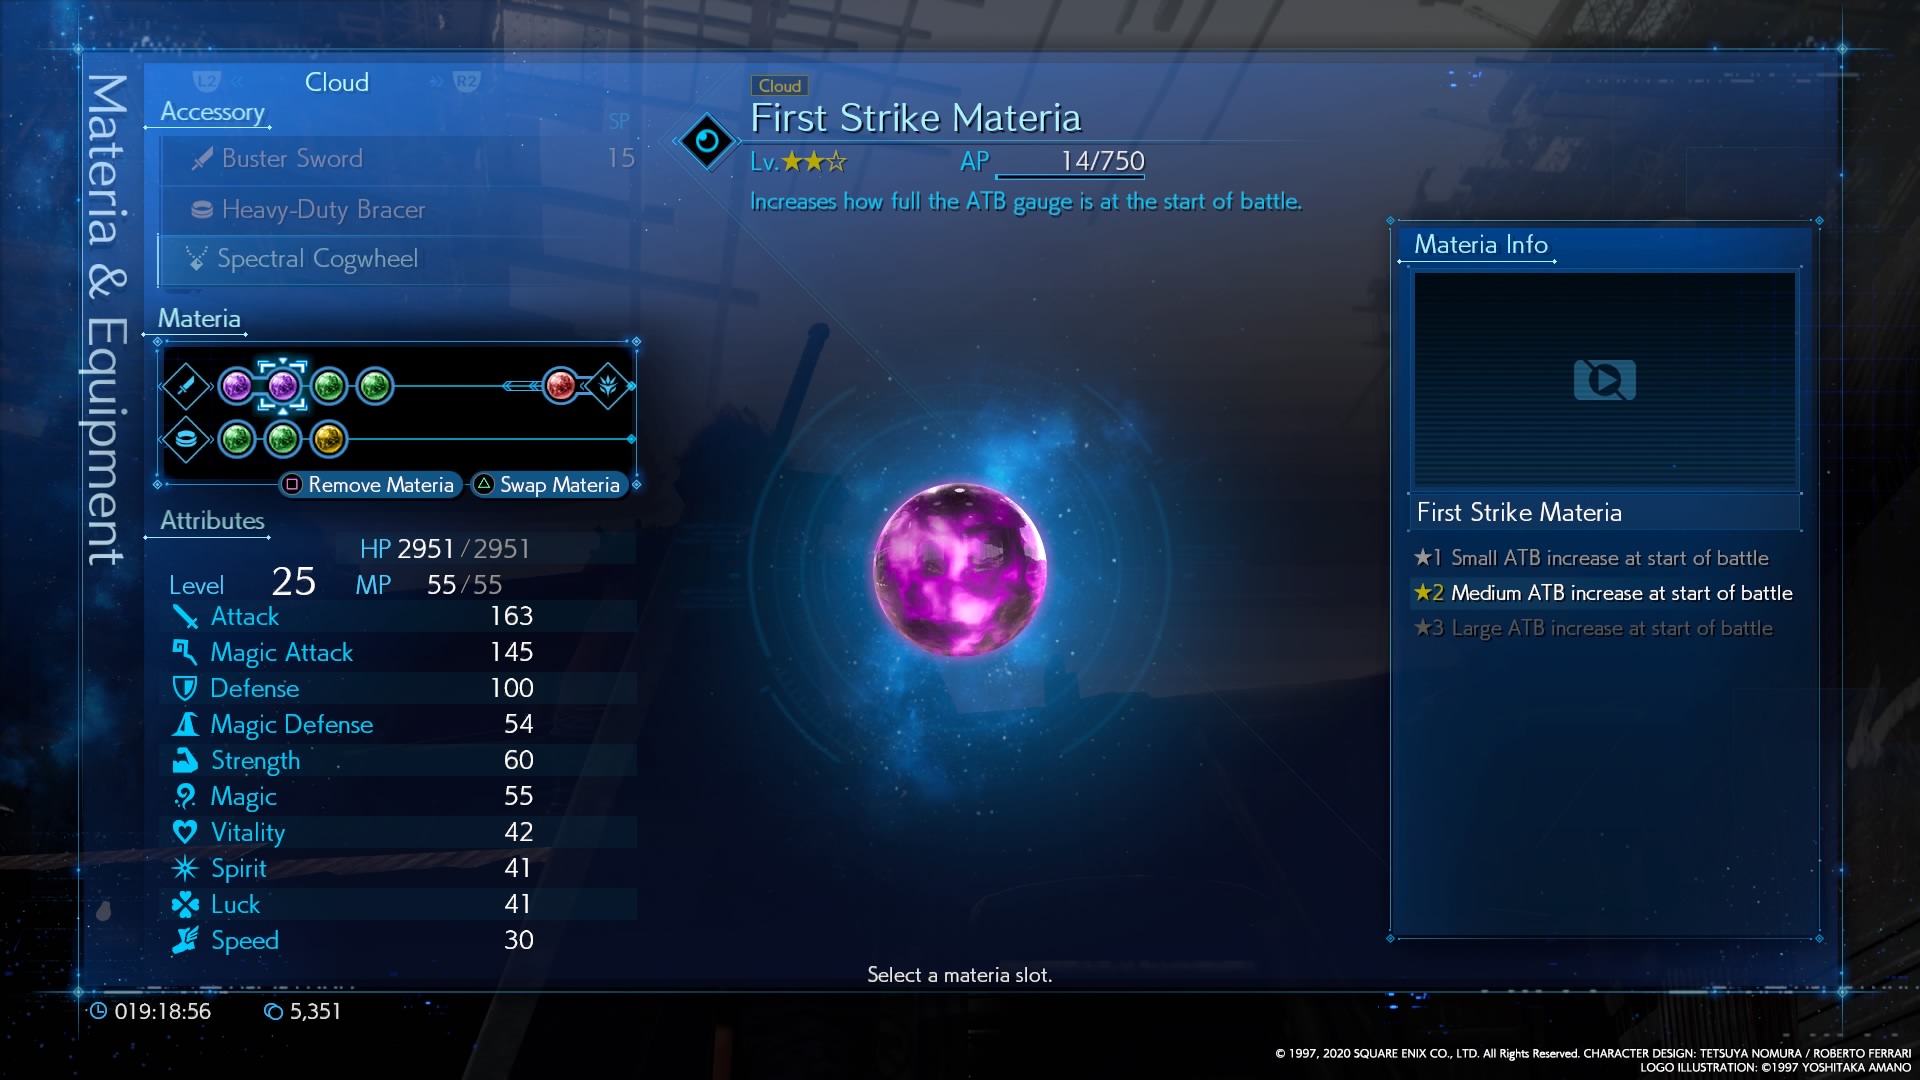
First Strike Materia
Effect: Gives a proportional increase to ATB at the start of a battle based on the materia’s level.
Location: Complete Battle Report 3 (use unique abilities on staggered enemies to charge your ATB 10 times) for Chadley and purchase for 100 gil.
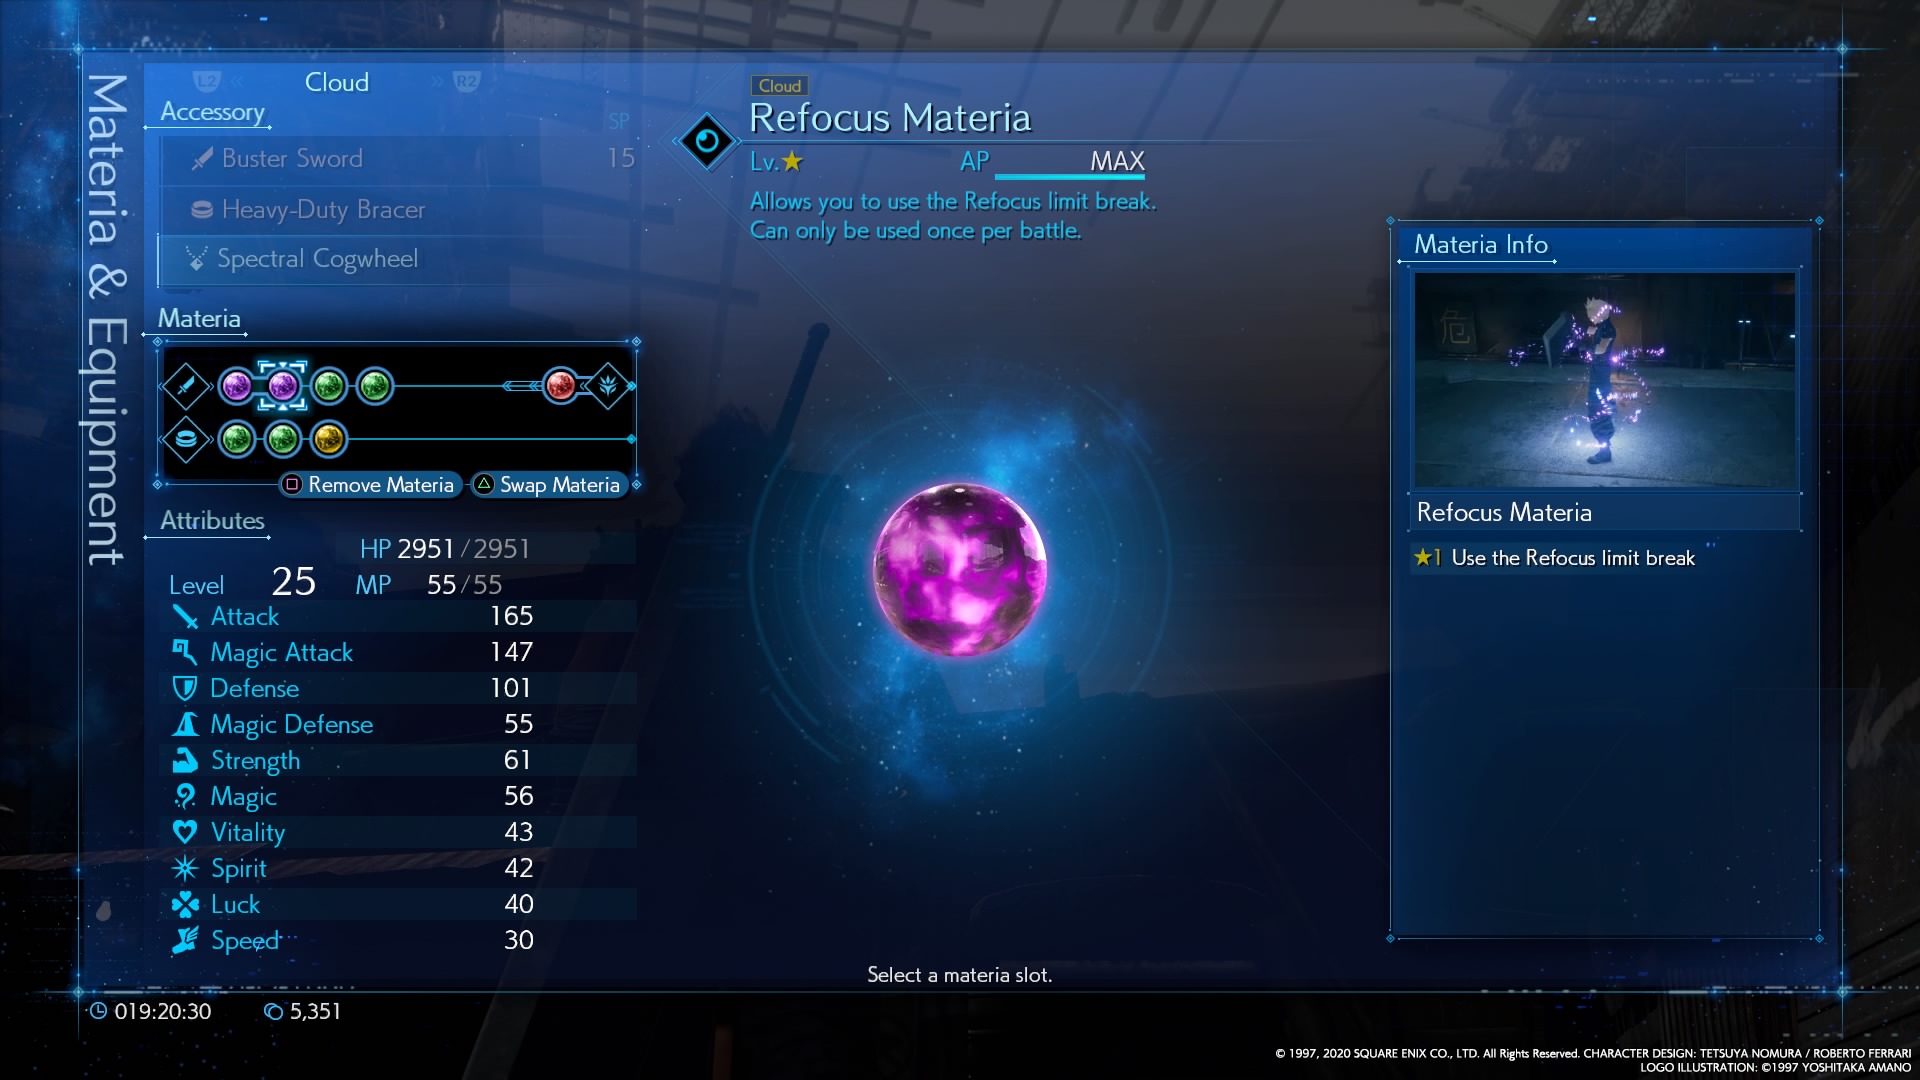
Refocus Materia
Effect: Allows the use of the Refocus limit break, usable once per battle.
Location: Comes equipped to Aerith by default, and as a reward for the VR challenges Two-Person Team vs. Dynamic Duos or Three-Person Team vs. Monsters of Legend in Shinra Tower.
Blue Materia: Support
The backbone of any solid materia combination, Support materia is only really useful when connected to Magic materia through linked slots. Each augments either the function of the connected materia or changes moment to moment combat in some way. Elemental materia, for instance, can empower your weapon with Fire, Ice, or Lightning; Magnify empowers the spell itself, and so on.
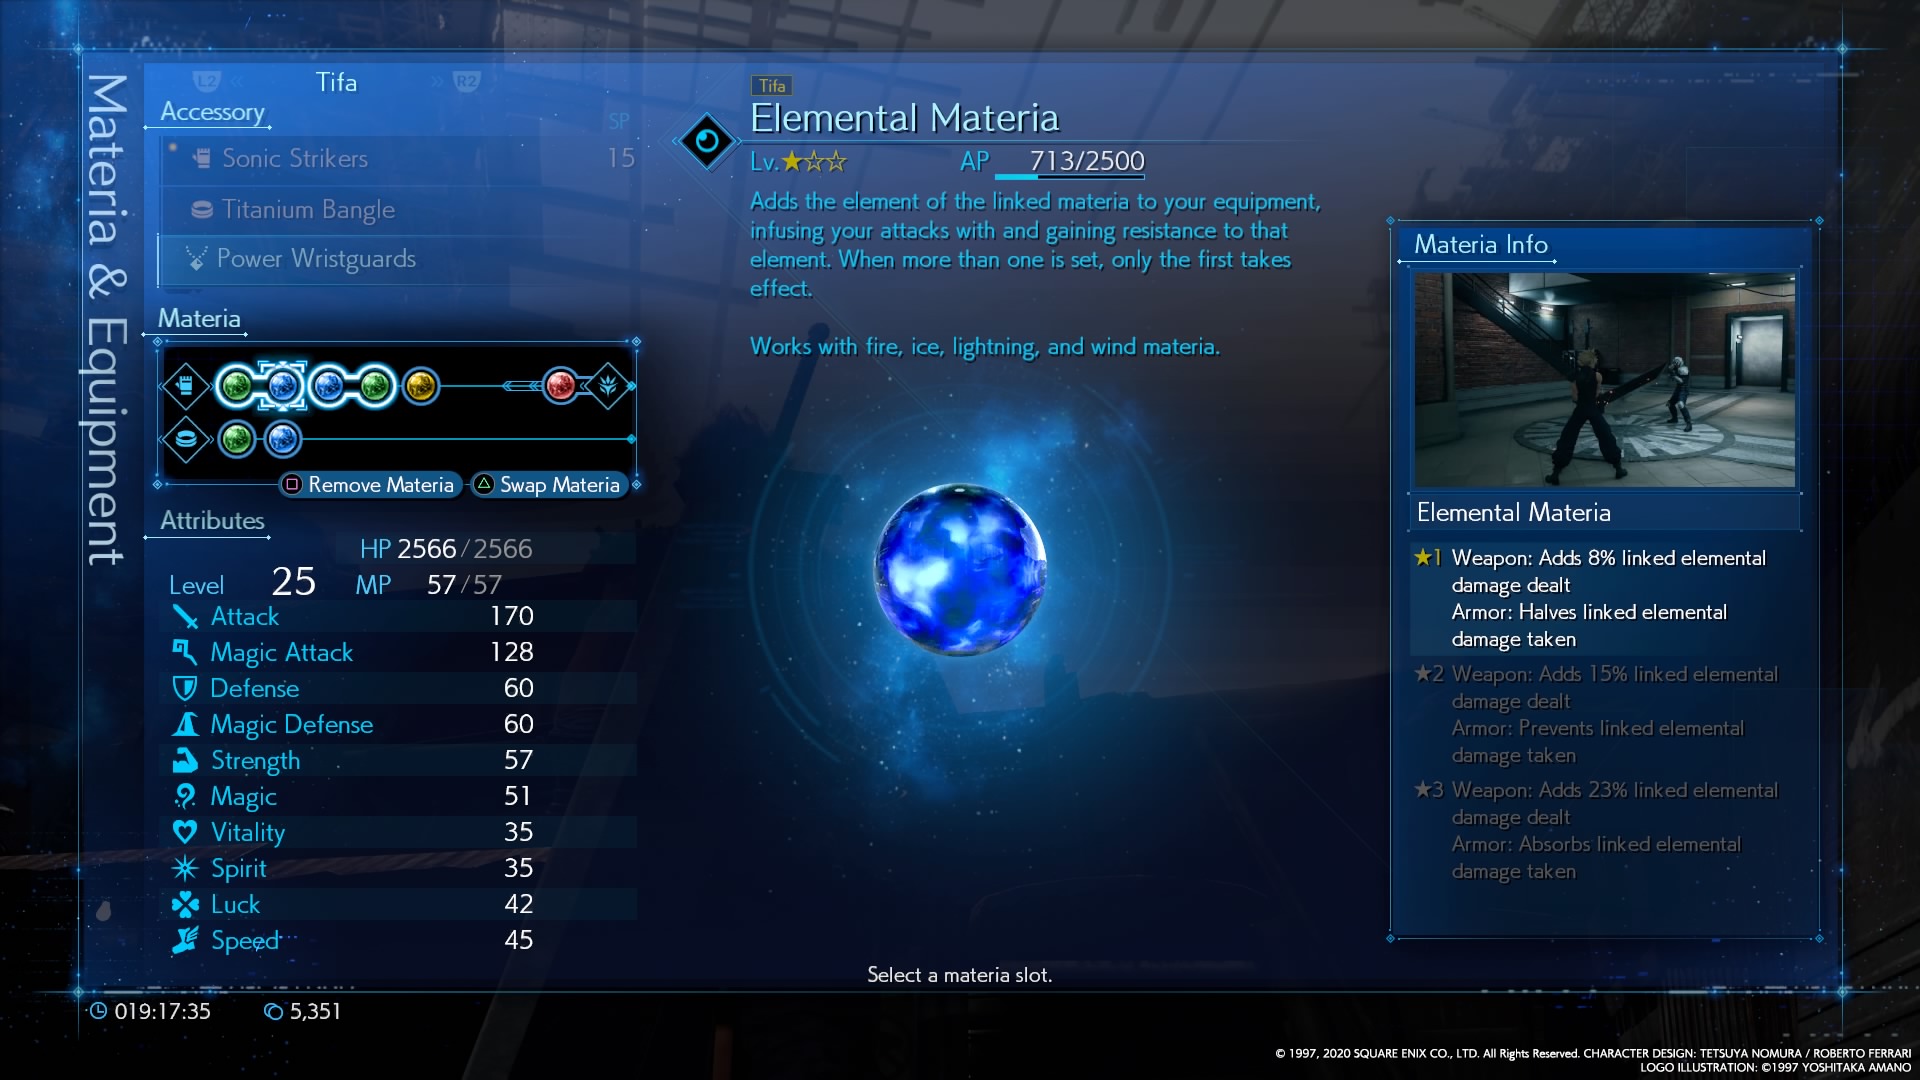
Elemental Materia
Effect: Adds the connected element to your weapon and reduces the damage taken from that weapon. Damage and reduction increase with materia level.
Location: During the Sun Lamps section of Chapter 6, when you’re on your way to the final lamp, go past the lamp platform and down the ladder. You’ll see Elemental sitting at the end of a bridge that collapsed earlier in the mission.
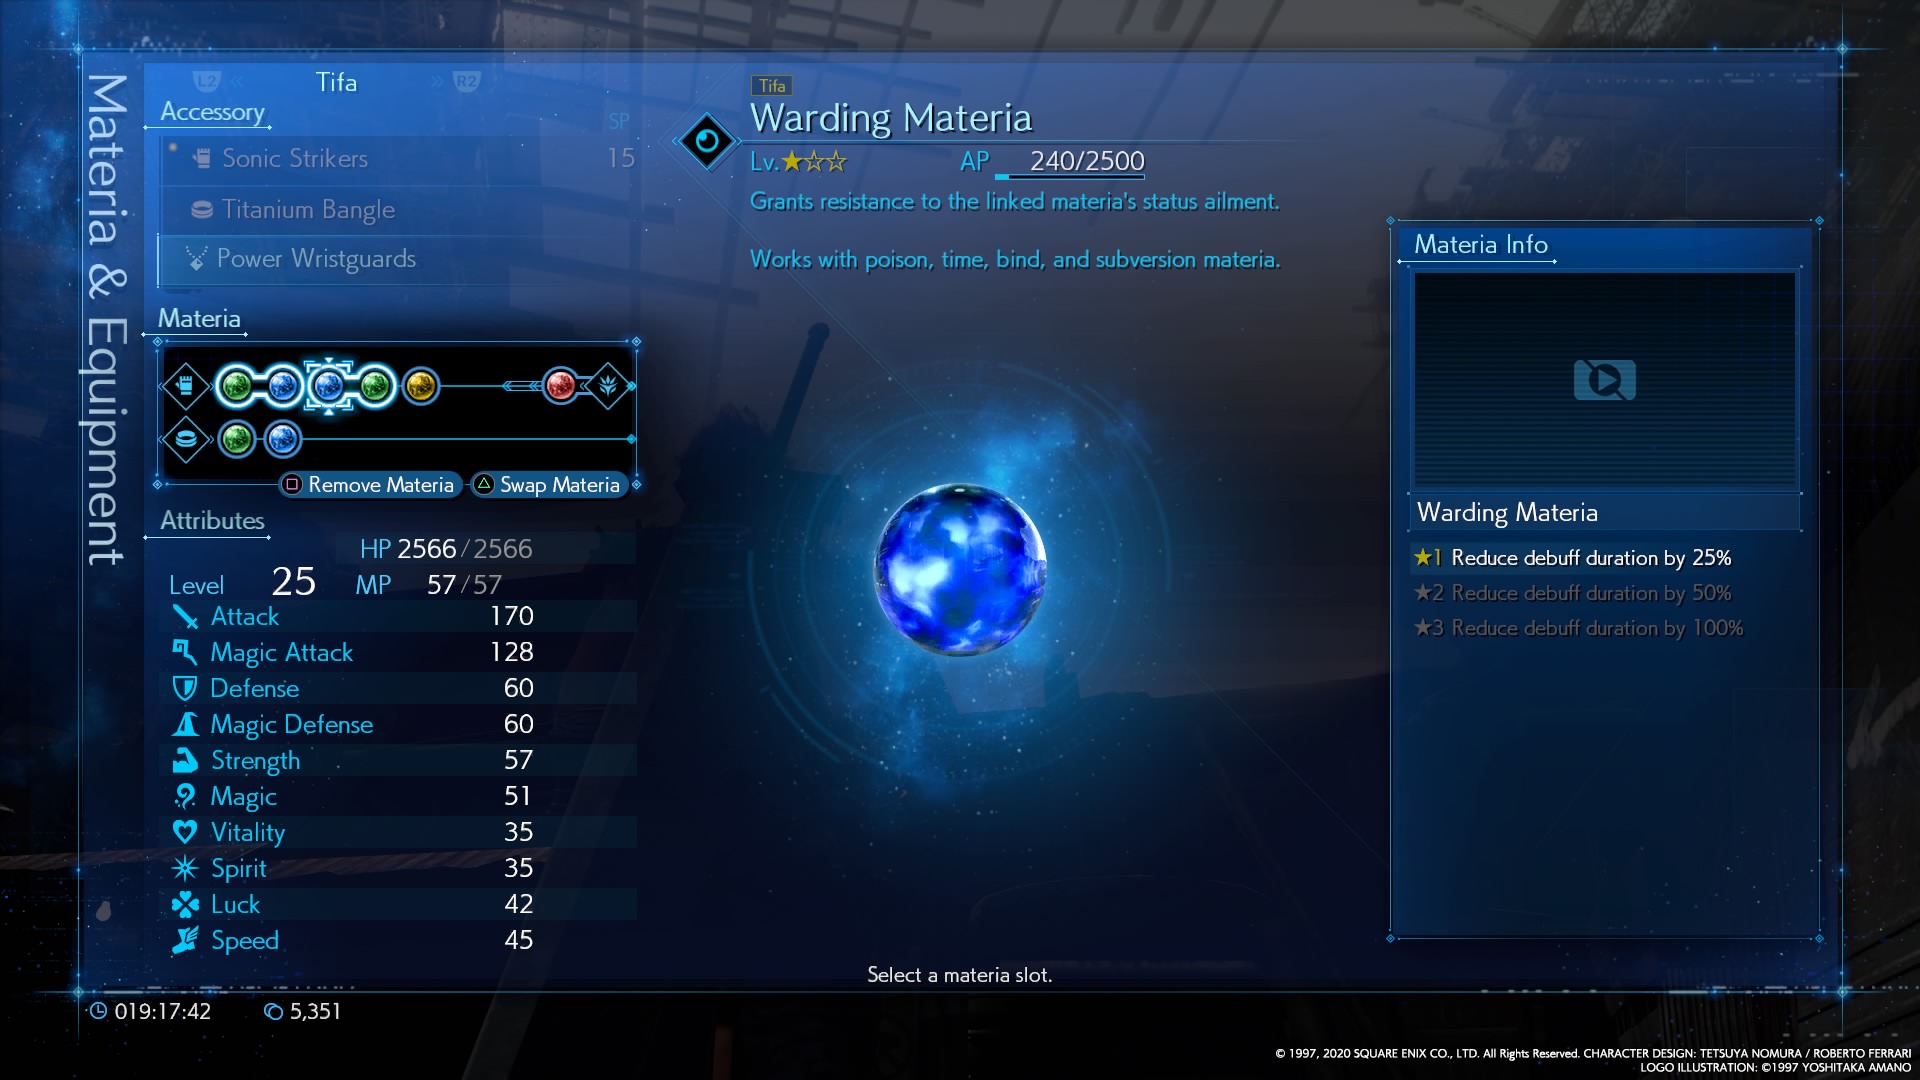
Warding Materia
Effect: Reduces the effectiveness of harmful status ailments. The reduction depends on the materia level.
Location: You’ll find Warding materia in the sewers in Chapter 10 and the Underground Lab in Chapter 13.
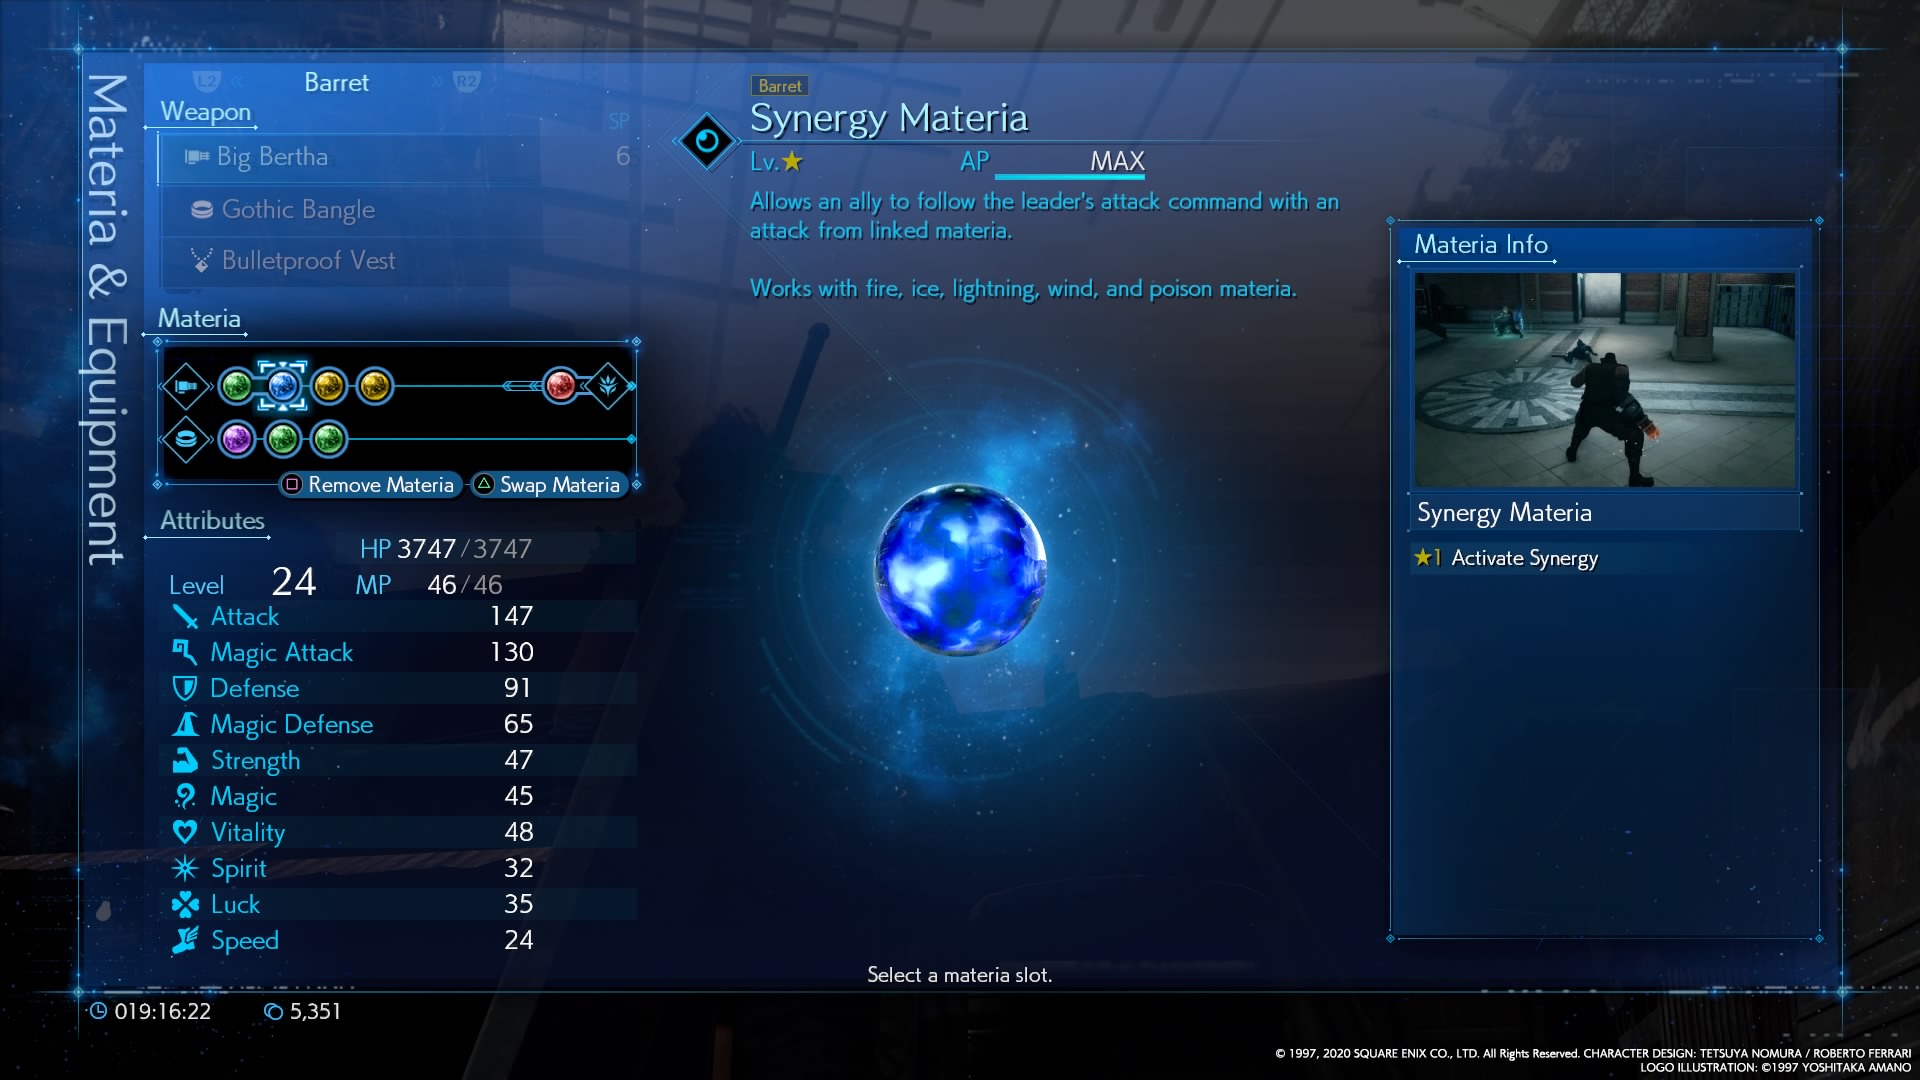
Synergy Materia
Effect: Allows an AI-controlled teammate to use the same linked spell as the battle leader.
Location: Complete Battle Report 9 and purchase from Chadley for 100 gil.
MP Absorption Materia
Effect: Allows you to recover MP when unleashing an attack of the linked materia’s type.
Location: Chadley’s Battle Report 18, which requires you to master all 13 types of magic materia. Buy for 100 gil.
HP Absorption Materia
Effect: Restores a portion of HP based on the element or command of the linked materia. HP restored starts at 20% and goes to 40% at max upgrade.
Location: Complete Battle Report 19 and purchase from Chadley for 100 gil.
Pedometer and AP Up Materia
Effect: Once you walk 5,000 steps, the Pedometer Materia will morph into AP Up. Linked materia will receive increased AP by 100%, decreasing their upgrade time.
Location: Pedometer sits right outside Aerith’s house in Chapter 14.
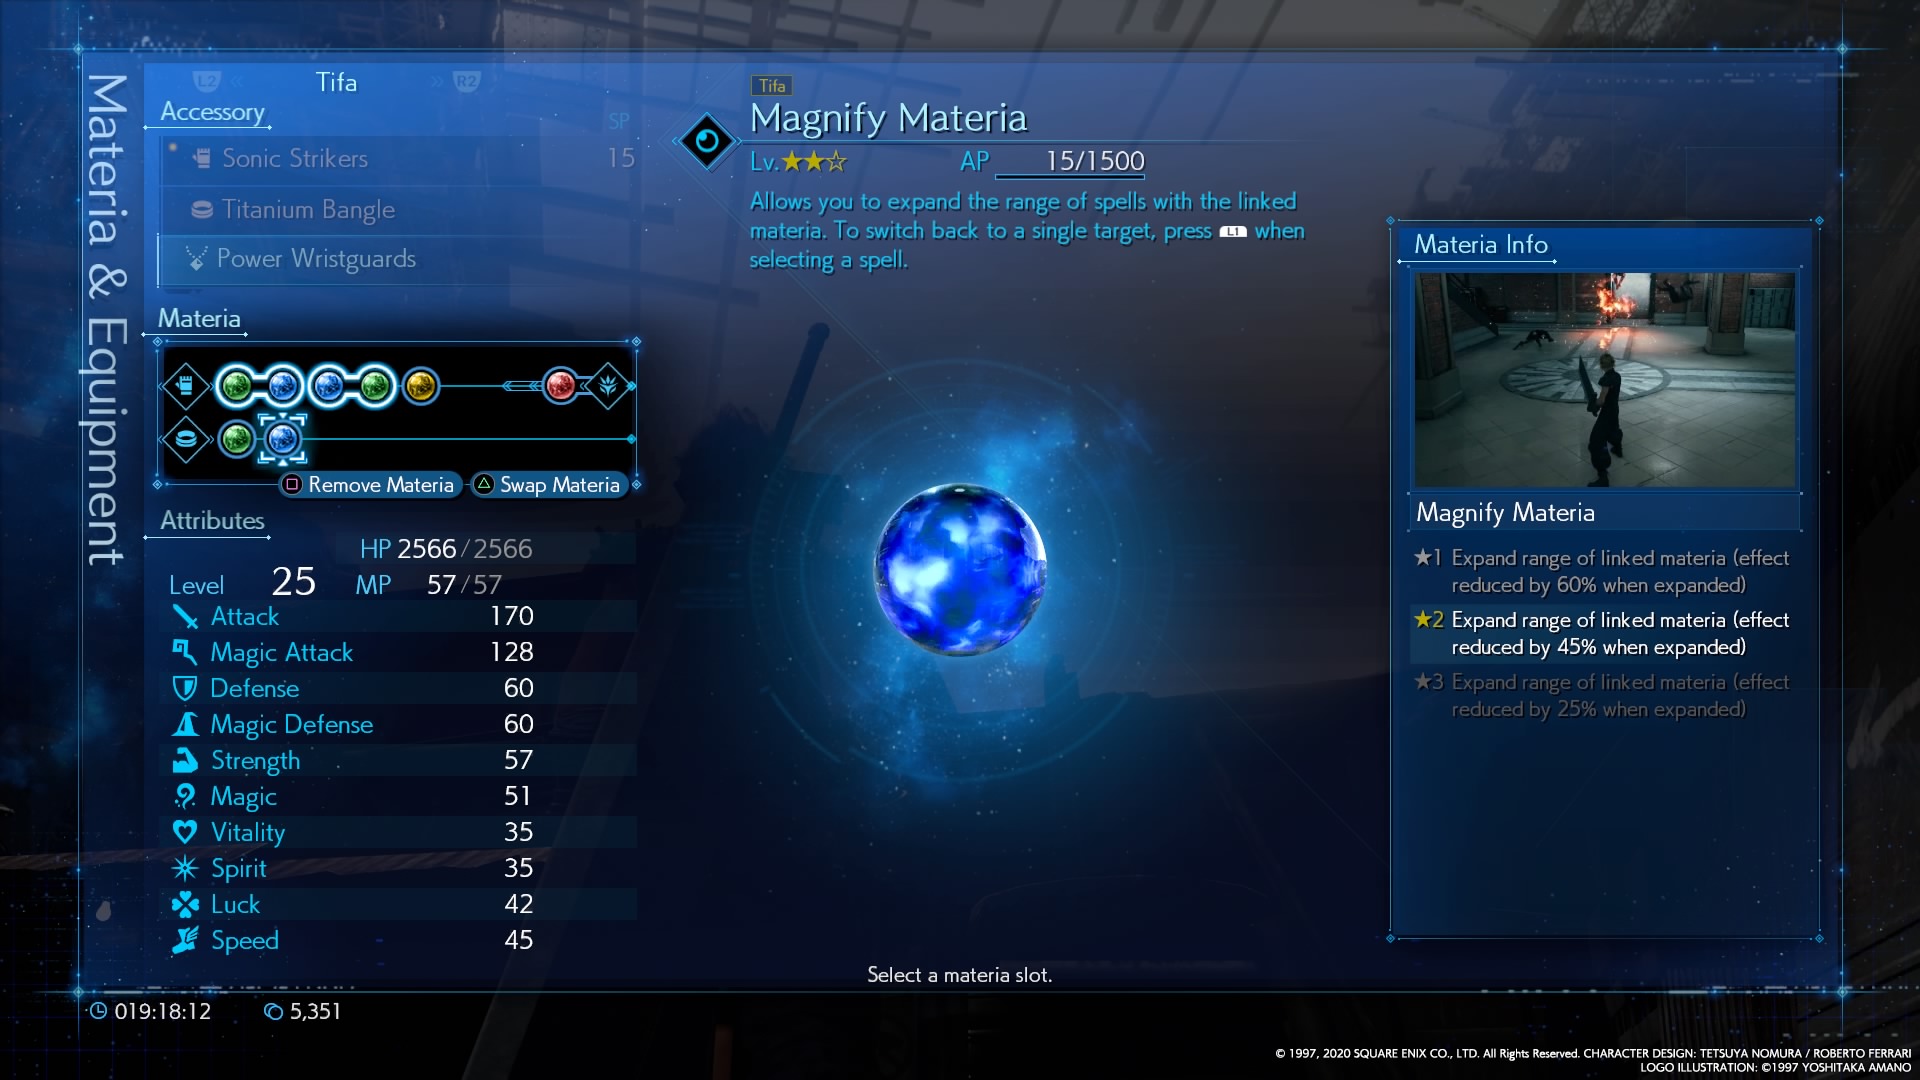
Magnify Materia
Effect: Expands the range of linked materia, allowing it to jump between enemies. Secondary casts have reduced damage. The damage reduction decreases with materia level.
Location: Magnify lives near the third robot arm puzzle in Chapter 9.
Yellow Materia: Command
As the name suggests, Command materia adds additional actions you can take in battle. These live in the Abilities submenu and require ATB charges. Their effect is usually minor but can be influential if used correctly.
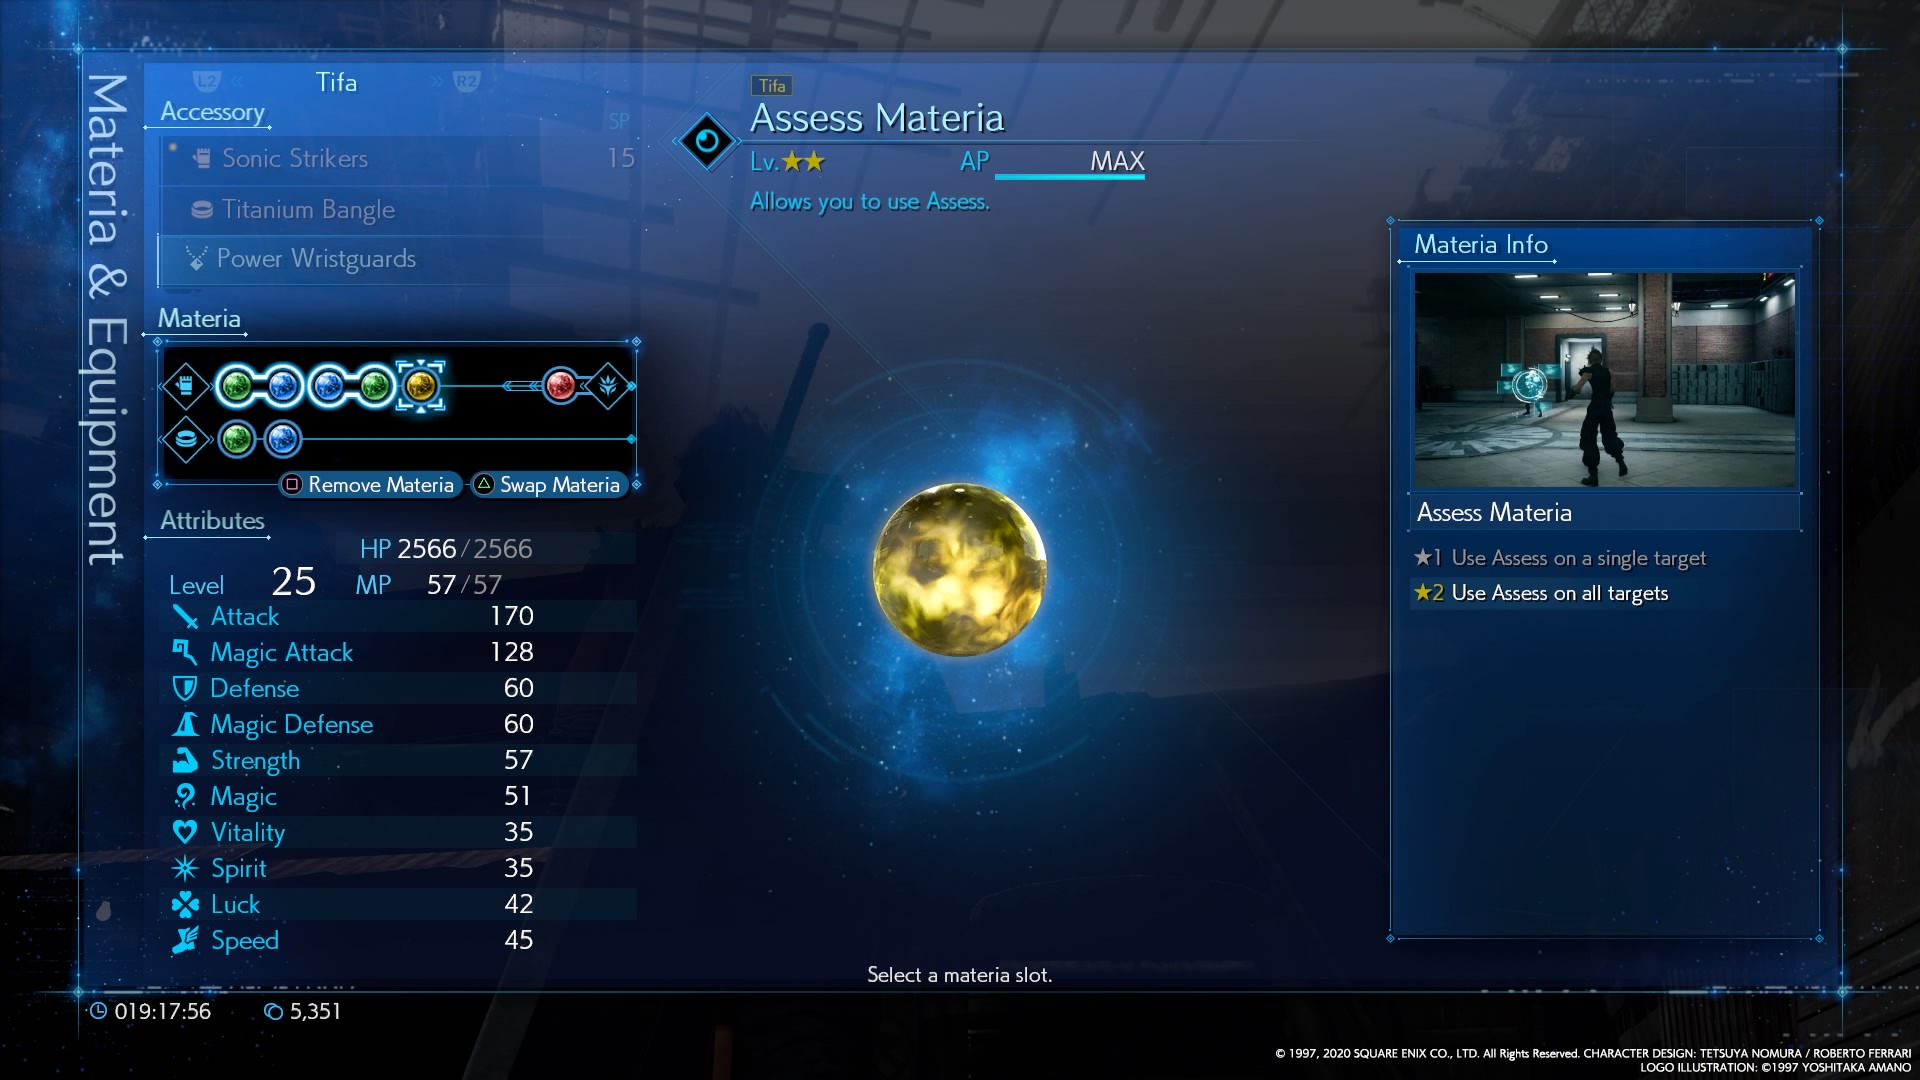
Assess Materia
Effect: The first piece of Command materia you’re likely to acquire, Assess allows you to look at a detailed drill-down of enemy stats. The effect includes bosses.
Location: Receive from Chadley the first time you meet him.
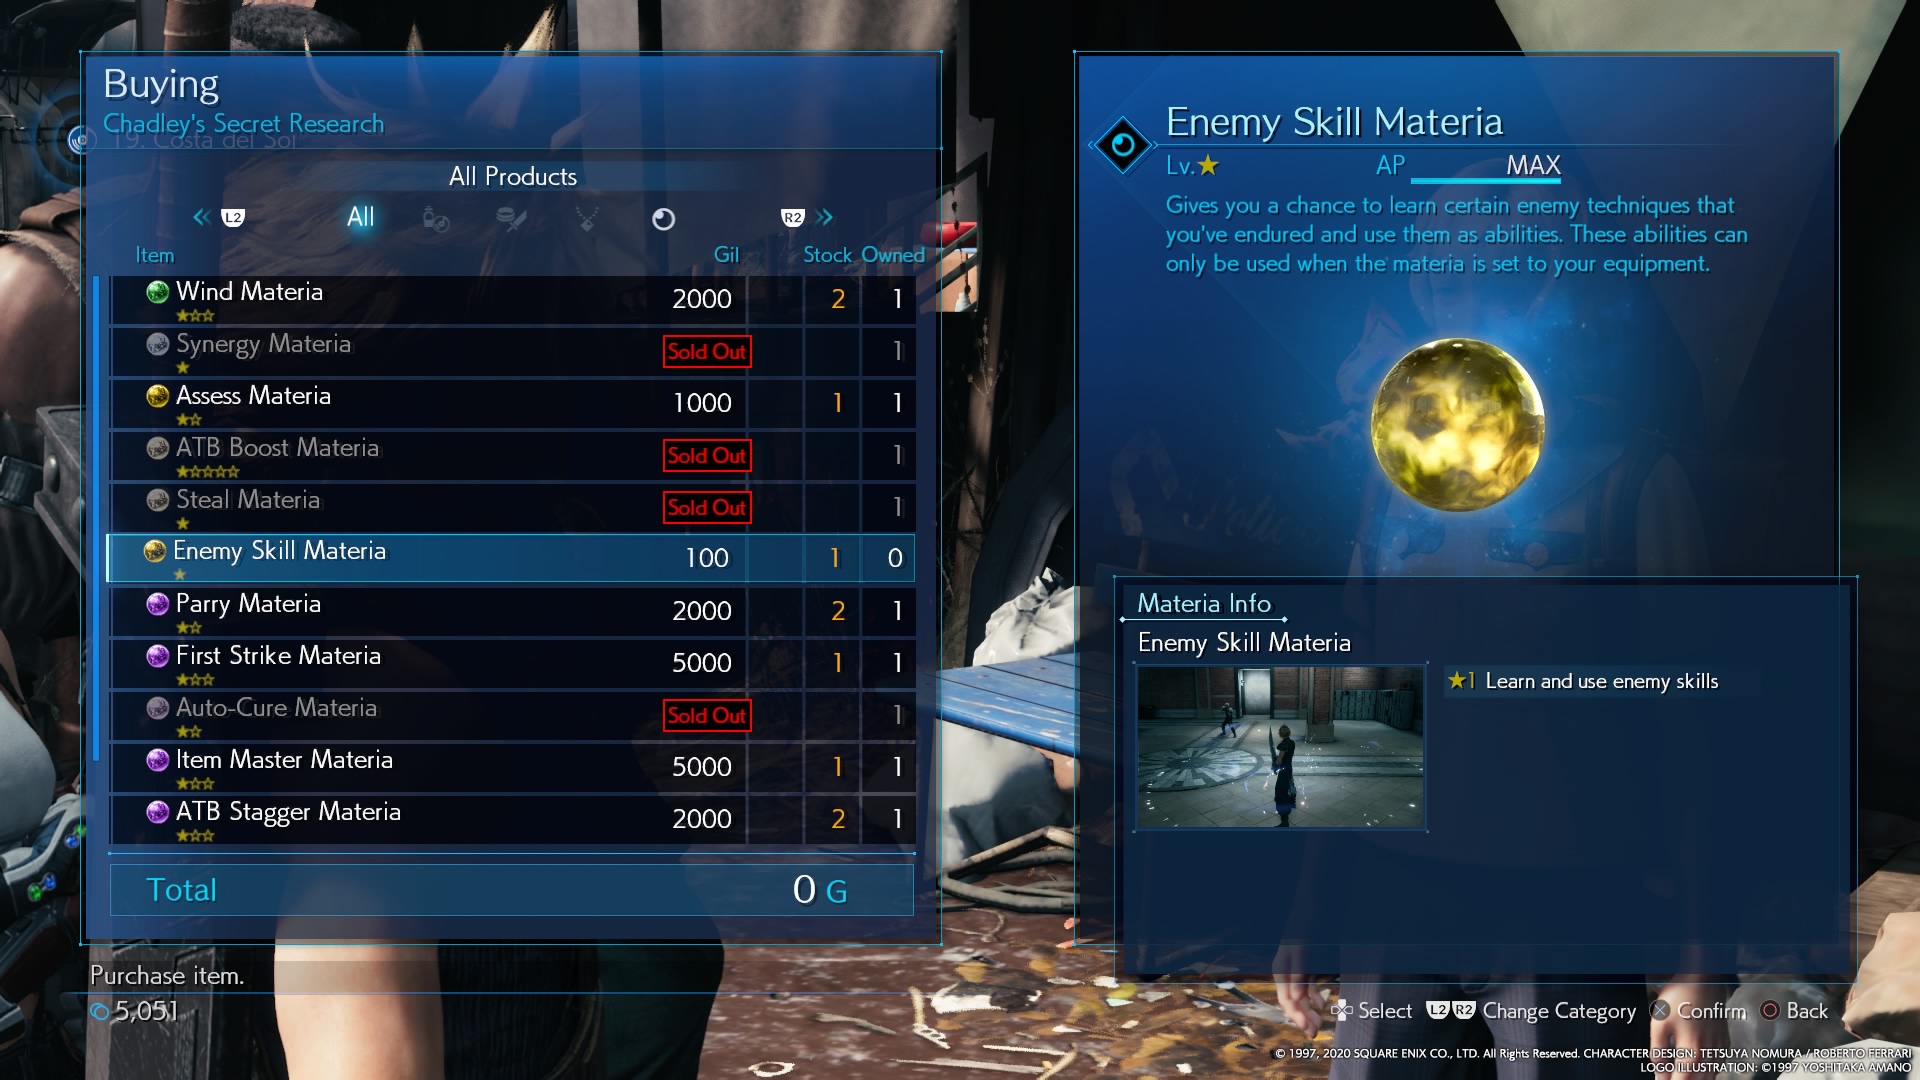
Enemy Skill Materia
Effect: Allows you to learn various Enemy Skill abilities, attacks, buffs, and debuffs unique to monsters around the world. Use Assess to see if there is a skill to learn.
Location: Chadley’s Battle Report 16, which requires you to learn 16 weapon abilities, and buy for 100 gil.
Steal Materia
Effect: Allows you to Steal items from enemies. Use Assess to see what you have a chance to steal.
Location: Chadley’s Battle Report 7, which requires you to exploit the weaknesses of 15 enemy types. Buy for 100 gil.
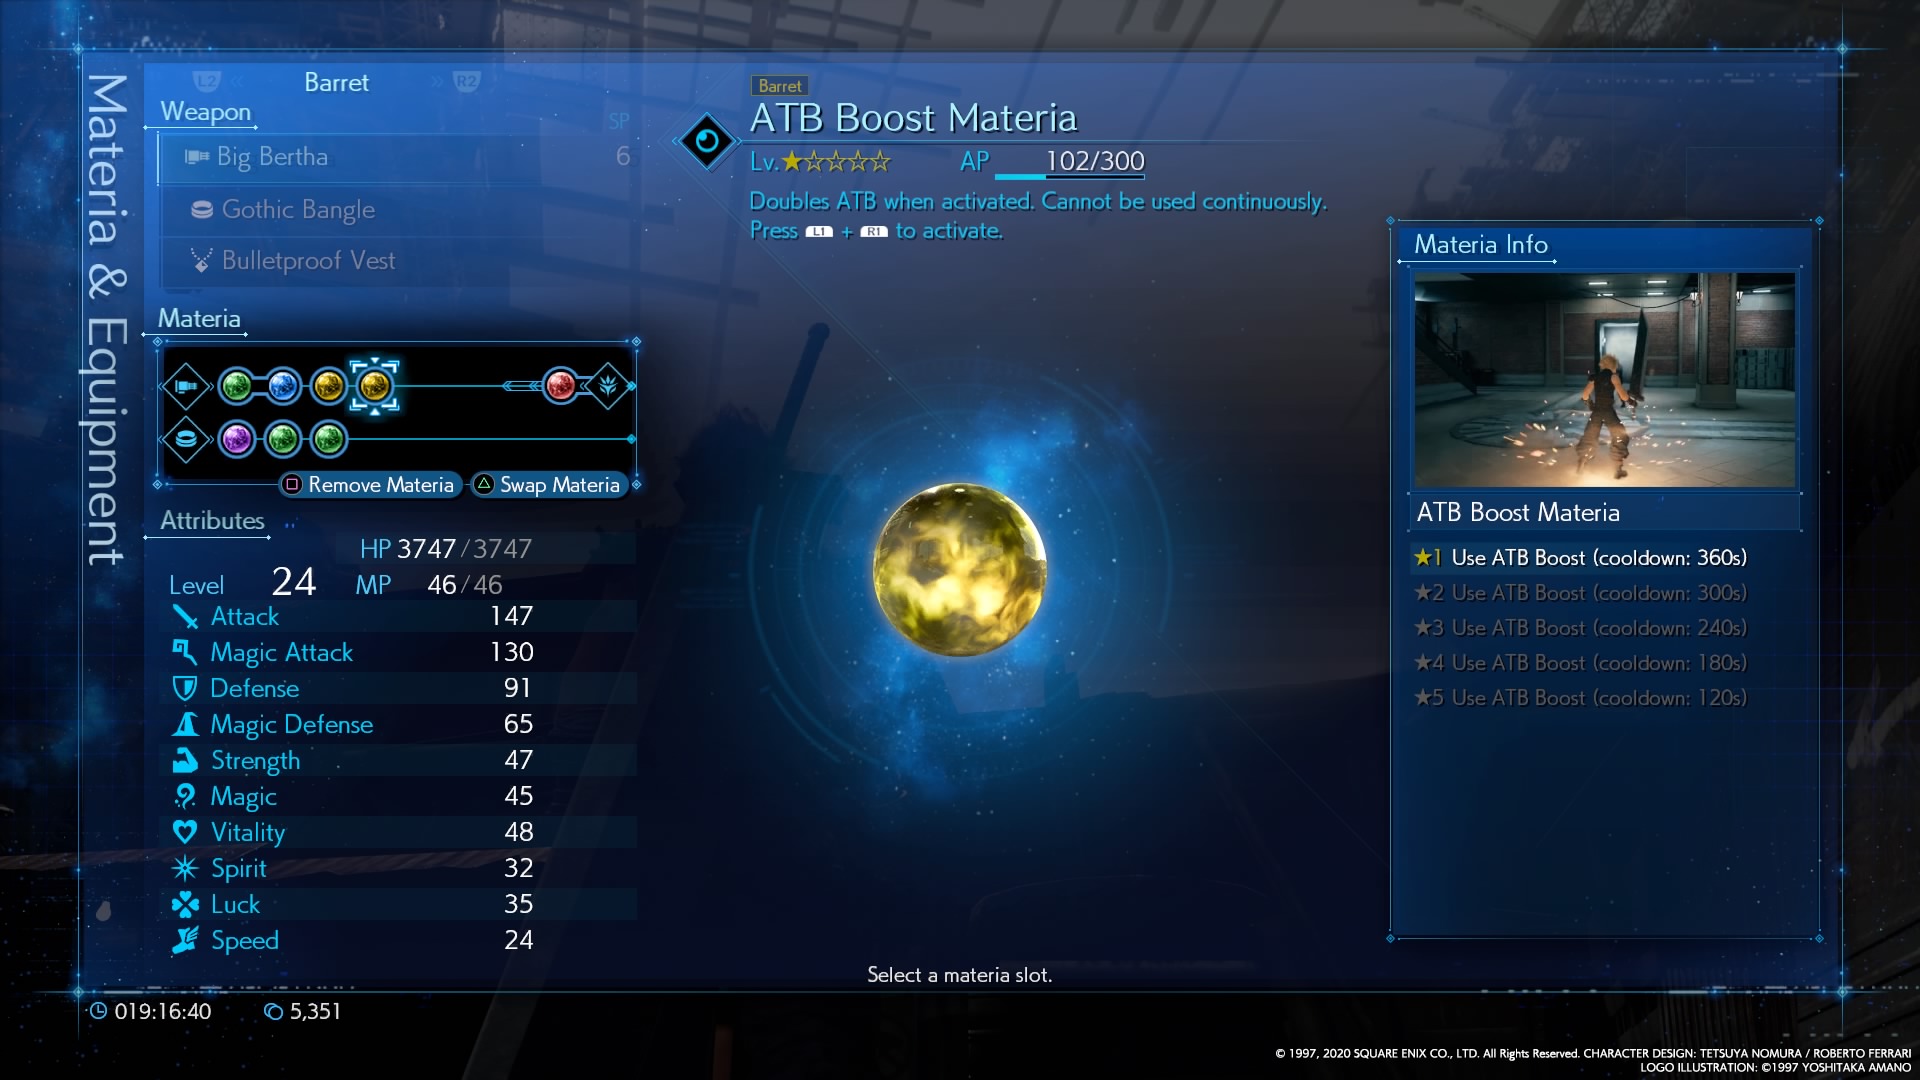
ATB Boost Materia
Effect: With L1 + R1, you activate the skill to double the ATB gauge. The cooldown reduces with materia level.
Location: Complete Chadley’s Battle Report 4, requiring you to stagger 15 enemy types. Buy for 100 gil.
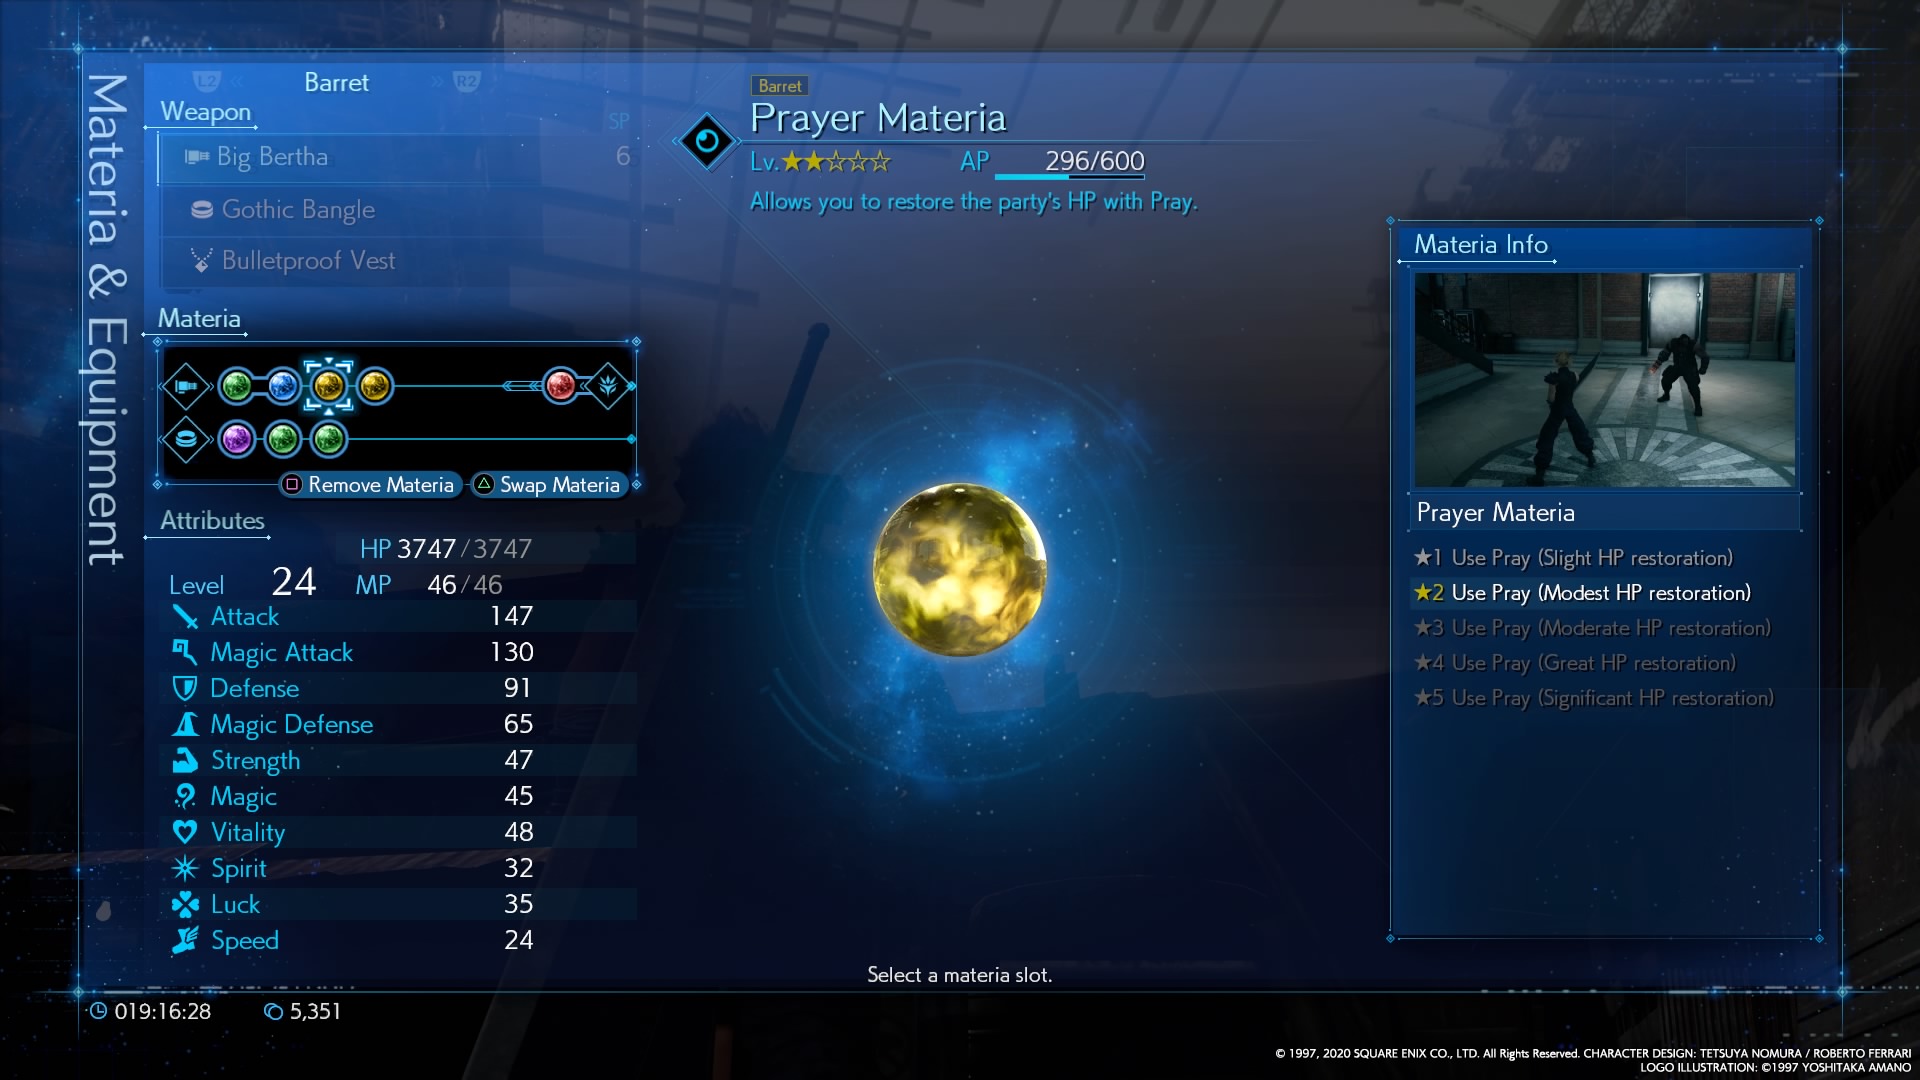
Prayer Materia
Effect: Restores an amount of HP to a single party member. The amount healed depends on materia level.
Location: Aerith comes equipped with one orb of Prayer. There is also one behind Corneo’s stash door during the Chapter 14 quest Corneo’s Secret Stash.
Chakra Materia
Effect: Restores HP based on the amount of damage a character’s taken. The amount restored increases with materia level.
Location: Chakra comes equipped to Tifa by default.
Red Materia: Summon
Summoning materia does just that: summon powerful beings to assist you at specific points in certain battles. Acquiring some of them is a fairly involved process — involved enough that we have our own guide on it.
Check it out right here:
Final Fantasy 7 Remake Summons and Where to Find Them
We’ve got plenty of other Final Fantasy 7 Remake guides right now and on the way, so stay tuned.
- Final Fantasy 7 Remake: How to Get Each Bridal Candidate Outfit
- Final Fantasy 7 Remake Lost Friends Cat Locations
- Final Fantasy 7 Remake Moogle Medal Guide
- Final Fantasy 7 Remake: How to Beat the Scorpion Boss




Published: Apr 14, 2020 11:31 pm