Health pickups are another important upgrade you’ll find in Trek to Yomi. Each upgrade increases your health bar by one pip, regardless of which difficulty you choose to play on. While some are in plain sight, others are hidden behind secret passages or rooms with enemies to defeat. This guide will walk you through where in each chapter to find them.
All Health Upgrade Locations in Trek to Yomi
There are no health upgrades in Chapter 1.
Chapter 2 (2 Upgrades)
Health Upgrade 1 — After the section where you fight through the crumbling, burning building, a villager asks you to take down the bandit in his home. To do so, you must kick down a slightly obscured door on the left side of the screen. Run past the man’s house to the end of the dock around the corner. You’ll find this pickup on the dock.
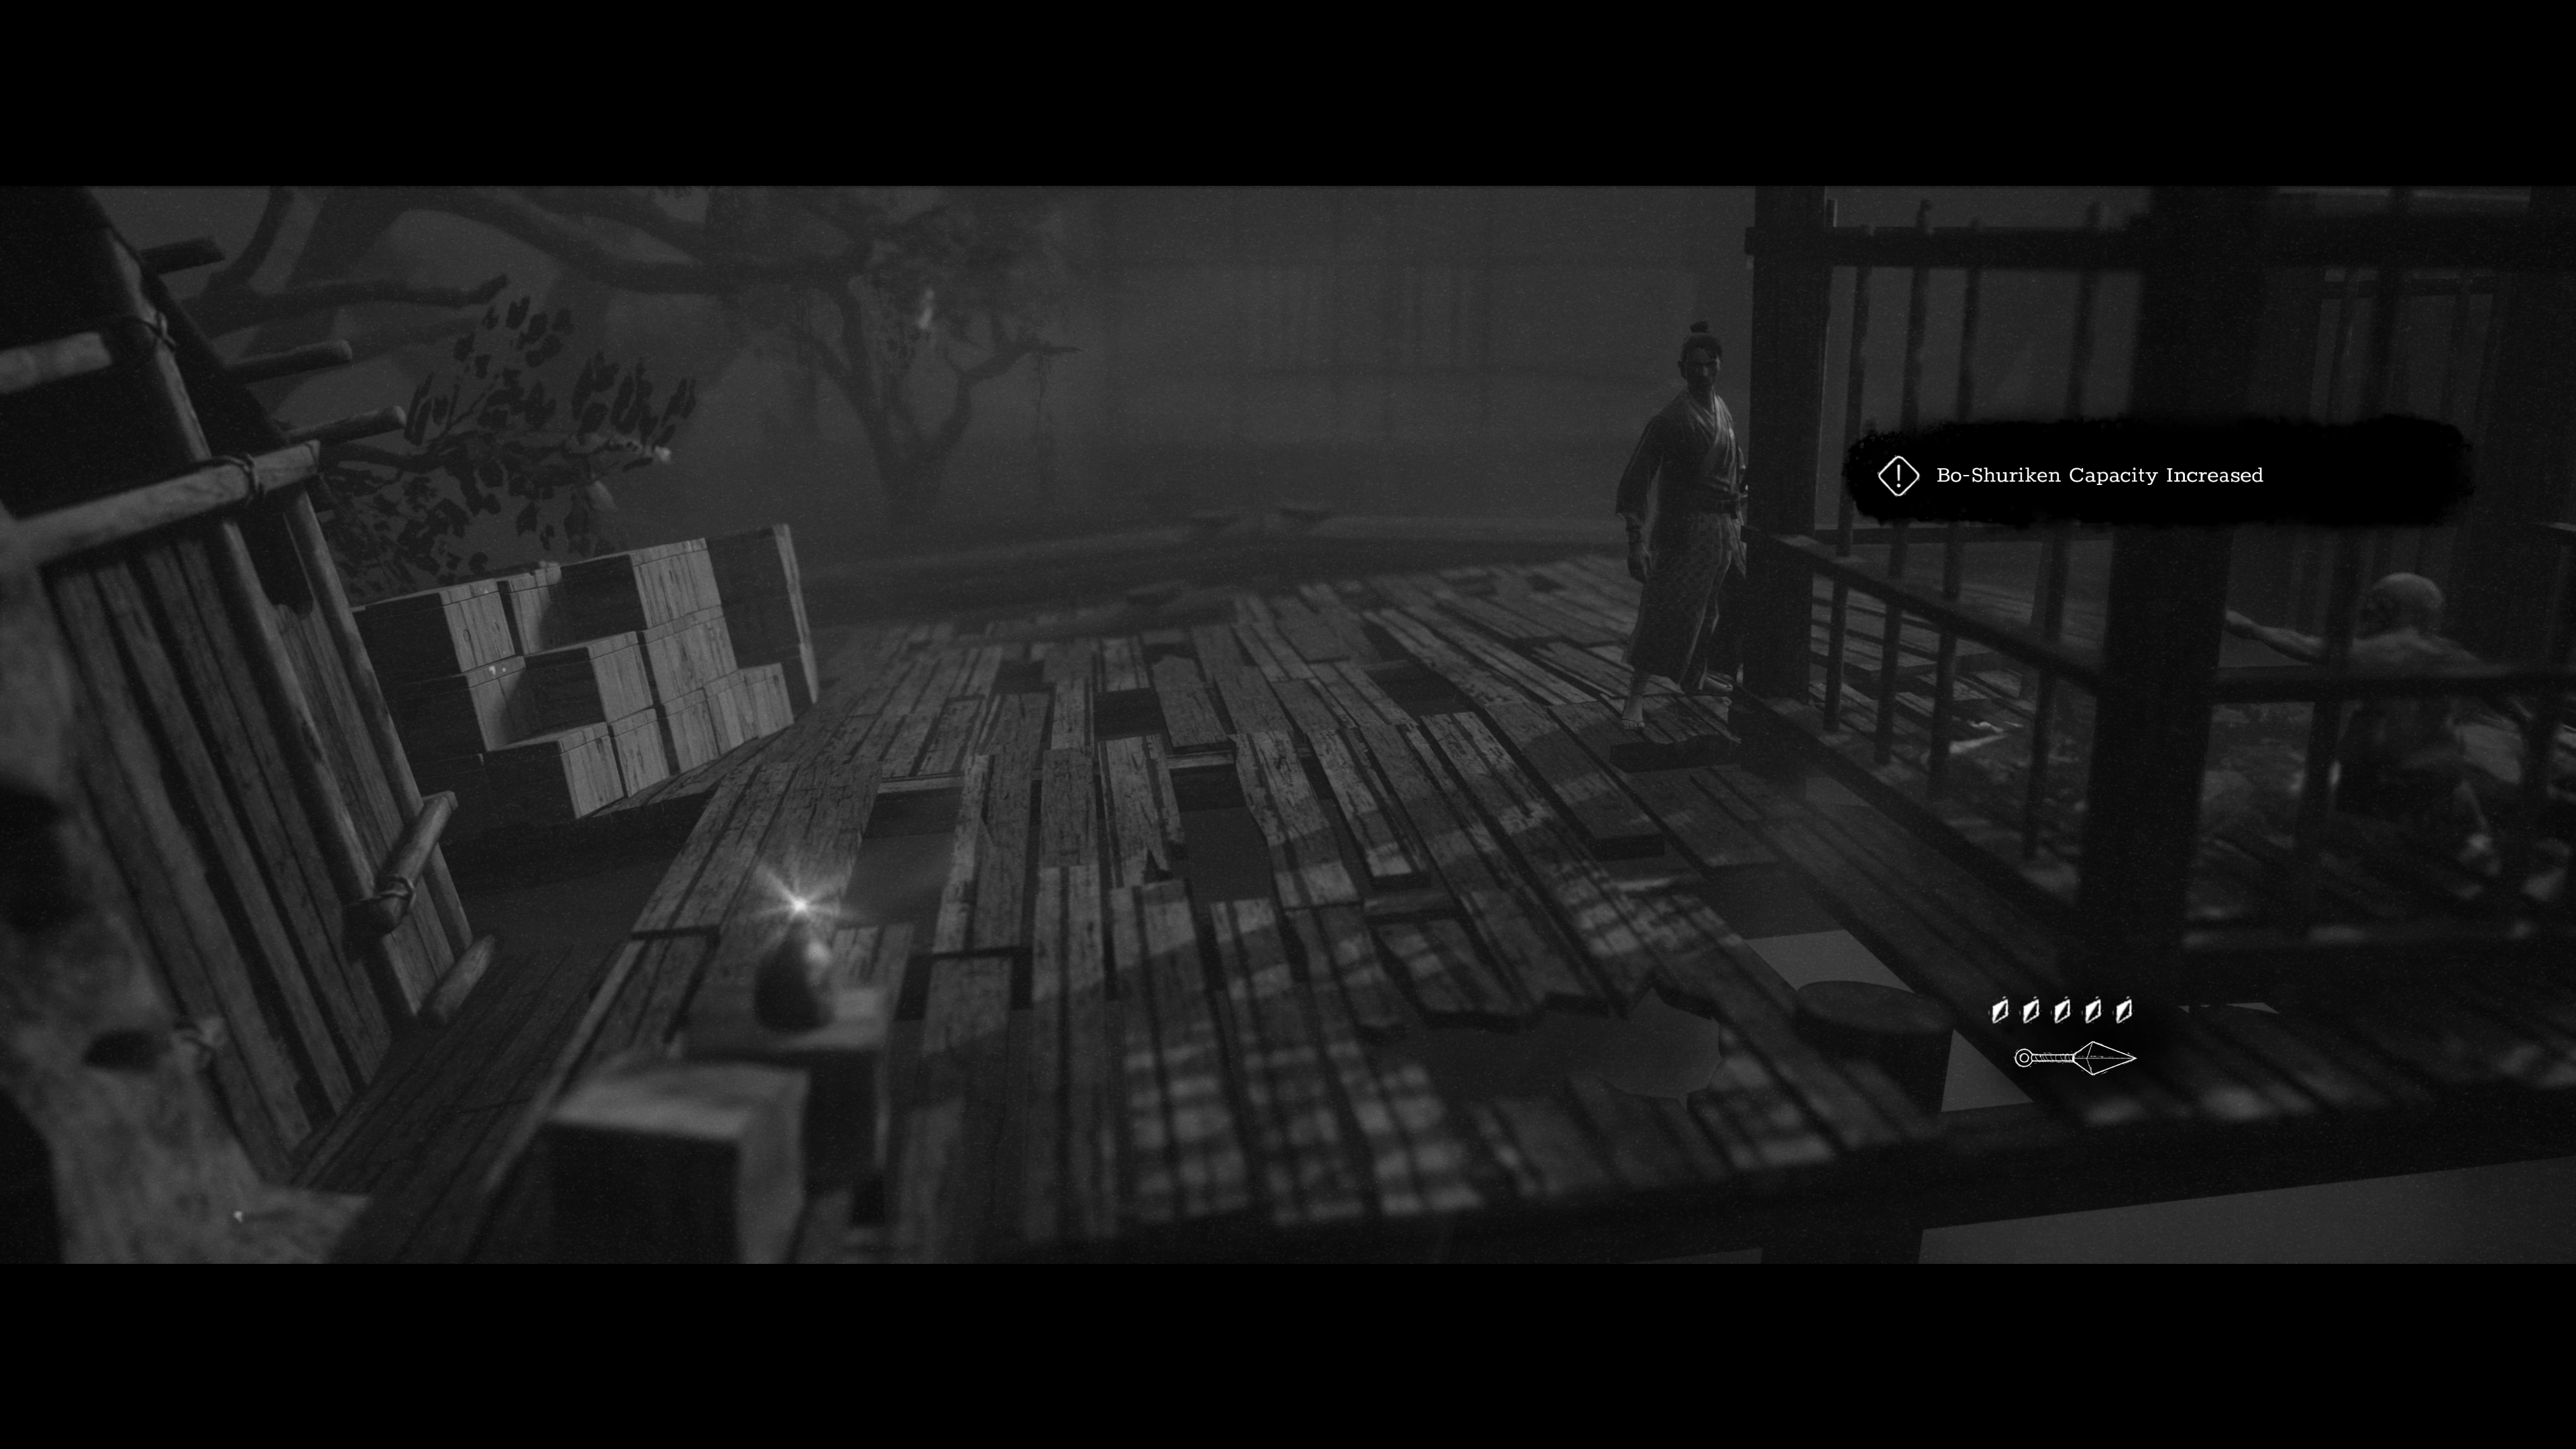
Health Upgrade 2 — Before you cross the bridge in front of a waterfall, there is an easy-to-miss crevice Hiroki can slide through. If you walk close enough to it, the camera angle will change, giving you a better view of light shining through the crevice. Proceed and you will be forced into a slow walk animation before coming out the other side, where you will find this upgrade and a weapon capacity increase for your Bo Shuriken.
Chapter 3 (1 Upgrade)
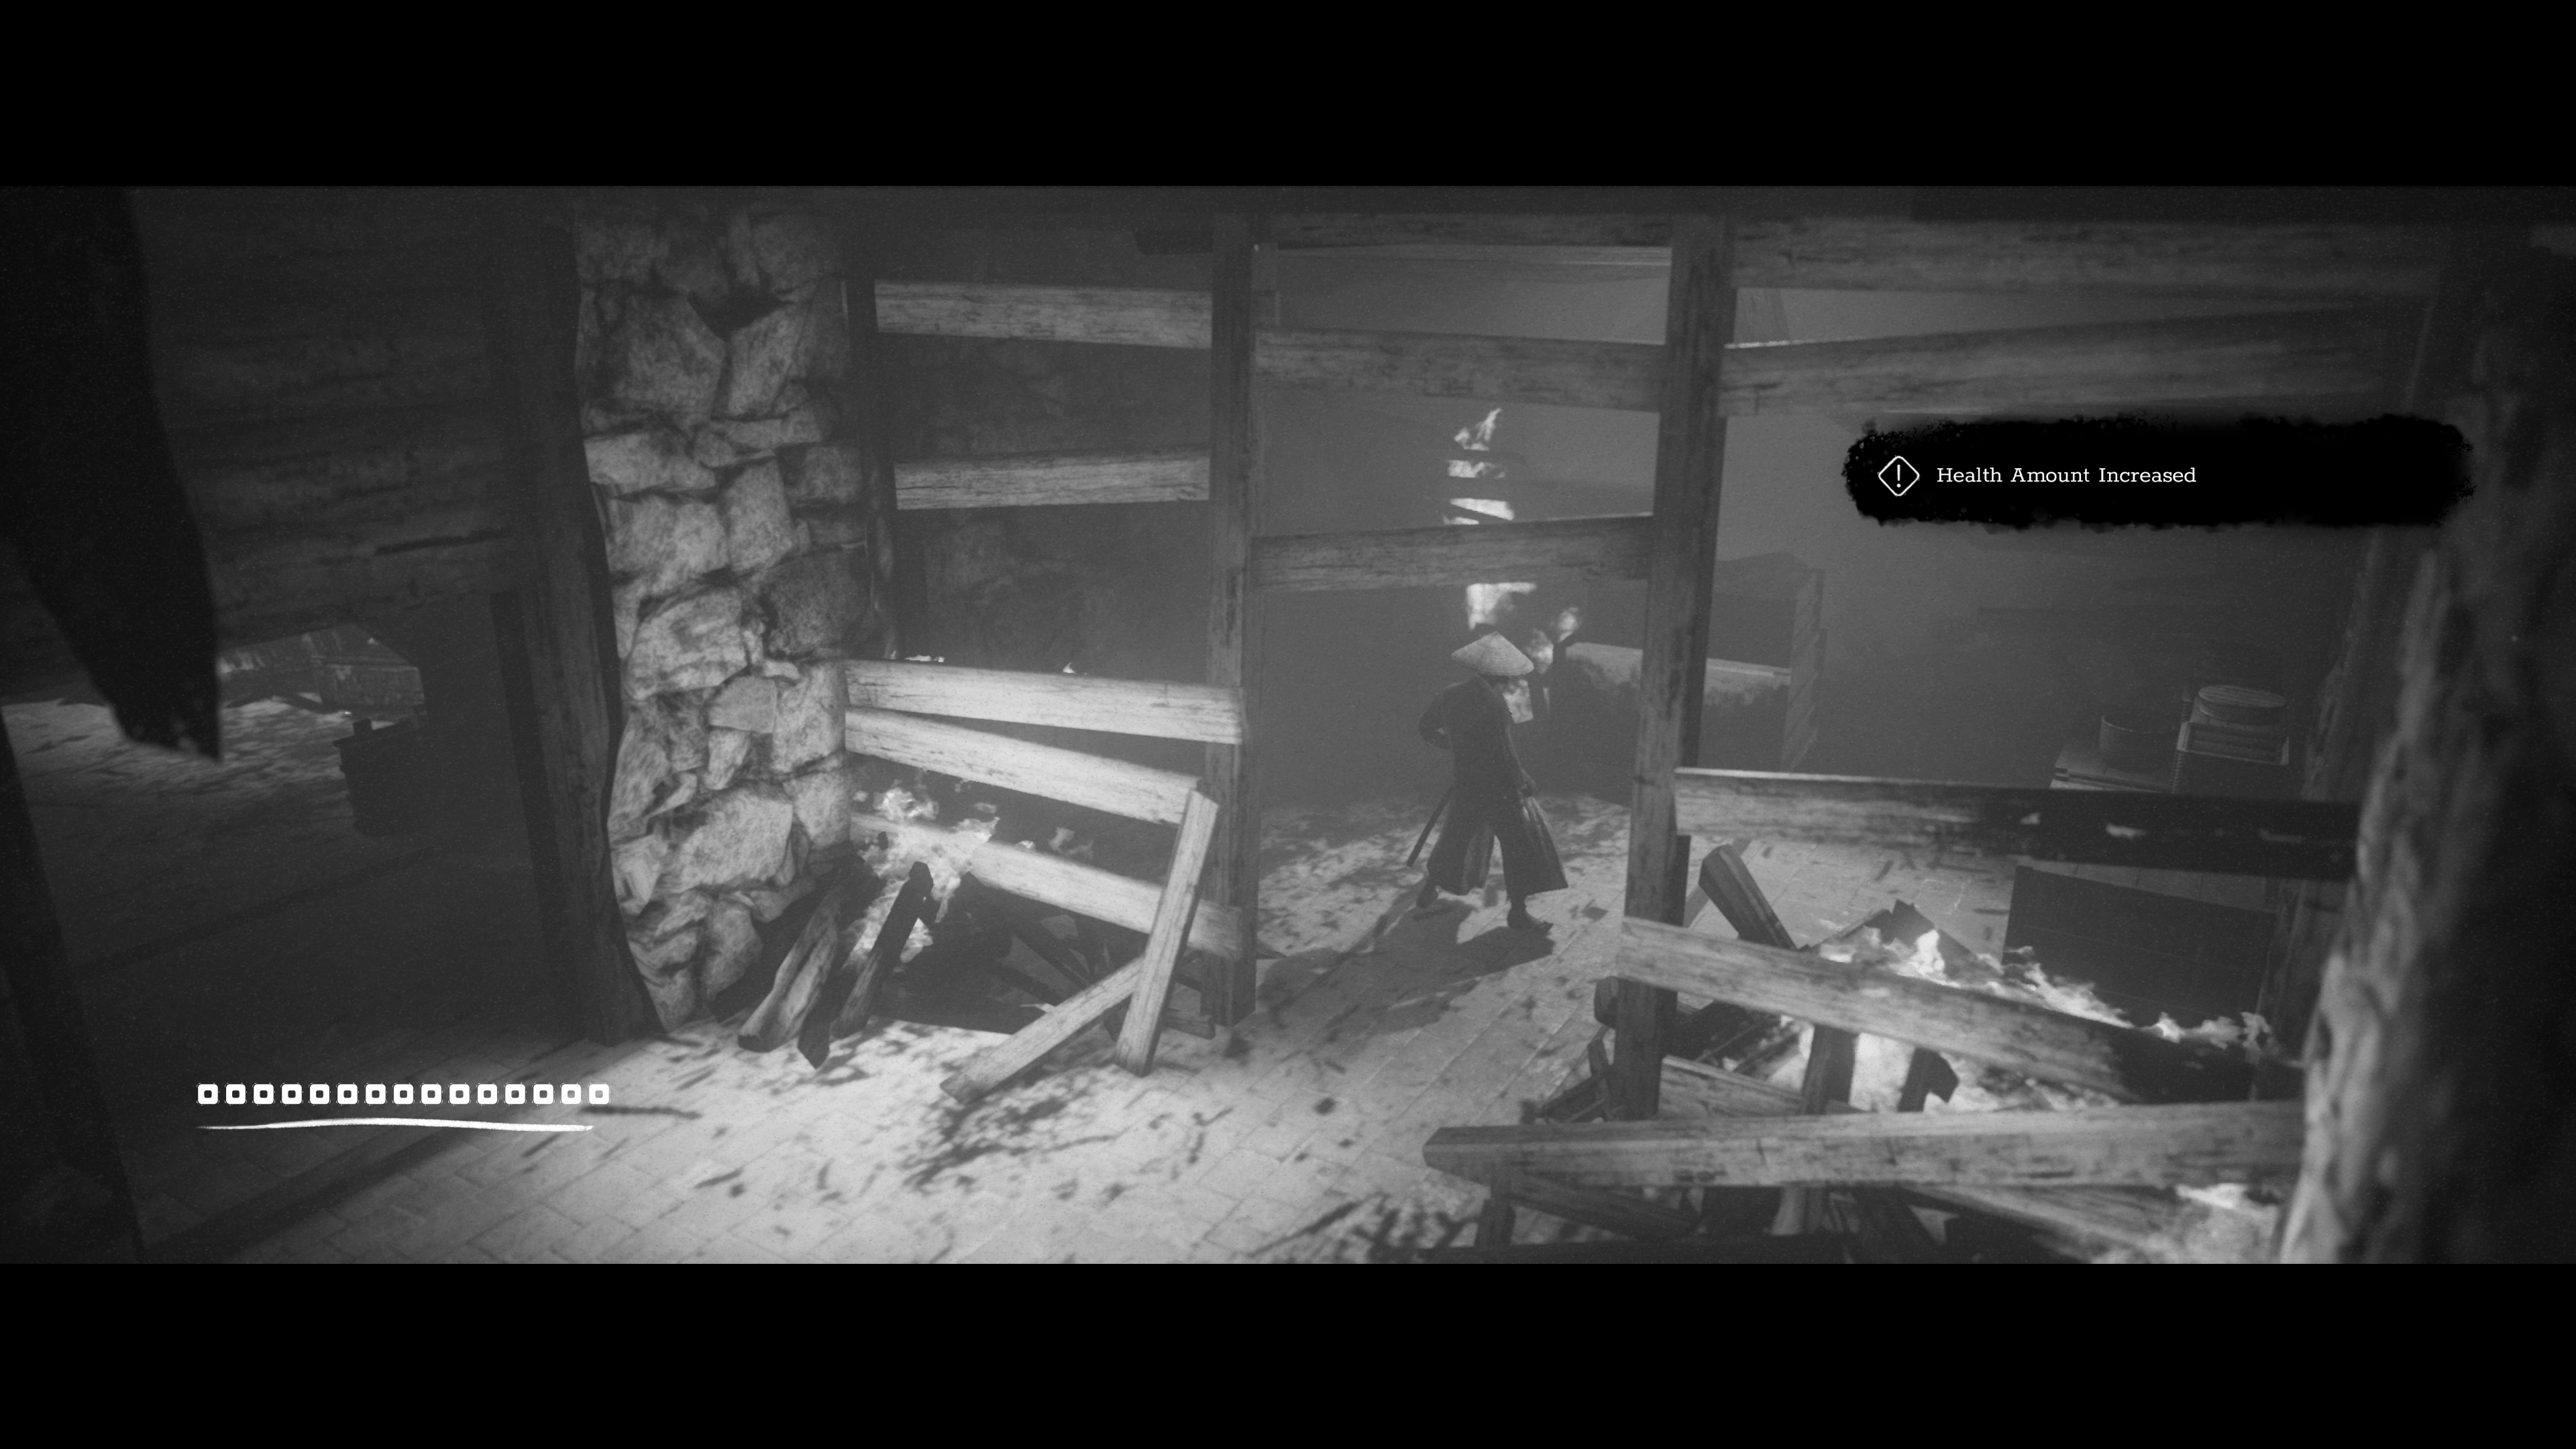
Health Upgrade 3 — After fighting through a large mansion, you will encounter a dying samurai at the bottom of some stairs who you can speak with. Move to the right after doing so, and you will also see a dying woman. This one is between them.
Chapter 4 (2 Upgrades)
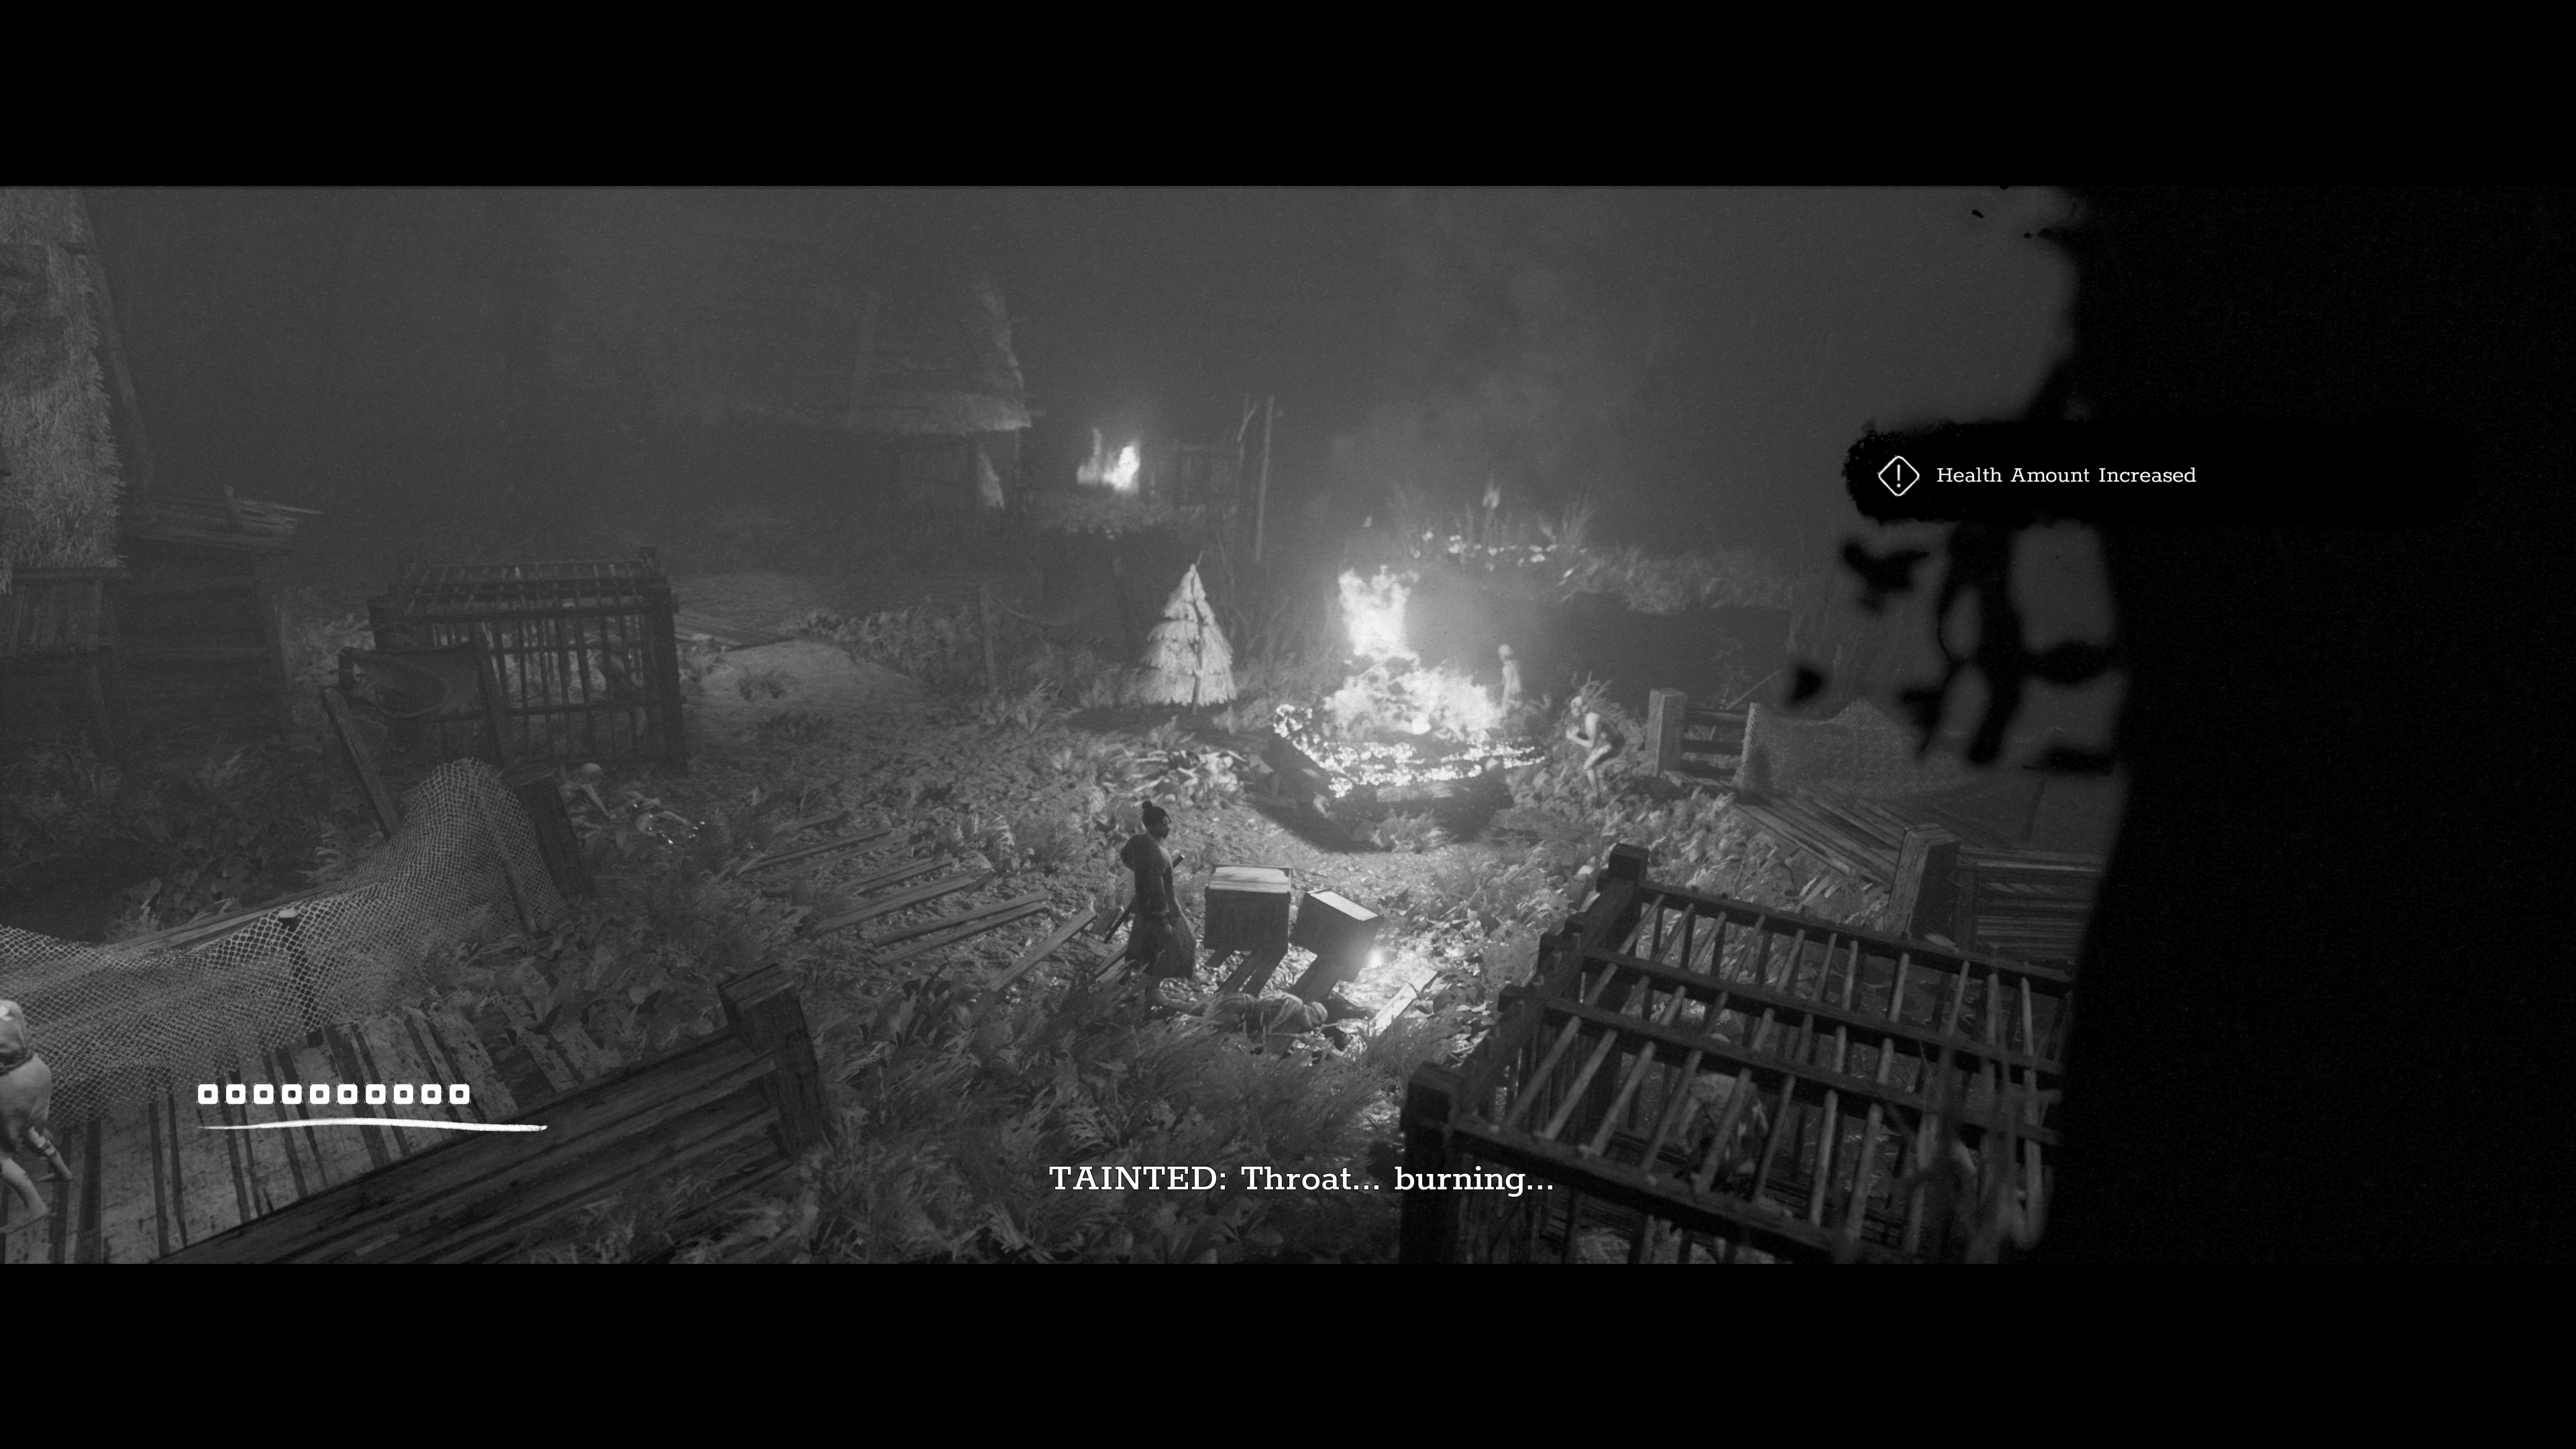
Health Upgrade 4 — Near the start of the chapter, you will come upon NPCs sitting around a large bonfire. The path ahead splits north and northeast. Take the northeast fork, and run past the bonfire in the next area. This one is on top of a pair of boxes at the bottom of the screen.
Health Upgrade 5 — You will fight a mini-boss in the second half of the level on a bridge lit by lanterns. Go into the house beyond the bridge, and drop down the ledge. Go left to will see a ladder surrounded by spider-like creatures. Climb down the ladder and to the end of the dock below to find this pickup.
Chapter 5 (2 Upgrades)

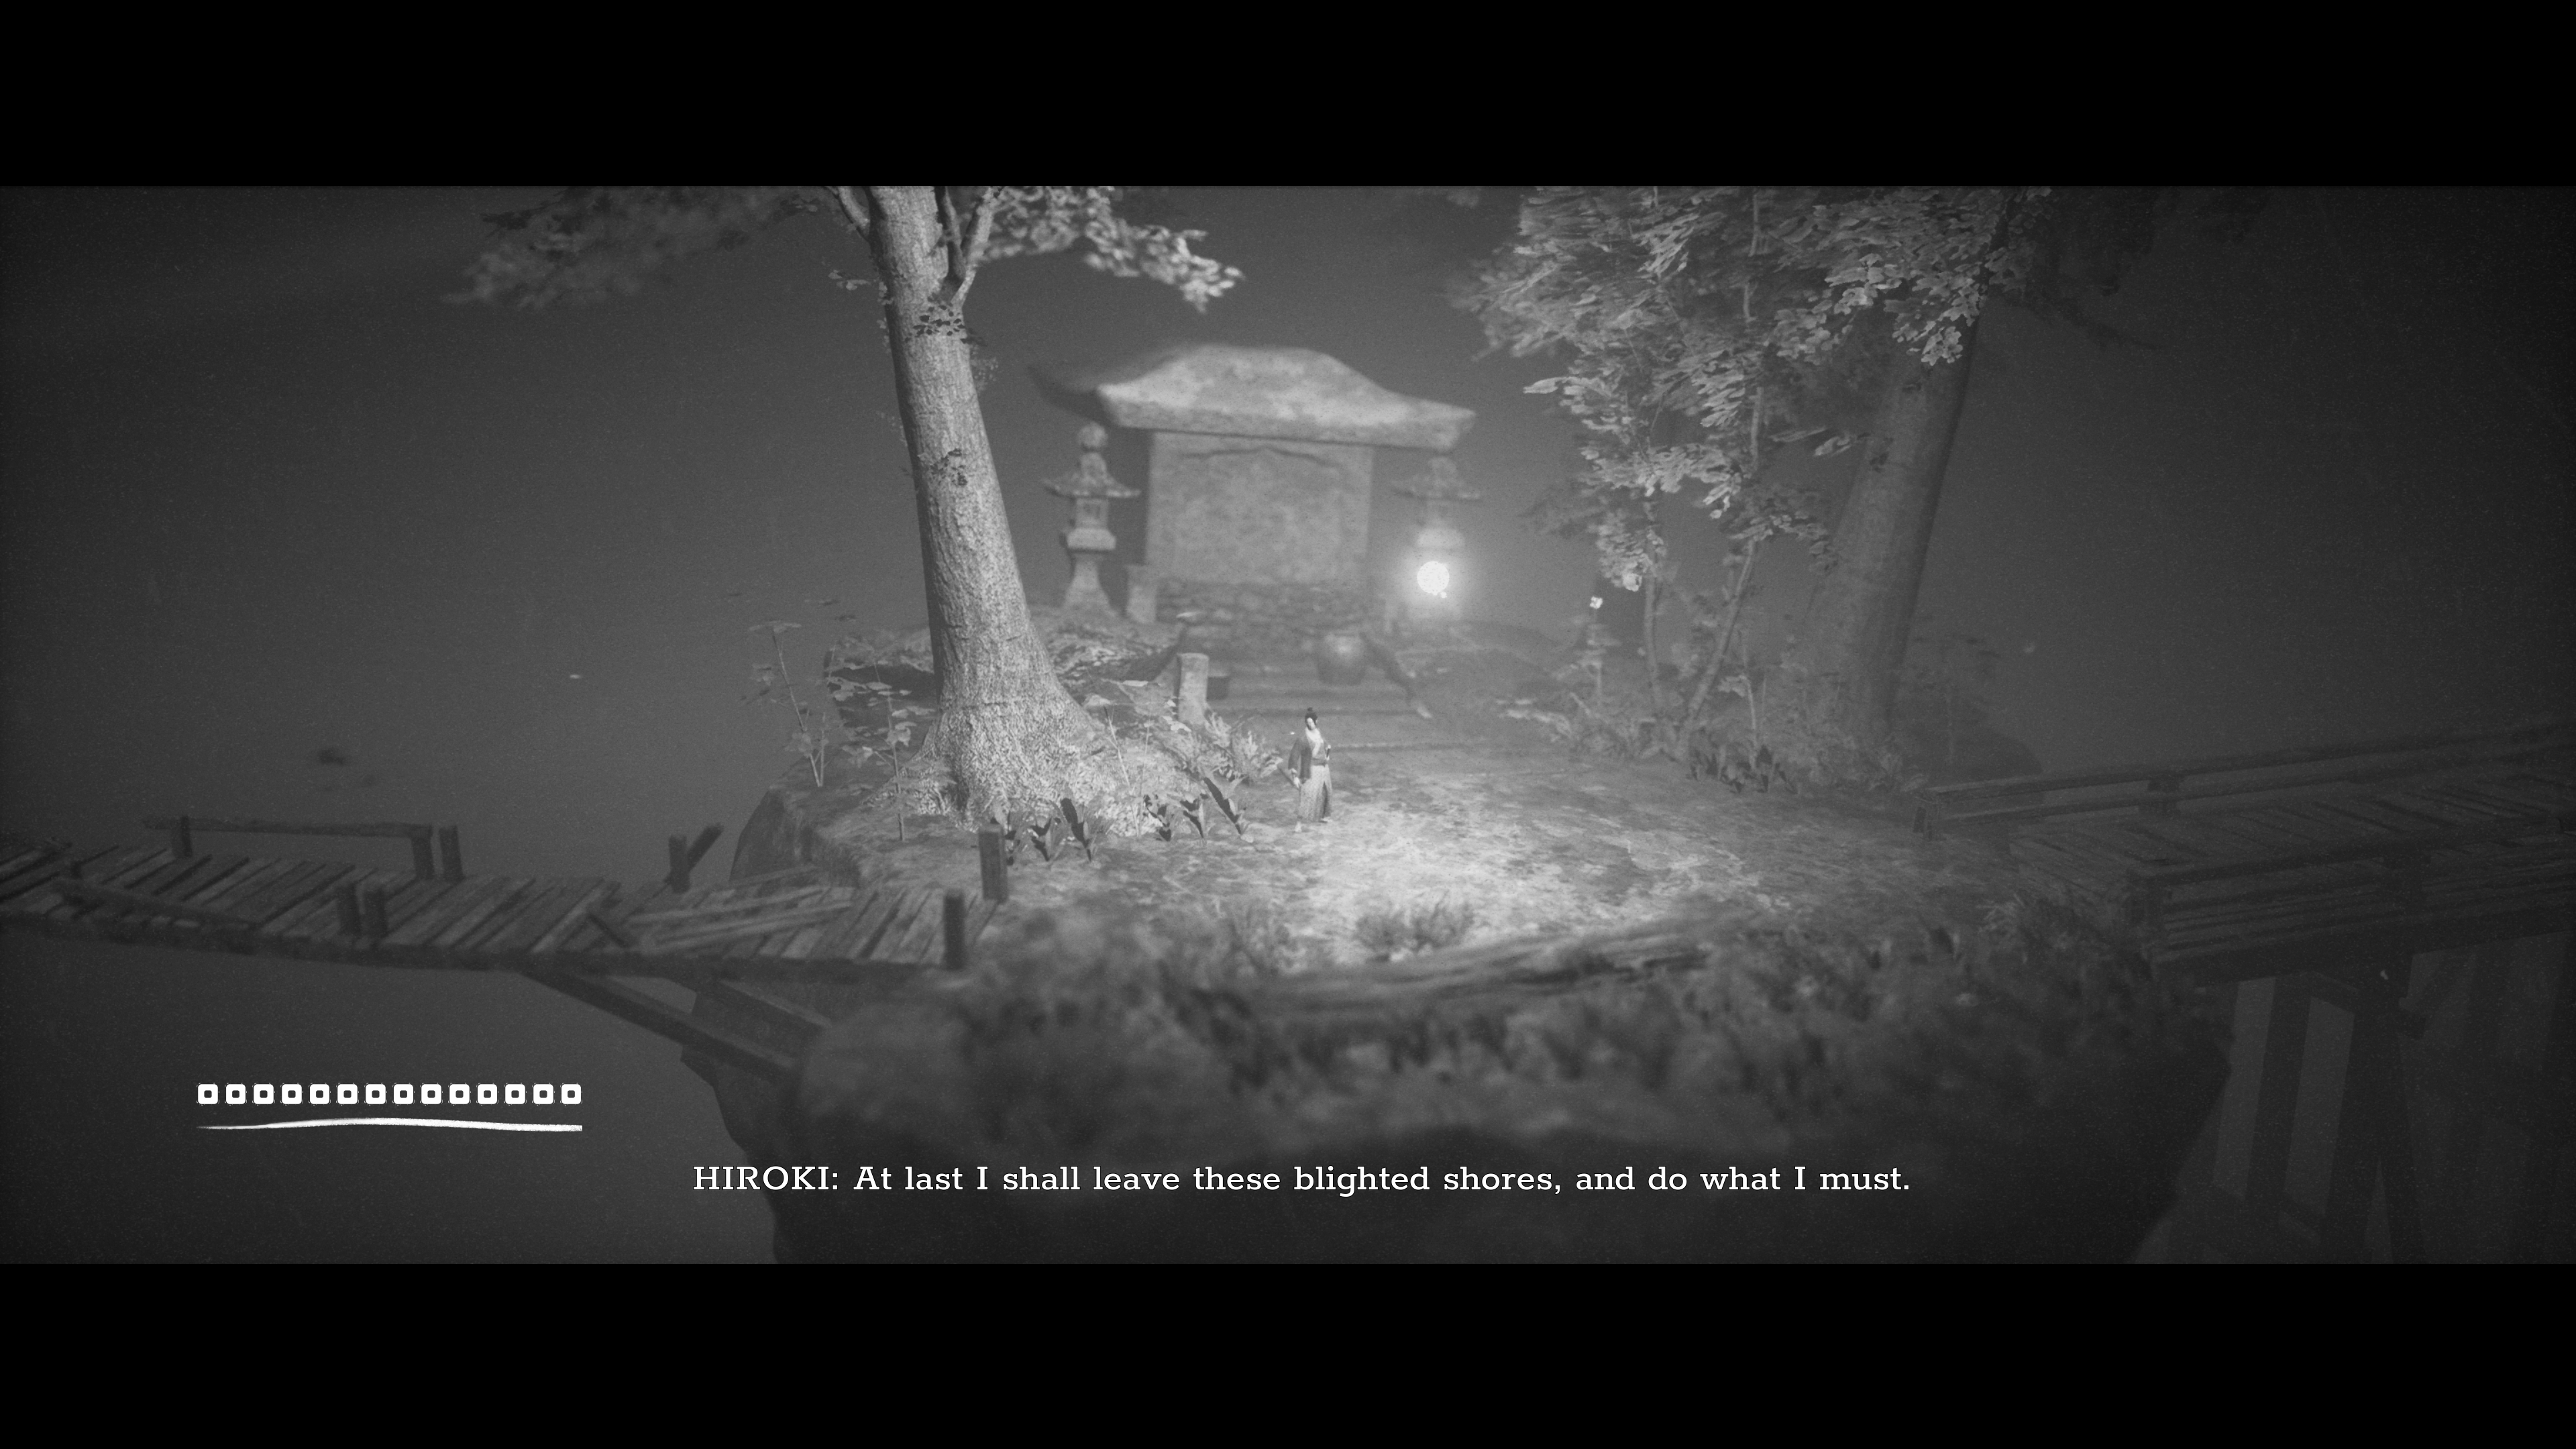
Health Upgrade 6 — The first one can be found after the long temple section. After the mid-level boss fight, you will be in a desert-like area. There will be a Shrine and a path forking left and right. Go to the right to find a box with a health upgrade sitting atop it before moving along your merry samurai way.
Health Upgrade 7 — Late in Chapter 5, you enter an area where you take steps up to a Shrine. From there, you can see steps leading to an area with another puzzle. This is the third puzzle section of the level. Instead of heading up the second set of stairs, walk to the right from the Shrine to uncover a path into a hidden cave where this one hides.
Chapter 6 (1 Upgrade)
Health Upgrade 8 — After you are transported to the burning village, you will fight a group of enemies on a shaky bridge suspended above nothingness. On the platform between this bridge and the next one is a monument in the background. Walk up to it for this health upgrade.
Chapter 7 (1 Upgrade)

Health Upgrade 9 — There is a section inside a burning house where the floor collapses underneath you. Instead of taking the ladder back up, move a screen to the right. You will hear the cries of villagers that you can rescue by pushing the rubble trapping them out of the way. Once you’ve done this, they will flee revealing the final pickup.
That’s it. That’s every health upgrade in the game!. For more information on Trek to Yomi, check out our lore collectibles and artifacts guide or our guides to finding all of the stamina buffs and items that increase ammo capacity.


Published: May 6, 2022 09:51 am