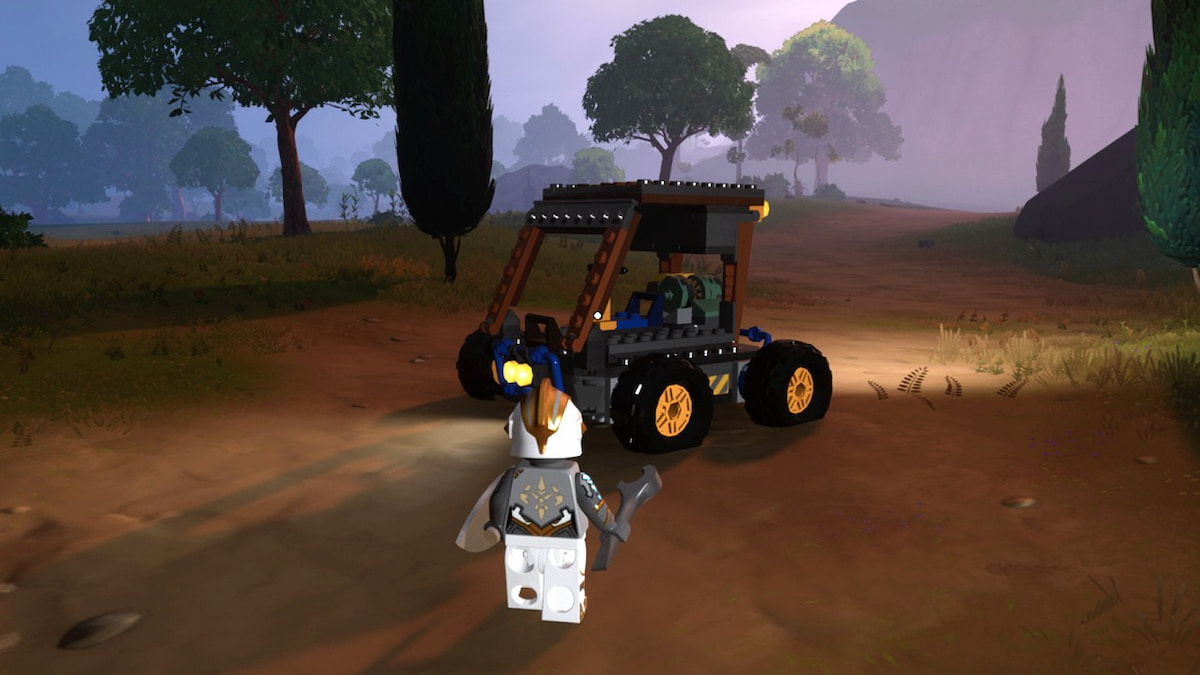
The Mechanical Mayhem update in LEGO Fortnite brought us actual vehicles we can drive around our worlds. Even though they gave us three preset options to build, we also have the freedom to make our own, so here’s how to build a car in LEGO Fortnite.
How to Make a Custom Car in LEGO Fortnite
If you don’t feel like making the preset cars they provide, you have all the necessary parts to get creative and build your own design. You can find all the parts within your Toys > Build menu. However, you’ll need some more important ones to make the car run, such as the Power Center.
How to Craft All Car Controls
Depending on the size of the part you want, it may require more materials or materials of a better rarity. Here’s what you need for these essential car parts:
| Part | Small | Medium | Large |
|---|---|---|---|
| Driver’s Seat | Plank x2 Granite x2 Cord x2 | Plank x3 Granite x2 Cord x2 | Plank x4 Granite x2 Cord x2 |
| Power Center | Granite x3 Cord x2 | Granite x5 Cord x2 | Granite x8 Cord x2 |
| Powered Wheels | Wooden Rod x1 Wood x1 | Flexwood Rod x2 Flexwood x2 | Frostpine Rod x1 Frostpine x4 |
| Turnable Wheels | Wooden Rod x1 Wood x1 Cord x2 | Flexwood Rod x1 Flexwood x2 Cord x2 | Frostpine Rod x1 Frostpine x4 Cord x2 |
Along with those car control parts, you will also need Power Cells, which work with your Power Center to make your vehicle run. Before getting started, you’ll want to ensure you have a few of these crafted and ready to go.
How to Craft a Power Cell
To make Power Cells, you’ll need a Compost Bin that can make Biomass. Biomass is the main ingredient of a Power Cell.
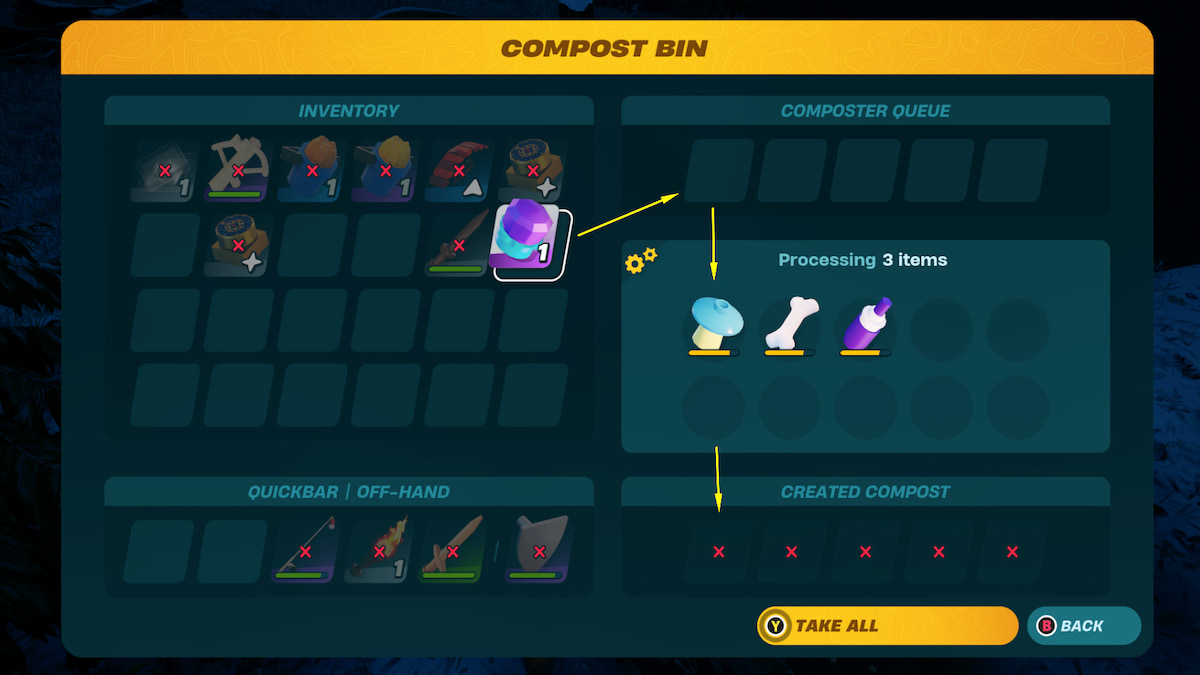
To get Biomass, place food and other resources into the Compost Bin. They will take a minute to process and then turn into Soil, fertilizers, or Biomass. The best way to ensure you get Biomass each time is by placing higher rarity items inside.
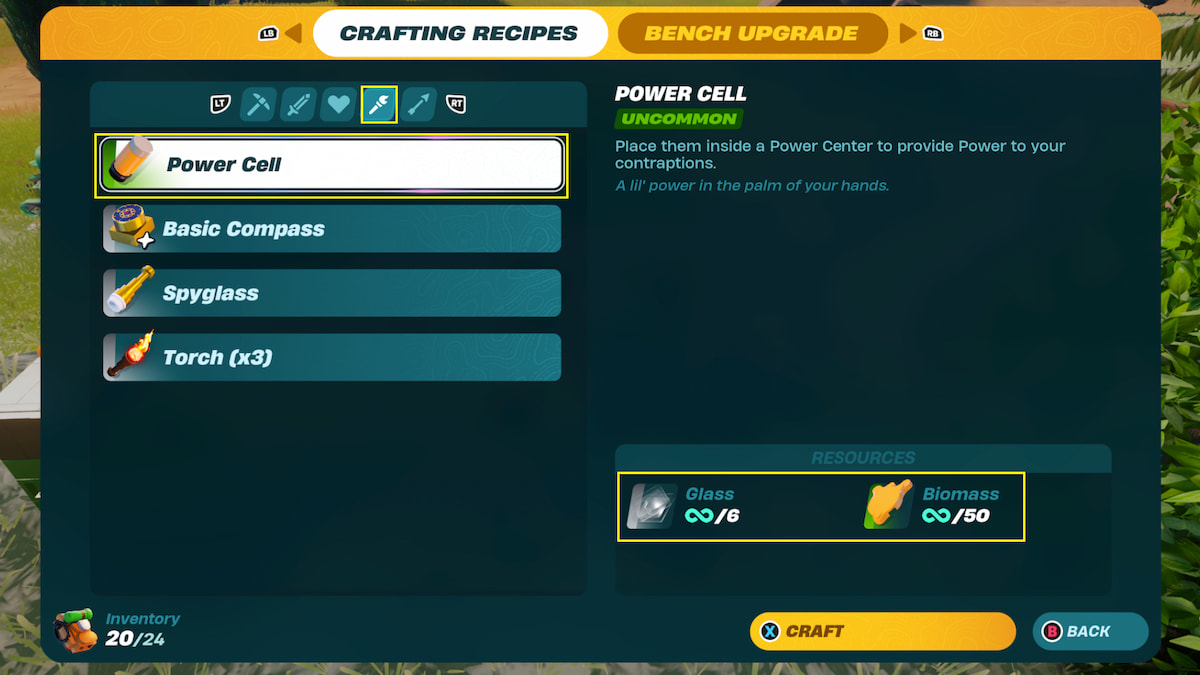
Once you have Biomass, take it over to your Crafting Bench, and you can make some Power Cells by mixing the Biomass with Glass. You’ll need 50 Biomass and six glass for each cell.
How to Build a Custom Car
Now that you have the most essential pieces for your vehicle, you can start putting them together. There is plenty of room for creativity in this process, but we’ll lead you through the basics of what steps you should take to make the car work properly.
Step 1: Car Jack
Even though Car Jack may not seem that important to your car creation, it is a must. It allows you to piece your car together and ensure no wheels or anything gets stuck in the ground and restrict your car from functioning.
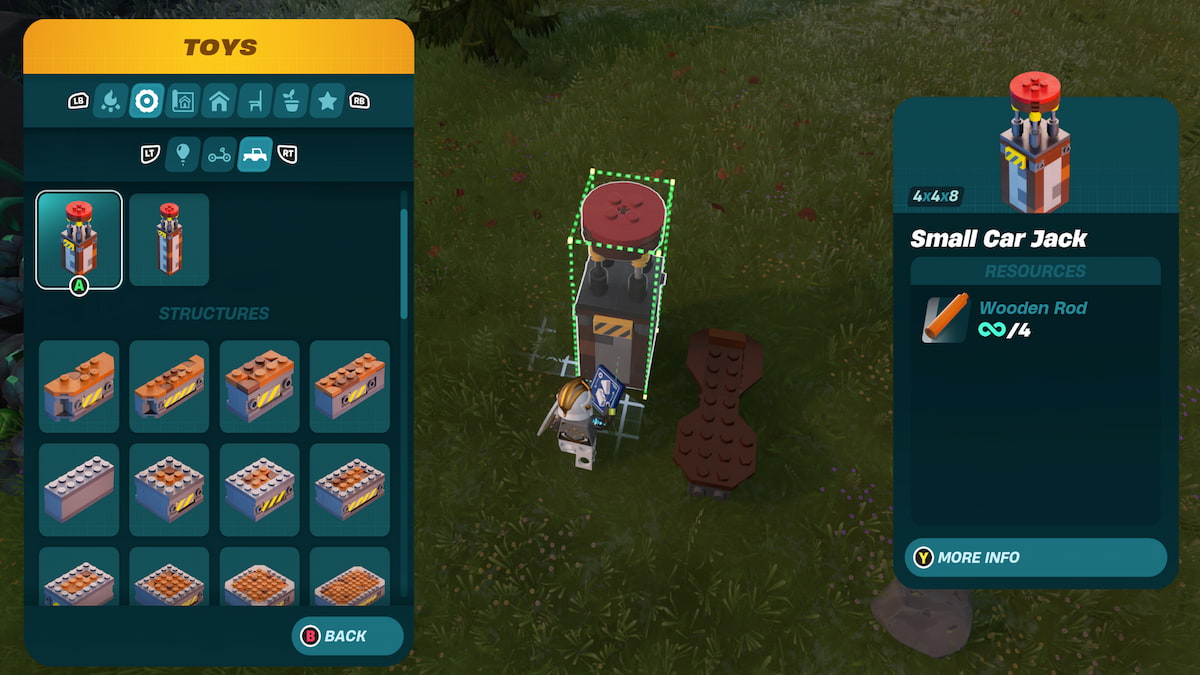
You can get a small or a large jack under the Toys—Vehicle Parts section of the Build menu. Both require wooden rods to craft. Then, place the jack (or multiple jacks if you’re planning on making a larger vehicle) on a flat, clear surface where you’d like to begin.
Step 2: Base
After you get your jack placed, it’s time to lay out the foundation of your vehicle, which is the base. This is the piece on which everything else will be built.
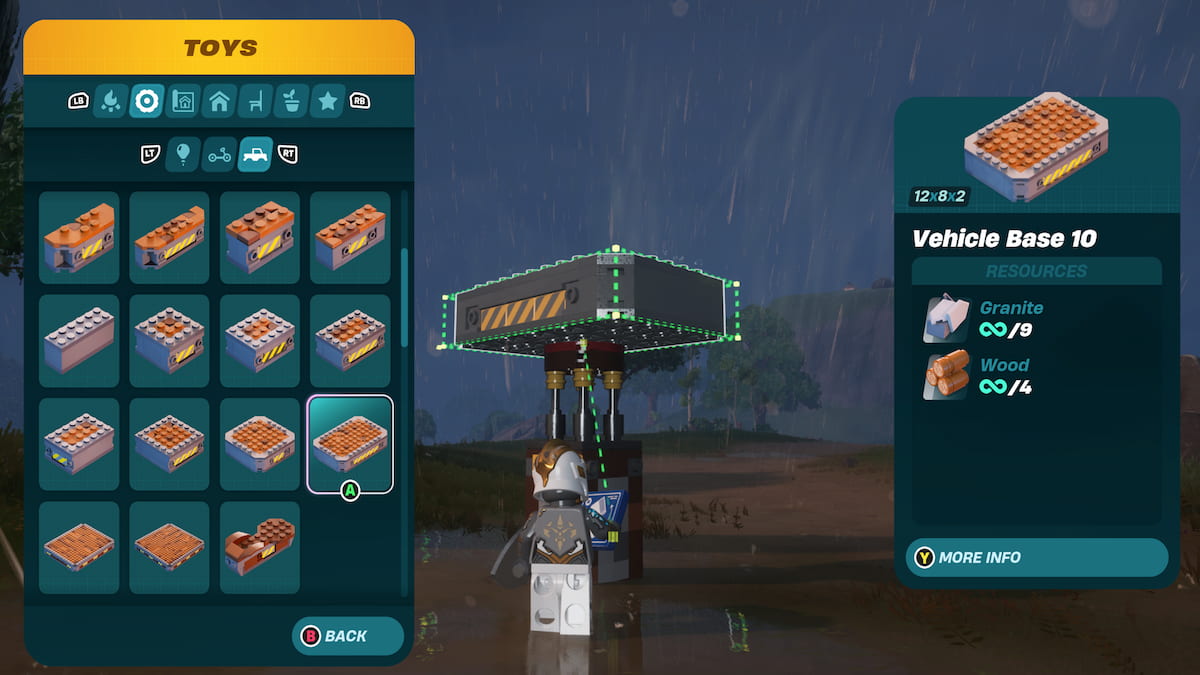
The bases are found just below the car jacks in the Vehicle Parts section of the menu. There are many different choices here: long bases, short bases, and broader bases, and you can pick what you prefer best for your vehicle. These pieces require Granite and Wood to craft, so ensure you have some in your Inventory. Then, place your preferred base on your car jack, with the car jack aligned toward the center.
Step 3: Wheels
The Wheels are critical to allowing your car to drive around, and in order for them to work properly, you’ll need to mix and match the powered and turnable options.
Both types of wheels are within the Controls section of the Toys menu. The power wheels spin forward and backward, and the turnable wheels spin to allow movement left and right. You will need both kinds for your car to be fully mobile.
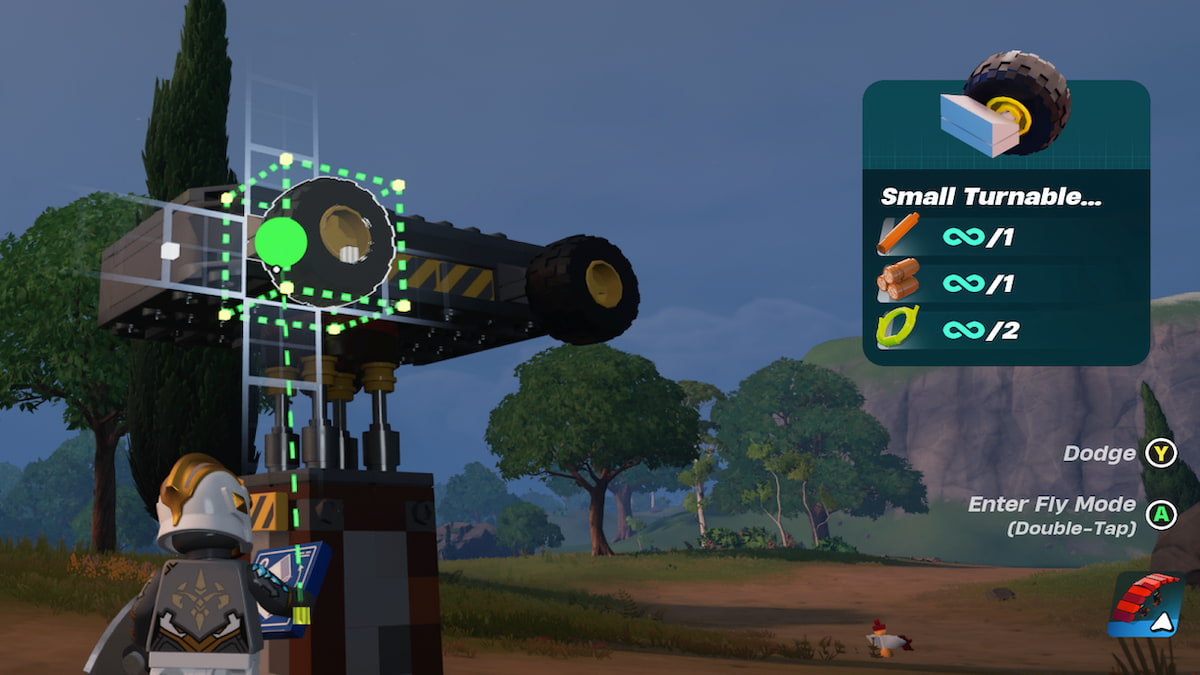
Depending on what size you like, pick out two power wheels and place them on both sides of the back end of your car. Use the snap placement to get them aligned more easily. Then, pick two turnable wheels and place them on the front end, just like you did with the others.
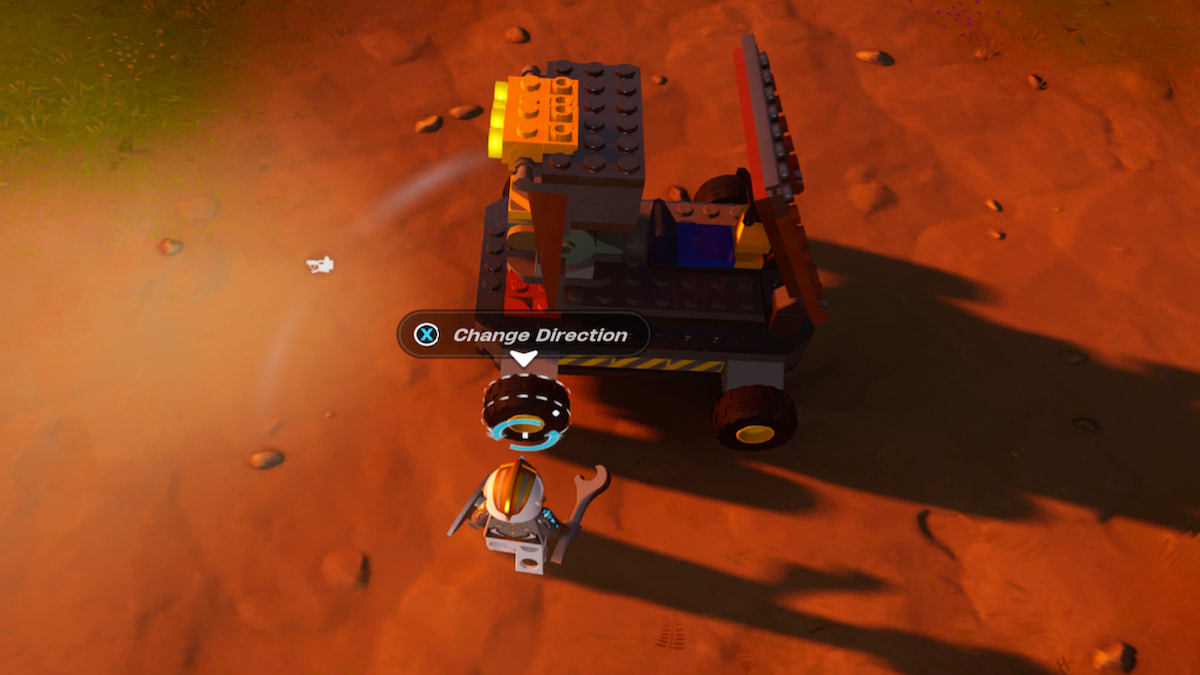
Once all your wheels are on, make sure they all spin in the same direction. If they aren’t, your car will be stuck spinning in circles. You can fix this by using your Wrench on each tire.
Step 4: Driver’s Seat
With your base and wheels now in place, you’ll need a way to steer the car in the direction you want. The Driver’s Seat works as your steering wheel and how you’ll initiate a drive.

The Controls section of the Toys menu offers three different options for the Driver’s Seat: small, medium, or large. They work the same; only the size and look of the part differ. Pick the one you like and then place it on top of your base, facing the front of the vehicle where your turnable wheels are. You can set it as close or far back to the front as you like, but usually, it’s good to have a bit of room in front of it to place down a windshield.
Step 5: Power Center
The most important part of the car is the Power Center. Without it, you won’t be able to start up your vehicle at all. Just like the other control parts, they come in three different sizes. The size determines how many Power Cells you’ll need to place inside it. The larger the Power Center, the more Power Cells, and the further your car can drive before running out of power.
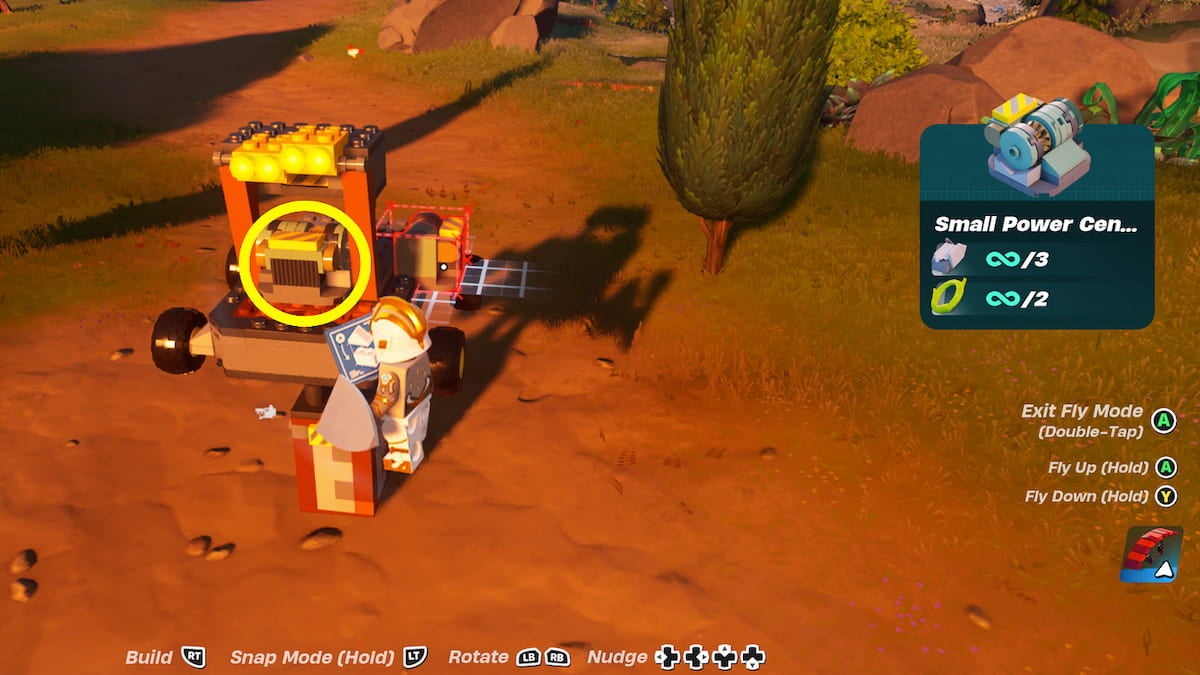
The Power Centers are right underneath the Driver’s Seat in the control menu. It doesn’t matter so much where you decide to place it on your vehicle, but you’ll want to make sure it’s accessible so you can change out the Power Cells as needed. I would suggest placing it toward the back of the car so it’s out of the way of the Driver’s Seat, and you can put some parts around it to disguise it a little.
Once you have your Power Center placed, you’ll need to fill it with Power Cells so that your car will run. Take your Power Cells that we crafted earlier with our Biomass and interact with the Power Center. In the Power Center menu, transfer the Power Cells over to the open slots. Depending on what size Power Center you have, you may need more than one.

The green bar under the Power Cells shows how much they are charged. Driving around will use up some of that charge until it is eventually depleted. You’ll need to replace the Power Cells every once in a while so you can keep on going, which is why it’s a good idea to stay stocked up.
Step 6: Add Flair
Now that you have all your main controls and the base of your car built, you can start getting creative. There are plenty of more parts you can put on your car to change up the way it looks and make it unique.

You can place a windshield, lights, bumpers, and even fenders to add flair. If you don’t want your car completely opened up, add cabin walls and windows to your vehicle to close it up more. All these extra parts are included within the Vehicle Parts section of the Toys menu. Just ensure you don’t block access to your Driver’s Seat, which will restrict you from driving the vehicle, or access to the Power Center entirely, so you can switch out cells as needed.
Step 7: Remove the Jack
The last step to building your vehicle is removing the car jack. It’s time to put your car down on the ground so you can try it out. Thankfully, the car jacks are specially made to remove easily.
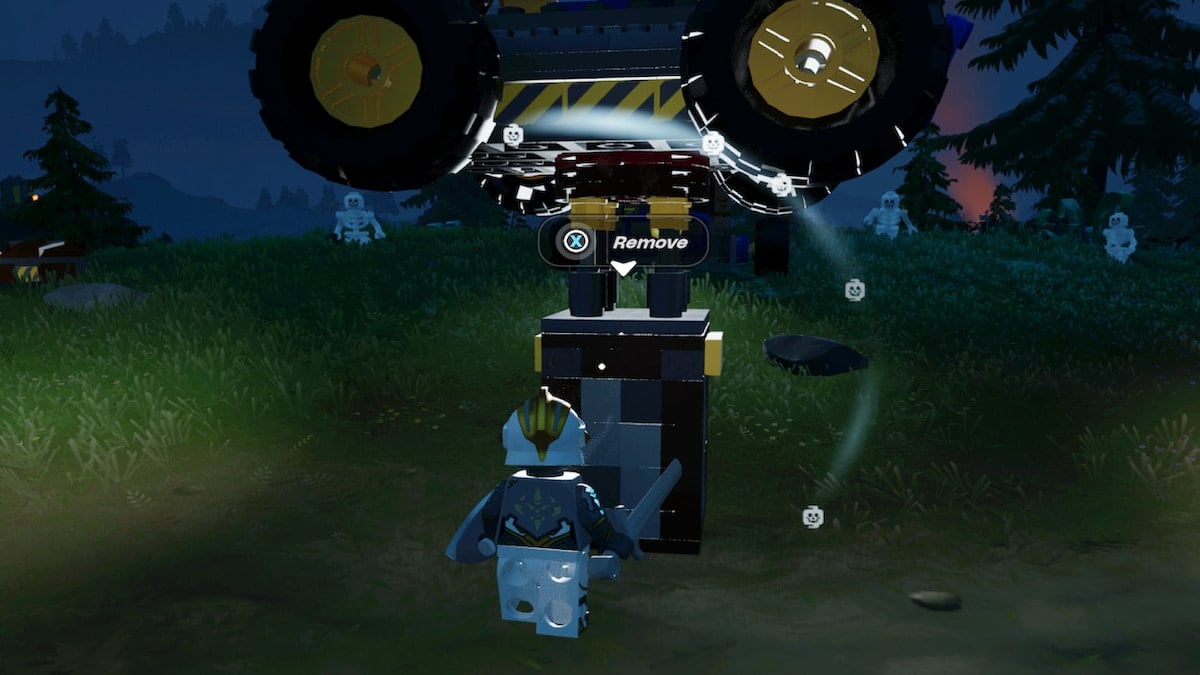
You can approach the jack and hover over it to see the prompt to ‘remove,’ and then press X on Xbox, Square on PlayStation, or E on PC to do so.
How to Drive a Car in LEGO Fortnite
When you’re done piecing together your vehicle and decking it out how you like, you can give it a test drive. To begin, approach the Driver’s Seat and press X on Xbox, Square on PlayStation, or E on PC to sit down. You can control the car once you’re sitting down behind the wheel.
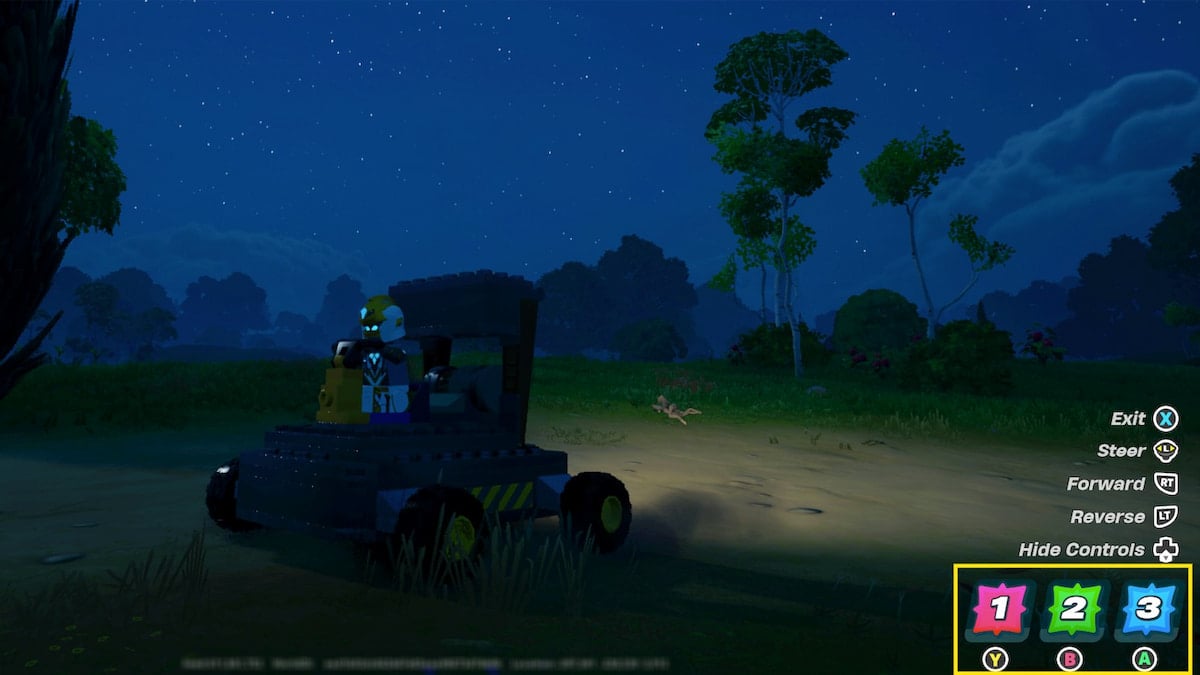
Driving a car in this mode is pretty much the same as driving a car in Battle Royale modes, but the controls will differ depending on what platform you’re on, so here’s a look at them all:
All LEGO Fortnite Driving Controls
| Xbox | Steering: L-Stick Forward: RT Reverse: LT Exit: X Channel 1: Y Channel 2: B Channel 3: A Hide/Show Controls: D-pad Down |
| PlayStation | Steering: L-Stick Forward: R2 Reverse: L2 Exit: Square Channel 1: Triangle Channel 2: O Channel 3: X Hide/Show Controls: D-pad Down |
| PC | Steering: WASD Exit: E Channel 1: R Channel 2: F Channel 3: C Hide/Show Controls: B |
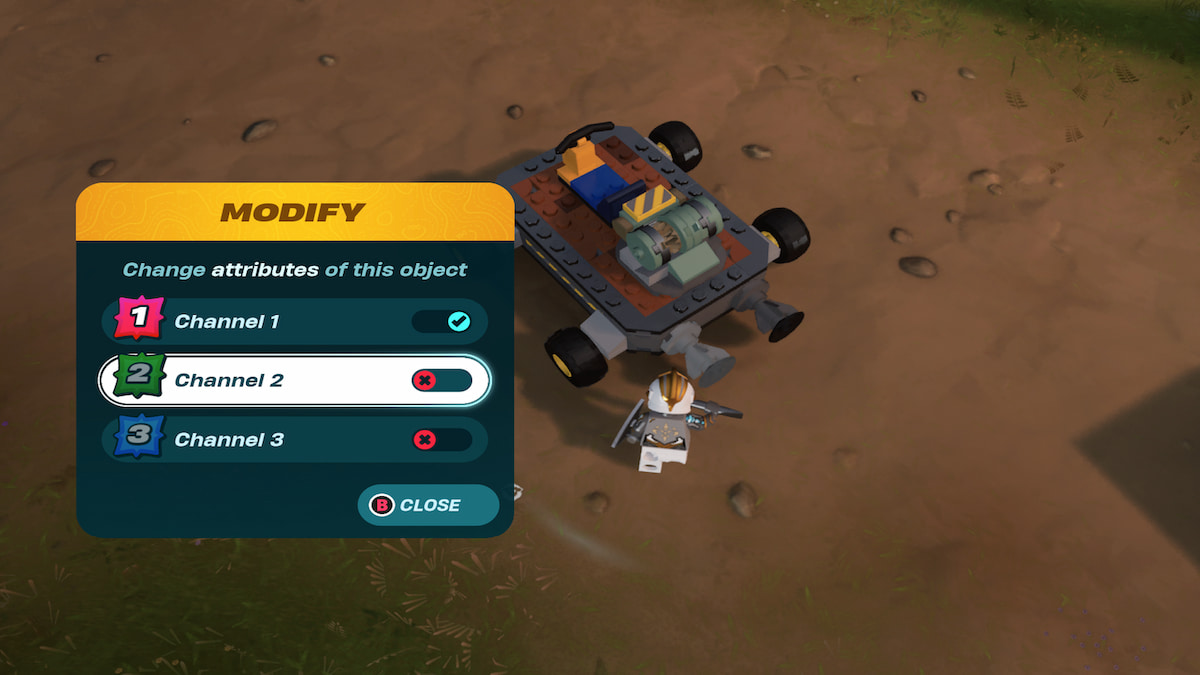
The basics of driving are accelerating, steering, and braking. However, each vehicle also has three channels that you can use to initiate other controls with the press of a button.
For example, you can place some thrusters on the back of your car for a little nitro boost and trigger them to activate by programming it to the channel one button of your vehicle. Use your Wrench on your placed thrusters to switch on the matching channel to your car, and then give it a whirl!
Your first car may not be the very best, but now that you know the basics, you can keep practicing and making more extravagant vehicles. Just be sure to have plenty of Power Cells on hand to keep them up and running. You’ll get around the world so much faster.
Want more tips and tricks like this? Check out GameSkinny’s LEGO Fortnite hub and follow along with our guides on how to make Dynamic Foundations or Ice Cream!


Published: Mar 29, 2024 10:18 am